Month

June 2014

Countdown to 40 – Bucket List For The Second Half Of My Life

befunky_artwork.jpgI talk often about how quickly time has flown by since the birth of my daughter. In 1 1/2 weeks she will be turning 2 1/2. It seems almost impossible. Almost stranger than that is on that very same day, I will be kissing my 30’s goodbye & turning 40. Ouch! This has been a hard realization for me. For me entering my 40’s finally signifies to me the end of my youth.
I look in the mirror & the face looking back is different than the one I remember. There are more lines. The grays from my head seemed to have spread & set up new residency in my eyebrows. My skin is now much looser and things that once were higher… well are not quite so high or perky anymore. It makes me sad, but is reality.

We all grow older. Our faces & bodies age, our looks fade, things begin to ache for no reason & you wake up in the morning feeling hung over even when you don’t drink. You become more forgetful. You become more forgetful. Oh & you tend to repeat yourself. I am certain I have told the same stories to my husband about 101 times. Sex symbols from your youth begin to grace the covers of AARP & even worse than that people now call you ma’am.

My first 40 years on this planet have had their ups & downs. In my life I have made a lot of mistakes. I have been good and been bad. I have had my heart broken and also broken a few hearts. I learned that soul mates are real & married mine. I have seen people I love die & I have brought life into this world. I have laughed, cried & felt utter joy.

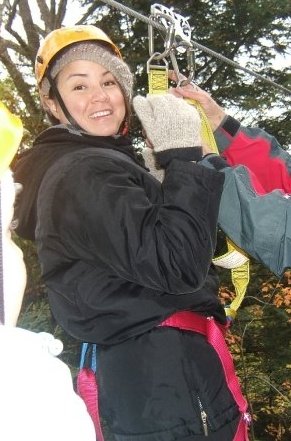
I’ve been lucky enough to have seen many places & have done many things…

226425_1834263269601_5715577_n 205047_1026030104277_2430_n  1934809_1179554622294_6423635_n

But there is still so much left I want to do. What things do I still want to accomplish, see or learn? It seems as if there is so much. My bucket list is a long one. Here are a few highlights of an otherwise long list…

1. Be there for my daughter’s wedding

2. Go to Cambodia

3. Learn another language

4. Hike Macchu Picchu

5.Write a children’s book

6. Hold my grandchild

7. Learn how to fence

8. Visit all the U.S states

9. Grow old with my husband

10. Go to the Cherry Blossom Festival in Japan

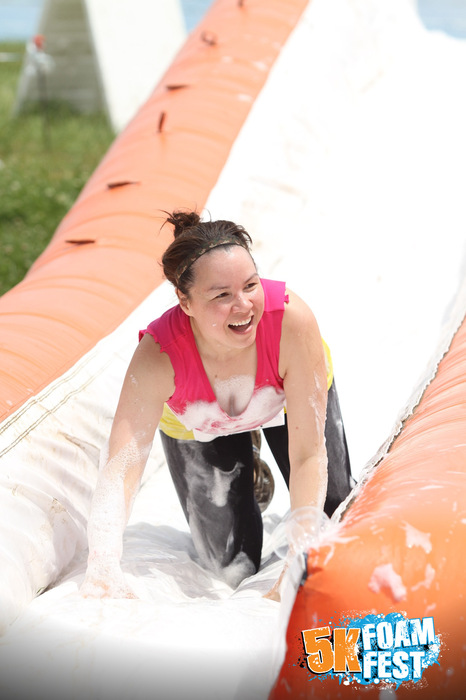
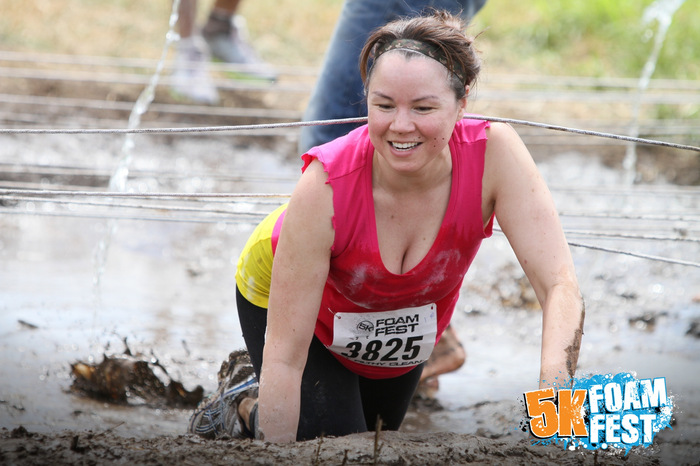
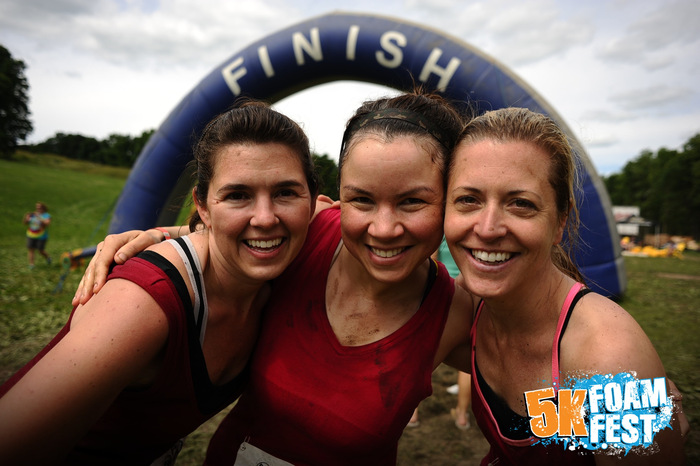
11. Run a marathon with my husband

12. Go to a masquerade ball

13. Learn to belly dance

14. Pay off our home

15. Get a tattoo that represents my mother

I have not lived a perfect life, but I have lived a pretty good one. I can’t wait to see what the next half will bring.

What’s on your bucket list? I would love to hear.

66920_1520074375075_1817326_n 164306_1648638709103_3990793_n

My Picky Toddler Woes & Baked Corn Dog Bites

Corn dog bite made out of cornbread mix & cut up hot dogs. Easy to make & fun to eat for my picky eater
I hate to sound like a broken record… I know you have heard me complain about this many times…BUT I have to say it again, my daughter is a picky eater. I can’t even imagine the amount of time & food I have wasted trying to get my child to eat a good meal. I have many sneaky ways & tricks that I use to help with the process, but that only works if she likes what she is eating.

She has a long list of gripes about her food:

“It’s too spicy.”
“It’s too cheesy”
“Not warm”
“Too hot”
“Noodles are disgusting”

You get the idea. Planning meals just plain stresses me out. At 2 1/2 years old our little girl still only weighs 25 pounds, so I will pretty much feed her anything that will get her to eat. Here lies the challenge. It is not uncommon for me to have several different meal options out at one time.

IMG_2528

After rejecting meal 1 & meal 2, we try for a 3rd option. It is very frustrating. People tell you, they will eat when they are hungry, but yet I have seen my girl goes days without barely taking a bite.

I try to make food as fun & easy to eat as possible. She has recently taken a liking to hot dogs, just the hot dog, no bun. Tonight’s menu, corn dog bites. These are fun & super easy.

Ingredients:

2 boxes of Jiffy corn muffin mix (2/3 cup of milk & 2 eggs)

1 package of hot dogs

1/4 cup of parmesan cheese

1/2 tsp ground mustard

pepper to taste

Directions:

Preheat oven to 400. Slice hot dogs into chunks about 1 1/2″ long about 1/5 of the hotdog. Prepare the corn muffin mix according to directions. Mix in the parmesan cheese, ground mustard & pepper. Dunk the hot dog chunks in the mixture one at a time coating them well. Place on two greased baking sheet. Do not worry about them being covered perfectly. You can top off any bare spots my spooning mixture over the chunks once on the sheet. Leave plenty of space on the baking sheet between corn dog bites. Bake for about 10 minutes. Let cool & serve with ketchup or mustard.

IMG_2505

IMG_2506

IMG_2507

IMG_2509

IMG_2511

IMG_2512

IMG_2513

Corn dog bite made out of cornbread mix & cut up hot dogs. Easy to make & fun to eat for my picky eater


It was a dinner time victory tonight. It even warranted a thumbs up from my finicky little girl. A sigh of relief & one more meal down. Until tomorrow….

IMG_2517 IMG_2518 IMG_2521

Surviving My First 5K

4571612_race_0.9308576257227521.displayThe day finally came. It was only a matter of time that I would finally break down and run my first race. With a marathon runner for a husband it was inevitable. 311638_2198507855488_1079399790_nEven my daughter has already completed her first race. Should I be embarrassed that my two year old received her first race medal before me? IMG_19701 I started training a couple of months ago. I did not realize just how bad of shape I was in. My first couple of weeks started off great, but then work, baby & scheduling conflicts made it virtually impossible to get to the gym or run outside. I was very worried about how ill prepared I was. I became even more worried when I saw that the course was all uphill. Luckily, my first 5K was an obstacle course race. With 16 foamy & muddy obstacles there were many breaks in the uphill running (and by running, I mean mostly walking). The obstacles consisted of climbing walls, a giant foam slip & slide, mud crawls & a massive bouncy slide as the finale. Between all the huffs & puffs, some muddy water in the mouth & foam in the eyes, I had the time of my life. 4613116_race_0.31827722650558266.display 4612902_race_0.3917459688648467.display 4603715_race_0.9380796214813815.display 4577822_race_0.33772453226369137.display 4577694_race_0.42480102795743213.display I am disappointed in myself for not training harder for it, but I did accomplish what I set out to do, I finished my first race & had a great time doing it.  It was a nice break for us mommies. I am ready for round 2. Bring on the next race & this time I will train harder. 4589346_race_0.5318026521172017.display

You Can’t Outsmart a Smarty

IMG_20140616_201258330One of Mai’s favorite new games is removing the contents of our Lazy Susan & placing them up on our kitchen island. I will ask he Mai what are you doing? “I go shopping” “I buy food”. She will name off all the items as she places them up on the island. “Ranch dressing, hot chocolate, barbecue sauce.” I do not love this, but it does keep her occupied while I am cooking or doing dishes. She loves playing this so much that I thought it would be a fun idea to make her her own little grocery store on the shelves of our kitchen island. My hopes of course, were that this would distract her from emptying the contents of my Lazy Susan.

I used old food boxes & rinsed out jars and lined them up in a row on the shelves.

IMG_2349

IMG_2352

Mock supermarket made up of old food boxes & containers
Mai has a little toy shopping cart, so I thought we could make a fun & educational game out of it. My idea was that she could pick out the items that she wants just as she did with the Lazy Susan & that we could use some of her coins in her piggy bank and make it a lesson in counting and money as well.
Unfortunately Mai was not so easy fooled by mommy’s make shift shopping center. She picked up each container & exclaimed “Oh! It’s empty. I throw in the trash.” And in the trash she threw them. Oh Well! Better luck next time, Mommy.

Father’s Day Tie For Daddy

Kid made gift for dad for Father's Day. Tape resist tie that the kids colored.

*This post contains affiliate links for convenience.*

My daughter is very much her father’s little girl. Not only does she adore him, she looks like him & she acts like him too. There are traces of me in there too, but for the most part she is daddy’s girl. From those beautiful blue eyes & dimples to the way she has to arrange her Fruit Loops by color she is her father through & through.
Yesterday was Father’s Day & Mai had made a special gift for her #1 guy.

This was a cute & easy project for my little one. All you need is a inexpensive white tie, fabric markers, duct tape or masking tape & a pair of scissors.

IMG_1987

With a marker draw out your letters one at a time on a piece of the masking or duct tape.

With a marker draw out your letters one at a time on a piece of the masking or duct tape.

Place the letters on the tie. Make sure they are flat & pressed firmly.

IMG_1989

Using fabric markers, let your little Picasso go to work coloring the tie.

Using fabric markers, let your little Picasso go to work coloring the tie.

IMG_1992

IMG_1995

Watch her demonstrate why she is just like her father by lining up all the marker caps in a row.

IMG_2002

IMG_2007

IMG_2003

Remove the letters slowly. If as you are removing them you see that the letter isn’t properly formed, replace it & give it a little bit of an outline.

Remove the letters slowly. If as your are removing them you see that the letter isn't properly form, replace it & give it a little bit of any outline.

IMG_2012

After it is complete, put in the dryer on high heat for about 5 minutes for the marker to set.

Kid made gift for dad for Father's Day. Tape resist tie that the kids colored.

Give Daddy your present & a kiss.

Give Daddy your present & a kiss.

Mai was very proud of her homemade gift & daddy loved it. I hope all the Father’s out there had a wonderful Father’s Day.

Thank you as always for stopping by. Please follow us on Facebook as well.

How Toddlers Make Friends

ToddlerFriends.jpg
It is utterly fascinating to watch my child & not just mine, any child really. The way a child sees and approaches life is so different than how we do it as we get older. Today was another great example of this.
After a fun day playing outside with my daughter, we went to an ice cream parlor in town for a little summertime treat. While we waited in line to place our order a little girl a few months younger than Mai approached her. At first Mai was uncharacteristically quiet and standoffish. Her mother came over and introduced herself and collected her daughter. A moment later the little girl whose name was Lily returned. My girl became her usual self and began to talk with Lily.
As she was speaking I noticed her bending her knees slightly and moving into a squat.
“We walk outside and Dukey took a biiiig poop. He poop on the ground” She gestured to her bottom as she continued to squat and tell her story.
Several tables of patrons broke out in laughter as they overheard this exchange.

Lily’s response was to break out in song with an adorable version of ‘Ring around the Rosies’ This was all that it took to strike up a new friendship.

Quickly the two were chasing each other around the tables as my daughter exclaimed “Chase me! You can’t catch me. I gingerbread man!” They chased each other, hid behind the chairs & hugged each other. It was as if they had played together a million times and not just strangers that had just met moments before.

How wonderful it is that children have the ability to do this, to meet someone new without judgment or suspicion and welcome them without hesitation.

How beautiful it would be if we could all approach new relationships like this.

It got several of us tables to joking if only we could all make friends so easily. Perhaps on my next encounter with a new person, I will break into a discussion about my dog’s bowel movements and then offer them a hug. I will let you know how that goes.


Paper Mache Rocket Ship

IMG_18491Do you know the old saying about giving a child a new toy & all they want to do is play with the box? This is mostly true. My daughter usually likes what is in the box too, but she has been amused by a box for days on more than one occasion.

Last week we got her a new toddler trike. She had fun helping Mommy & Nanna put it together & she even rode it a little after it we put it together.

061

And then she spotted the box…

058

She wanted to play with the box, so I cut open the front to make her a door so she could play in it.

062


Mai climbed in & said, “Look Mama, my rocket ship.”

063

And that is how it all started.

What you will need:

A large box
A couple of cereal boxes
Tape
Newspaper
3 empty wrapping paper tubes
Paint

Paper Mache Paste:

1 part flour
2 parts water

Directions:

Cut the front fold down flap off the box to leave an opening at the top front of the box.
Cut the front fold down flap off the box to leave an opening at the upper front of the box.

066

Pull the remaining fold down flap up so the seams all touch and tape into place. This will lengthen the box on the sides & back.
Pull the remaining fold down flaps up so the seams all touch and tape into place. This will lengthen the box on the sides & back.
068
Use a cereal box & form into an upside down “V”. Tape it into place at the top of your box to form a roof.
070
Tape a wrapping paper roll to the center of each side and one in the back.
074
Wrap a full sheet of newspaper tightly across the roll. This will help round the sides.
071
Wrap both side & the back all the way up to the top.
073
Stuff crumbled paper through the top to help firm it up. Turn the box on it’s side & tape newspaper under the box & block the opening of our rounded section.
075
Wrap full pages around the whole project and tape securely in place.
IMG_1581
Tear strips of newspaper & set aside until you are ready to start forming your paper mache project.
IMG_1577
Mix your paper mache paste. I did one cup of flour & 2 cups of water at a time. Mix well.

IMG_1580

IMG_1582
Dip a strip of newspaper strip into the paste.
IMG_1583
Smooth out piece by piece across your project. Use smaller pieces to use in the edges an corners. Smooth well.
IMG_1584
A little helper makes things go quicker.
IMG_1585
To create the rounded areas along the upper sides, tape crumpled paper to the sides and paper mache over them until it protrudes to the desired amount.
Wrap paper mache strip around corners and edges. To smooth out lumpy areas use small bits of paper to fill in holes & crevices.
Wrap the paper mache strips around the corners and edges. To smooth out lumpy areas use small bits of paper to fill in holes & crevices. Be sure to paper mache along the inside as well to strenghten the bottom of the roof.
IMG_20140601_200735450
Use another cereal box to cut out side fins for your rocket. Tape them into place and paper mache around the fins, focusing on where the fin meets the rocket. Continue to add your paper strips & paste until you have reached the desired shape. More layers will offer a sturdier project. Do not forget to paper mache around the edges , the door & around the bottom. Let dry.
IMG_1847
After your paper mache has dried, paint in colors of your choosing.
IMG_1853
Let the paint dry & then it is time for blast off. “Look Mama, the moon.”