

It seems as if these days the only thing that my daughter wants to play with is clay, so forgive me for the overload of clay projects lately. It is her activity of choice and I have been enjoying working with it as well. She comes up with some interesting designs & loves to incorporate other craft supplies into the mix. She made one clay project with pieces of tissue paper the other day & it gave me an idea.


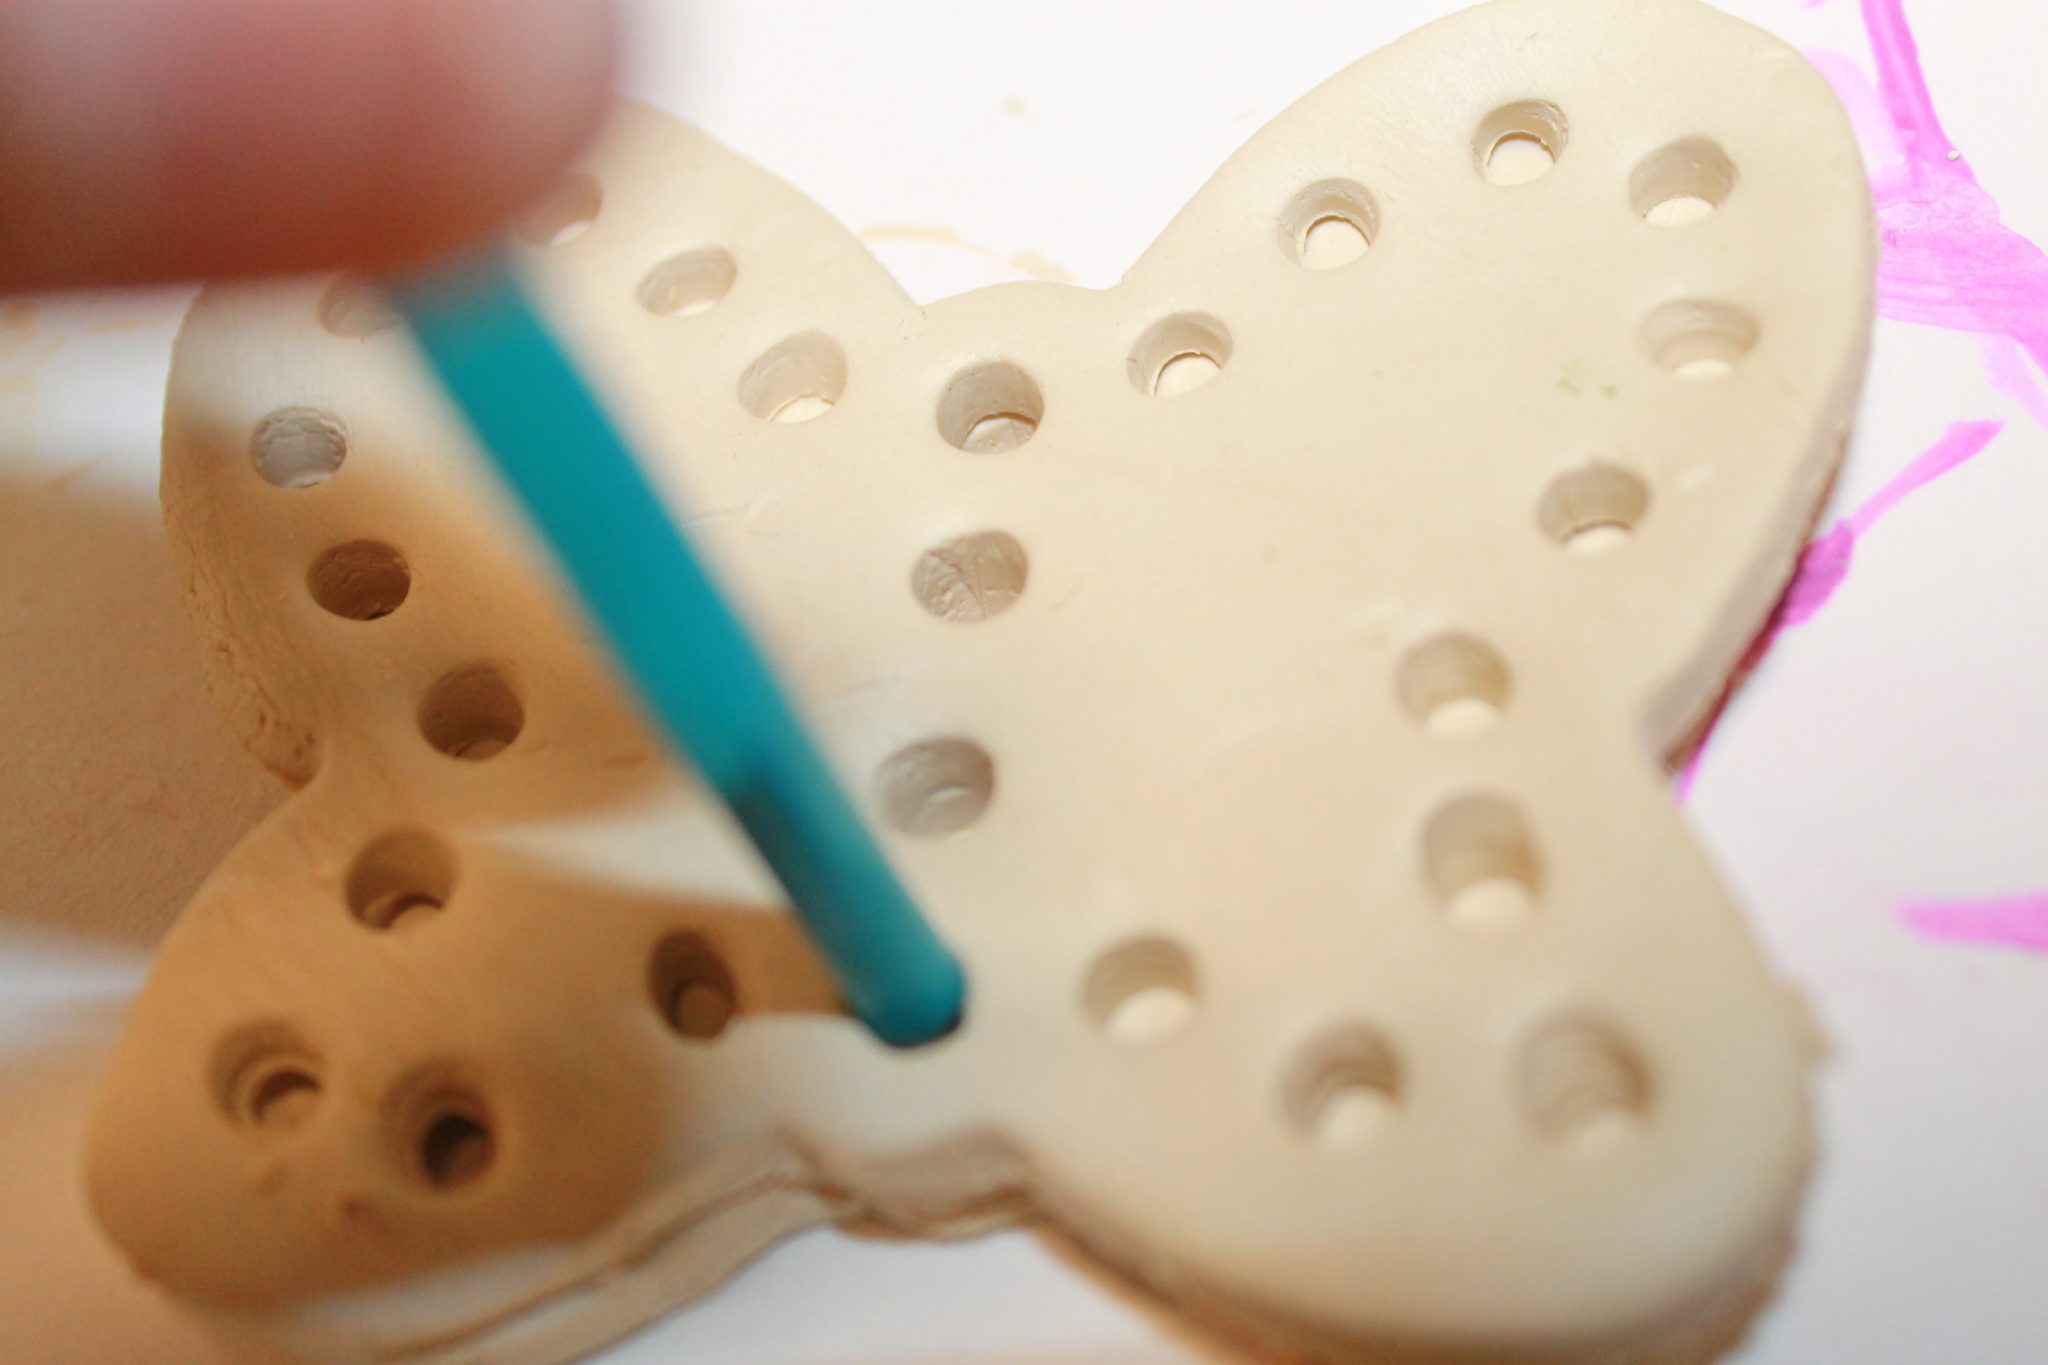
All of these suncatchers were made with air dry clay. For the first one, we rolled out 2 clumps of clay & used a cookie cutter to cut out the same 2 shapes. I used a straw to poke holes all around one of the shapes. When I had enough holes, I placed the hole punched shape onto the other like shape. Using it as a guideline, I used the straw to make holes onto the other shape too. I carefully pulled the 2 shapes apart. We ripped up different colored tissue paper & glued them to the bottom shape. After adding the tissue, I placed the other shape on top of the tissue paper while lining up the 2 shapes. I pinched the outer edges & used a touch of water to smooth out any creases or lumps.
Poke an additional hole if you want to hang it up in the window. String a piece of yarn through the hole. Painting is optional once the clay dries.


For this next one, we used cookie cutters again. We used a similar method as above, but instead of little holes, we cut out one heart shaped hole in the center and then used wax paper & tissue paper.

For the final project, we made a hand print suncatcher. My daughter traced her hand for me & I cut it out. I used the cut-out as a template and cut out a piece of wax paper. We covered the wax paper in tissue paper & then set it aside to dry. When the tissue paper dried, We rolled out long strips of clay & used it to line the front & back of our handprint. Air dry clay can be delicate if not thick enough, so do not roll out too thin. Pinch, press and smooth the sides out to join the clay together. Set the clay aside to dry for a day or two.
Again, use water to smooth out any blemishes & set aside to dry. Paint it if you desire. We chose to leave ours bare.
Thank you as always for stopping by. Please follow us on Facebook as well.


