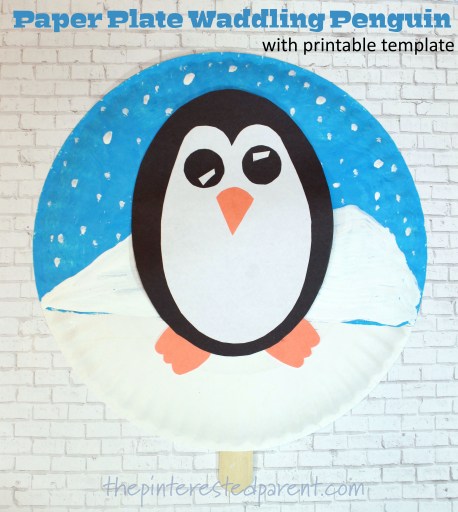
*This post contains affiliate links*
I think most of us have heard the story ‘If You Give A Mouse A Cookie’. If you have not, it is a tale of a mouse and a series of events that occurs as a result of him getting a cookie. It is a fun book to read & my daughter just loves it.

We often joke with our daughter & say “If you give a Mai A Cookie”. This joke came up this week. “How about you give Mai 1, 2, 3 , 4 cookies, mama?” Nice try! She did not get 4 cookies, but she did give me an idea for a fun craft & counting activity.
What you will need:
Paper Plates
Construction Paper
Paint
Glue
Markers
Directions:
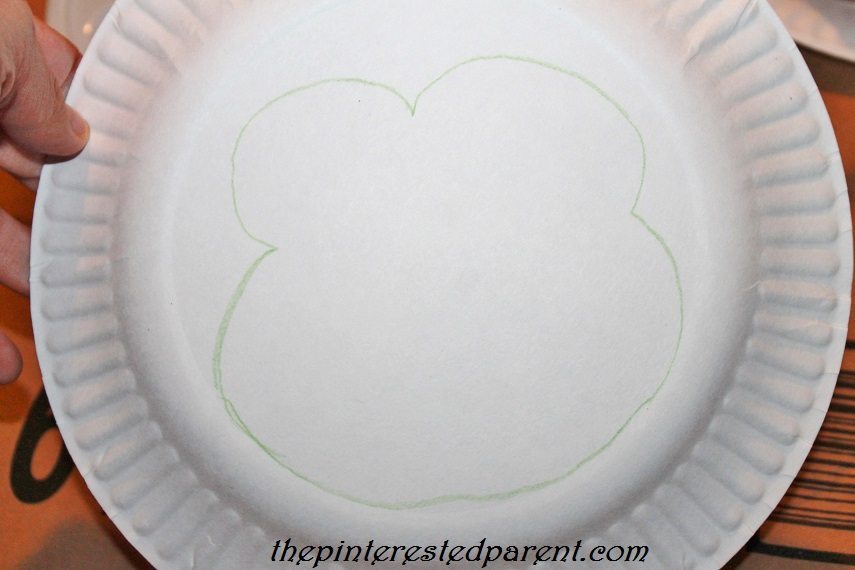
Sketch & cut a mouth hole out of a paper plate.

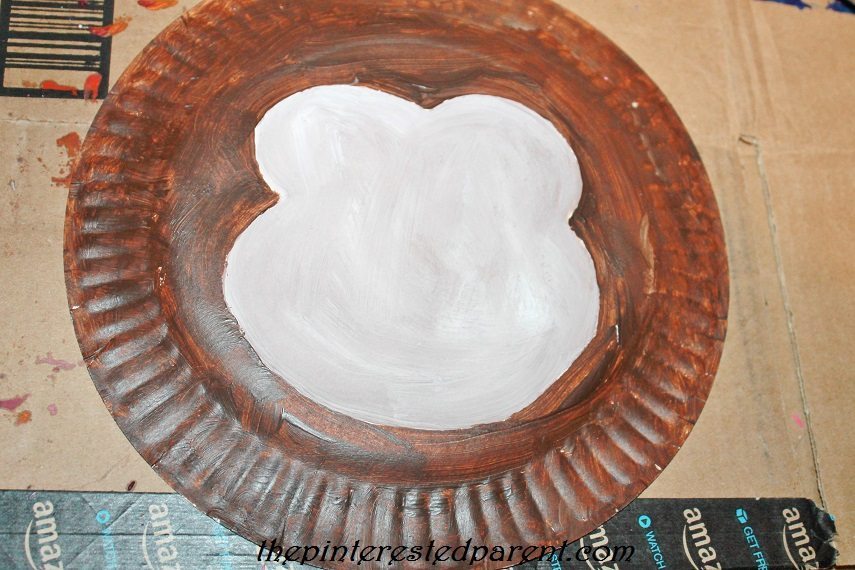
Paint your paper plate in brown & let dry.


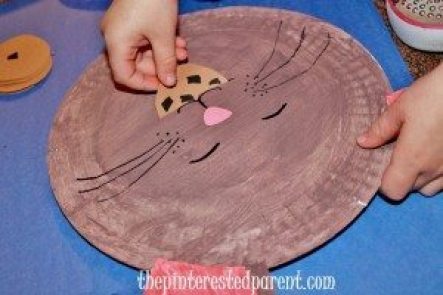
Cut ears & a nose out of construction paper & glue onto the plate.

Draw in the eyes, mouth & whiskers with marker.


Glue around the sides & top of the back of the plate & glue to another paper plate. Leave the bottom unglued so that there is an opening at the bottom.
Cut 10 circles out of light brown construction paper small enough to fit into the slot on the mouse’s mouth.
Draw chocolate chips on them.


Cut 10 squares of paper & number them from 1 – 10. Mai did such a great job writing out her number cards.

Now you are ready to play your game.

Mix up your number cards & have your child draw one. Have them feed the mouse that number of cookies. Another option is to make the cookies with a certain number of chocolate chips & feed them the cookie with the correct number of chips. Let your child decide which they prefer.

Feed your hungry mouse. My daughter wanted to feed both mice. She counted out the cookies for both mice & fed them both full.

When you have used up all your cookies. Just shake them out of the opening that you left at bottom.
I had a hard time pulling my daughter away from this. She was having a lot of fun with it. She gave both mice their cookies over & over again. And of course when you a give a mouse a cookie, don’t forget, he is going to want a glass of milk to go with it.

Thank you as always for stopping by. Please follow us on Facebook as well.
Like ‘If You Give A Mouse A Cookie’?, try the whole series of books.