
Today is Valentine’s Day, a day for love & romance. It is also a day that I scramble to try to figure out what kind of gift to buy my husband. Hallmark, Russell Stover’s and every jewelry store and flower shop in town are kept busy with the swarms of boyfriends and husbands grabbing their clichéd Valentine’s trinkets for their wives at home. The men have it easy. It is us women that have to play the guessing game. There will be no stuffed animals or lip shaped chocolates being given to my husband. Perhaps if they made stuffed animals stuffed with bacon or chocolate covered beer cordials this might fly, but otherwise no. Luckily for me, the Patriots made things easy this year & won the Superbowl, which opened up my gift list to Patriots’ paraphernalia. Thanks guys. I owe you one. Before the Pats’ brought home the victory, Mai & I had another idea in mind for our favorite guy.
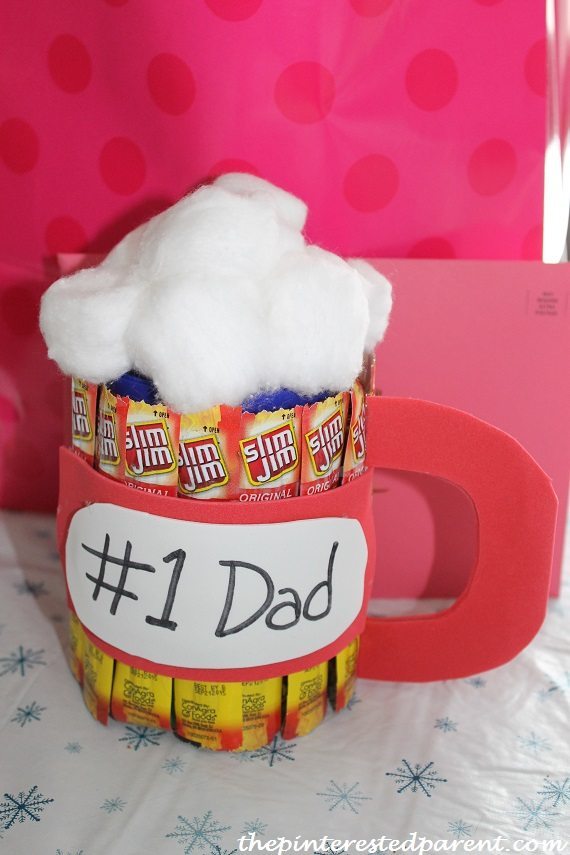
Slim Jims & Nuts Beer Mug
Tape two canisters of nuts together.

Tape a string of mini Slim Jims together so that they are even. I used 16 of them.

Wrap the Slim Jims around the outside of the canisters with the label facing the outside. Secure with a rubber band & then tape into place.


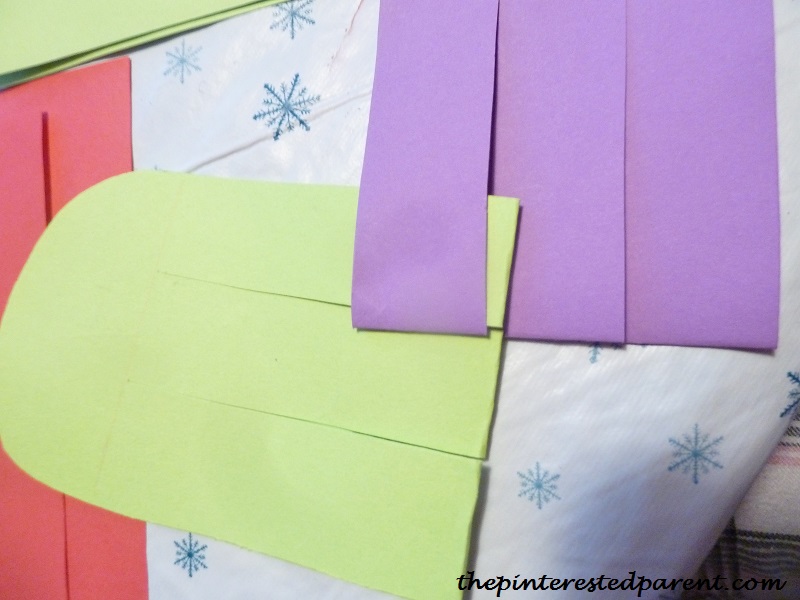
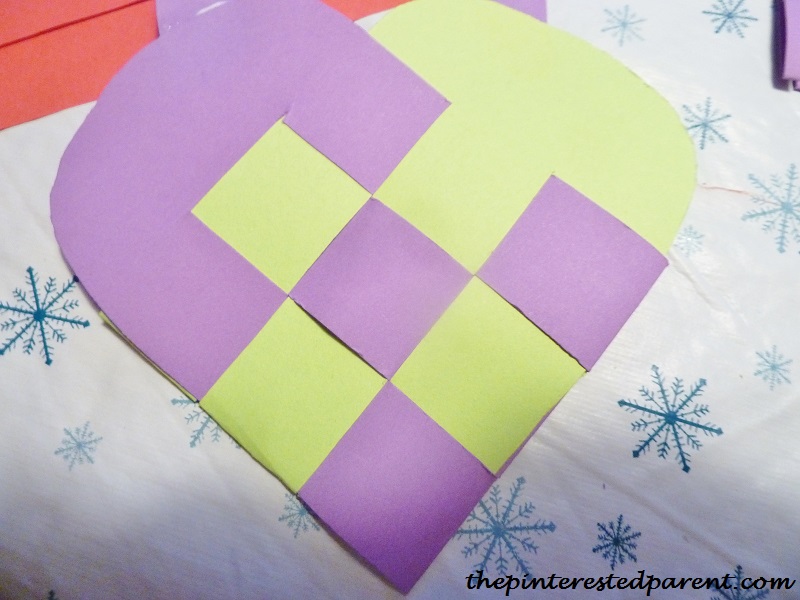
On a piece of construction paper, cut out an oval & write your message.

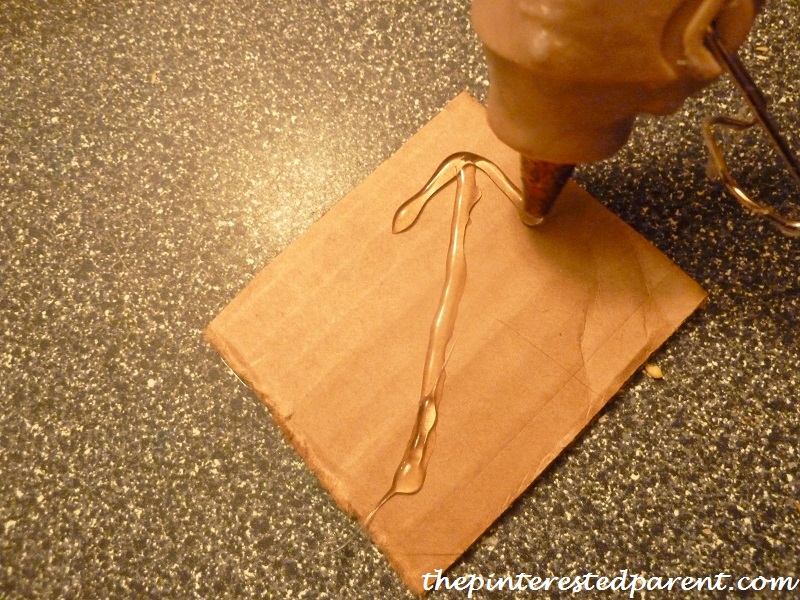
Mat it to another piece of construction. Dab the back edges of the paper with a glue gun & secure.

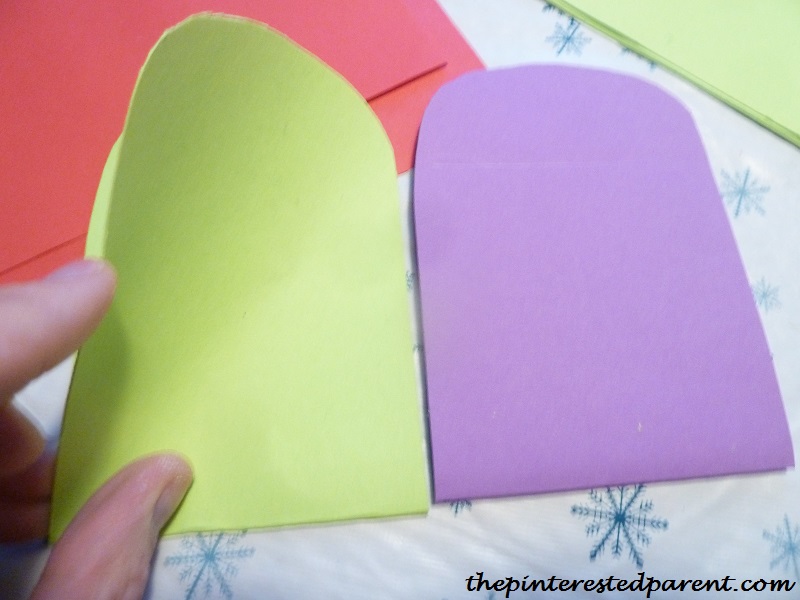
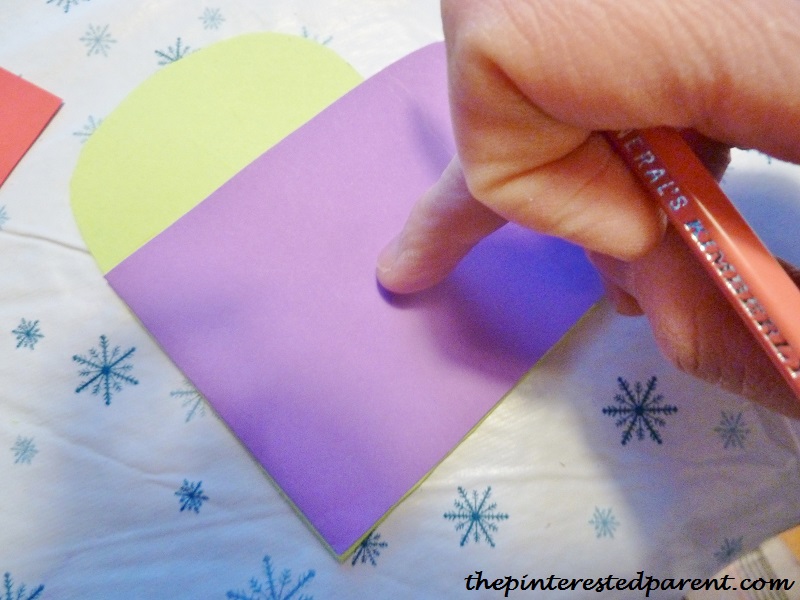
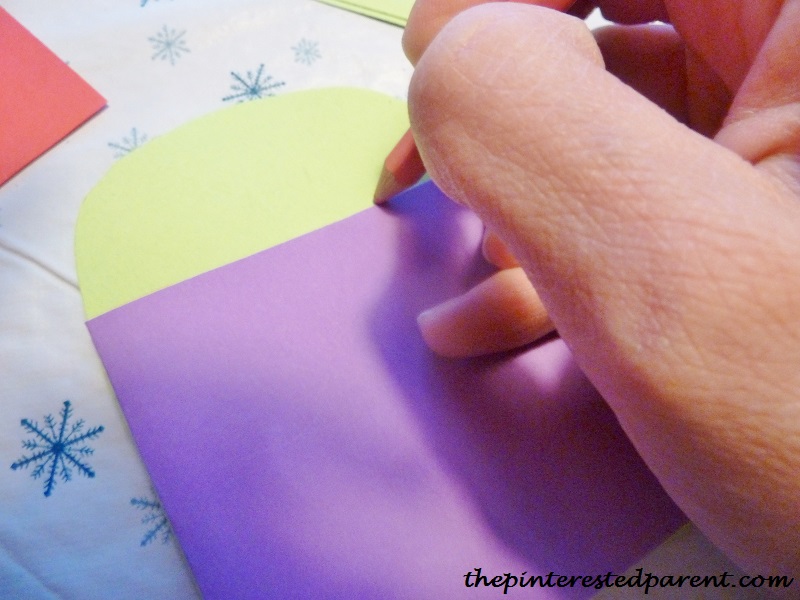
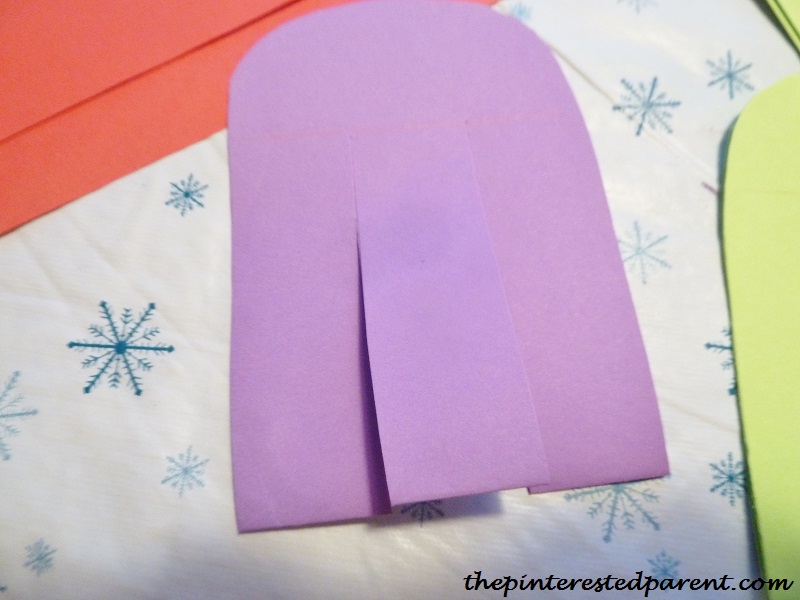
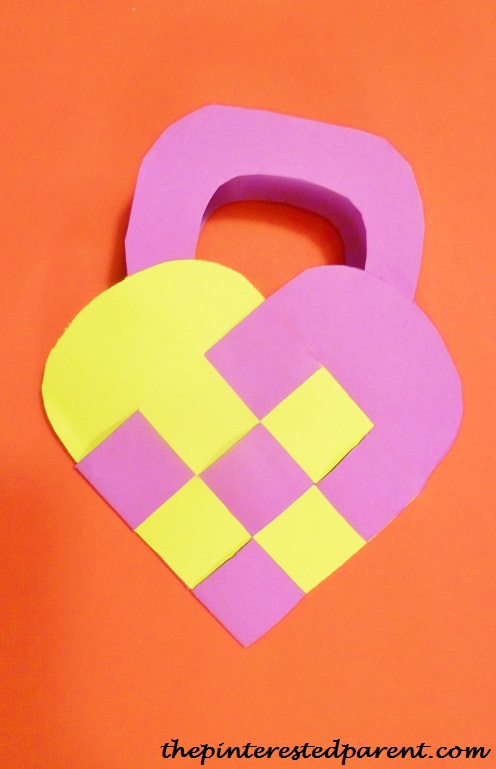
Cut out a handle shape . Bend the edge of the paper that will secure to the mug & lightly glue into place with a glue gun. Add cotton or tissue paper to the top for the foam.

Now on to to our link-up. Welcome to week 7 of the Sunday’s Best Link-Up.
Welcome to Week 7 of Mother 2 Mother’s Sunday’s Best Linkup. Each month we will feature a theme, this month the theme is Love Is In the Air. Smooches! Please share your favorite posts on anything or anyone that you love. This can be recipes, Valentine’s crafts, scrapbook layouts, how you met your husband or significant other, your children, how you spend Valentine’s Day etc. You decide.
Don’t have posts that fit into the theme, link up whatever post you would like to share. Anything goes here. You may link as many posts as you would like. Each week a post will be selected and featured the following week. An image from your post will be used on my blog the following week with a link back to your blog. Be sure to check back to see if you’re the Sunday’s Best featured blogger of the week.
Please meet my new co-host, Kim, and her beautiful daughter from Pinterested Parent. Kim shared a great post last week Pasta Love Bug Crafts. They are adorable and perfect for rainy or snowy day. Please check it out and connect with her.
Rhonda – Mother 2 Mother Kim – Pinterested Parent

If you are interested in co-hosting the next Sunday’s Best linkup, please contact me for details.
Get your post(s) ready for March. The theme is Spring Forward. We’re looking for spring crafts, Easter decorating ideas, Easter tablescapes, recipes, anything that you love to do in the spring and would like to share.
Here’s the rules, please connect with Kim and Me on social media before you leave or subscribe to our blogs :
Mother 2 Mother: Please like my Facebook Page, follow me on Twitter, Google+, Pinterest, BlogLovin or subscribe/join my blog on the right before you leave.
The Pinterested Parent: Please like Kim’s Facebook Page, follow her on Twitter, Google+, Pinterest, Bloglovin before you leave.
One last thing before we get the party started, please grab the Sunday’s Best button above and place it on your sidebar or Tweet the linkup using the hashtag #SundaysBest. I appreciate your help in promoting the linkup with Re-tweets and shares.
and
I selected Peanut Butter Hearts by – Dabbling Momma
All of the posts were great, and I appreciate each of you linking up. We honestly had a hard time making selections, and would like to invite all of you back to linkup your post again this week. While your’re here take a minute to visit these great blog and connect with Jessica and Susen. These ladies are quite crafty.
Now, lets link up those posts and be sure to visit a few other bloggers who have posted while you’re here. This is a great way to meet and connect with new bloggers. Be sure to PIN or share any posts that you like, we all appreciate a little love.


