
It has been a month now since Mai started daycare. As you all know, I was not exactly over the moon with the decision to put her in daycare, but now I couldn’t be happier. It is a pain waking up early to drop her off before work & I do still get that feeling of guilt at leaving her there, but I have seen such a wonderful change in her over these past few weeks. She comes home with great stories about her new friends & the fun things that they do together. It warms my heart to hear her talk about her day with such excitement.
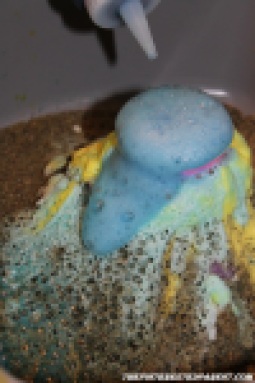
The other day when my husband arrived to pick her up, they were outside making baking soda volcanoes. Hubby had a difficult time getting her to leave her fun activity. When they came home, they both wanted to share with me how much fun Mai & friends had playing with the volcanoes. My husband told me that it was just a simple activity using baking soda & vinegar. He said that he used to do this a lot as a child. Perhaps I lived a very sheltered childhood, but I had never heard of such a thing. I have seen many things on Pinterest for different science experiments that caused eruptions, but never actually looked at how they were made. Had I realized it was so simple I would have tried these ages ago. Thank you Miss Laura, you gave us a wonderful activity to try at home.
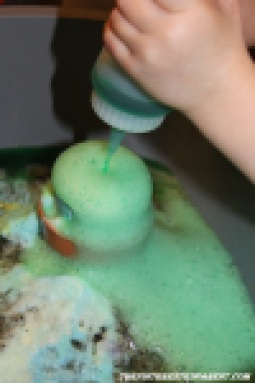
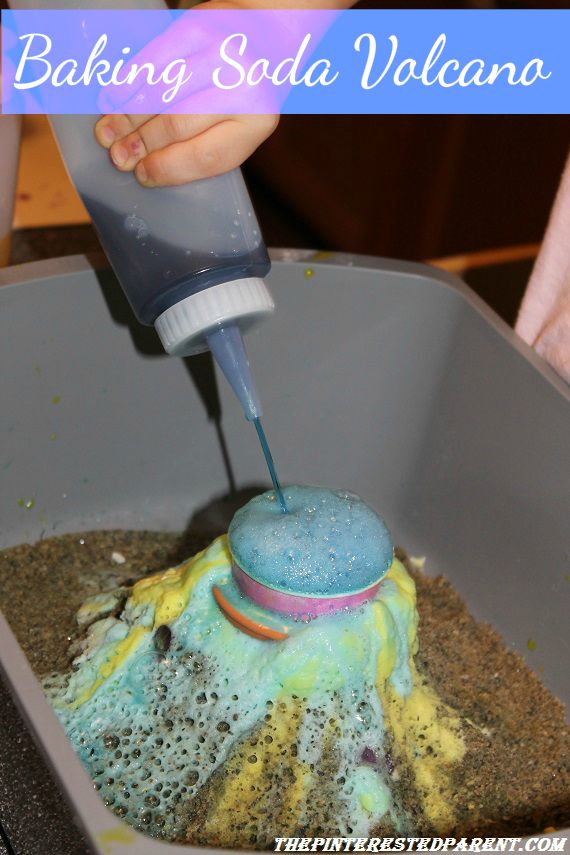
Baking Soda Volcanoes
What you will need:
Baking soda
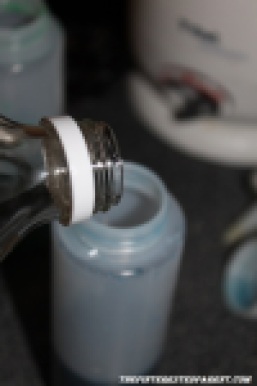
Vinegar
Food coloring
Squeeze bottles
Small receptacle or cup- we used a mini flower pot & a Dixie cup
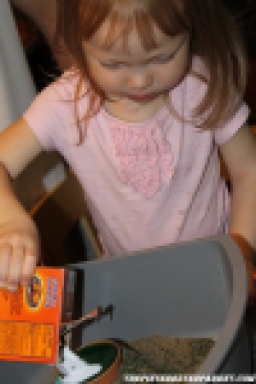
Plastic dish bin
Play Sand (optional)
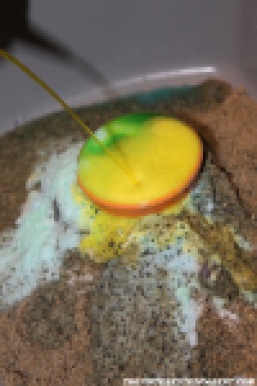
Place your small receptacle in the center of the plastic dish bin. We used a mini flower pot & also a Dixie cup. Surround it with sand to give it a more volcanic look. Add baking soda to your center container. In a squeeze bottle or bottles, mix vinegar & food coloring. Squeeze the colored vinegar mixture over the baking soda & watch it erupt.


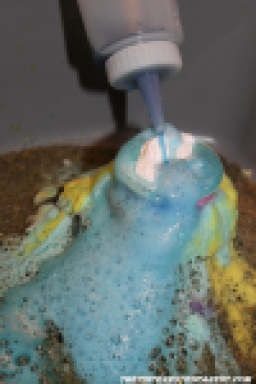
If you can’t tell, our daughter loved this. We went through a whole bottle of vinegar & box of baking soda. When we were done, she said, “Mama, Dada go to store to buy more food coloring?”. I guess we have to hit the supermarket for more supplies.


