
Yarn wrapped crafts have always been a favorite of ours. We have made yarn wrapped hearts, dolls and even bumble bees, but nothing has ever seemed quite as fitting to be wrapped in yarn than these winter hats. These yarn wrapped winter hats are a cute, colorful and a wonderful craft and activity to exercise those fine motor skills.
Tag
hat
Yarn Wrapped Cat in the Hat Hat
If you are a Dr. Seuss fan like we are, you may be looking for a fun and easy craft to celebrate his upcoming birthday. When you think of Dr. Seuss, what is the first thing that you usually think of. I almost always immediately think of the Cat in the Hat.

*This post contains affiliate links*
My daughter loves that mischievous cat and all thing Dr. Seuss, so I thought that this simple yarn wrapped Cat in the Hat inspired hat would be perfect.
Paint & Stack Dr. Seuss Egg Carton Hat

In celebration of Dr. Seuss’ upcoming birthday, Mai and wanted to make a craft inspired by the great children’s author. We had about a dozen old empty egg cartons piling up in our craft room. We decided to put them to good use with this simple craft & activity inspired by the iconic Cat in the Hat hat.
All you will need for this craft is an old egg carton or more depending on how high of a stacking hat you want to make, red & white paint, a piece of white foam board or cardboard & glue.
I cut the sections of egg carton & then my daughter and I painted the 12 sections together in the red & white and then we let them dry.


When one of the red sections dries, glue it to a piece of foam or cardboard cut into a circle a bit larger than the egg carton. This will be the base of your hat.

Once the rest of your pieces are dry, you can stack your hat in the red, white, red pattern. Mai was so eager to stack them, that she grabbed them before they dried, so the paint smeared a bit, but it did not bother her anything. When she finished stacking her hat, she asked for more to stack. She wanted a “reaaaally big hat” she told me. Tomorrow we will paint more to add to our stack.


Thank you as always for stopping by. Please follow us on Facebook as well.
New Year’s Eve Paper Plate Celebration Clock
We have been working on teaching Mai time lately. She has recently learned her months and weeks and now we have been working on the hours in a day. A couple of weeks ago we made pendulum clocks. They were a lot of fun to make together and they have been a fun way to teach her how to tell time. With New Year’s coming up next week, time is on the mind still, so we decided to make clocks again. This time our clocks are ready to party.

Paper Plate Witch Hat

*This post contains affiliate links”
Ever since my daughter made the announcement that this year she was going to be a princess witch for Halloween, she has been talking about all things witch.
“Mama, I need a witch broom.”
“Mama, you need to be a mama witch.”
“Mama, I need a witch hat.”
While we already purchased her witch costume, I thought it would still be fun for us to make a witch hat.
Paper Plate Witch Hat
Paper plate
Paper bowl
Black & yellow construction paper
Black paint
Purple ribbon
Glue (School & hot glue)
Directions:
As with all of our paper plate hats in the past, we began this one with a paper plate with the center cut out & a paper bowl.

Place the paper plate over the bowl & glue them together.

Paint the paper plate portion. My daughter opted to paint the whole thing. When you are done, let it dry.

While it dries, form the cone for your hat. Leave a small opening at the tip of your cone.

Roll up a narrow strip of paper, about 8″ long, into a skinny cone & glue, tape of staple in place.

Push the skinny cone through the hole at the top of the bigger cone.

Allow about 6″ to poke out at the top. Squeeze a glue gun into & around the edge of opening to glue the smaller cone into the larger one. (Use caution when using a glue gun. Adult operation is recommended.)

Glue the cone over the top of the bowl & bend the tip of the thin part of the cone.

Glue a ribbon around the hat where the cone & the paper plate meet. Glue it in two sections to prevent bunching.

Cut a yellow square & cut out a smaller square in the middle to form a buckle. Glue it to the ribbon. Cover the seam from the two sections of ribbon.

Squeeze glue all over the hat & sprinkle glitter onto the glue. Let dry & enjoy.

Thank you as always for stopping by. Please follow us on Facebook as well
Paper Plate Straw Scarecrow Hat

Like many toddlers, my daughter loves to play dress up. She has a fantastic imagination & she likes to use it. She will put herself into character & really commit to it. We love to make crafts to encourage her love for role play. We make paper plate masks often & another paper plate favorite of ours is hats. With the fall around the corner, we did a fall-themed scarecrow hat.
Paper Plate Straw Scarecrow Hat
What you will need:
Paper plate
Paper bowl
Paint
Scrap paper
School glue
Hot glue gun (as always use caution when operating a glue gun. It is recommended that adults operate the gun)
Directions:
Cut out the center of a paper plate.

Use the hot glue gun to glue the bowl into the middle of the plate.

Paint the body of your hat & let it dry.

Cut skinny strips of construction paper for your straw. Glue them around your hat on the paper plate.


Rip off a couple of pieces of construction paper to make patches for your hat. Draw in simple designs like checks or polka dots.

Glue the patches onto the bowl. Let the glue dry.

When it is dry, it is ready for your head or even your stuffed Teddy’s head.


Thank you as always for stopping by. Please follow us on Facebook as well
Mini Uncle Sam Dixie Cup Hats

The Fourth Of July is just a few weeks away. It is time to break out our red, white & blue paints & paper and begin our patriotic crafting. We decided to make Uncle Sam hats today. I told Mai a brief story about The 4th of July & showed her a picture of Uncle Sam with his hat.
Mai is still operating with one hand, but still wanted to try to paint a little.
What you will need:
Dixie cups
Acrylic paint
Construction paper or foam
Elmers glue or Hot glue (adults operate)
Directions:
Paint the Dixie cups in white & let them dry.

Paint red stripes vertically over the white.

Cut a thin blue strip of paper for the hat band & paint in white stars across the strip.

Cut a red circle for the brim. Glue the cup to the center of the circle.

Glue the blue band around the cup over the brim. Let the glue dry & display your patriotism around the house or classroom.

Thank you as always for stopping by. Please follow us on Facebook as well.
The Princess Phase Has Hit & So Have The Princess Crafts

It has been building for a while. I knew it was coming. It was inevitable. After almost 3 years of living under the same roof with Elsa, Cinderella, Rapunzel & my personal favorite Merida, my daughter has become a princess. She tells me all the time. “Mama, I a princess.” Tutu skirts must be worn every day. She even puts them on over her sweats when she goes to gymnastics. She loves Elsa just like all little girls these days, but still her favorite princess is Rapunzel. Rapunzel towers are built out of Legos, blocks, Play-Doh containers & just about anything else that is stackable. I have a collection of paper towel tubes saved up for crafting. Mai will get into them sometimes. She likes to use them as robot arms. Today, she grabbed them. She stuck one in a Dixie cup & said “Look mama, I made Punzel’s tower.” That sounds like a great idea.
Princess Castle Craft
What you will need:
Paper towel rolls
Dixie bathroom cups
Tissue paper box
Paint
Pipe cleaner
Construction Paper
Optional: Glitter, gems or other embellishments
Directions:
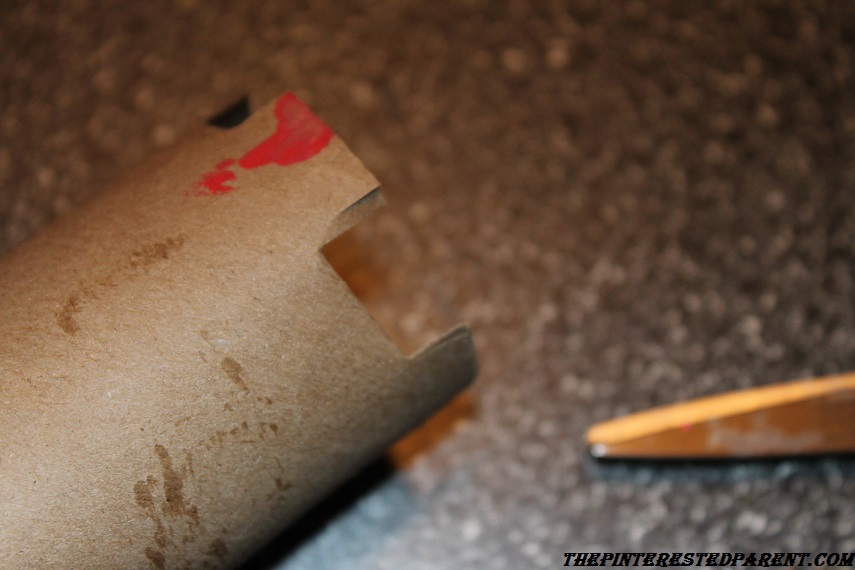
Cut out castle tops around the top of paper towel rolls & cut out windows. Cut rolls into different lengths to add different sized towers.

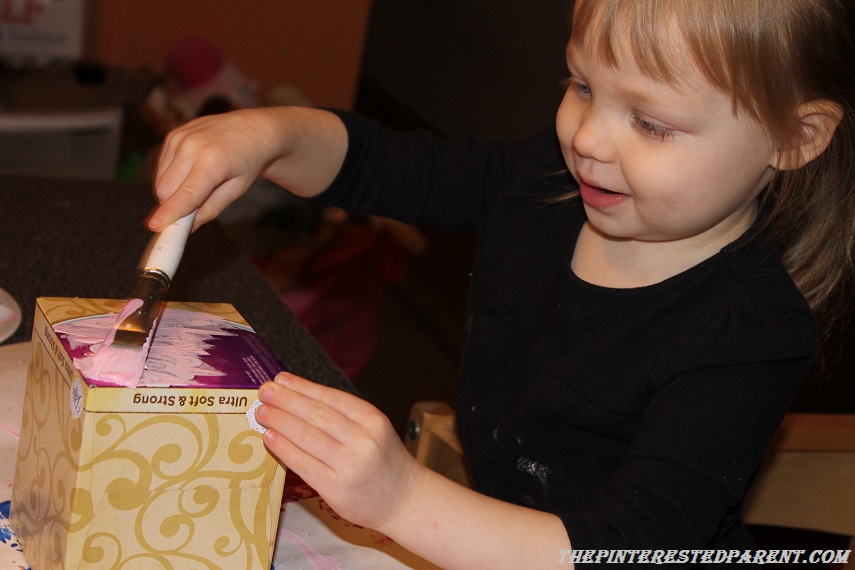
Stick the bottom end of a Dixie cup into the bottom of the uncut end of your tube. This will give it balance. Paint your towers in whatever colors you choose. For Mai, it had to be pink. She is getting really good at painting every inch of her projects.


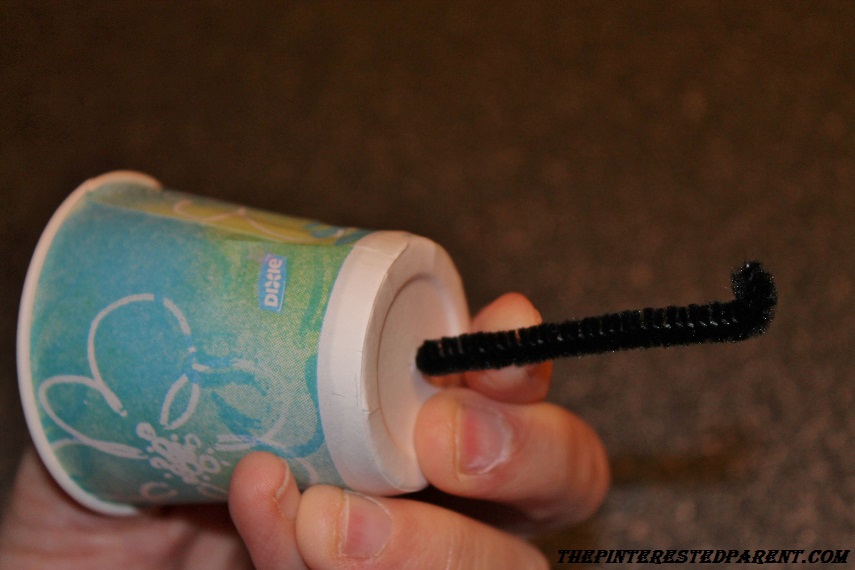
Cut out a door on your tissue box & also paint. Stick a pipe cleaner into one Dixie cup. You will use this pipe cleaner to attach a construction paper flag to later. Paint the cup.
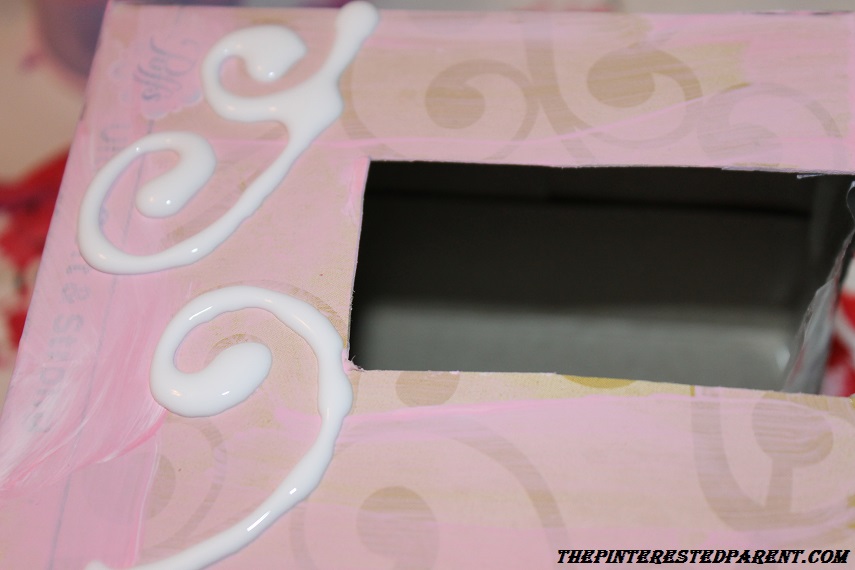
Add designs in glue & then sprinkle with glitter. Add gemstones or other embellishments of your choosing. Let dry & shake off excess glitter.

You can make your castle as small or large as you like. Get creative & have fun.

Our princess has her castle, now she needs to look the part.
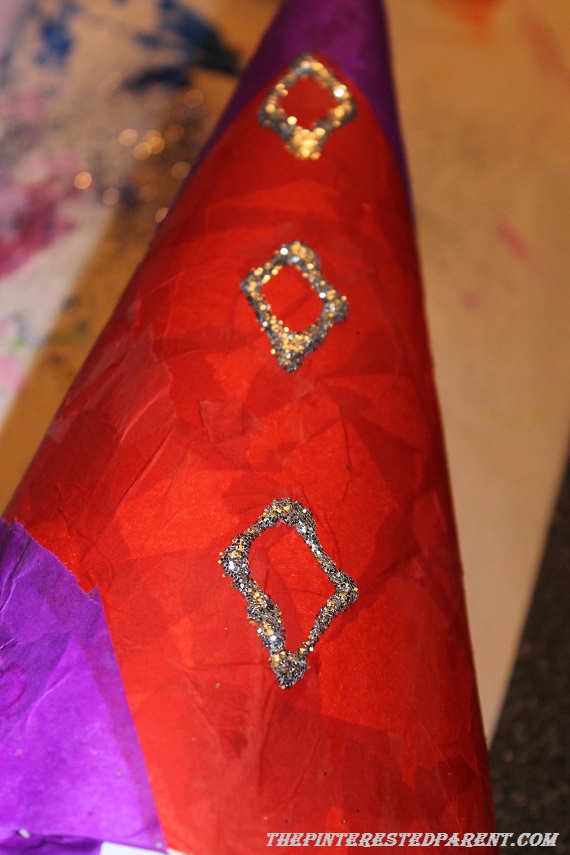
Paper Princess Hat
What you will need:
Poster board
Glue
A few drops of water
Tape or staples
Tissue paper
Ribbon
Optional: glitter & gems
Directions: Cut out two pieces in a fan shape. Size will depend on the size of your child’s head & how high you want your hat. The pointed side will be the top. Overlap the two pieces facing each other until they form a cone. Leave a small opening at the top of your cone. If you have something conical, use it as a template to wrap around. Tape, glue or staple your hat into place once you have it positioned the way that you want it.


Rip up colored tissue paper. Mix up school glue with a few drops of water. With a paintbrush paint on glue in patches & place & overlap the tissue papers.


Overlap with tissue all the way around until the entire hat is covered. Let dry. Draw designs with glue & then shake on glitter. When glue dries, shake off the excess glitter.


Add ribbon pieces to the opening at the top of the hat. Glue, tape or staple your hat into place. We used a hot glue gun for our ribbon.
