Tag

mask

Year Of The Monkey Paper Plate Craft

Chinese New Year, Year of the monkey paper plate mask craft for kids

*This link contains affiliate links*

I am half Vietnamese. When our daughter was born, it was important to me that to be able to teach her a little bit about that part of her culture.

IMG_3322

That is why I love family gatherings & holidays with my family. She gets to enjoy the food, listen to the language & observe the traditions. Next month, we will celebrate the Lunar New Year. We will welcome in the year of the monkey.

If you are born in the Year of The Monkey, you’re said to possess characteristics such as curiosity, cleverness, and mischievousness. You are also considered to be a bit of a practical joker.

To learn more about the Chinese zodiac animals, check out Chinese Zodiac Animals.

61izE2Zt6pL._SX258_BO1,204,203,200_

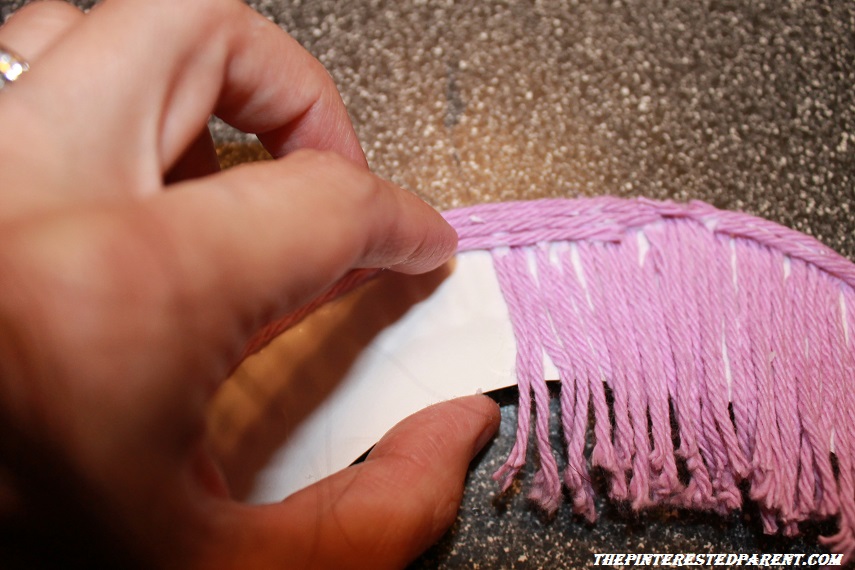
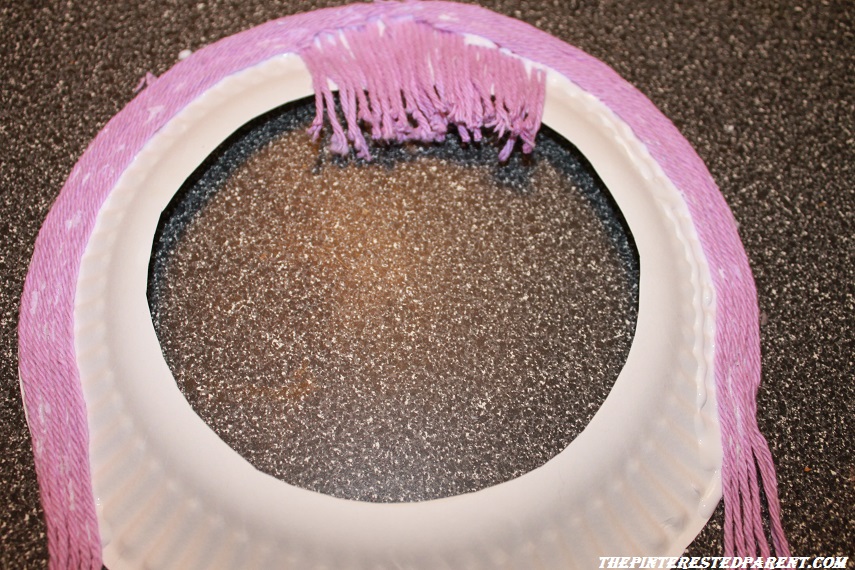
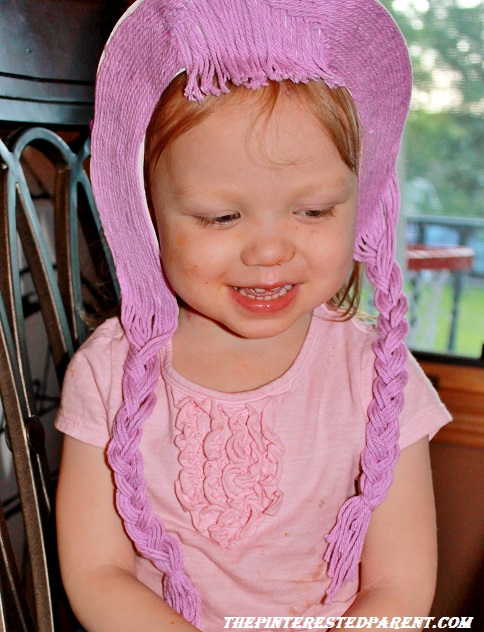
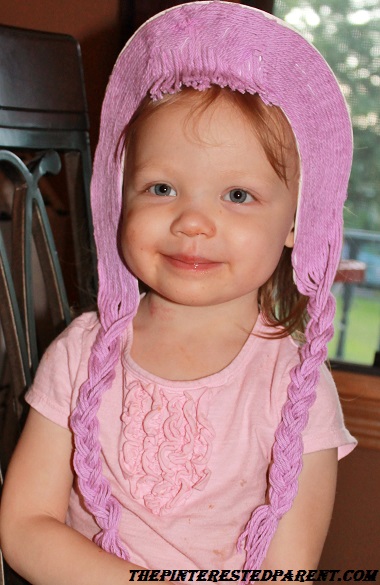
Since we love paper plate masks, we decided to add another to our collection.

Paper Plate Year of the Monkey Mask

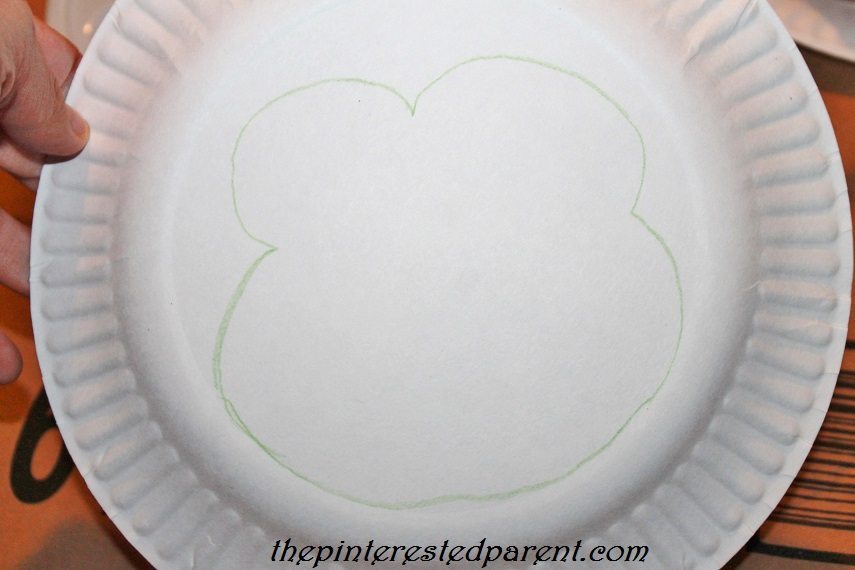
Sketch out the shape of your monkey’s face.

IMG_3329

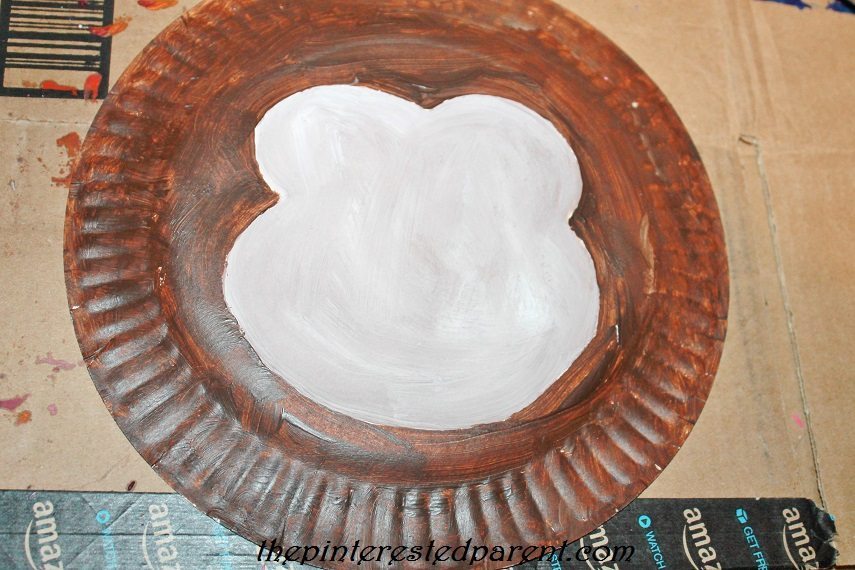
Paint inside the shape with a light brown and paint outside the shape in dark brown & let dry.

IMG_3340

When the paint is dried, cut ears out of construction paper, glue the ears and googly eyes onto your plate. Draw in your nose & mouth. Glue a Popsicle stick to the bottom of your mask.

Paper Plate Monkey Mask craft for kids

We added a few festive embellishments to our monkey using a silver marker.

Chinese New Year, Year of the monkey paper plate mask craft for kids

Mai began her monkey the same as me, but then decided that my monkey needed food instead and painted a plate of bananas with Nutella.  The monkey was grateful.

IMG_3330IMG_3331

IMG_3361

Thank you as always for stopping by. Please follow us on Facebook as well.


Paper Plate Rudolph & Friends Inspired Masks

Paper Plate Rudolph & friends character masks - Christmas Crafts for the kids

*This post contains affiliate links*

This holiday season with our daughter has been a fun one. She has a greater appreciation and understanding of the holidays this year & all the magic and wonder in her eyes make my heart smile. This is the first year of her watching the Christmas classics with us. She has enjoyed each and every one. Rudolph the Red Nose Reindeer was on the other day. At first it frightened her because of the Abominable Snowman, but once we explained that he was nice, she loved him.

Continue Reading…

Paper Plate Team Umizoomi Masks

Paper Plate Team Umizoomi Character Masks - Milli & Geo

I love doing daily crafts with my daughter. It is fun to see what she can do & to come up with new ideas together. There are days when I can’t think of anything. I get a sort of crafter’s block. Luckily for me, when I can’t think of anything, my daughter weighs in her own ideas. Last night she wanted to make Umizoomi crafts. We were going to make egg carton Umizoomi characters, but as it turned out, we had use up all of our egg cartons. We decided to make paper plate masks instead.

Paper Plate Team Umizoomi Milli & Geo Masks

What you will need:

Paper Plates

Paint (red, blue ,pink, peach, yellow & white)

Red foam

Sharpie

Glue

Craft Sticks

Directions:

Lightly draw a circle on the bottom of your paper plate as shown.

IMG_6477

Paint within the circle with the peach paint & let it dry.

IMG_6482

Paint a yellow outline around the peach.

IMG_6483

Paint the rest of the plate in blue to form Geo & then in pink on another plate to form Milli.

IMG_6484

Paint in the hair & eyebrows on both characters. Use a sharpie to draw in the eyes & mouth. Add in a little tongue & cheeks for Milli. Dab a bit of white into the eyes.

IMG_6487 IMG_6490

IMG_6488  IMG_6489

Glue two craft sticks together & then glue both sticks to the back of the plate to form your mask handle.

IMG_6492 IMG_6493

Meet Milli

Team Umizoomi Milli Paper plate mask

…And Geo

Team Umizoomi Geo Paper Plate mask

IMG_6506

Thank you as always for stopping by. Please follow us on Facebook as well.

Hello Kitty Paper Plate Mask

IMG_3168

My daughter loves Hello Kitty. I love that it is such a simple character to make. She watched Hello Kitty tonight while I made dinner.  In between steps, I made her a little surprise. It took about 5 minutes & left a smile on my daughter’s face.

Cut shapes out of construction paper for the kitty.

IMG_3163

Glue all of the pieces to the paper plate.

IMG_3164

Glue two craft sticks to the back of the plate to make your mask handle.

IMG_3165

Voila!

IMG_3170

Thank you as always for stopping by. Please follow us on Facebook as well.

Paper Plate Wig Masks

IMG_34041My daughter loves to pretend play. She has a vivid imagination & it is fun watching her explore her world of make believe. She loves to play baker and bake us beautiful cakes. She will take the little cherries out of he Hi Ho Cherry-o game and decorate her stacking cups with them and make tiered cakes. Last week when I didn’t feel good she made me a bowl of chicken soup complete with ABC magnets & a plastic drumstick. Delicious!

One of her favorite cartoons is Sheriff Callie. She has a cowboy hat that she wears & a pink hamper that she calls Sparky her horse. Giddy Up Sparky.

IMG_2548

She loves wearing dresses & twirling around & saying “Look Mama, I look like a princess.” Yes you do.

With her growing interest with the world of dress up & make believe, I thought we could have a little dress up fun.

Paper Plate Wig Mask.

What you will need:

Paper plates

Yarn

Glue

Pipe cleaner or string

Scissors

Directions:

Cut a whole out of two paper plates following the line of the first inside circle in the plate.
Cut a hole out of two paper plates following the line of the first inside circle in the plate.
Glue the two paper plates together for a sturdier mask base.
Measure out how long you want your bangs to be & cut a piece of yarn at the desired length.
Measure out and cut several more pieces of this length.
Glue the bang pieces into place. Do not worry about them lining up perfectly, you can trim them later.
Trim along top and cut until flush along the curve of the plate.
After you have placed your bangs, add a strand of yarn on the out edge of the plate following the curve of the plate about a 1/4 of the way down & then let the yarn hang straight down & cut to desired length,
After you have placed your bangs, add a strand of yarn on the outer edge of the plate following the curve of the plate about a 1/4 of the way around & then let the yarn hang straight down & cut to desired length.
Add another piece of yarn  right up against the other following the same pattern. Do this until you have worked your way to the inner edge & then switch sides & repeat.
Add another piece of yarn right up against the other following the same pattern. Do this until you have worked your way to the inner edge & then switch sides & repeat.
Continue  until both sides are finished.
Continue until both sides are finished. Trim the uncovered portion of the plate.
Insert a pipe cleaner or string between the two plates or to the the back of the plates to create the backing to your mask.

IMG_3409 IMG_3407

And for the boys…

IMG_3416
Cut out a half circle within your paper plate.
Sketch out & cut a mustache shape.
Start with one side of your mustache, laying down strand by strand similar to above.
IMG_3421
Working from the top end of one side of your mustache work to the edge of the plate and follow downward along the curve of the circle until you meet the opposite side of the mustache.
My big kid enjoyed his mask too.

IMG_3424