Tag

melting

Melted Crayon Hearts

Melted Crayon Hearts. This art & craft for kids is perfect for Valentine's Day

*This post contains affiliate links*

My daughter received a new book from her cousins on Christmas. It has since been promoted to her favorite book.

51HoHYJv6TL._SX258_BO1,204,203,200_

The Day The Crayons Quit‘ is a funny book about a group of frustrated crayons that air their grievances to their owner with individual letters to him. In only a short couple of weeks, my daughter has memorized the book from cover to cover. We read it every day, sometime multiple times a day. It made me realize how neglected her own crayons have been. Mai is much more interested in paint & markers these days, but I had a project that I thought might change her mind.

Melted Crayon Hearts

This is a messy project. Lay down paper or a drop cloth for easier clean up.

We started with a piece of cardboard.  I cut the cardboard into heart shapes & used a paper hole punch to poke a hole in the hearts to be able to add ribbon or string to later.

IMG_3389

We grabbed any unwrapped crayons that we had in our collection to start. We tried a number of different methods to achieve our final projects. We started by holding the crayon on the cardboard & using the blow dryer on a low-speed, high heat setting. Mai needed assistance with this because our dryer to too heavy for her to hold with one hand. I held the hair dryer for her as she worked the crayon around. *Operate caution as hair dryers can get very hot on the skin*

IMG_3391

Next we cut small chunks of crayon and laid them a couple of pieces at a time on the heart. I let Mai operate the hair dryer using 2 hands. This created a different effect as the melted crayon ran on its own pattern. I would suggest putting your project into a box or something contained if using small pieces as they do blow around a bit.

IMG_3395

My daughter came up with another idea as well. She grabbed a paint brush and pushed around her melted crayon and painted it on. The crayons cooled quickly, so she had to use the dryer often.

IMG_3397

When the crayon cooled & dried, we wrapped a ribbon through the holes.

Melted Crayon Hearts - process art & crafts for kids

This was a fun project. Mai loved watching the crayons melt. When the crayons got shiny, she knew that they were melting and that she could use them. “Mama, it melts just like an ice cube.” When we finished, she even asked if we could melt more crayons tomorrow.

Thank you as always for stopping by. Please follow us on Facebook as well.

Melted Crayon Hearts for Valentine's Day - process art for kids

It’s A Marshmallow World – Marshmallow crafting & cooking

MarshmallowCrafts.jpg

Let the Christmas crafting continue. Last week we made Christmas themed Rice Krispies treats. I needed marshmallows for making these. They were luckily on sale at the grocery store that day & I bought far more marshmallow than any household needs.

While making our treats, I noticed that Mai really enjoyed playing with them. We had enough of them, so let’s play.

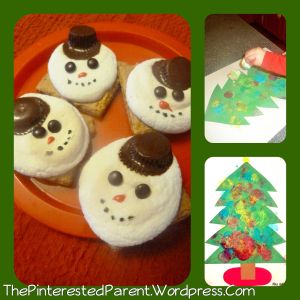
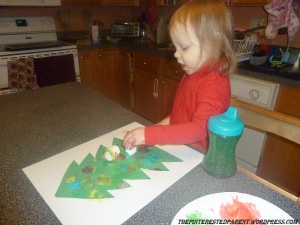
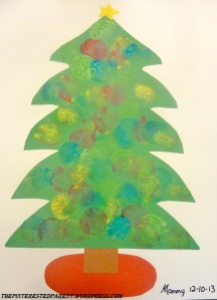
Today, it was Mai & Mommy’s marshmallow crafting day. Lately, Mai has been doing a lot of painting. She asks me almost every day. Today would be no different. “Paint, mama! Paint! Paint!”. Painting it is! We could use the marshmallows to paint with, ala pointillism style. My thoughts were to cut out a Christmas tree & then use the marshmallows to dot on the ornaments with paint.

Here is what you will need..

Construction paper- green, yellow, white, red & brown

Marshmallows

Non Toxic Paint -I whipped up our usual batch of Cool Whip paints           http://thepinterestedparent.wordpress.com/2013/11/01/cool-whip-finger-painting-more-messy-play/

Glue Stick

Scissors

Directions:

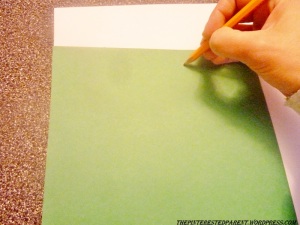
Draw the outline of the Christmas tree.

0171

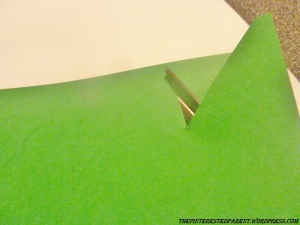
Cut out around the outline of the tree.

0181

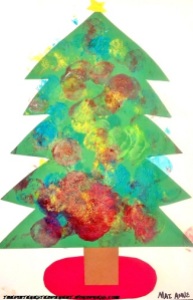
Cut out a rectangle for the stump, an oval for tree skirt & a star for the top of the tree.

0241

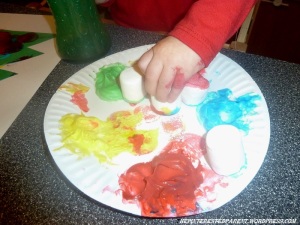
Loosely tape tree to a scrap piece of paper temporarily & then show your child how to use the marshmallow to stamp on the paint.

0221

Let your toddler paint their masterpiece.

0471 0381 0411 0401

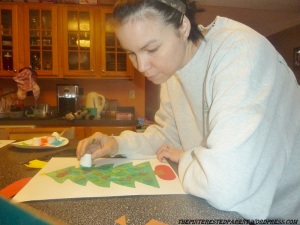
Mommy wants to join in on the fun too.

0291 0311

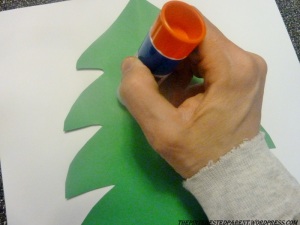
After finishing your tree, let it dry & glue to a fresh piece of construction paper, with the stump, tree skirt & star.

0281

Mai’s finished artwork.                                              Mommy’s too.

IMG_20131210_113624_027                       0351

I had as much fun with this as she did. This was a fun & easy project for any age.

The marshmallow fun didn’t stop there. We needed a sweet treat after all that painting.

Peanut Butter Melting Snowman Smores

Ingredients:

Marshmallows

Graham crackers

Peanut butter

Peanut butter cup minis

M&M minis

Writing icing

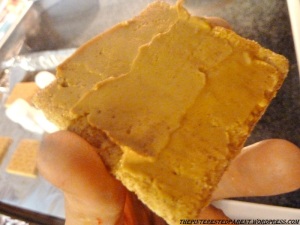
Directions: Preheat oven to 350. Break graham crackers into double square squares. Spread a thin layer of peanut butter on to the cracker. Place one marshmallow on each square. Place in the oven. Bake until marshmallow is almost melted. Do not let burn. Remove from the oven & lightly flatten the marshmallow with a spatula. Let cool for about 2 minutes. Place a peanut butter cup on the still warm marshmallow, where you would like your hat to be. It will melt slightly. Put in the fridge for a few minutes to let the hat cool & set. Remove from the fridge & add two chocolate M&M mini for eyes. Use orange writing icing to make a carrot nose & use black or brown icing to dot on the mouth. Let cool & enjoy.

0491

0531

0541

0611

0651

0691 0711

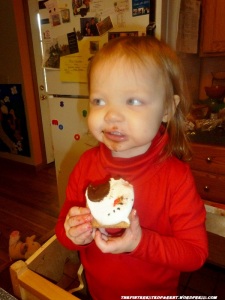
These are delicious. The peanut butter offers a wonderful twist. I know someone that agrees.

0891

Up next: Meet Our Daughter, The Parrot.

Related Topics:

http://glitterbatterandothermatters.com/2013/12/10/smores-dip/

http://stamchocolate.wordpress.com/2013/12/10/bar-in-a-jar/

http://thecraftycultivator.wordpress.com/2013/12/09/gingerbread-marshmallows/

http://zouptonuts.wordpress.com/2013/12/08/baked-smores-not-just-for-the-campfire/

Marshmallows.jpg