Tag
pasta
Pasta Shell Fish Craft

I am beginning to think that there is nothing that cannot be made out of pasta shells. Because my daughter loves working with them just as much as I do, we are back with another round of pasta crafts. Tonight, our craft of choice is fish.
What you will need:
Jumbo pasta shells
Medium pasta shells
Bowtie pasta
Chick peas
Acrylic paint
Glue gun (use caution when operating a glue gun. Not recommended for small children.)
Directions:
To assemble your fish, glue a medium pasta shell into the end of the jumbo shell.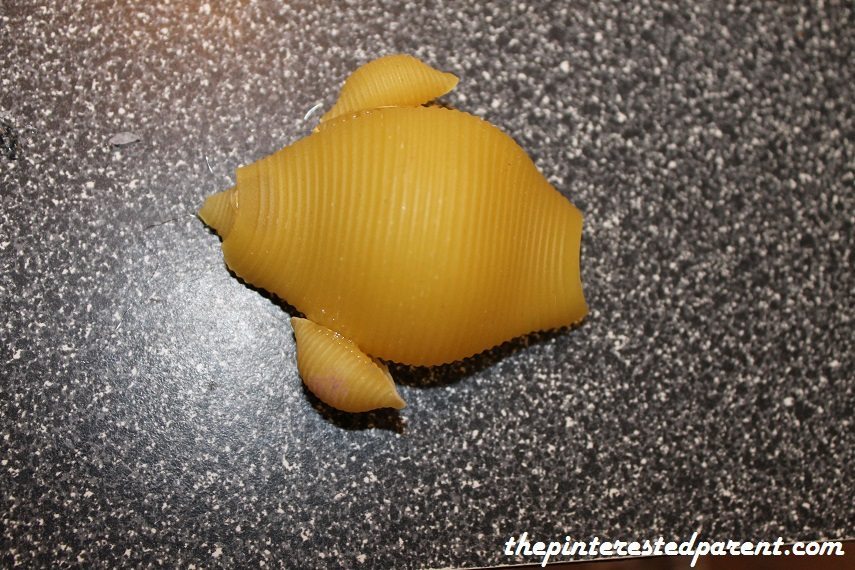
Glue 2 more medium shells to the side of the jumbo shell to form fins.
Glue a piece of bowtie pasta to the other end of the jumbo shell to form the back fin.
Paint your fish with acrylic paints.
Paint a chick pea in white for each fish that you are creating.

Add a black dot in the center for the eye ball.

Glue the eyes to the painted fish to finish off the craft.
Thank you as always for stopping by. Please follow us on Facebook as well.
Pasta Shell Snails

Our daughter is becoming quite the artist. She has been drawing & painting up a storm. One of her favorite things to draw is a snail. She loves to draw them. She makes a swirling circle for a body, antennae with eyes & she never forgets to add his snail slime.

We have been making a lot of crafts lately to celebrate her new found love for the snail. Tonight we used mommy’s favorite crafting material, pasta shells.
What you will need:
Jumbo pasta shells
Ziti for the antennae
Elbow macaroni for the tail
A medium sized shell for the head
Chick peas for the eyes
Glue gun
Acrylic paint
You may choose to paint the pieces first or assemble the pieces & then paint. We typically paint first. Tonight we did both.

To assemble, start by gluing the small shell into the larger one.
Glue 2 pieces of ziti on top of the jumbo shell. Hold into place until the glue hardens.

Glue the elbow macaroni to the empty end of the shell so that the macaroni is pointing up.
Paint the chickpeas white with a black center for the eyes. Glue to the top of the ziti.
Paint swirls on the side of the snail bodies in a different color to complete your creatures.
Thank you as always for stopping by. Please follow us on Facebook as well.
Pasta Baby Bundles
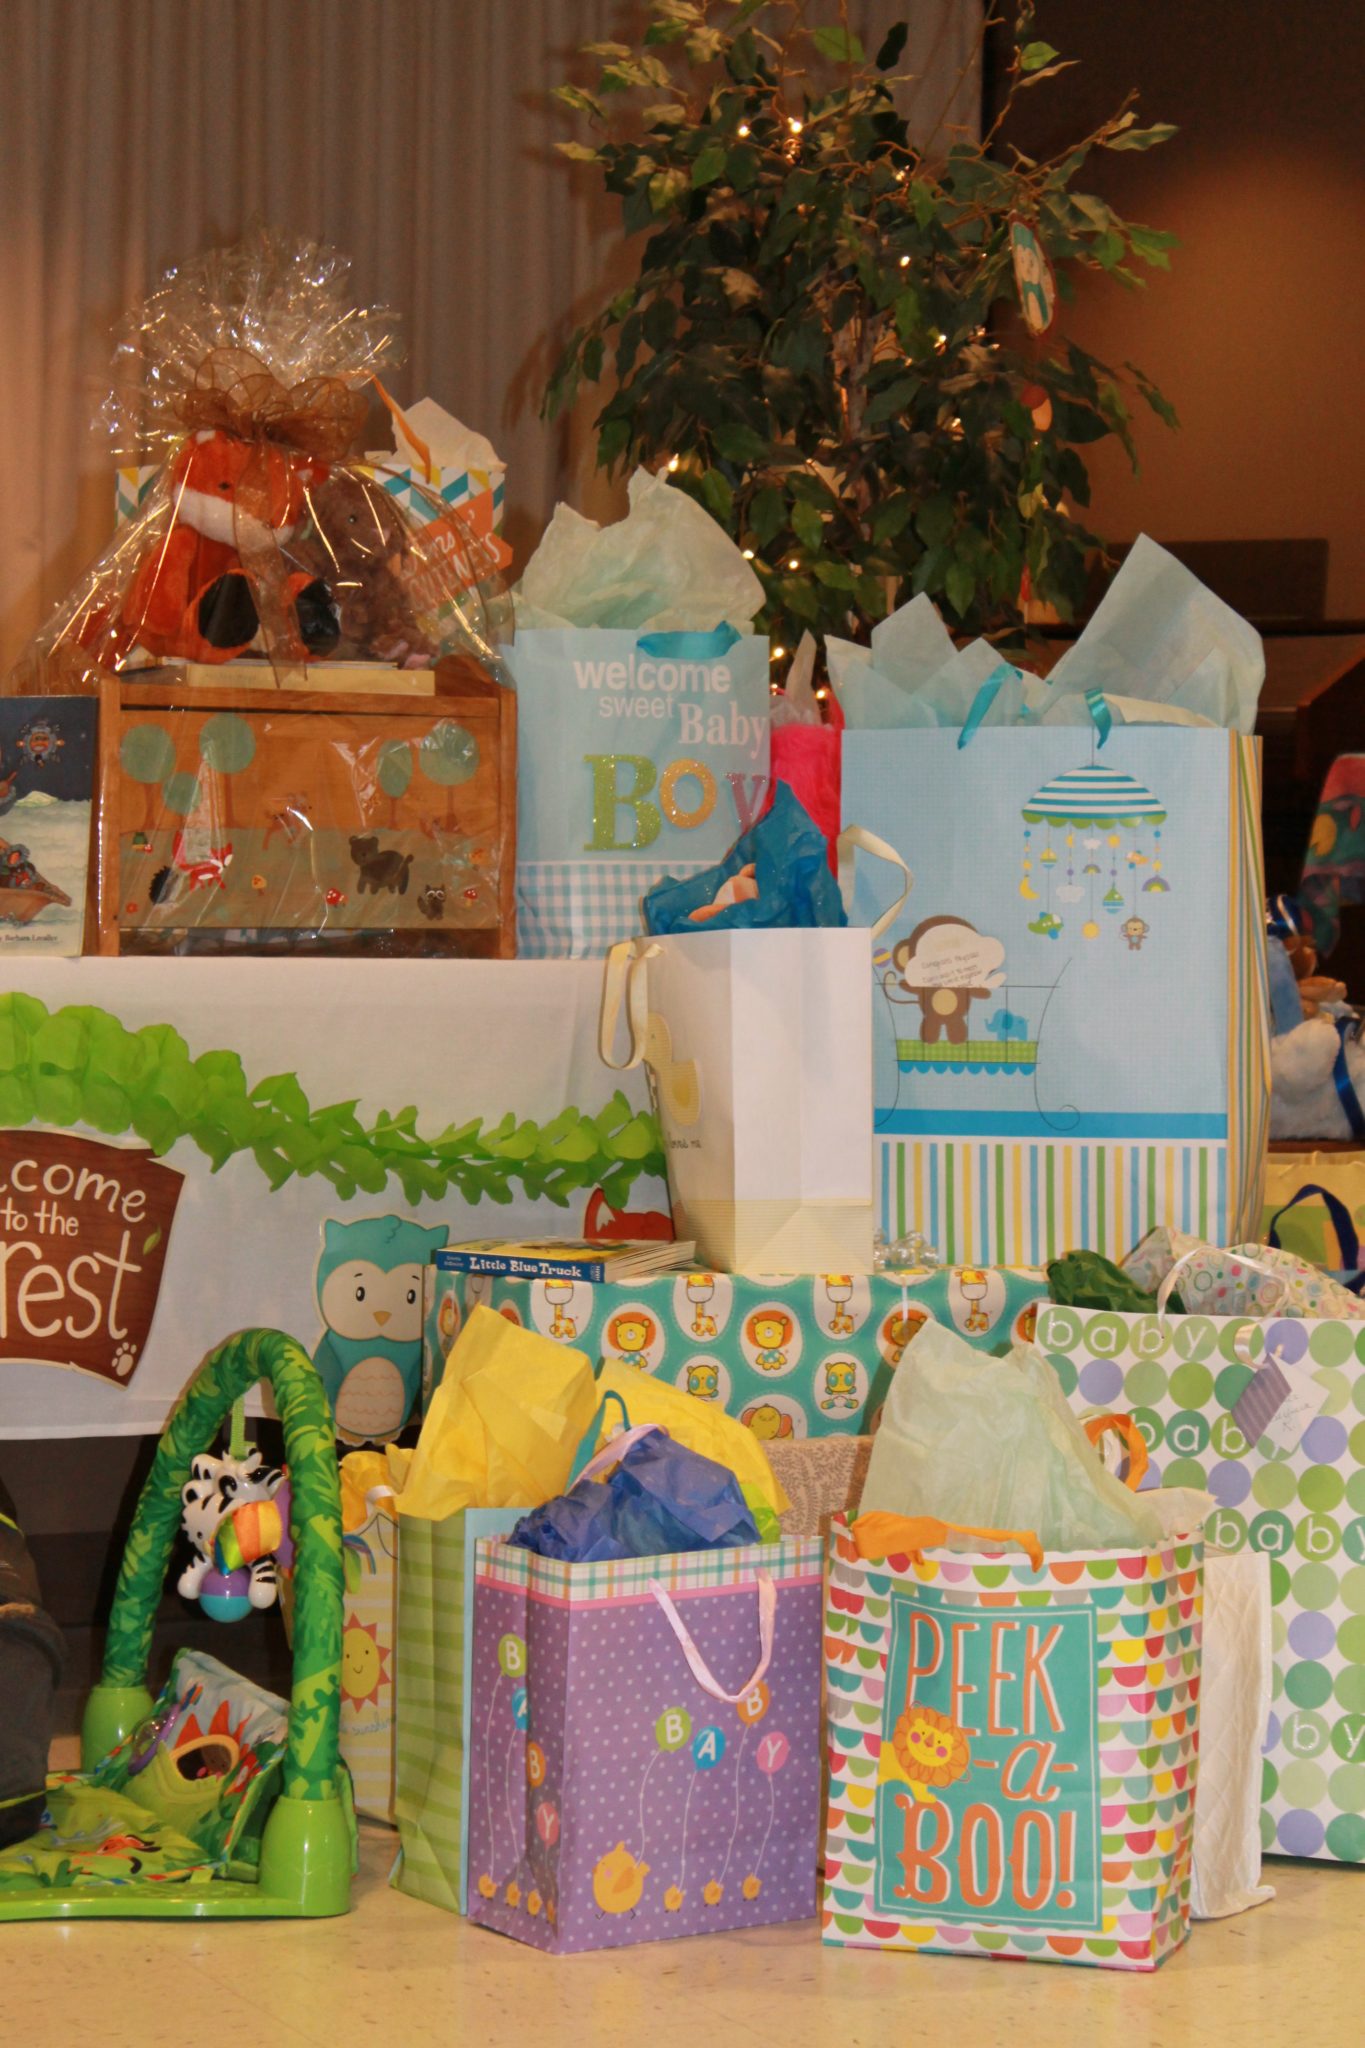
 April showers bring spring flowers. This spring also is bringing us some baby showers. With my sister-in-law, a good friend of mine & my cousin all expecting at roughly the same times, we will be busy shopping for these new little bundles. Our daughter is very excited to welcome all of the new babies.
I had the first of the baby showers this afternoon. This morning, I told Mai that mommy had to go to a baby shower today & she asked me “What’s a baby shower?” I explained to her that a shower is where you buy gifts for the new baby.
She talked about her auntie’s baby.
Mai: “Cioci Melly’s baby will be my sister.”
Me: “Your Cioci’s baby will be your cousin”, I explained
Mai: “I have an idea. Let’s make pasta babies.”
Me: “Ummm ok!”
As you know my daughter loves to craft & she has been a great source of my inspiration lately. If pasta babies are what she wants to make, than that is what we would do.
What you will need:
For each baby made you will need…
1 Jumbo pasta shell
1 medium sized pasta shell
1 elbow macaroni
Acrylic paint
Glue gun – (adults should glue for safety)
For a girl – 1 bowtie pasta
For a boy – a few pieces of broken spaghetti
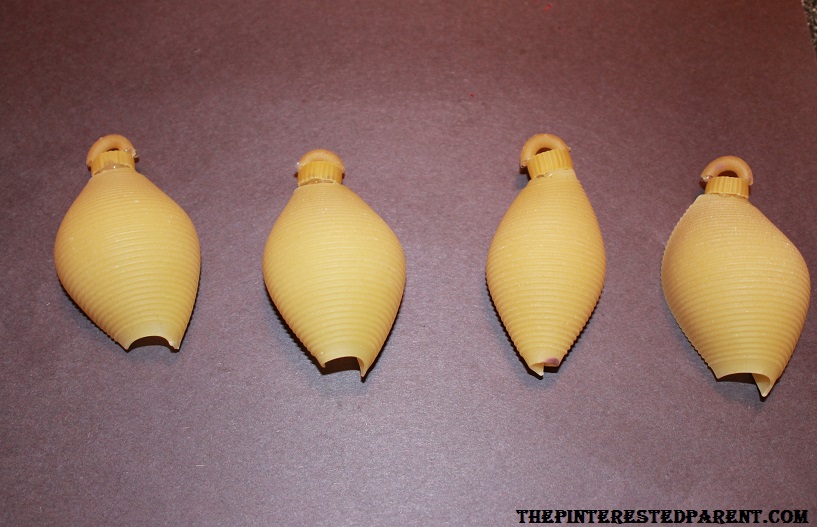
You may choose to assemble your babies first or paint the pieces first. It is your choice. We prefer to paint the pieces first & then glue together.
Paint the medium sized shells in a skin tone color.

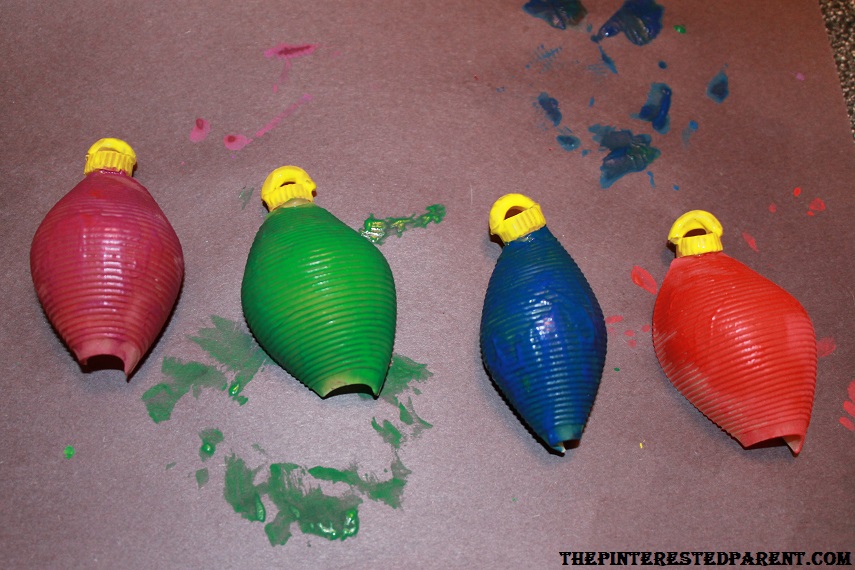
Paint the jumbo shells in the color of your choice. We went with traditional pink for the girl, blue for boy & neutral green. Paint the elbow in the same colors to match with the jumbo shells. Paint the bow for the girl. Paint the spaghetti strands in a hair color. Let the paint dry.


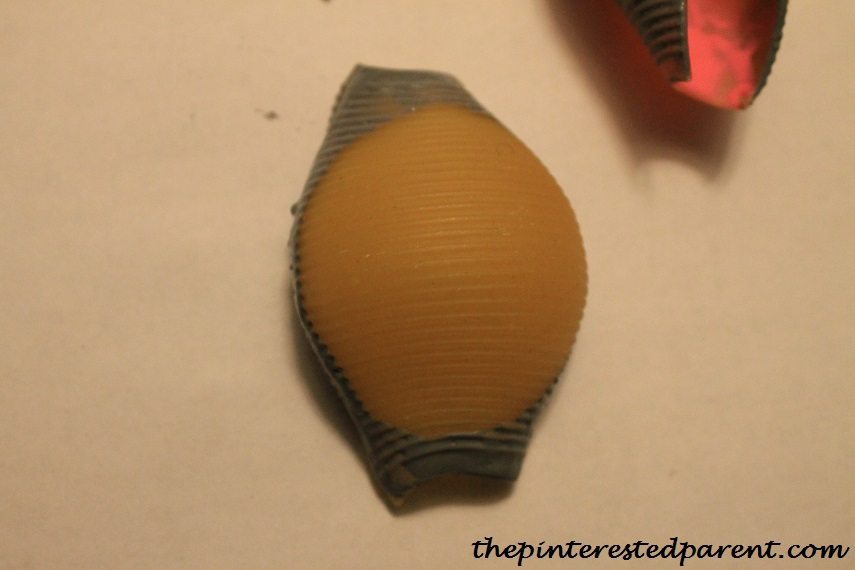
For each baby that you will make, you will place a medium pasta shell under the jumbo shell as shown. Use a small elbow pasta to tuck into the bottom of the shell to just round off the bottom. Glue the bow to the head for a girl. Glue spaghetti pieces for hair for the boy. Paint faces onto the heads. Let dry.


Mai painted these & wanted to make her own faces. She also painted a scoop of ice cream on the little boy’s blue blanket for him.

Thank you as always for stopping by. Please follow us on Facebook as well.
Pasta Sailboat Craft

The wonderful thing about doing crafts with my daughter is watching her creativity grow. Lately she has been taking the lead in what kind of crafts we do. A couple of nights ago before bed she told me that she wanted to make boats out of milk cartons. After I stopped grinning from ear to ear at her suggestion, I told her that we would do it the next day. Unfortunately, the recycling was taken out before I got home & our milk cartons were gone. We will have to wait a few more days or so until we finish another carton of milk, but in the meantime we can still make our boats.
Pasta Sailboat Crafts
Break up 4-5 pieces strands of spaghetti to form the shape of your boat. Glue them into place with glue.

Form waves using elbow macaroni & wagon wheels for port holes.

Let the glue dry for a few minutes before painting. Mai & I painted our pictures side by side.


Mai painted her boat & added a few extras. She painted in a black sun with rain, a jumping fish & a purple bat. She did a great job.


Thank you as always for stopping by. Please follow us on Facebook as well.
Pasta Shell Easter Bunny Craft

The best thing about doing arts & crafts with my daughter is the time that we get to spend together. My daughter says to me all the time. “Mama, I have fun with you. I like making projects with you.” This melts my heart. I love doing crafts with her as well. She is becoming so creative & is learning so much from our craft time together. When I told her today that we were going to make bunnies out of pasta shells, she cheered loudly & pulled her safety stool right up to our work space. So began this evening’s craft.
Pasta Shell Easter Bunny Craft
What you will need:
Jumbo pasta shells (3 for each bunny made)
Spaghetti (just one strand)
Paint
Hot glue
Directions:
Paint the inside of the shells in pink. These shells will be the ears.

Paint the outside of the shell in the color that you choose for your bunny’s ears. I chose gray, Mai wanted purple ears.

Paint a shell for the head.

Paint a strand of spaghetti in black. Let it all dry.

Paint a nose in the middle of the face.

Add in the eyes & mouth.

Break the spaghetti into small pieces for the whiskers & glue on to the face.

Glue the ears into place from the back using a hot glue gun. Use a generous amount of glue to secure. (Sorry kids, hot glue is only for us grown-ups)


Thank you as always for stopping by. Please follow us on Facebook as well.
Pasta Wind Chimes

This has been a rough week. I have not been feeling well & our daughter has been testing her limits with us. She was so irritable & melty this week that the majority of the week was spent trying to keep her tantrums under control. Tonight was another challenging evening, but we somehow managed to turn it around towards the end of the night & my sweet, fun-loving girl made an appearance. When Mai asked to do a project, I was so excited, I jumped all over it.
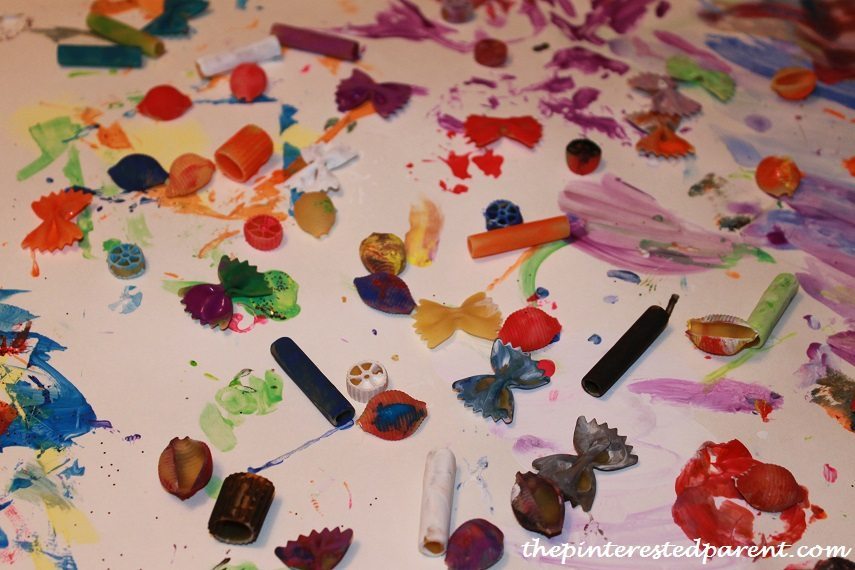
Since we love our pasta crafts so much, I thought we could make something special with our pasta. We were not quite sure what we were going to make, so we just started painting different shapes. Mai loves painting pasta pieces. She painted a bunch in different colors & did some special creations of her own. Here she made a pasta car by painting the body of the car in blue & then adding the wheels using wagon wheel pasta. I love that imagination.

We painted side by side until we painted a pile of different shapes & colors.


After looking at our pile of shapes & colors, I decided that these pieces would make a great wind chime.
We cut out several strings of yarn of the same length.

I started by gluing one shape of pasta shell to each string with a glue gun. With each new piece of yarn I glued the pasta slightly higher.


I did the next row in a similar fashion. Continue to the top leaving yourself about 2 inches at the top of each.

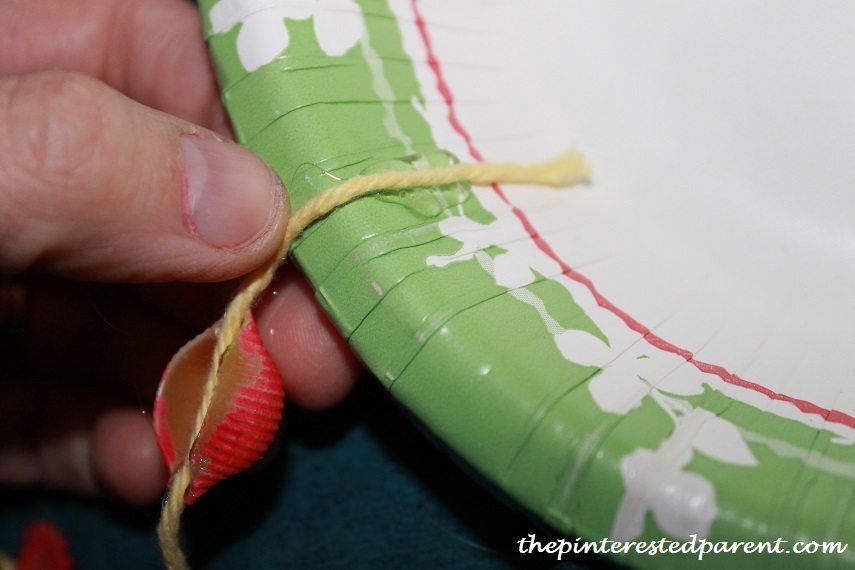
We had a paper bowl that Mai had painted last week that we used as the base for our chimes. I poked a hole in the direct center of the bowl.

Cut another few strips of yarn. Group together & poke the yarn pieces through the hole & tie off into a loop on the top & tie off into a knot on the bottom to secure.

Glue the bare area at the top of the yarn to the inside of your bowl. Spacing them out evenly. Cut just below the last pasta shell on each string. This should give you different lengths all the way around.
When you are finished, let the glue dry & find a place for you & your little painter to display your new craft.

Thank you as always for stopping by. Please follow us on Facebook as well.
Pasta Love Bug Crafts

Christmas Pasta Crafts

My love for pasta crafts needs no intro. If you follow me regularly, you already know about my many boxes of pasta set aside just for projects such as these. This weekend we spent 2 days making crafts out of a variety of pasta for the latest article that we were doing in this month’s SEEK. I have to admit, we got a bit carried away. I could not stop once we started.
For these crafts you will need assorted pasta, Elmer’s school glue or a glue gun (for adult use only), paint, glitter & some ribbon
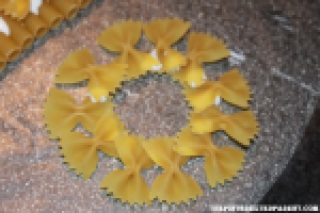
Pasta wreath
Pasta needed:
Bow ties
Place your pasta on wax paper & glue bow ties in a circle as seen below. Let dry. Paint the wreath in green & paint 3 more bow ties in red. Let dry & then glue the red bows to the wreath. Attach a bow, string or pipe cleaner around the wreath to hang.


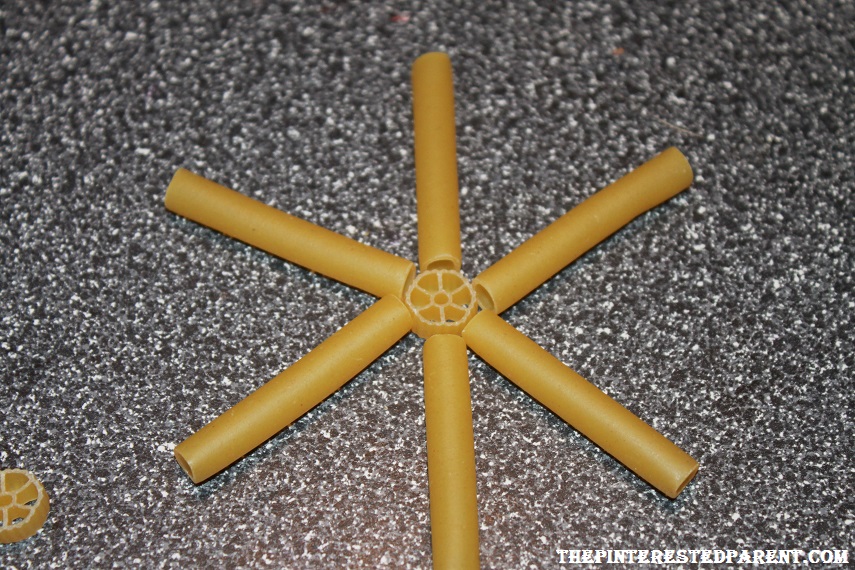
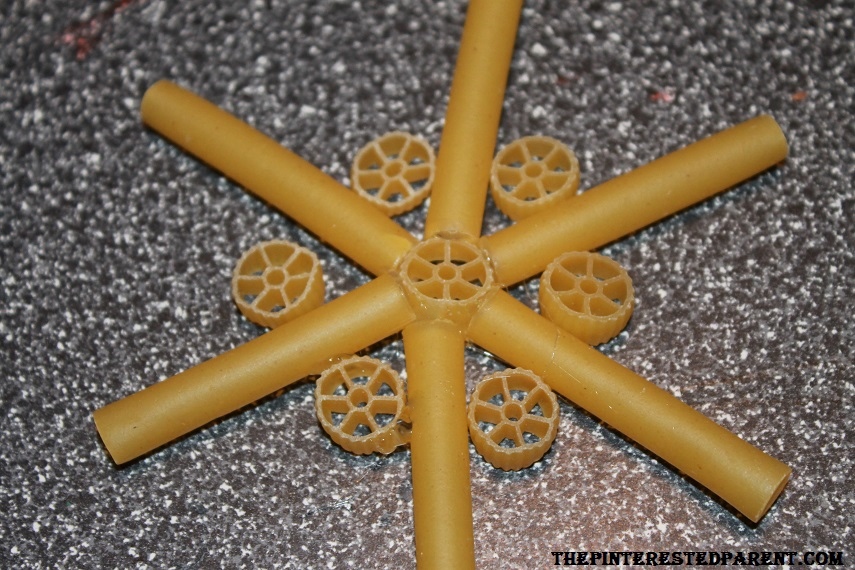
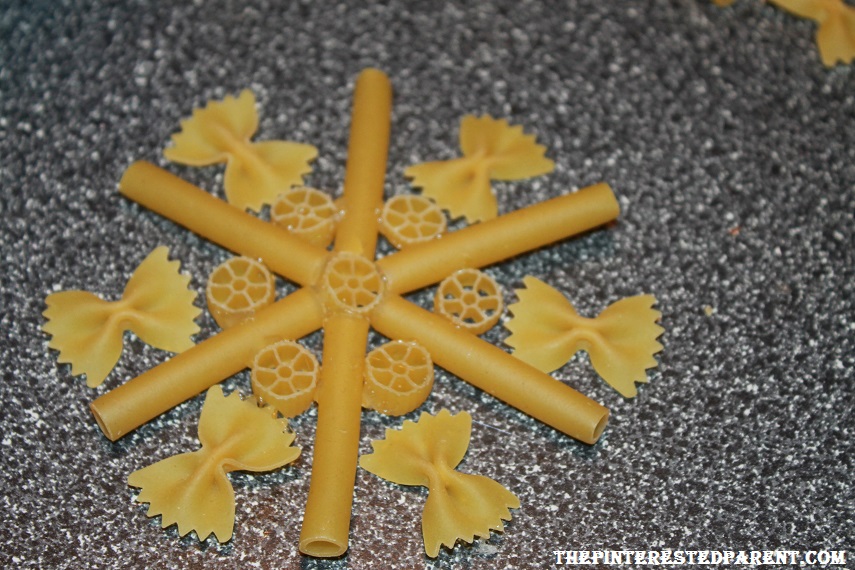
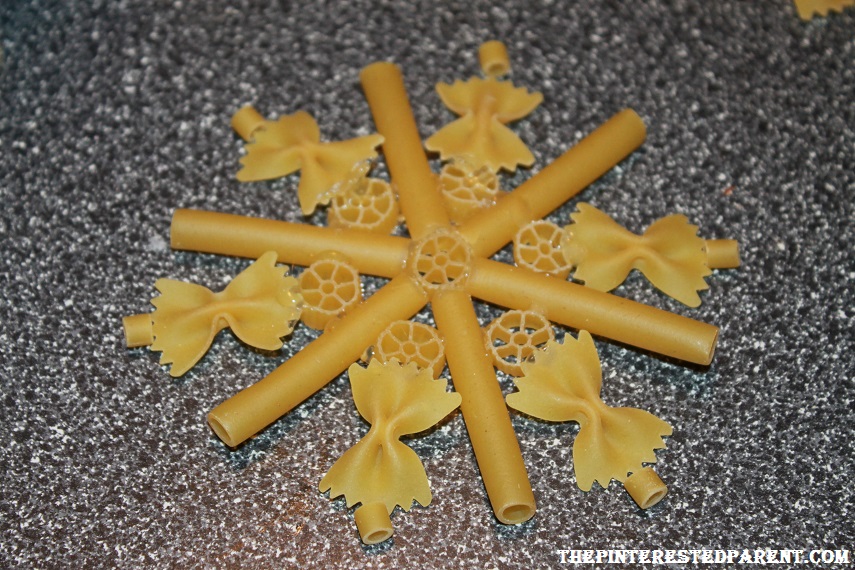
Pasta snowflake
Pastas needed:
Ziti
Wagon wheels
Bowties
Ditalini
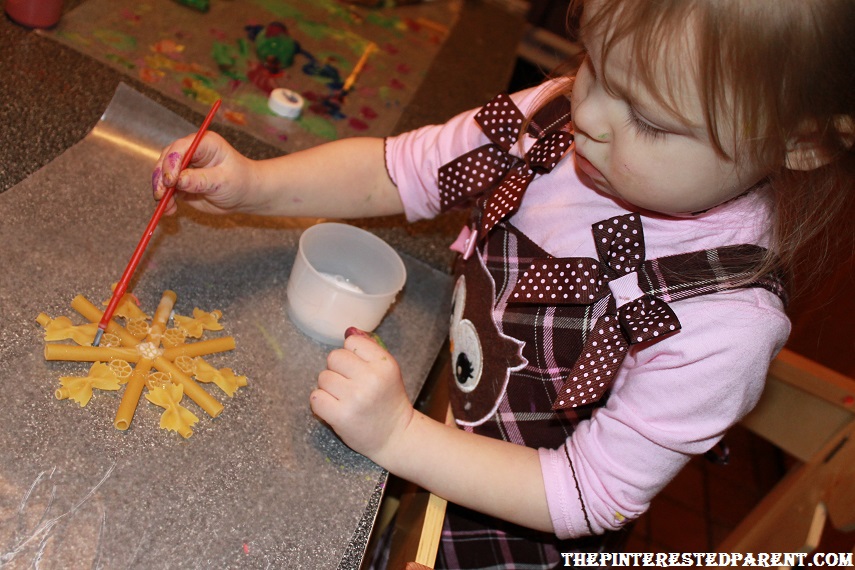
Place your pasta on wax paper & glue as seen below. Let the glue dry. In a small container mix the school glue with a few drops of water to thin out the glue. Paint the entire assembled snowflake with the mixture & the sprinkle with glitter. Let the glue dry & flip over. Attach a ribbon with glue to form an ornament,


Pasta Ornaments
Pasta needed:
Large shells (stuffed shells pasta shells)
Wagon wheel pasta
Elbow macaroni
Glue a wagon wheel on top of the flattest end of a pasta shell. Glue an elbow to the top of the wagon wheel. It should form a half circle hole.
Paint your ornaments in colors of your choice. Let dry completely. Using glue draw an ornament design on your shell. Shake glitter over the top. Let dry & then shake off excess glitter. String a ribbon or string through the hole.


Pasta Rudolph
Pasta needed:
Large shell
bow ties
Elbow macaroni
Medium sized shells
Uncooked chick pea for the nose
Googly eyes
Paint both sized shells brown. Paint the bow ties and elbows in black. Attach the pasta as pictured. Add the googly eyes & a red painted chickpea for his nose.


Please stop in & visit us at Seek and check out our latest article. Fun With Pasta Crafts

Pasta Mosaic Craft & Activity

This weekend it was my husband’s birthday. For his birthday, we had a nice family breakfast and spent some quality time together, but daddy really wanted to watch football today. Since he so willingly gives up football every Sunday for Paw Patrol & Doc McStuffins, Mai & I were determined to let him watch his team play today. We needed an activity to keep our little one occupied for a long period of time.
As you all probably already know, I am a huge fan of pasta crafts. We have more boxes of pasta for crafting than we do for eating in our house. One of my favorite pastas to use is Ditalini. When dyed, it looks like beads. We made pasta jewelry a while back and colored much more of the small pastas than we needed. We had a ton leftover to use. We just needed a project that we could use them on.
Luckily we had the perfect activity in mind that both kept her busy for a shockingly long long time & used up all of our little Ditalini.
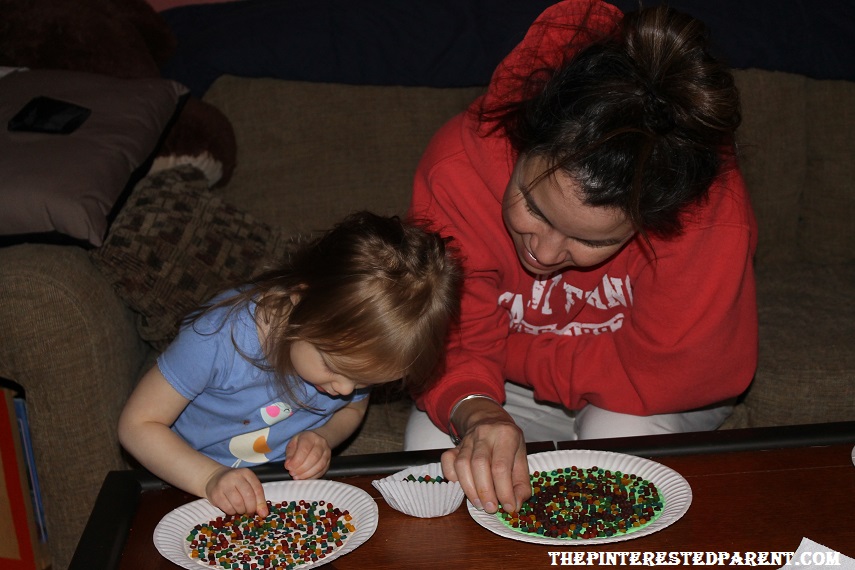
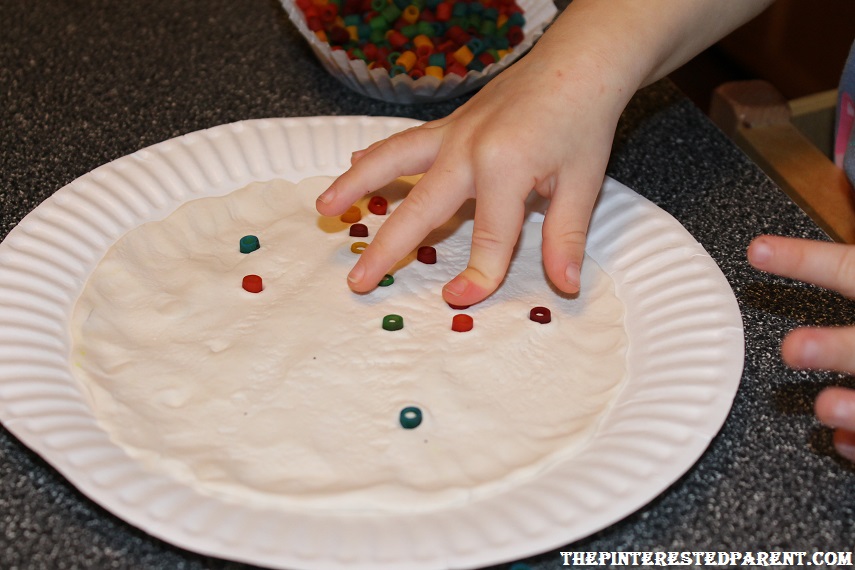
Spread out Play-Doh in the center of a paper plate.


Color pasta by shaking pasta in a plastic Ziploc bag with food coloring & let dry.

Have them press the pasta pieces into the Play-Doh one by one.
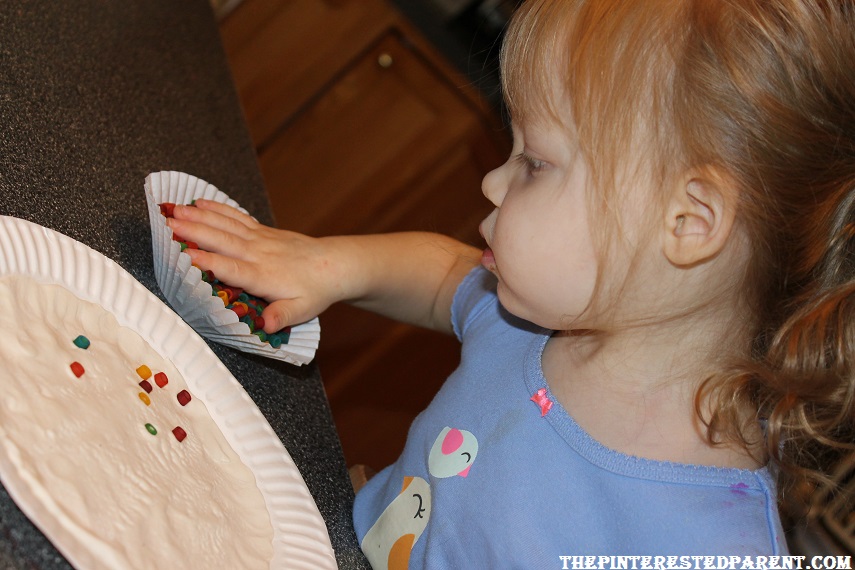

You can also use another pasta to outline a shape and work around it.

This was a fun activity and craft for us. I was impressed with how thorough and thoughtful Mai was when placing each piece as if she already had a plan for each piece.
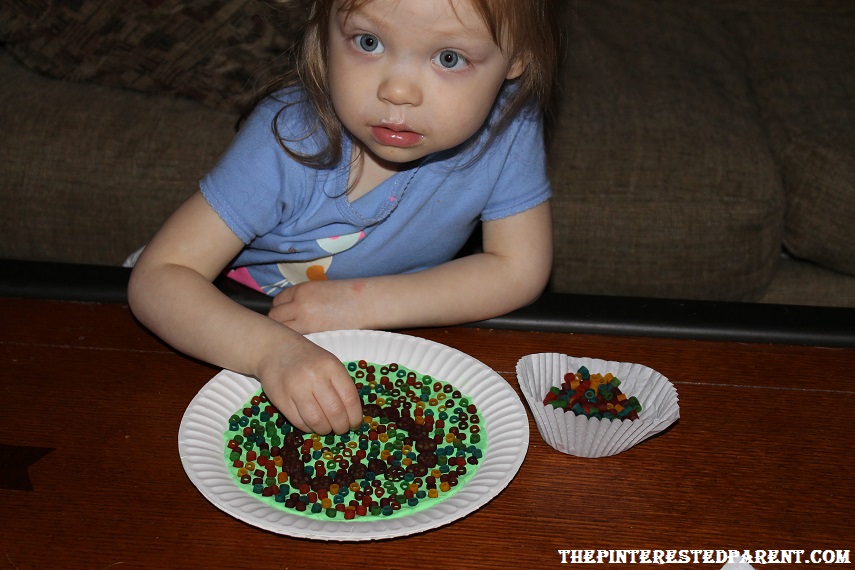
Hey, why does yours look better than mommy’s?