We just got our first frost of the season this weekend. This was a gentle reminder that winter will be here before we know it, like it or not. As much as I am not a fan of the cold, I am a fan of winter crafts and nothing says winter like snowflakes. I love snowflakes. They are so pretty and easy to make and they are a great way to teach patterns and symmetry. These Q-tip snowflakes are also fantastic for working on those fine motor skills.

Tag
Play Doh
Pasta and Play Dough Robots

I am a big fan of using dry pasta for crafting. Painted pasta makes for great projects. Here are a few of our favorites.
Pizza Making Play Dough Activity
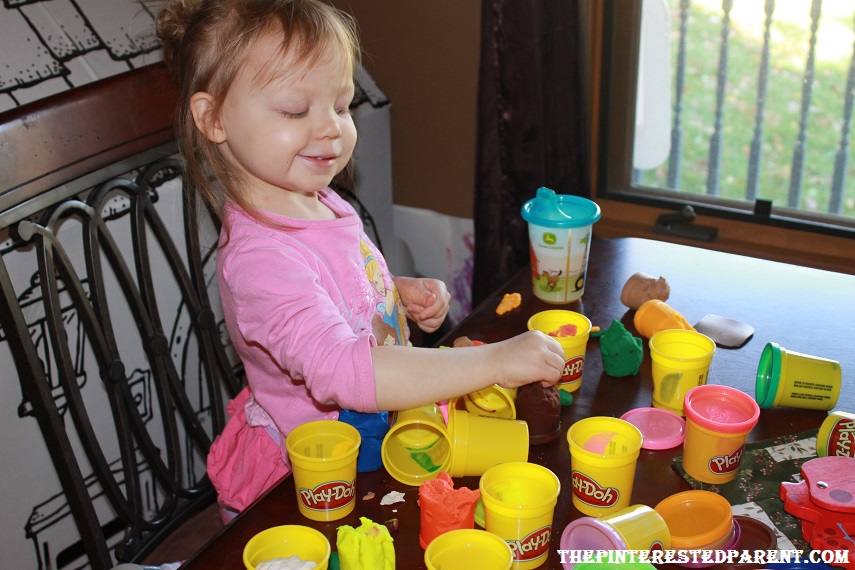
My daughter is obsessed with Play-doh. She just loves it. She loves mixing the colors together, sculpting with it & she even loves those Play-Doh videos all over Youtube. *This post contains affiliate links*
Last year we even made her a Play-doh themed birthday party. Last night while playing with a new variety pack, she asked me for a paper plate. I grabbed her one & asked her what she was planning on making. She said she wanted to make a pizza. “Can you help me, mama?”
Of course! This sounded like a fun project.
Start by pressing a light tan color into the center of the plate & then using a rolling pin to spread the dough out.

Next , pinch the edges of your rolled out dough to make the crust.

Smooth on your sauce with your fingers, utensils or use the rolling pin.

Tear off small pieces of white dough & drop onto your pizza. Add pepperoni or any other toppings. As you can see by my silly girl’s face, she had a ton of fun making her pizza. Here she is rolling out broccoli for her pizza.

My daughter had a brilliant idea. The play dough pizzas were the perfect recipe for a fun evening together. 


Thank you as always for reading. Please visit us on our Facebook page as well.
Paper Plate Play Dough Nature Island
This is a wonderful activity for toddlers and preschoolers. Gather items from nature and form these beautiful nature items with play dough and paper plates.
My daughter and I do arts and crafts project just about every day. Many times, I take inspiration for our projects by things that happen over the course of our day. Sometimes, I just get a random idea and many times my daughter calls the shots. I had an idea last night to make nature fossils out of play dough, assorted leaves, flowers and small pebbles. We made homemade play dough. We added some cinnamon to change the color and add a lovely smell. We rolled out the dough & cut a circle out of the dough to imprint onto.
Play Dough Easter Egg Activity

Play-Doh is my daughter’s favorite creative material. She has become quite the Play-Doh artist. Her creations include cakes, animals & even a mold of herself wearing a tutu. We buy it often, but make it in a pinch. When I told her that we would be making a fresh batch of play dough tonight, she became so excited that she could barely wait for the homemade dough to cool before she dug her mitts into it.


We kept going with our Easter theme. We used a piece of heavy stock paper & rolled out our dough onto it to form an egg shape.

Using cookie cutters & other tools, we rolled & cut out shapes in different colors.


We pressed our shapes into our play doughto decorate our Easter eggs. I pre-pressed lines into the dough to act as a guide for her to press her lines into. Add gems, string, buttons & other embellishments to dress up your eggs.


If you have a play dough lover in your home, they may love this cute & easy holiday activity.
Thank you as always for stopping by. Please follow us on Facebook as well.
It’s A Play Dough World

I am currently living in a Play-Doh world. My living room is filled with containers & baggies filled with dough. Most containers are filled with multi-colored globs of dough that have been blended and smashed together. There are cutting tools, stamps & dough presses covering our tables & floors. It is easy to say that my daughter is obsessed with Play-Doh. Her birthday this year was even Play-Doh themed.
There is a kid’s television show that we will watch together called ‘Art & Music’. It is a lovely show that shows different mediums of art put to music. On every episode there is a segment called Clay World. They create amazing scenes & people right before your eyes. This is my daughter’s favorite part of the show. She oohs & aahs over their creations & tries to recreate them. I speak about inspiration often & it seems that even the youngest of artists get inspired.
Last night she asked me if we could make a Play-Doh village together. How could I say no to that?
We started with a pond laid out on a piece of poster board.

Mai helped me form rocks to place around the pond.

We rolled out a strip of mismatched green & sliced out grass blades.

I worked the grass around the pond and rocks.

I formed a walkway.

Mai wanted to make ducks for the pond. She formed one with a cookie cutter. She got upset once she realized that it could not stand up in the pond.

I showed her how to make a little duck that could float in the pond. She was a quick learn & made several little ducks to put in the pond.


We added a walkway to our pond & then pressed green dough around to form more grass.


Mai helped me press & work some brown dough around the side to form dirt.

We added an additional path to the side & a stream.

Mai made us a banana boat to put in our stream. That’s me in the orange. Mai is driving the boat of course & daddy & her cousin Sebby are in tow. I love that little girl’s imagination. Before she went to bed last night, she asked to add a zoo to our park. “Tomorrow baby girl.” I really am living in a Play-doh world.

Thank you as always for stopping by. Please follow us on Facebook as well.

Play-Doh Birthday

*This post contains affiliate links*
Picking a theme for Mai’s 3rd birthday was an easy decision. You have all heard me talk about our daughter’s love for Play-Doh. It only made sense to celebrate her special day with her favorite activity.
Play Dough Ornaments

Over the last couple of months my daughter has found a new obsession. Morning, noon & night you can find her at our coffee table buried up to her elbows in Play-Doh. She has become quite creative with her dough. There are so many possibilities. The fun is endless. Check out our list of fun Play-Doh activities this week at Seek Magazine.
The only problem with Play-Doh, is that we go through it so quickly. It is not always convenient or cost effective for me to run out to the store to buy more, so I often make it at home. I have tried many different recipes. I have made it cooked, uncooked, with hair conditioner, with Jello, but my favorite one is a recipe I found on Instructables.
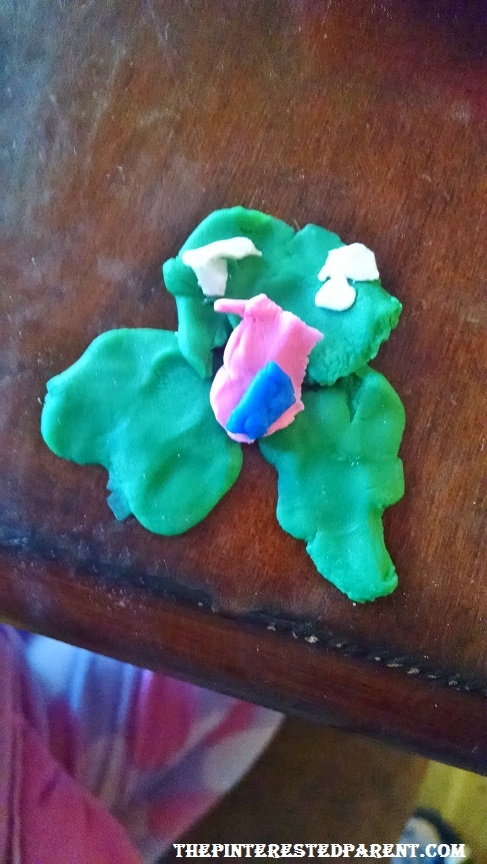
There is a lot that you can do with a basic play dough recipe. You can add different colors, spices, scented oils and various textures. My daughter is in a sparkly phase. She likes to wear her sparkle tutu everyday & her sparkle shoes & she loves playing with glitter. We decided to mix our dough with glitter. Mai called it sparkletastic play dough.


It looked so pretty after we were through with it. It looked so festive. One of the activities that was on our play dough activities list was making Christmas ornaments. So that is just what we did.
Snowflake ornament
I rolled out a circle about 3″ around. I pressed a felt snowflake into my circle to make an imprint.

Use the back side of a spoon & press in all the way around to form a snowflake shape. Pull the felt piece out of the middle of the ornament.

Use a straw to poke a hole in your ornament where you would like your string to go. You may have to lift the ornament up so that the straw goes all the way through.

Let dry to harden. This might take a couple of days depending on the thickness of the ornament. Do not bake as the glitter will melt & cause the ornament to explode. Add a ribbon or string.

Family Hearts Ornament
Using a cookie cutters cut out three heart shaped ornaments. If you have 3 different sized heart cutters use the 3 different sizes. If you do not, use the same sized cutter & just spread out 2 of the hearts to form larger hearts so that you have three in increasing sizes.


Poke a hole into the smallest heart at the top center part of your heart. For the larger two hearts poke a hole in the top center & bottom center.

Let the hearts dry & harden for a day or two. Using a ribbon or string, string your 3 hearts together with the largest on top & the other 2 dangling beneath in descending order.

Using a marker or paint, write your names onto each heart.


You may also paint your ornaments after hardening. Mai is very excited to put up the tree in a couple of weeks & now we have some new lovely ornaments for our tree.
Pasta Mosaic Craft & Activity

This weekend it was my husband’s birthday. For his birthday, we had a nice family breakfast and spent some quality time together, but daddy really wanted to watch football today. Since he so willingly gives up football every Sunday for Paw Patrol & Doc McStuffins, Mai & I were determined to let him watch his team play today. We needed an activity to keep our little one occupied for a long period of time.
As you all probably already know, I am a huge fan of pasta crafts. We have more boxes of pasta for crafting than we do for eating in our house. One of my favorite pastas to use is Ditalini. When dyed, it looks like beads. We made pasta jewelry a while back and colored much more of the small pastas than we needed. We had a ton leftover to use. We just needed a project that we could use them on.
Luckily we had the perfect activity in mind that both kept her busy for a shockingly long long time & used up all of our little Ditalini.
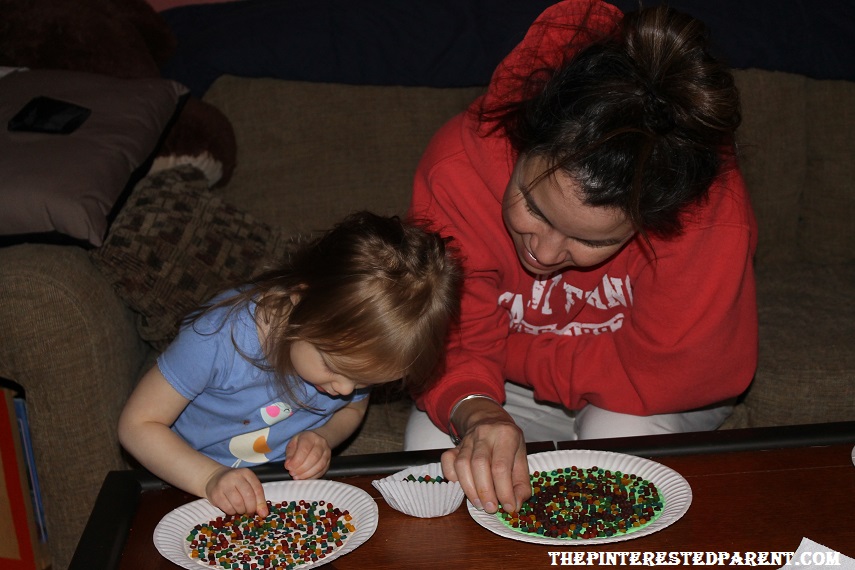
Spread out Play-Doh in the center of a paper plate.


Color pasta by shaking pasta in a plastic Ziploc bag with food coloring & let dry.

Have them press the pasta pieces into the Play-Doh one by one.
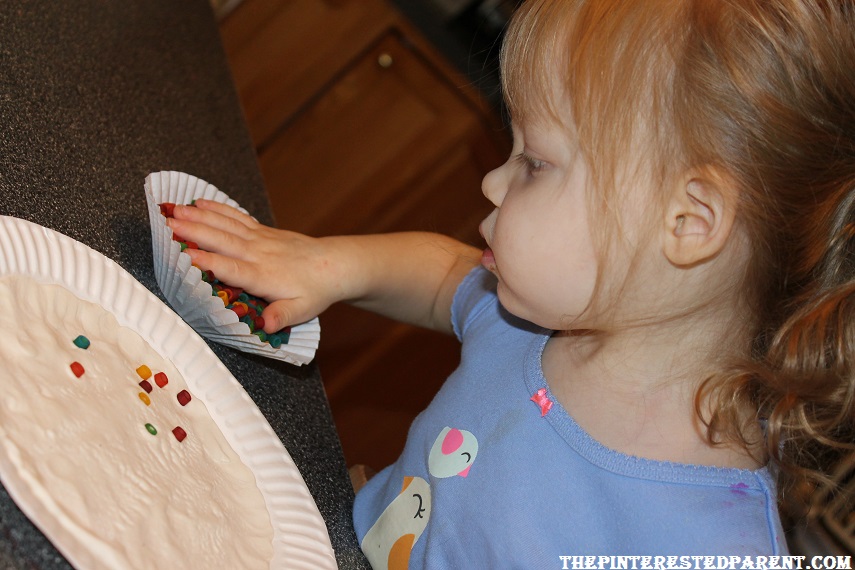
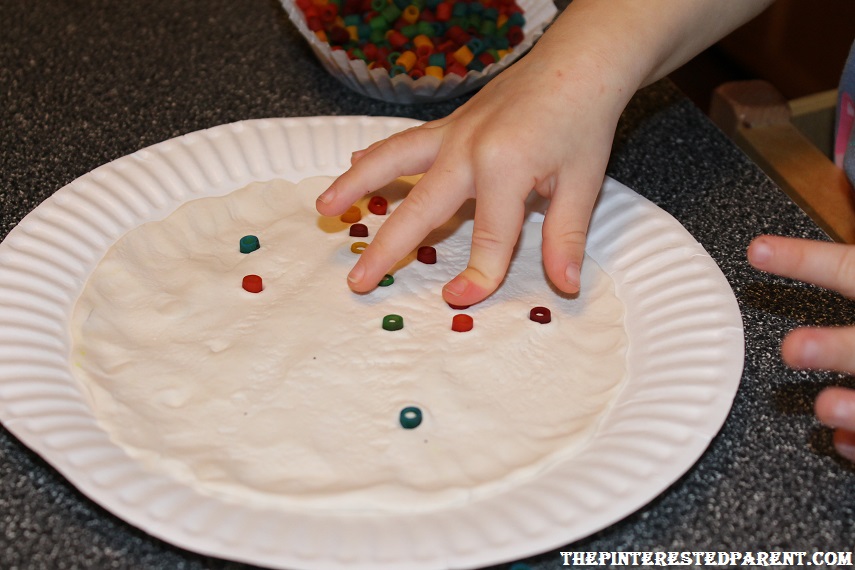

You can also use another pasta to outline a shape and work around it.

This was a fun activity and craft for us. I was impressed with how thorough and thoughtful Mai was when placing each piece as if she already had a plan for each piece.
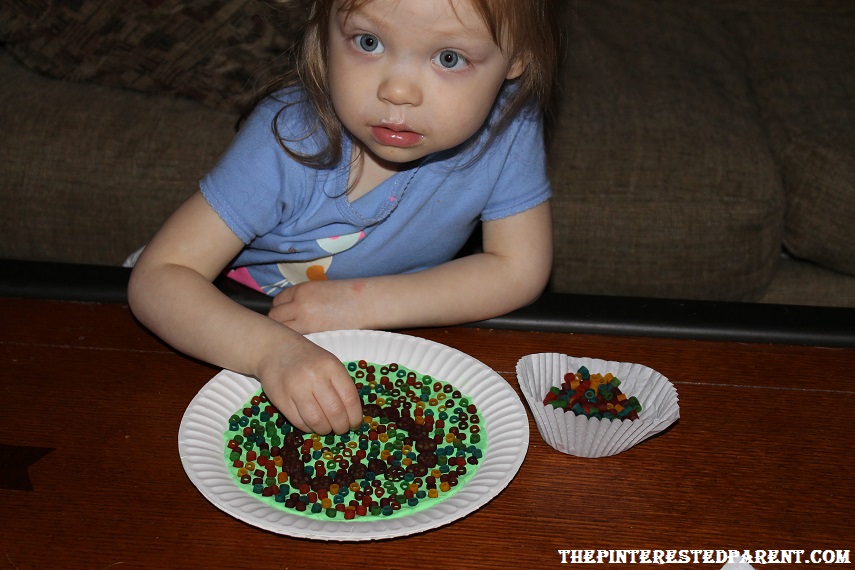
Hey, why does yours look better than mommy’s?
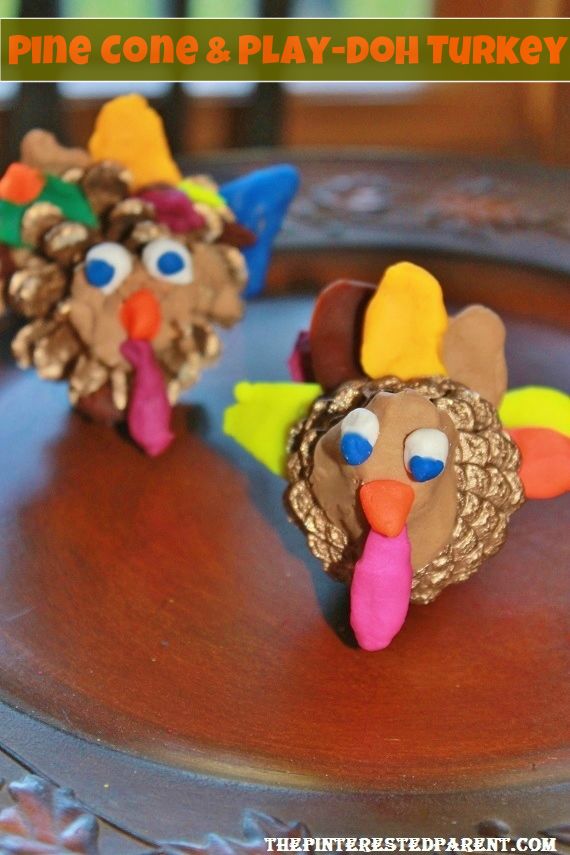
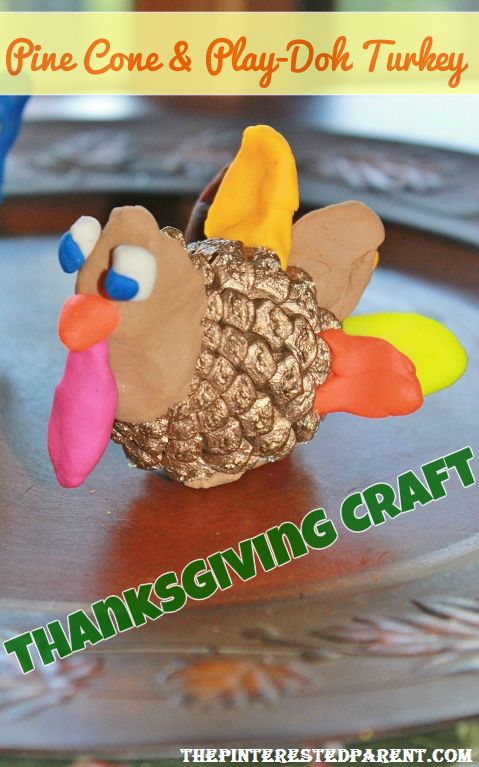
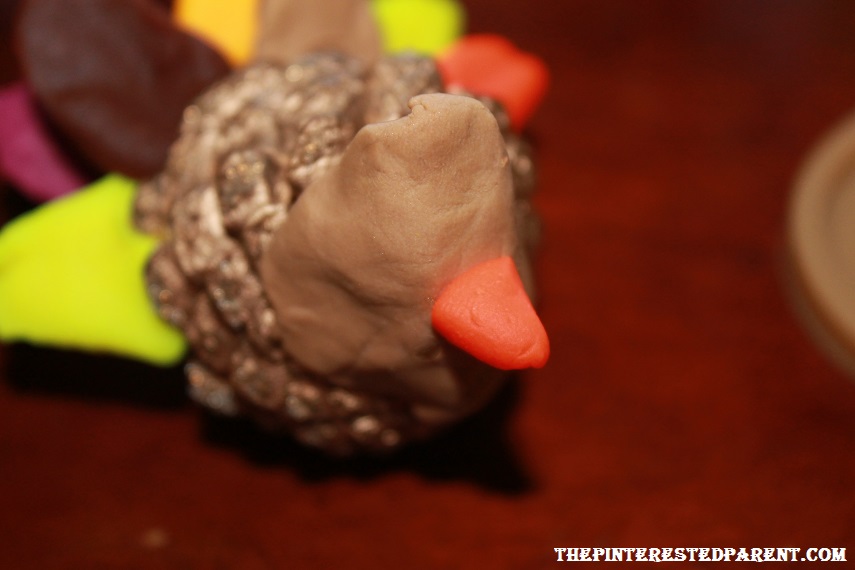
Pine Cone & Play-Doh Turkey Crafts
One of my favorite parts of my daughter’s days at daycare are receiving her daily reports & seeing all of the craft projects that she brings home. I love seeing her beautiful crafts, even the ones that she does with someone else.
This week she brought home a lovely fall one. It was branches bound together & decorated with Play-Doh. Miss Laura said that Mai worked on it for 2 hours.

This weekend there was a sale on Play-Doh at the supermarket, so I stocked up. Mai was so excited when I came home with a box filled with 24 different shades of it. She dove right in & started creating.
She is becoming quite the little artist. Her imagination is developing so quickly. I watched her as she kneaded & forms different shapes & put them together. She explained to me as she molded her creation what she was making. “Look mama, a frog! He has a blue fly on his tongue.” I have to admit, I was very proud.
She did not stop there. “Look Mama, I made Dukey’s poop.” Oh dear! It does look like Dukey’s poop.
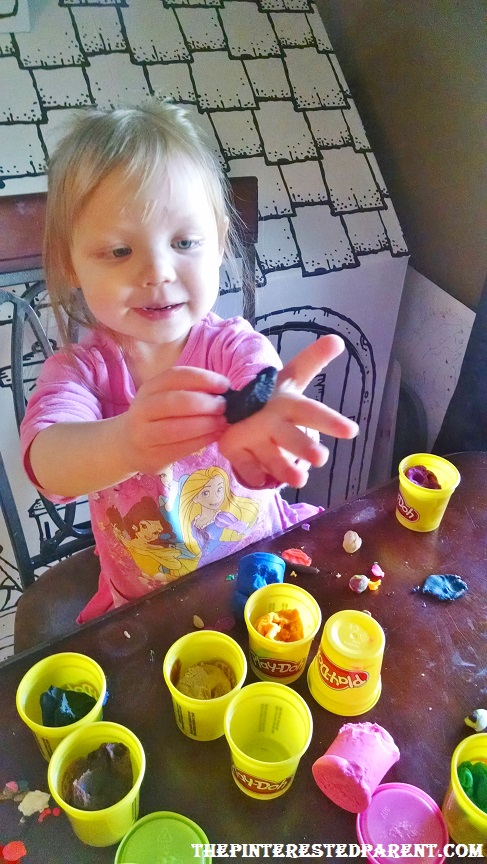
Since we already were in such a crafty mood & had a table full of Play-Doh, I thought we could make something together.
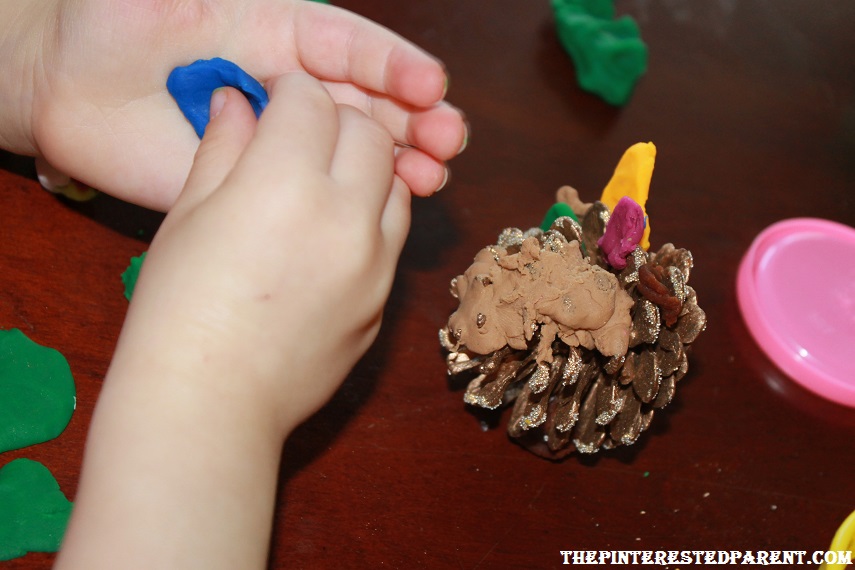
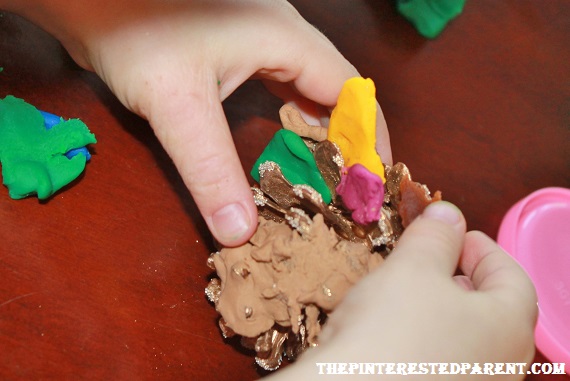
Thanksgiving Turkey Craft
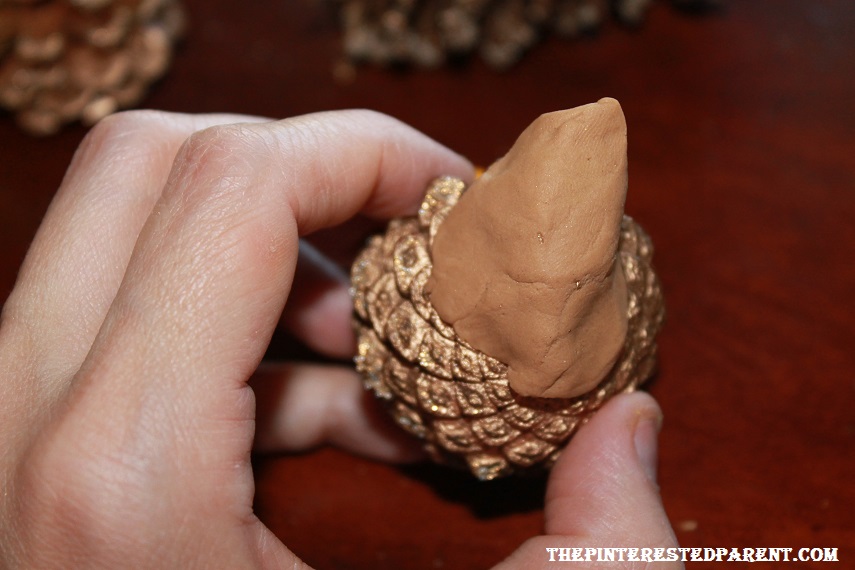
This just require pine cones & Play-doh. I used craft pine cones only because they were handy. You can use ones from your yard as well.
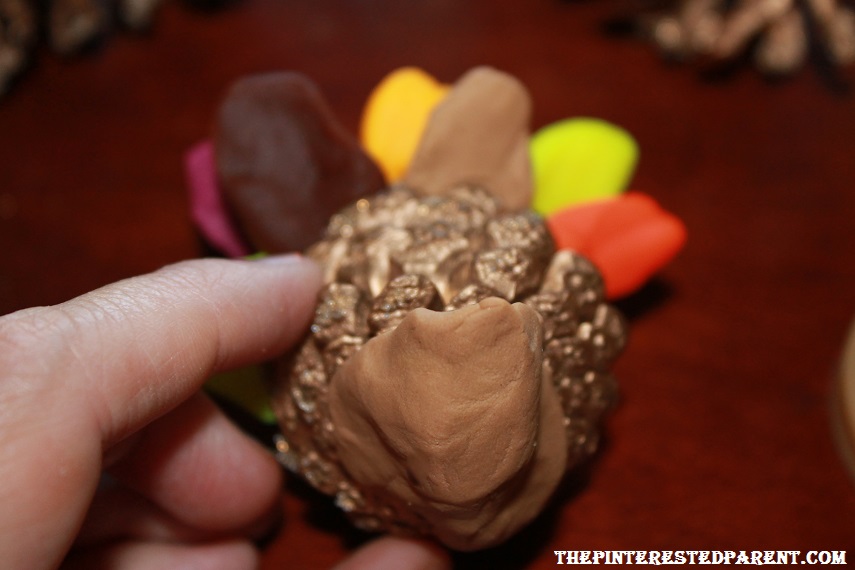
Form & mold the turkey’s head to the fat part of the pine cone. Show your child how to do it & let them do it to their own.
(If your pine cone is wobbly, place a chunk of Play-doh underneath to keep sturdy.)
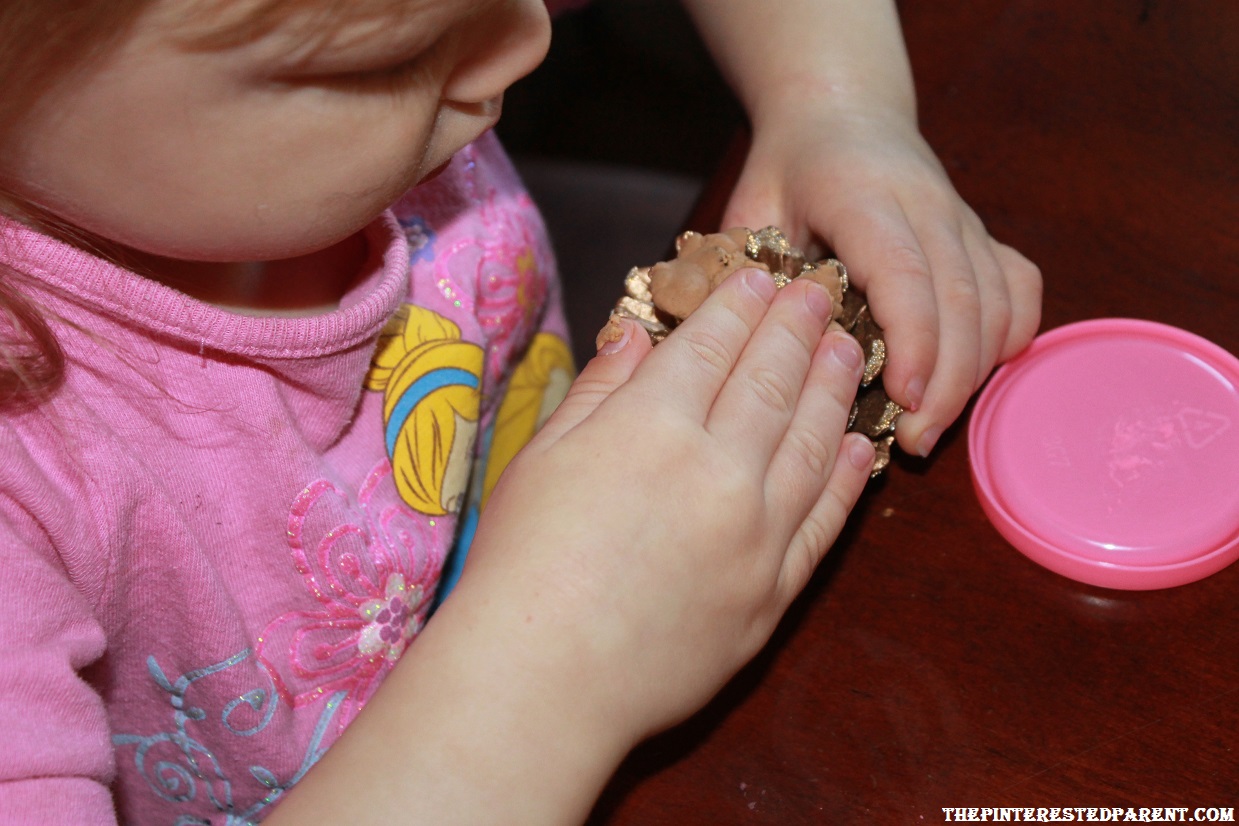
Form long oval shaped pieces to use as the turkey feathers.
Insert towards the back between the pine cone scales.
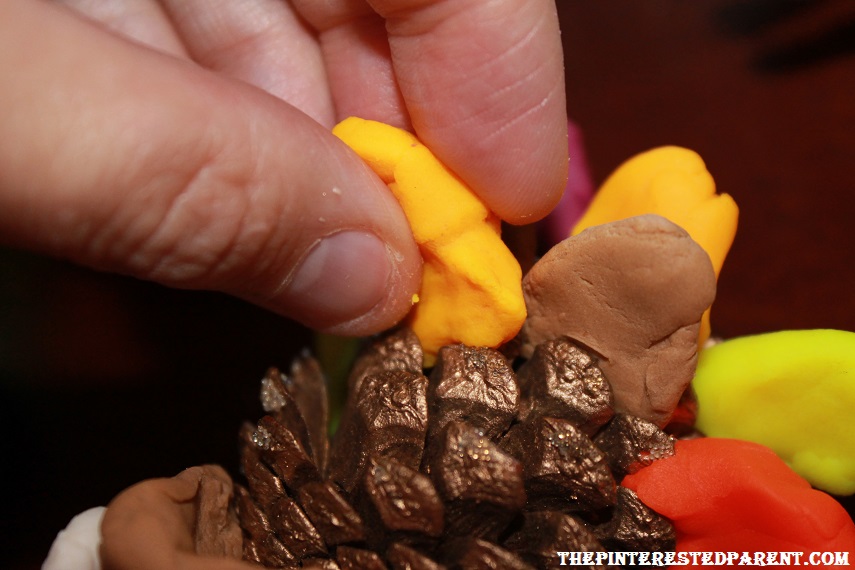
Again, show your little one how to do it.
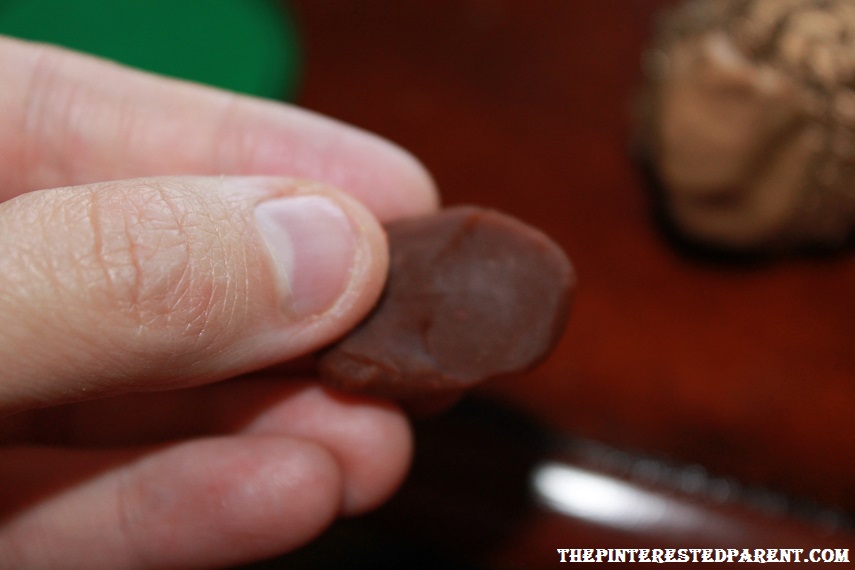
Add the beak. Older children may be able to do this step, but the smaller hands might need the help. Mai asked mama to make her turkey face.
Add the eyes next.

Add the turkey’s waddle & you are done.