Tag

preschool

Northern Lights With Watercolors

Pretty Northern Lights paintings with watercolors - art & painting for kids

This week our family & I are heading to Iceland for vacation. My husband & I have been before & love it there. We are excited to take our daughter to see the geysers & walk the ice tunnel, but our main reason for going is to try our luck at seeing the Northern Lights. There is no guarantee that we will see them, but we are hopeful & eager. I have been telling our daughter all about them & showing her photos on the computer. “Oooooh, that’s pretty mama!” They certainly are. They also made a great subject for a painting with our new homemade watercolors.

Continue Reading…

Paper Plate Miss Spider Craft

Miss Spider's Tea Party Inspired Paper Plate Craft For Kids

*This post contains affiliate links*

Lately, we have been reading a larger than usual amount of books. My daughter has a lot of new books that she wants us to read together and then of course all of her old favorites that she still wants to hear every day. One of those favorites is Miss Spider’s Tea Party. We read it almost every day.

MissSpiderTeaParty

As we were reading a few nights ago, my daughter asked if we could make our own Miss Spider, so yesterday, that is what we did.

What you will need:

Paper plate

Paper bowl

Yellow paint

Black, yellow & red construction paper

Black pipe cleaners

Green googly eyes

Markers

Glue

Directions:

Paint the paper plate & bowl in yellow.

IMG_3798

Dab yellow paint onto 8 black pipe cleaners.

IMG_3803

Cut out spots & a jagged stripe for Miss Spider’s back out of black construction paper & cut her hair out of red.

IMG_3805 IMG_3804

Glue the spots & stripe on the paper plate.

 IMG_3807 IMG_3810

Cut a triangular nose out of yellow construction paper. Glue the hair, nose & googly eyes to the bowl. Draw on a smiley face & eyelashes.

IMG_3816

Mai pointed out that Miss Spider also has white freckles on her face & she grabbed a white marker to add those on too.

 IMG_3822 IMG_3820

Glue the pipe cleaners in place for legs. I used a glue gun for the legs. (Operate caution when using a glue gun. Not recommended for small children.) Glue the paper bowl head to the paper plate body. Mai wanted hers to look like Miss Spider on the cover & I chose to make mine like one of the illustrations inside the book.

IMG_3812

My daughter also reminded me that Miss Spider needed a cup of tea, so we cut 2 cups of tea out of construction paper too. Mai was so excited about her finished Miss Spider.

IMG_3823 IMG_3868

Paper Plate Kid's Craft inspired by Miss Spider's Tea Party

Thank you as always for stopping by. Please follow us on Facebook as well.

Painting With Droppers

Abstract Painting & Art using medicine or eye dropper. Fun & messy art for the kids

We moved into our new house a few weeks ago. We are still trying to settle in & are unpacking those last weird random boxes. While unpacking one of these boxes of odds & ends, I came across a bag of old medicine droppers and plungers.

IMG_3550

I was getting ready to toss them, but thought we could use them for a little fun first. Since we have been learning about abstract art this week with a Kandinsky project and book, I thought we could keep the abstract projects going.

To set up, I laid a piece of tin foil out on a baking tray and placed a piece of paper in the middle. I mixed acrylic paint with a small bit of water to thin them out because I want a thicker consistency than water colors.

I showed my daughter how to use the dropper. She sucked up the paint with the dropper and released it on to the paper.

IMG_3551IMG_3555

She dripped & swished the paint around using the dropper.

IMG_3579IMG_3560

Sometimes it would form bubbles & she would laugh and pop them with her finger.

IMG_3589

When she was finished, I told her that we needed to let it dry. She told me that she needed to put it next to her Kandinsky. This made me smile.

Here was her finished product.

IMG_3602

Thank you as always for stopping by. Please follow us on Facebook as well.

Kandinsky Inspired Clay Circles

I look forward to the weekends. After working all week, I enjoy every second of time with my family. One of our favorite things to do on the weekends is to go to the library. We have discovered some of our favorite books from trips to the library. One of our favorites was a children’s book about Wassily Kandinsky. Kandinsky Inspired Painted Clay Circles - This was a fun lesson in art history and fun project for kids too

*This post contains affiliate links*

The Noisy Paint Box is a beautiful book about the young Kandinsky and how he could hear the colors that inspired his art. It is also a great tale of how he overcame those that did not understand and support his abstract form of art.

The Noisy Paint Box - The Colors & Sounds Of Kandinsky

I showed my daughter some of his artwork on the computer and we discussed what abstract art was. His noisy paint box may have inspired him, but he inspired us.  We were going to make our own Kandinsky like project with clay and paint.

We started with a simple clay recipe.

1 cup of flour

1 cup of  salt

1/2 cup of warm water

We mixed all the ingredients together, first with a spoon and then kneaded it with our hands until it was smooth and ready to mold. My daughter has become a pro at making clay and play dough.

IMG_3470

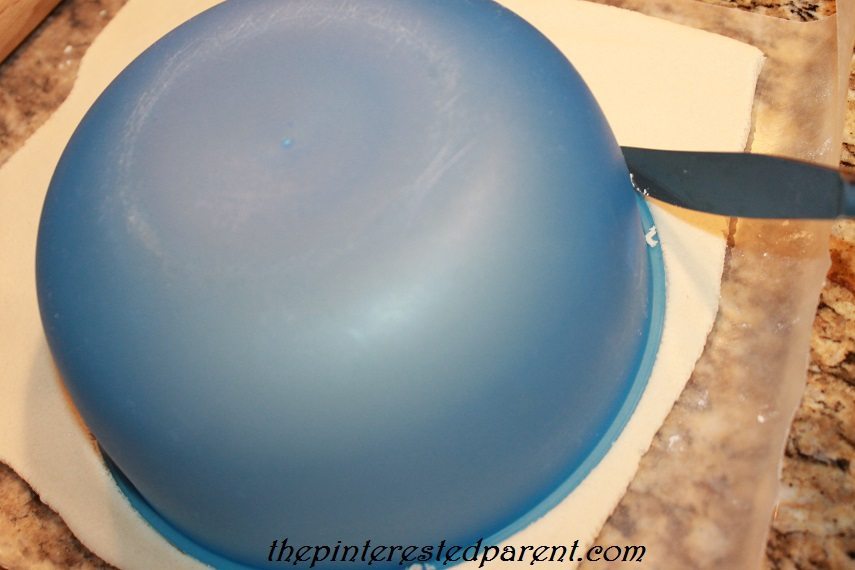
We rolled it into a ball and then used a rolling pin to roll out our dough. I used a bowl to make a circle.

IMG_3474

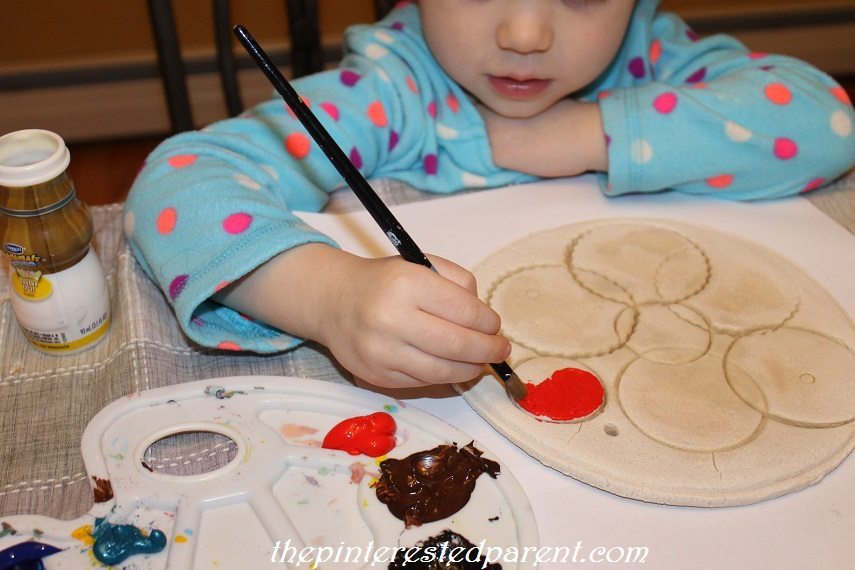
We used a variety of different sized circle cookie cutters and glasses, anything that we could press softly into our dough to make different sized circles. Do not press all the way through. Press just hard enough to make an indent. If your child does press all the way through, you can gently press around the sides of the shape to keep it embedded in your circle.

My daughter wanted to hang them with ribbon, so we poked a hole at the top with a straw.

IMG_3482IMG_3483

We both prepared our clay and then baked them on a cookie sheet at 250, flipping them a few times to harden both sides. (Adults should operate the oven and handle the hot clay.) How long you bake them for will depend on the thickness. Mine baked in about an hour while my daughter’s took about 3 before hardening. We let them harden and cool overnight.

IMG_3485

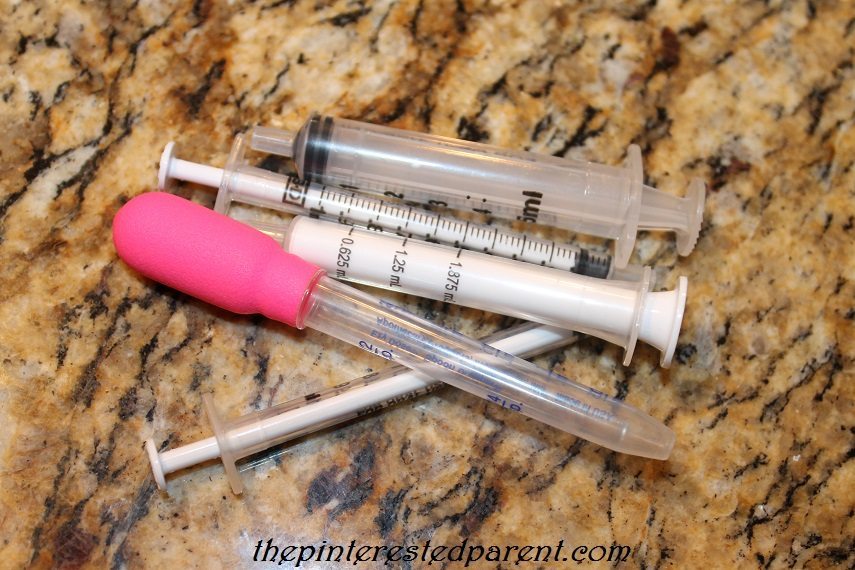
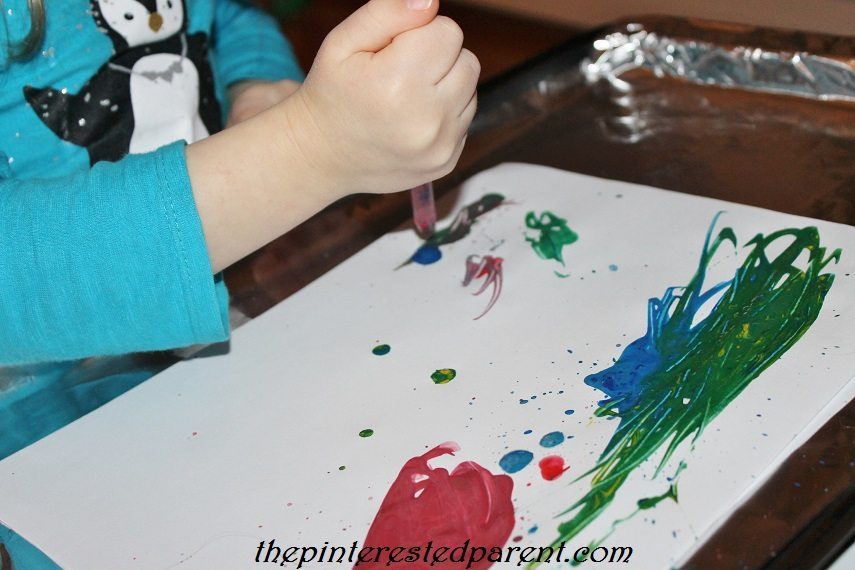
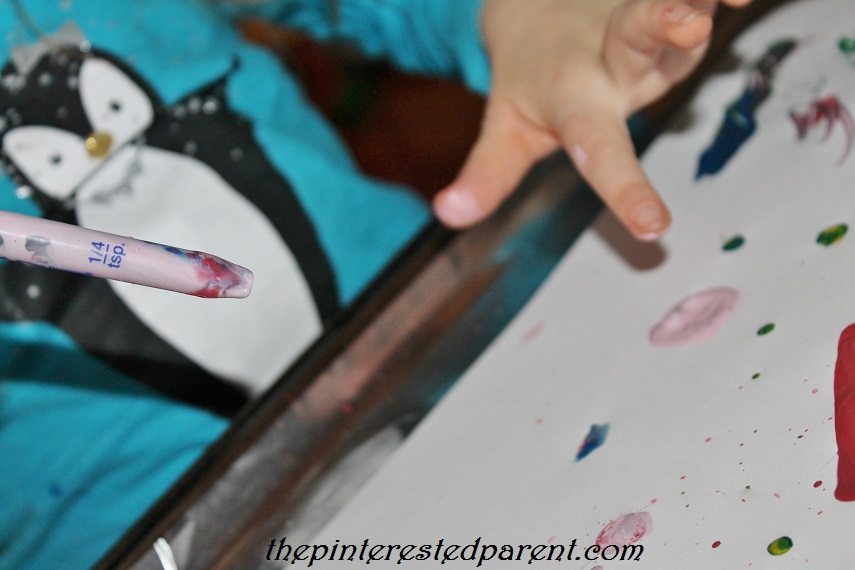
It took us a couple days to get back to them, but when we did it was wonderful. As we painted, we spoke more about the book. My daughter excitedly mixed different colors on her palette to form new colors. “Silly Wassily”, she quoted the book as she painted her circles in different colors. We had a lovely talk about art and colors. When she was done painting, she was so excited to hang her project up that she asked if we could dry it with a hair dryer. Luckily, the acrylic dried in just a few short minutes and we were able to string up our creations with the ribbon of her choosing.

IMG_3487IMG_3492

Kandinsky inspired painted clay art for kids

Kandinsky inspired painted clay art for kids

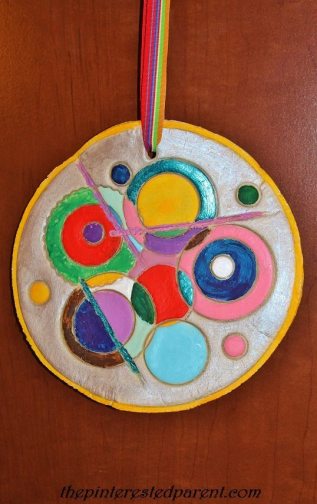
She was so very proud of her finished project and could not wait to show it off to her daddy.

IMG_3501

Thank you as always for stopping by. Please follow us on Facebook as well.

Melted Crayon Hearts

Melted Crayon Hearts. This art & craft for kids is perfect for Valentine's Day

*This post contains affiliate links*

My daughter received a new book from her cousins on Christmas. It has since been promoted to her favorite book.

51HoHYJv6TL._SX258_BO1,204,203,200_

The Day The Crayons Quit‘ is a funny book about a group of frustrated crayons that air their grievances to their owner with individual letters to him. In only a short couple of weeks, my daughter has memorized the book from cover to cover. We read it every day, sometime multiple times a day. It made me realize how neglected her own crayons have been. Mai is much more interested in paint & markers these days, but I had a project that I thought might change her mind.

Melted Crayon Hearts

This is a messy project. Lay down paper or a drop cloth for easier clean up.

We started with a piece of cardboard.  I cut the cardboard into heart shapes & used a paper hole punch to poke a hole in the hearts to be able to add ribbon or string to later.

IMG_3389

We grabbed any unwrapped crayons that we had in our collection to start. We tried a number of different methods to achieve our final projects. We started by holding the crayon on the cardboard & using the blow dryer on a low-speed, high heat setting. Mai needed assistance with this because our dryer to too heavy for her to hold with one hand. I held the hair dryer for her as she worked the crayon around. *Operate caution as hair dryers can get very hot on the skin*

IMG_3391

Next we cut small chunks of crayon and laid them a couple of pieces at a time on the heart. I let Mai operate the hair dryer using 2 hands. This created a different effect as the melted crayon ran on its own pattern. I would suggest putting your project into a box or something contained if using small pieces as they do blow around a bit.

IMG_3395

My daughter came up with another idea as well. She grabbed a paint brush and pushed around her melted crayon and painted it on. The crayons cooled quickly, so she had to use the dryer often.

IMG_3397

When the crayon cooled & dried, we wrapped a ribbon through the holes.

Melted Crayon Hearts - process art & crafts for kids

This was a fun project. Mai loved watching the crayons melt. When the crayons got shiny, she knew that they were melting and that she could use them. “Mama, it melts just like an ice cube.” When we finished, she even asked if we could melt more crayons tomorrow.

Thank you as always for stopping by. Please follow us on Facebook as well.

Melted Crayon Hearts for Valentine's Day - process art for kids

DIY Cardboard Cash Register

Cardboard Cash Register for pretend play

We moved into a new house recently. We have been working on unpacking and setting up our home over the last couple of weeks.  It is hard to believe that we have so much stuff. The boxes seem endless. Mai has been enjoying playing inside of the empty boxes and we have been having fun repurposing our boxes into new fun creations.

My daughter loves to play store. She pretends that she is running her own Stop & Shop all the time. She often uses her calculator as a cash register, but I thought we could make her another one using one of our old boxes.

We used a medium-sized box.

Open both ends of the box.

IMG_3194

Cut the seams on one of the boxes sides. This will be the front of your register.

IMG_3195

Cut an arc shape on one side of the box  & then use the leftover cardboard as a template to cut the other side. This should remove the left & right top flaps of the box as well.

IMG_3196

Cut a slot out of the front of the register to add a drawer. Glue the bottom of the box back together. Bring the front part of the box up and curve it to the arc. Glue it into place.

IMG_3197

Trim the sides & fold the top front flap in half & then fold it down so that it is flat across the top. Fold the back flap in half & fold over so that the first fold is flat & that the second fold aligns with the top of the register.

(Note: I forgot to take a picture of this until after painting)

IMG_3222

Use the leftover piece cut from the arc to form a drawer by creasing the edges about an inch in on all four sides. Fold up the creases and glue the seams into place.

IMG_3199

Use the other leftover piece of cardboard to cut a rectangular piece that will fit on the register as its face. Paint your register & rectangular piece in the colors of your choice & let dry.

IMG_3202

Cut the keys & a register screen out of construction paper & write in the numbers with magic marker. Glue all the pieces into place.

DIY Cardboard Cash Register for pretend play - made with 1 box

This took very little time to make & put a big smile on my daughter’s face. Mai’s bakery is now open for business.

This was a spur of the moment project, so I apologize for the lack of photos. Please let me know if you need further instruction.

Thank you as always for stopping by. Please follow us on Facebook as well.

Toilet Paper Roll Christmas Stamps

Toilet Paper Roll Christmas Ornament Stamps

Last Christmas, we made Christmas ornament stamps out of potatoes. These were a big hit with my daughter. She loves stamping projects & we are a big fan of potato stamps. I have seen many people using toilet paper rolls as stamps by bending them into various shapes such as leaves, hearts & pumpkins and I thought what a wonderful idea.

We used our tubes to form two different shaped ornaments. I cut one tube and bent it to form the top of the ornament.

IMG_2708

I used a glue gun to glue the tops in place like shown. Make sure the top piece is flush with the tube.

IMG_2711 IMG_2709

The ornaments are then ready to stamp with. I cut out a Christmas tree shape for Mai to stamp on, but she was not interested in the tree. She just wanted to stamp on a plain piece of paper.

IMG_2717

IMG_2720IMG_2721

IMG_2723

Mai did not want to use the tree, but mommy did. I stamped the ornaments on the tree & let the paint dry.

IMG_2724

I used paint & glitter to decorate the ornaments & my daughter chose to use scissors & cut hers out for a project of her own.

Christmas Ornament toilet paper roll stamps

Thank you as always for stopping by. Please follow us on Facebook as well.