Tag

recipe

Homemade Butter With Kids

It was our wedding anniversary last weekend. We wanted to celebrate our anniversary weekend together with the whole family.

How to make homemade butter - Cooking with kids - easy & fun to make with the family. Butter recipe

*This post contains affiliate links*

We went away for a family weekend. We took our daughter to Old Sturbridge Village in Massachusetts. It was a lovely look at life in the 1800’s.

14095762_10208795971169875_630877002373588086_n

We got to take a horse-drawn carriage ride, see how yarn was made & pretend to churn butter. Our butter making play made me want to churn some butter for real. It reminded me of when I was little and churned butter on class field trips.

14040106_10208795972969920_5794196974182431876_n

I wanted to teach my daughter how to make butter too. Thank to Google & PBS Kids, I was able to find a simple way to make butter with my little. Did you know that you can easily make homemade butter by shaking cream in a jar? Well you can & it is delicious.

The recipe called for a jar, but we chose to use a shaker cup to make our butter.

We added a carton of heavy cream to our shaker & shook in a little salt. We put the lid back on & began to shake.

Snapshot 2 (8-24-2016 11-40 PM)

My daughter helped shake for a few minutes, but quickly got tired & handed it back to mommy. It is a lot of shaking, so if you are doing this with a few children, it would actually be perfect because each could take a turn for a few minutes.

The recipe that we saw said that it would take about 10 minutes, but ours did take a little longer than that, although we did stop many times throughout the process to make observations about the butter.

It was a great arm workout for this mommy. The shaking was fun, but what happened during the shaking was the most interesting part.

IMG_2836

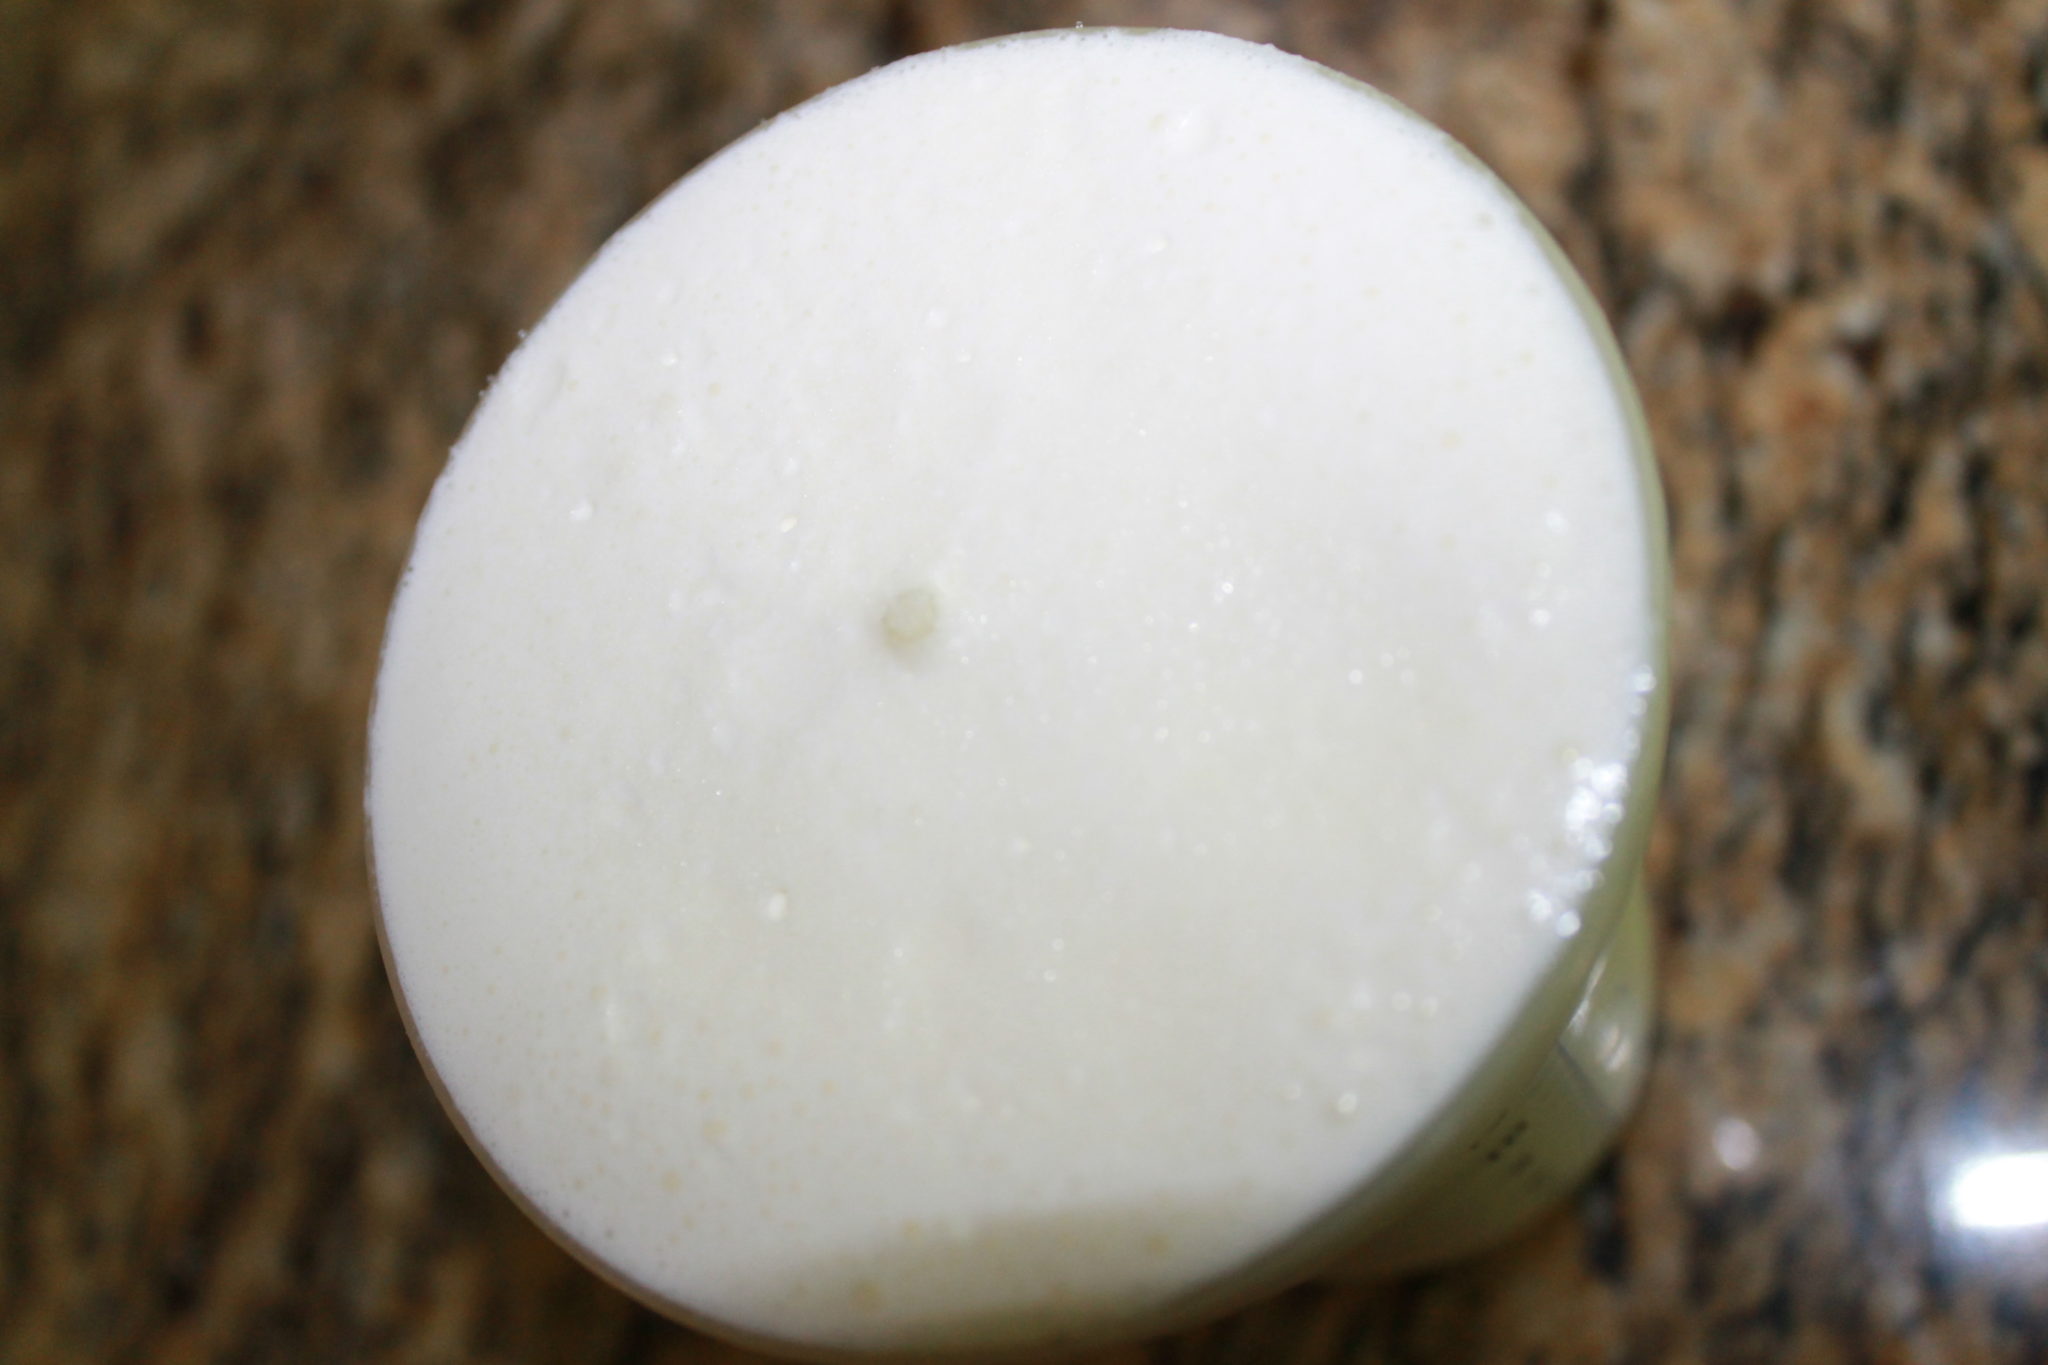
The cream hit different forms during the shaking. We stopped & looked at our cream often to see what changes were made. It was fascinating. The first stage was foamy. The cream start foaming & expanding in the shaker cup.

IMG_2838

We shook a little longer & the butter started taking on the form of whipped cream.

IMG_2839

When it took on the whipped cream form, it became a little more difficult to shake, but after shaking a little bit longer, it began to sound watery again. We checked the mixture & could see the buttermilk & butter starting to separate. We kept shaking and then poured the buttermilk through a strainer into a bowl. We drained the butter well. The strainer will catch the butter, but we were able to scoop most of it out of our shaker with a spoon.

IMG_2842

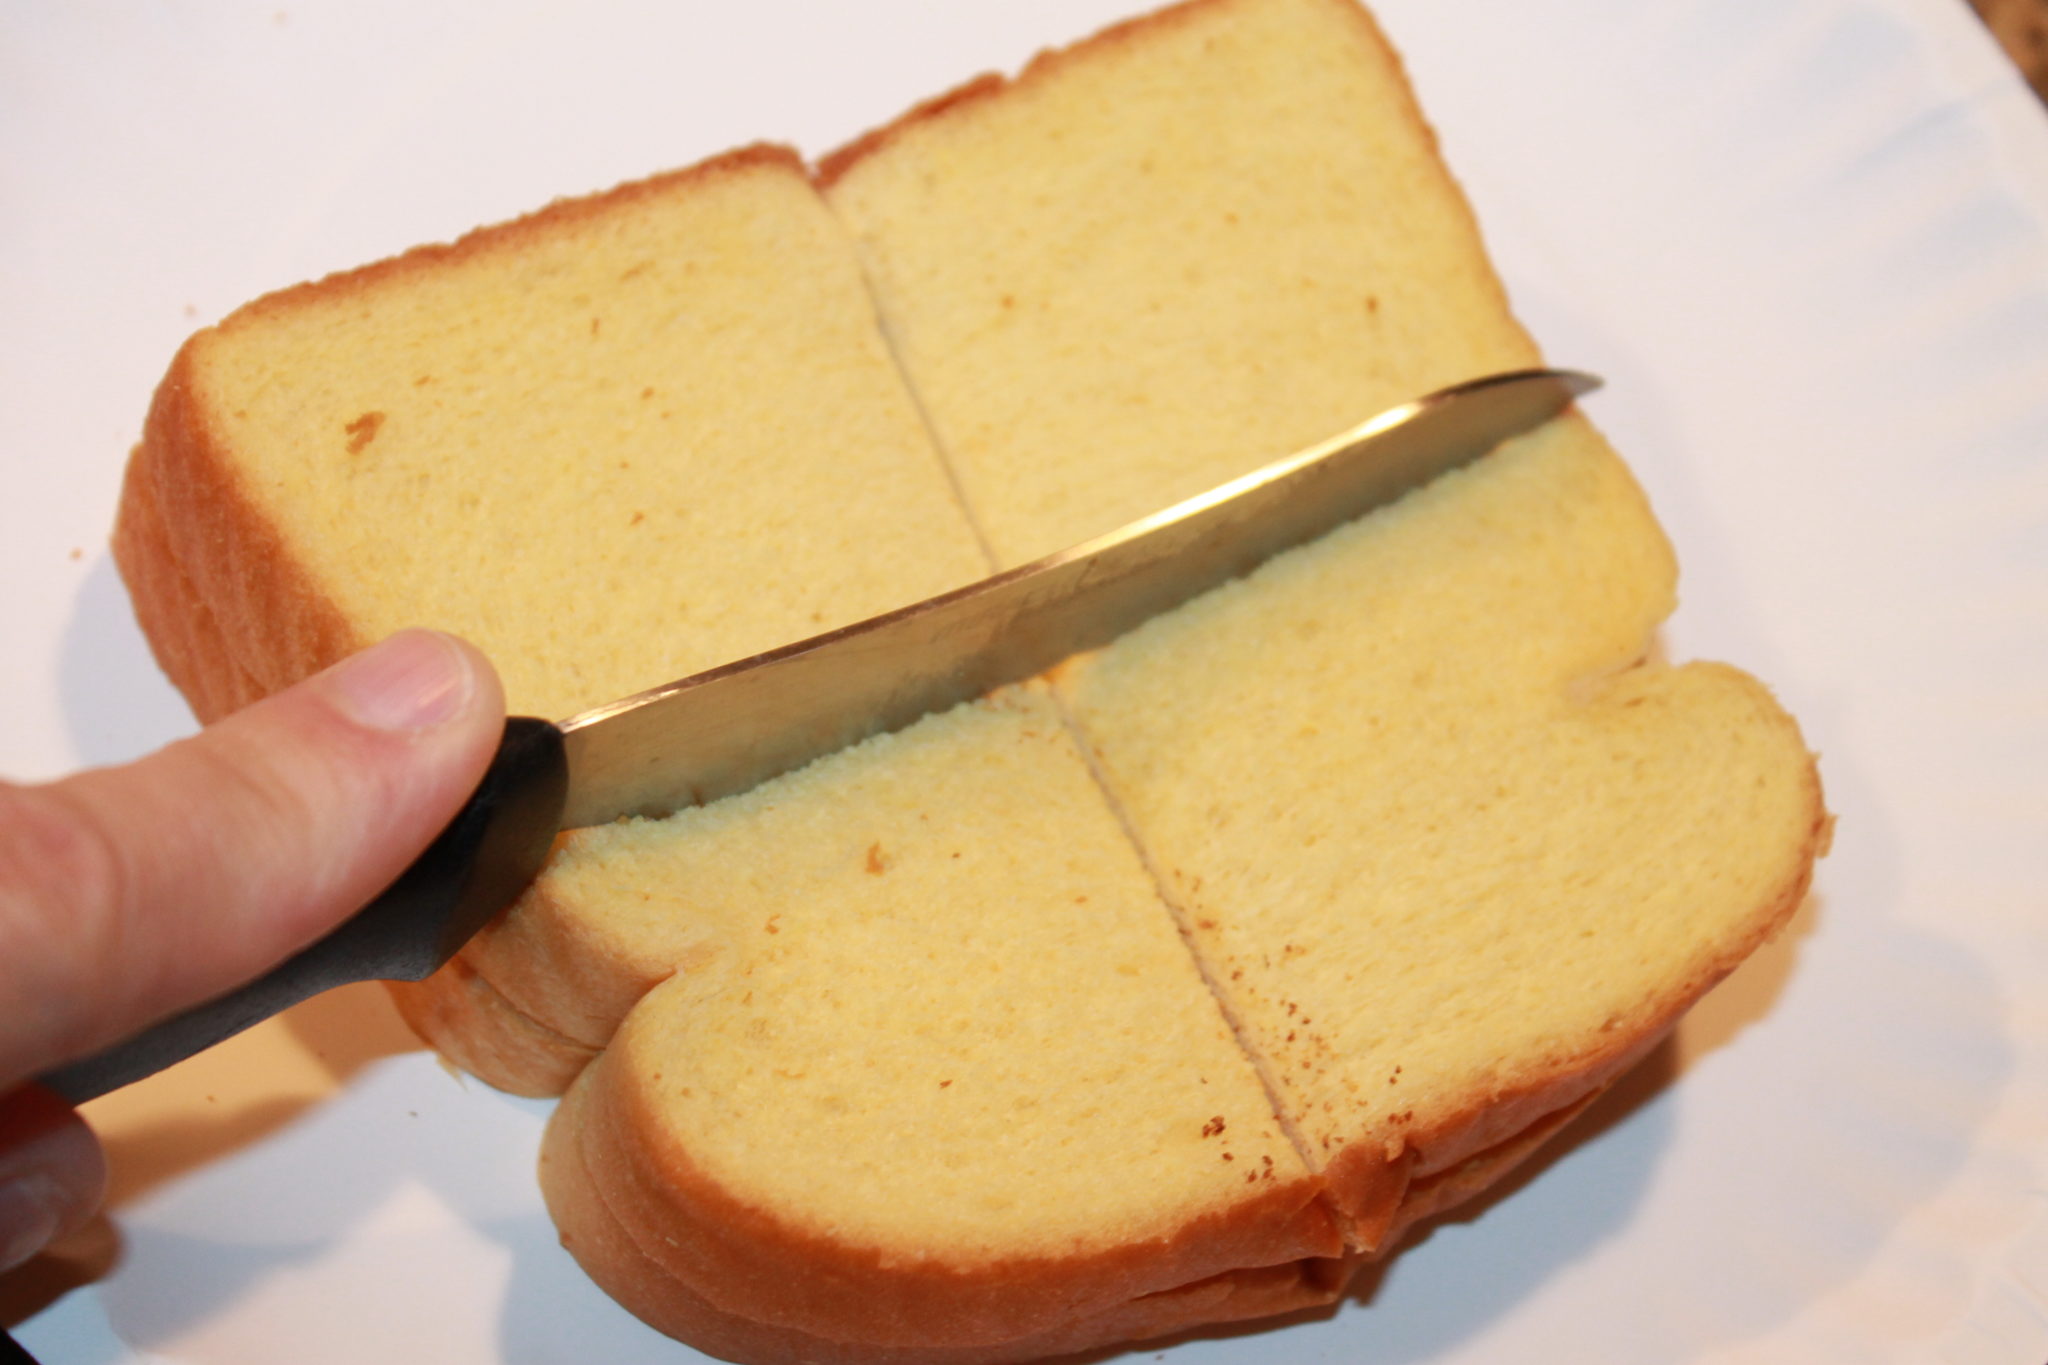
I covered the butter & then refrigerated it until I was ready to use it. We made some toast & tried out our homemade butter. It was delicious. We also used the buttermilk to make fried chicken with later that same evening.

From what I understand, homemade butter does not last too long, so extend the life of your butter by mixing some water into it after the butter is already formed.

IMG_2845

The homemade butter is definitely worth making. It was wonderful. I will definitely make it again, but perhaps next time use a beater.

How to make homemade butter. Cooking with the kids - easy & fun to make with the family. Butter recipe.


Thank you as always for stopping by. Please follow us on Facebook as well.


Butter making with kids. Easy recipe that you can make with the family

Stained Glass Butterfly Pancakes

My daughter loves pancakes. We make pancakes together every weekend. Sometimes they are just plain pancakes, sometimes she wants apples in them & others it is chocolate chips and on occasion she asks for pancakes in the shapes of her favorite things, like princess pancakes.

Stained Glass Butterfly Pancake - the kids will love these colorful springtime pancakes made with rainbow sprinkles

*This post contains an affiliate link for convenience*

She had two requests this morning. She wanted butterflies & she wanted sprinkles. Challenge accepted!

Start with a basic pancake recipe or you can use ours.

Ingredients:

1 cup of flour

1 tbsp brown sugar

2 tsp baking powder

1/4 tsp of salt

1 cup of milk

2 tbsp vegetable oil

1 tsp vanilla

1 egg white

Directions: Mix all the ingredients together. Use a blender to mix the batter to get out any clumps.

Use a funnel to funnel the batter into a condiment squeeze bottle.

IMG_5788

Squeeze out the mixture to form the butterfly’s body, which is basically a line with a circle on top.

IMG_5789

Draw in the wings with the mixture. **Note: If the batter get stuck, squeeze it off to the side to clear any clumps.**

IMG_5790

Add lines to the inside of the wings.

IMG_5791

Sprinkle rainbow sprinkles into the empty spots between the wings.

IMG_5792

Squeeze batter over the sprinkles filling in the empty spaces.

IMG_5804

Cook the pancakes as usual until they begin to bubble & then flip and cook on the other side. Serve them up with syrup or plain.

Stained Glass Butterfly Pancake - the kids will love these colorful springtime pancakes made with rainbow color sprinkles

My daughter loved her pretty pancakes. We gobbled all of them up this morning. These were so fun to make & easier then they seem.

Thank you as always for stopping by. Please follow us on Facebook as well.

Stained Glass Butterfly Pancakes - the kids will love these beautiful and colorful spring pancakes made with sprinkles

White Chocolate & Peanut Butter Pretzel Bunnies

Easter is quickly approaching and with the holiday comes all of its delicious sweet treats.  White chocolate & peanut butter pretzel stick Easter bunnies recipe. These bunny treats were a huge hit & my kid loved to decorate them.

*This post contains affiliate links*

Last year I had experimented with pretzel bunnies. They were a big hit with my family, so I wanted to try them again with a little help from my favorite little helper. We had recently purchased a set of food markers & we both could not wait to use them.

White chocolate & peanut butter pretzel stick Easter bunnies recipe. These bunny treats were a huge hit & my kid loved to decorate them.

What you will need:

White chocolate melts

Pretzel sticks

Peanut butter

Confectioners sugar

Butter

Vanilla

Food markers

Directions:

Melt 3 Tbsp of butter. Mix it with 1/2 cup of creamy peanut butter, 1 cup of confectioners sugar & 1 tsp of vanilla. Mix it well. Scoop a heaping tsp of peanut butter mixture and roll into a ball. Place on a sheet of wax paper & use a spoon to flatten into a disc. Put them into the freezer for about a half hour or until they are slightly hardened.

IMG_5459 IMG_5460 IMG_5461 IMG_5462

Melt the chocolate according to package directions.

IMG_5453

Lay out another sheet of wax paper. Dip the pretzel sticks, two at a time into the melted chocolate. Let the excess chocolate drip off & place them on the wax paper in a V shape.

IMG_5463

Remove the peanut butter discs from the freezer a few at a time. Dip them one at a time making sure to cover the top, bottoms & sides & place over the pretzel, just covering about 1/4 of the bottom. Use a rubber spatula to fill in any empty space. Let the chocolate cool & harden.

IMG_5476

Then comes the fun part. Use your food markers to draw in the bunny faces. My daughter couldn’t wait to draw on her bunnies.

IMG_5472

Here was her favorite bunny that she made, complete with hair bow & scarf.

IMG_5474 IMG_5475

They were a huge hit again with my family and my friends at work.

Thank you as always for stopping by. Please follow us on Facebook as well.

Chicken Cordon Bleu Risotto

IMG_20140213_181624

I recently discovered that my little girl loves ham. It was an amazing discovery considering that she does not eat anything. Mommy wanted to make a family dish tonight using ham in hopes that my little picky eater would gobble it up. Did it work? Join us for dinner & see.

Chicken Cordon Bleu Risotto

Ingredients:

2 cups of rice

1 1/2 cup of diced ham

1 1/2 cup of cubed cooked chicken

6 slices of swiss cheese

2 cans of heated chicken broth

1/2 cup of water

1 cup of heated milk

1 tbsp of olive oil

1/4 cup of grated parmesan

1/2 tbsp paprika

1/2 tsp pepper

Directions:

In a large skillet, add oil & ham. Cook over medium heat just for about a minute or 2 stirring the ham and browning slightly. Add the water and rice. Stir constantly until all liquid is absorbed. Stir in chicken broth, adding only a 1/2 cup at a time, letting all liquid get absorbed in between adding more. Continue until you have used all of the broth. Add the chicken, parmesan & spices. Stir in milk a 1/2 cup of milk and stir until it is absorbed & then add another 1/2 cup, also stirring until absorbed. Remove from the heat & add the cheese and stir until melted.

*Risotto is meant to be al dente but if you prefer a softer texture you may continue to add liquid until you reach your desired consistency.

034036038039040

IMG_20140213_181624

Unfortunately, the little one refused to eat mommy’s risotto but hubby, Nanna & me all enjoyed it.

Related Topics:

Beet Risotto

Spanish Quinoa “Rice” with Mushrooms

Kale & Mushroom Risotto

French Toast Balls

French toast balls. These popable bite sized balls are easy to make & fun to eat. Great for the kids

*Featured image has been updated*

Happy Christmas Eve Eve. We are only two days away & it has been a busy & exciting holiday so far. I am thrilled that we have the next few days off together as a family because it is so rare. Yesterday, there was a party for the kids at a Polish club from my husband’s home town. Mai saw Santa for the third time this season. She was still not impressed.

106

With all of the excitement from yesterday, Mai hardly ate a thing. As you all already know if you tune in with me often, she is not the best eater. This morning I wanted to ensure that she had a good breakfast before we headed out for some last minute Christmas shopping. There is one thing that I know about my toddler, she loves to eat anything bite sized. She is a snacker. It is not the same if I cut in to small pieces. It has to be a bite sized morsel on it’s own. She knows the difference.

One of my favorite breakfast foods is French toast. My daughter likes it too…sometimes. It depends on her mood. This morning we had an idea to form our French toast into little balls. Our hopes were that it would make her breakfast more appetizing. Will it work?

French Toast Balls

4 slices of wheat bread

1/2 tsp Cinnamon

1/4 cup Powdered sugar

2 tbsp Brown Sugar

1 tbsp apple juice

One egg

1/2 tsp vanilla

Preheat oven to 350.


Beat egg slightly. Mix in the vanilla & juice.

185

Cut bread into quarters. You may remove crusts for better shape or choose to keep them on.

IMG_6385

Roll into a bite sized ball with your fingers.

188

Place balls into beaten egg. Let sit for a couple of minutes to absorb the egg. Scoop the balls out.

189

Dip into the mixture of cinnamon, brown sugar & powdered sugar.

192

Place on a greased cooking tray & bake until golden brown & slightly crispy on the outside. This usually only takes a few minutes & cook time varies, so watch them carefully.

193

Watch your munchkin enjoy.

202

She loved helping mommy make them & she loved eating them too. I even got a “Mmmmmmm” out of her this morning. Try our quick and easy trick for your finicky toddler.

Try it with cinnamon raisin bread too.

cinnamonraisinfrenchtoastballs.jpg

Thank you as always for stopping by. Please follow us on Facebook as well.

Related Topics:

http://gwwministry.wordpress.com/2013/12/23/cream-cheese-cinnamon-rolls/

http://beingmrspierce.wordpress.com/2013/12/23/pumpkin-streusel-coffee-cake-new-recipe-103/

http://zosedesigns.wordpress.com/2013/12/23/christmas-pancakes/

Saltine Cracker Bark

0861

A question was posed to me the other day by a fellow blogger. She asked me “What is your favorite Thanksgiving dish that you cook?” My reply was, it was actually a dessert that was my favorite thing to make. This inspired me to share this recipe with you. With the holidays coming, this is a great treat to bring to holiday parties & get togethers. They are a never fail hit. Every holiday, for more years than I can remember my family has put in a special request for me to make this super easy, ridiculously delicious & crazy addicting dessert.

Here is what you will need.

Ingredients

1 sleeve of saltine crackers

1 cup of semi sweet chocolate chips

1 cup of margarine (2 sticks)

1 cup of sugar

1 cup of crushed walnuts

(For white chocolate bark replace chocolate chips with white chocolate chip & walnuts with almonds slivers.)

DIRECTIONS

Preheat oven to 375

In a saucepan melt the margarine on low heat. Do not let it bubble.

051

While margarine is melting, line a baking sheet with aluminum foil & lay out the saltines side by side so that the edges are touching

054

When margarine is fully melted, slowly pour in sugar & stir until sugar dissolves.

055

Quickly pour the mixture evenly over saltines & spread with rubber spatula.

059

Bake for 8 to 10 minutes or until golden brown. Times will vary depending on your oven, so watch to make sure they don’t burn.

Take out of the oven & pour the chocolate chips over the top. When the chips turn shiny, spread evenly with a rubber spatula.

068

Sprinkle nuts over the top & let cool.

069

After the chocolate hardens, break up into bite sized pieces.

071

These seriously are an amazing dessert. I make tins of these during the holidays & give them as gifts. Enjoy!

0832

Related Topics:

http://dailypost.wordpress.com/2014/03/15/daily-prompt-pour-some-sugar-on-me/

Cool whip finger painting & more messy play

Cool Whip Finger Paints - edible paints & messy fun for toddlers
As any mother of a toddler knows, toddlers have a short attention span and like to keep busy constantly. They are discovering and learning something new every day, every minute, every second. It is an incredible to thing to watch. It can be uplifting, amazing, funny, heartwarming, frustrating and oh so tiring.
It can be extremely difficult finding activities that will engage & hold my daughter’s interest. She, like her father is a runner. She does not like to stay still even for short periods of time, which is the reason I think I have such a hard time getting her to eat her meals.

One thing my daughter does like is finger painting. Like most children her age she also likes to put everything in her mouth. I found this recipe for edible finger paints last year on Pinterest.

Edible Finger Paint 
2 Tbs. corn starch
4 Tbs. water
food coloring as desired
 
Combine and mix well.

I have made these several times. Here is Mai hard at work.

IMG_20130803_130208_167

IMG_20130803_130654_776 (1)

The verdict…
This is a great recipe but I found that with this and with other finger paint recipes that they were too soupy.
She would pour out her paint containers within minutes, and that would be end of that.

I saw another idea for playing in shaving cream and I thought this was a great idea but I didn’t want her eating it.

The image of the shaving cream brought to mind Cool Whip. Lucky for me I always have a tub of Cool Whip handy.
I portioned out the Cool Whip into 3 containers and added food coloring and stirred until I achieved the desired color.
002

Mai was curious about it right of the bat. I set up her painting area by putting down a drop cloth under her chair and set a piece of poster board down for her at the kitchen table.
Let the paint fly, Mai!

She, of course, had to start off with a taste test.

025

It passed with flying colors, now she is ready to paint.

028

029

I gave her a cork and a paintbrush to work with. I was impressed with my little Picasso. She used the brush to paint the cork and then used the cork to stamp the paper.

033

032

BeFunky_030.jpg

Mai’s finished Mess-terpiece.

031

The verdict…
The Cool Whip paints worked wonderfully. The denser texture made for a better contained mess & it was much easier to mix than regular finger paints. It tastes better too.

WATER PLAY
Mai loves playing with liquid. One of my daughters favorite things to do is to take her sippy cup and pour her juice, milk, etc into anything she thinks will hold it. I have caught her taking random toys and putting them in her play pots and making soup out of them.

Here is another simple activity. Leave the splash mat out.

I used a small Rubbermaid container and filled it halfway with food colored water. We added some play cups and bath toys. She held on the the paint brush, too. She became really attached to it.

044

040

048
I also gave her a pump bottle filled with the same colored liquid. She loved this.

046

047

The verdict…
This one was a winner. I was able to cook a whole dinner while she enjoyed her water play. Thank you, baby.

Thank you as always for stopping by. Please follow us on Facebook as well.

Cool Whip Finger Paints - edible paints & messy fun for toddlers