Tag

room

Cardboard Art Display

Kid's Play & Art Room Display Wall

*This link contains affiliate links*

It has been a long couple of months for my family. After months of construction, my husband’s childhood home was renovated. We were eager and ready to move into our new home. The majority of our holidays were spent moving furniture & boxes and unpacking. It was a lot of work, but it was so exciting to watch it all come together. There was none more excited than our daughter. She was ecstatic.

She has a lovely new bedroom & most excitingly, a playroom of her very own. Since my daughter loves arts & crafts, I just had to make a craft corner for her & if we are being honest, for me too.

I have always wanted a display area in our house to showcase my daughter’s artwork.  Mai loves showing off her most recent drawings or crafts & would often hang them on the refrigerator or tape them to the walls.

We have an abundance of cardboard boxes (obviously) & I wanted to put them to good use.

Cardboard Art Display

I drew out & cut the letters to spell the word create.

IMG_3105IMG_3106

I used several different craft materials to decorate each letter. For the C, I covered it in pom poms using a glue gun. The R was made with school glue & glitter, the E was covered in buttons. The A was made with swirls of yarn, the T was covered in pieces of tissue paper & for the E, I just used paint. After each letter dried, I glued a strand of yarn around the edge.

IMG_3107IMG_3109

Since we have new freshly painted walls, I hate to mar them up with nails or hooks. I am a huge fan of using 3M Command strips for displaying wall hangings & our family photos.

71dLo1iNizL._SX522AA522_PIbundle-2,TopRight,0,0_AA522_SH20_

I hung our letters high up on the wall.

IMG_3124

IMG_31161

I cut another piece of cardboard into the shape of an artist’s palette & painted it white. When the white dried, I added splats of different colored paint around the edges. I lined the palette with yarn too.

IMG_3115IMG_3119

I cut two paint brush sticks out of cardboard & painted them. Foam sheets were used to form the paint dipped bristles.

IMG_3122

Clothespins were glued around the outside of the palette in between each color splat.

IMG_3123

The palette was mounted under the letters using 3M strips again.

Mai picked out her favorite artwork & asked me to hang them on her new display board.

Kid's Playroom Art Display Wall

Thank you as always for stopping by. Please follow us on Facebook as well.

Alphabet Block Bookcase

Blocksbookcase.jpgOur home is no longer an adult’s house. It is a toddler’s house that has a couple of adults living in it. There is not one room in our house that is not filled with Mai’s toys, clothes, artwork or books. I can hardly remember what is was like to have a tidy house.

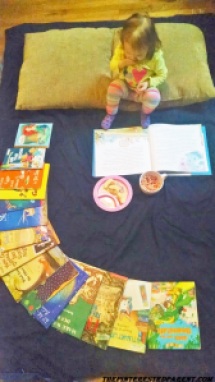
We read a lot in our home. My daughter loves being read to and now is at the point that she knows most of her books so well that she can recite them to us. Her books are everywhere. We have two baskets of books in our living room, a pile on her floor in her room, a stack on our night stand in our room and a shelf of them in the kitchen. I had read a suggestion regarding rotating your books out as you do with your toys, that your toddlers only need a few books out at a time. The thing is my daughter reads them all. I boxed up a few of the less popular books in her collection and she knew that they were not there. We have book picnics in our living room, where we will lay about 15 books out with snacks and pillows and we will go through them all.

IMG_20140407_184008605
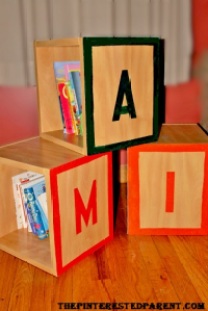
I wanted to organize her books better and at a little cuteness to her space as well. This was a simple project using wooden storage cubes.
ALPHABET BLOCK BOOKCASE

What you will need:

Wooden storage blocks
Acrylic paints
Alphabet stencils
Paint brush
Tape
Ruler

Directions:

Lay down newspaper and gather all your supplies. Position your first block for painting.

001

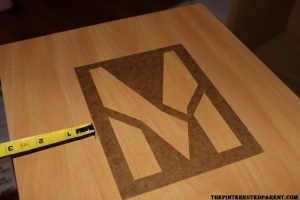
Place your stencil in the center of your block.  Measure around all four sides to make sure that you are centered. Tape the stencil in place.

003

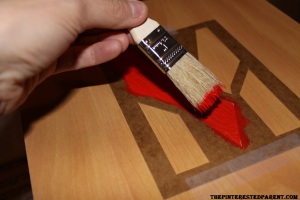
Using the color of your choice paint within the stencil.

005

Using a ruler or anything with a hard edge, paint a straight thick line about an inch thick around all four edges.

007

Let dry and then repeat all steps with how ever many cubes you choose to use. For your bottom cubes, paint so that the openings are opposite of one another so that you may get books easily.

008

Secure with gorilla glue, nails or screws to secure the blocks in place.

Blocksbookcase.jpg


Related Topics:

http://ylumcps.wordpress.com/2014/05/03/read-a-thon-for-new-library-books-2/

http://doctoringparenting.wordpress.com/2014/05/03/pat-the-cat-by-edith-kunhardt/

Yarn Embellished Initial Wall Hanging

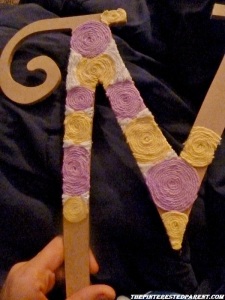
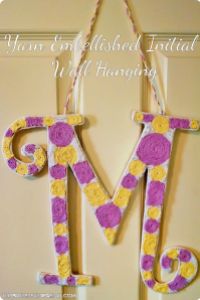
yarninitial.jpgMy daughter as many of you may well know, is named after my mother. Mai is a less than common name, which is one of the things I love about it. She will always be unique. We have a lot of personalized & monagrammed things for her. I cannot see the letter M without thinking of my little munchkin. So when I was shopping at Michael’s and saw a giant wooden M for sale, I had to scoop it up. Her room is purple with golden & neutral tones, so I chose colors to compliment her room. What you will need: A wooden letter Different colored yarns Elmers glue Scissors Glue gun

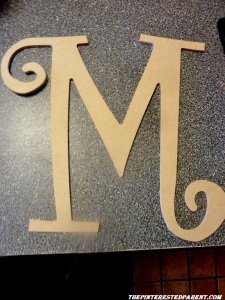
Purchase a cheap wooden letter from a craft store or make one yourself.

023

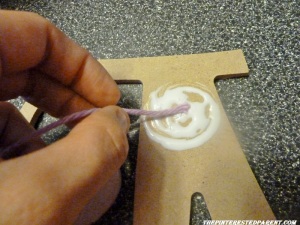
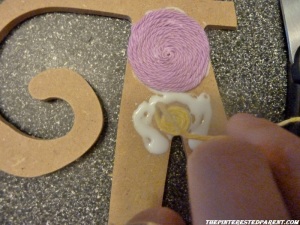
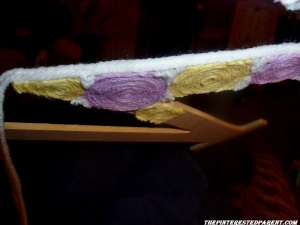
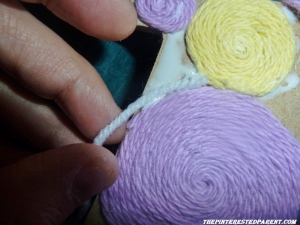
Form a circle using the glue. Starting from the center begin circling the yarn around itself.

Form a circle using the glue. Starting from the center begin circling the yarn around itself.

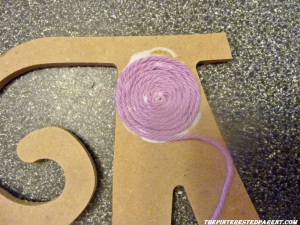
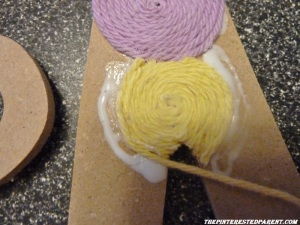
Continue to circle around until you cover the glue circle.

Continue to circle around until you cover the glue circle.

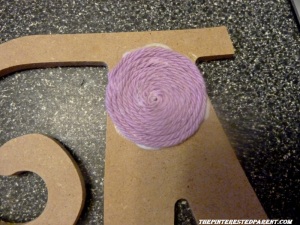
Snip the end of your yarn off and form into the circle.

031

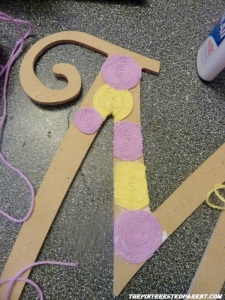
Working off the edge of the first circle add another glue circle and repeat the circling method.

032

For circles that are not full because off cut out edges, form half circles around each side cutting off the ends at the edge.

033

Continue this pattern, making circles as big or as small as you desire.

036

To fill in uncovered spaces around the circles, fill in with a different colored yarn following the same lines as your circles.

006

001

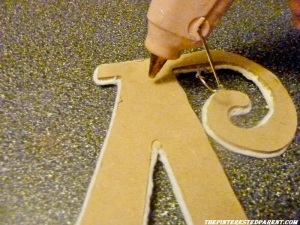
Line the edges of your letter with the accent yarn to smooth out your edges & add a more finished look.

004

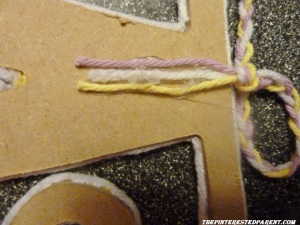
Braid the different colored yarns together & knot each end.

015

With a glue gun add hot glue on the back of your initial where you would like your hanger.

017

Press your braided yarn into the glue & repeat on the other side.

018

Find a place to hang your craft.

yarninitial.jpg