

It has been a rough winter in New England. On Monday, we had yet another storm, a big one. We added another foot of snow to last week’s accumulation.


Sufficed to say, we were snow bound & stuck home. My mother-in-law got caught up in the storm & was snowed in with us. Mai & I were making glittery paper hearts, when my mum-in-law asked me if I knew how to make a Swedish heart. I did not. She gave me a quick tutorial & weaved a lovely heart out of newspaper to practice. They were so cute & easy to make. She showed me how they formed a little pocket & I thought how cute these would be for our daughter to give out filled with little Valentine’s candies.
Paper Swedish Heart Baskets
All you need for this craft is some paper, glue & scissors.
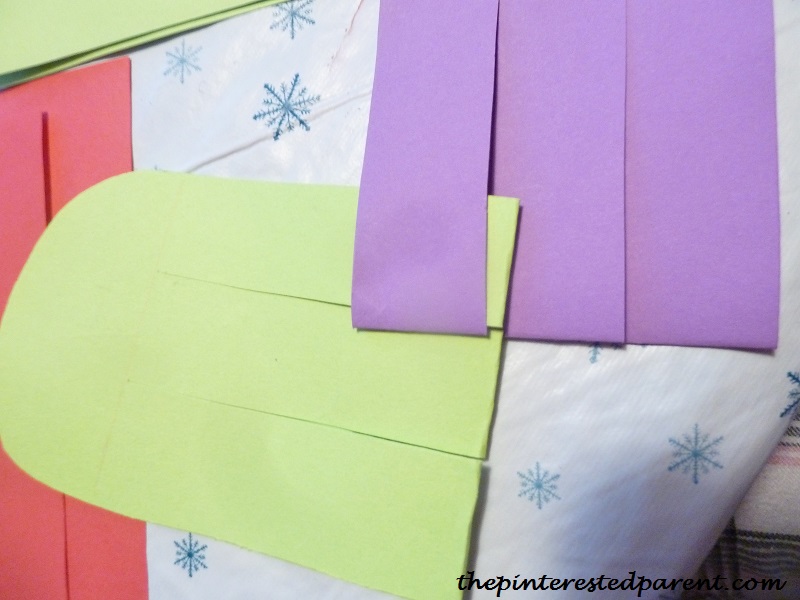
Choose 2 different colored pieces of paper. Fold each piece in half. Cut out a shape like shown below, rounding the tops of the unfolded edge.
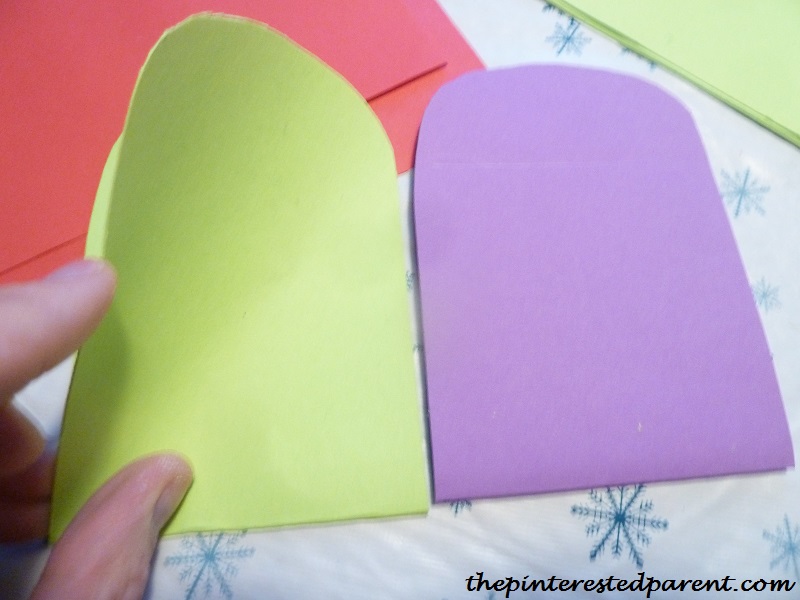
Overlap the shapes so that they form a heart shape.
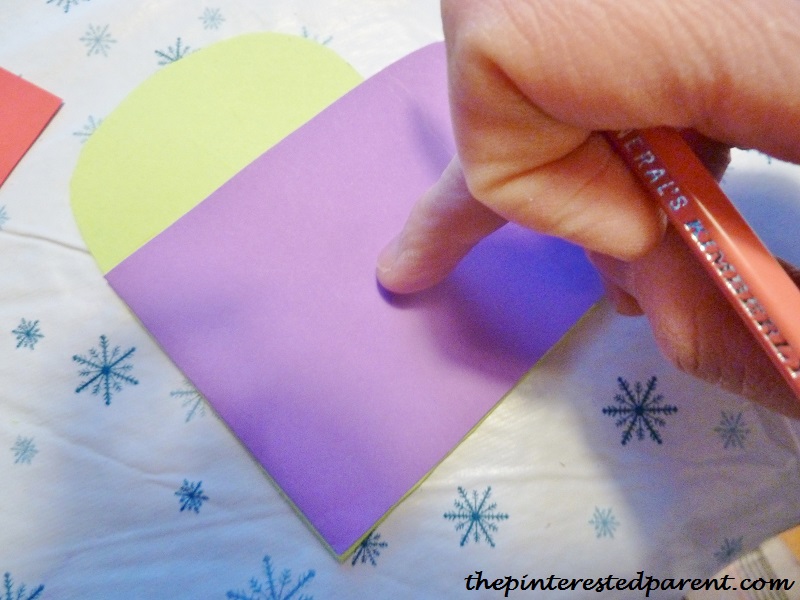
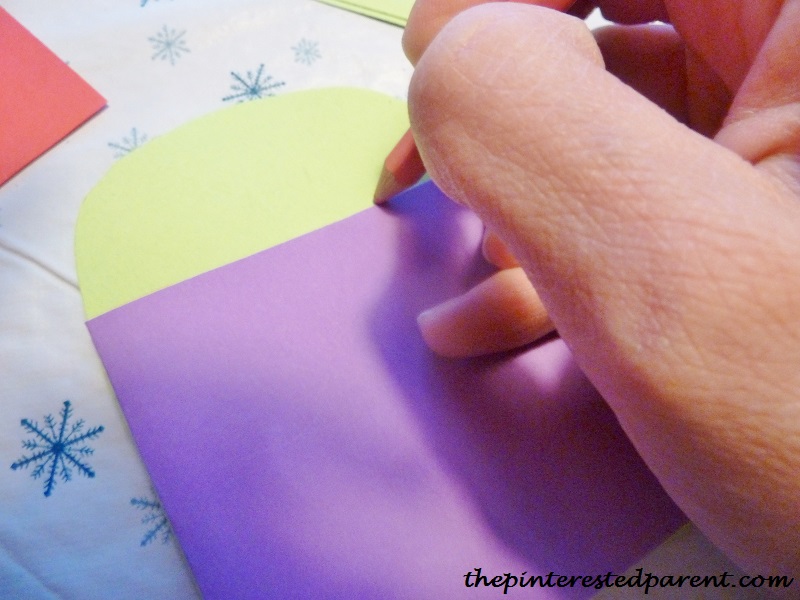
Draw a faint line across the top edge of the overlap on each side of your heart.
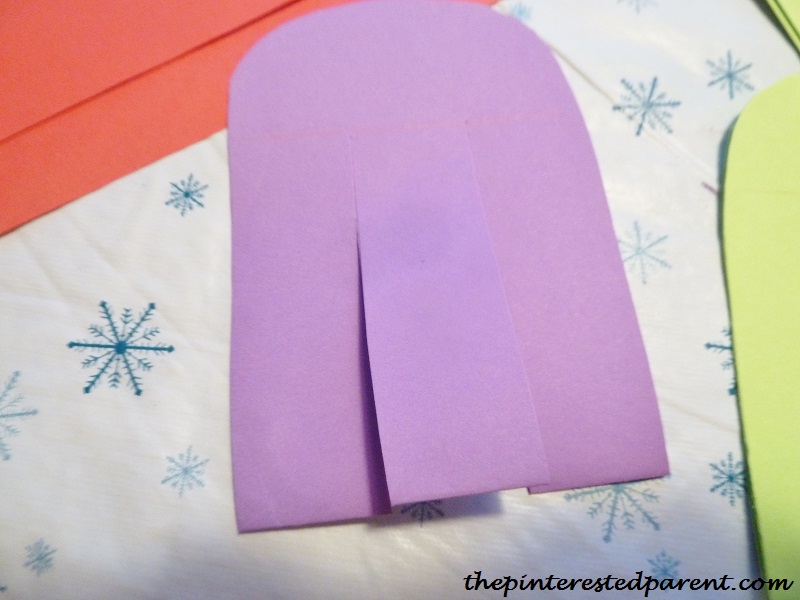
Cut 1 slit 1/3 of the width of one of the shapes. Cut from the folded edge up to the line that you just drew. Cut a second slit another 1/3 of the way the same way. Do this to the other shape as well.

This should give you 3 even loops on each.
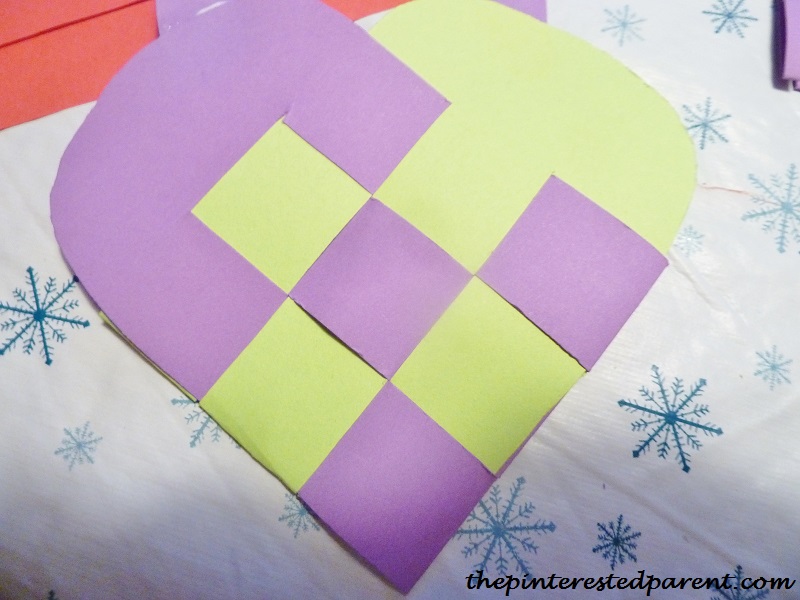
Start weaving your two hearts together. Stick the 3rd loop from the green through the first loop on the purple shape as shown below.
Pull the same purple loop through the 2nd green loop.

Work that same purple loop all the way over & insert the 1st green loop into the purple to finish off the first weave.

Push the purple shape all the way up to the top of the green shape to make room to start your next loop. Start this row the opposite way this time, pulling the next purple row through the green & then continue to alternate in this pattern until the end.

Add a couple of strips of paper to the inside of each side to make handles.
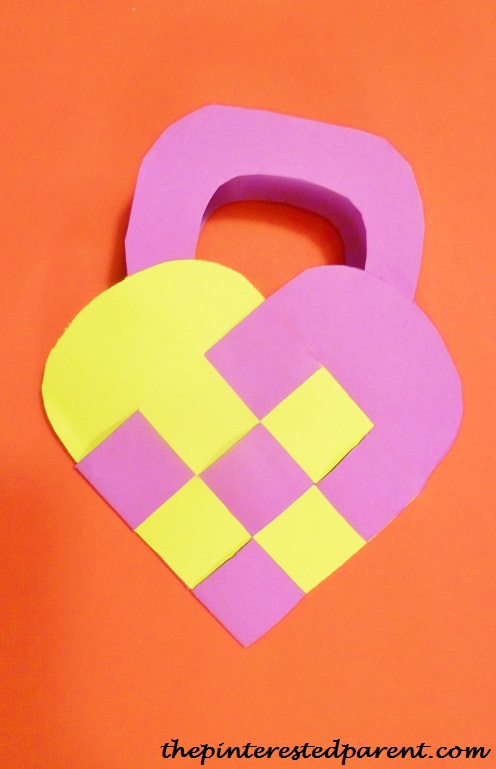
Fill the basket with some treats.

Thanks Nana for teaching me something new. These will be adorable to give to Mai & her friends.
Thank you as always for stopping by. Please follow us on Facebook as well.


This does look easy enough and like you I didn’t know how to make it before, but want to try now 😉
These are pretty easy, not something that Mai could do, but super sweet to put some little treats in for her daycare friends.
In our living room we have a wall that we decorate for holidays and these would look great! Congrats on learning something new.
Thank you. They are cuter in person. I couldn’t get the right angle.
I love these, especially the colors you chose. I was foolish enough to try this with a group of kids at church one time. Disaster. But once we adults did the putting together for them, they loved the finished product. 🙂
Thank you. Yeah, this would not work with my daughter. They will be cite for gifts for her friends though.
Cute!
Thank you so much.
These are super cute! My little one would love these x
Thank you. 🙂
These are so cute! I think we will make these this weekend!
Thank you.
I simple adore these!
Thank you. My daughter has been walking around with them singing “A tisket a tasket.” Lol