
We have been doing a lot of work on our house the last few weeks to prepare it to go on the market. We finally finished our cellar, repainted our living room ceiling & did some much-needed gardening. Mai has been helping mama a lot & it turns out that she really likes gardening.
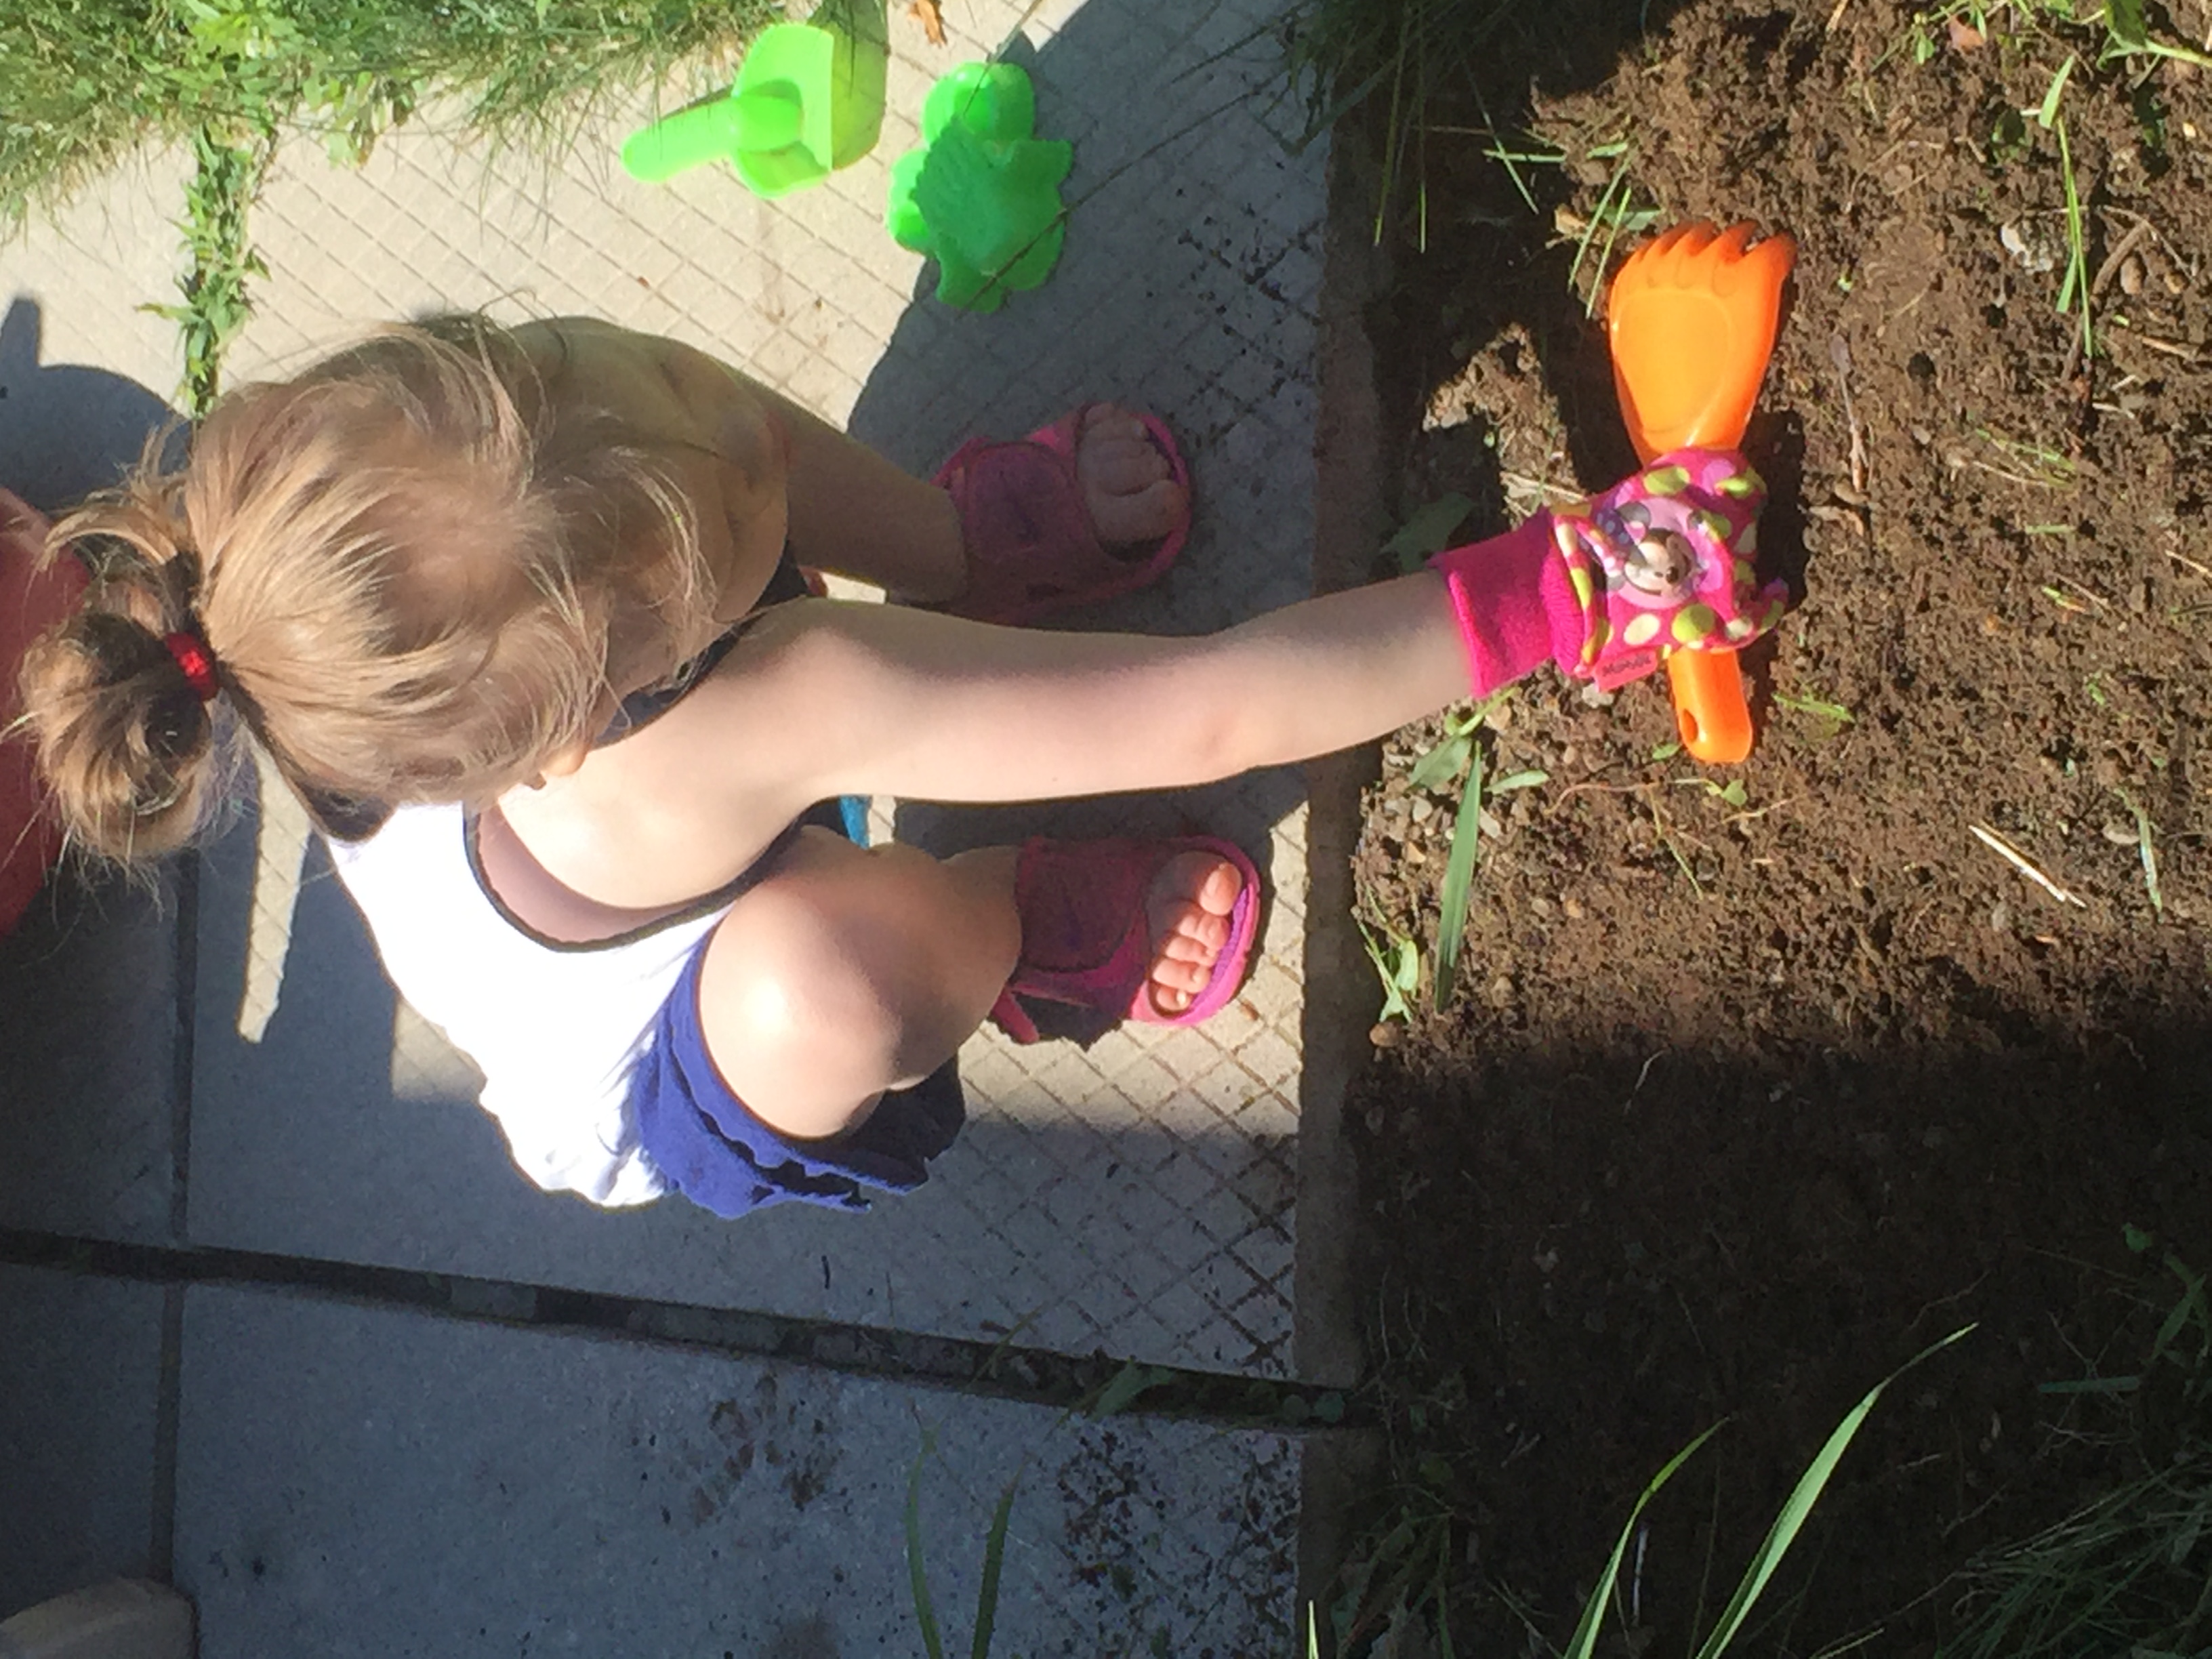
With all of the weeding & pruning that we had to do, the wheelbarrow was my new best friend. Mai, of course, wanted to push it around, but it was a bit to big, heavy & clumsy for my little girl to maneuver. It did give me an idea for a wheelbarrow craft with a functioning wheel though.
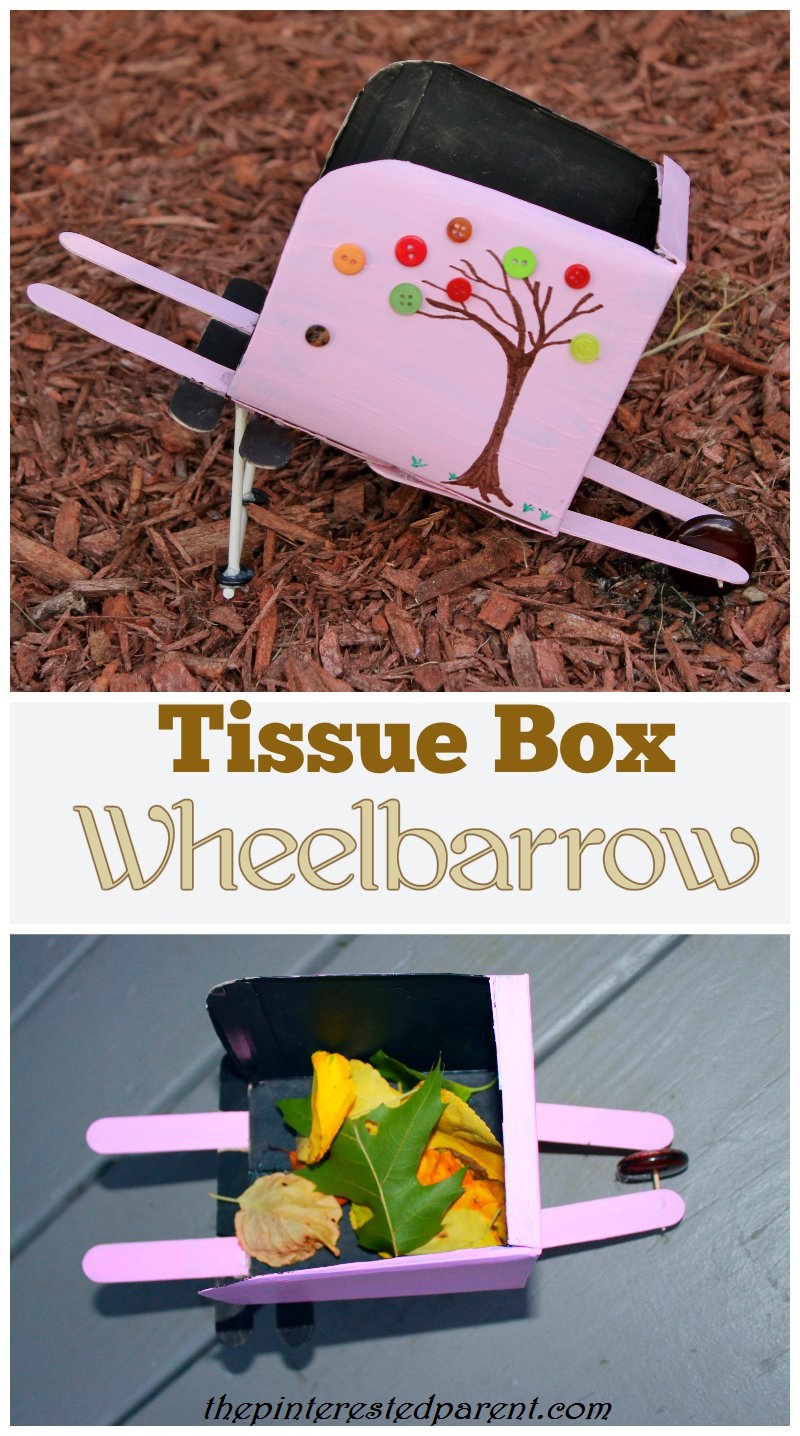
Tissue Box Wheelbarrow
Things you will need:
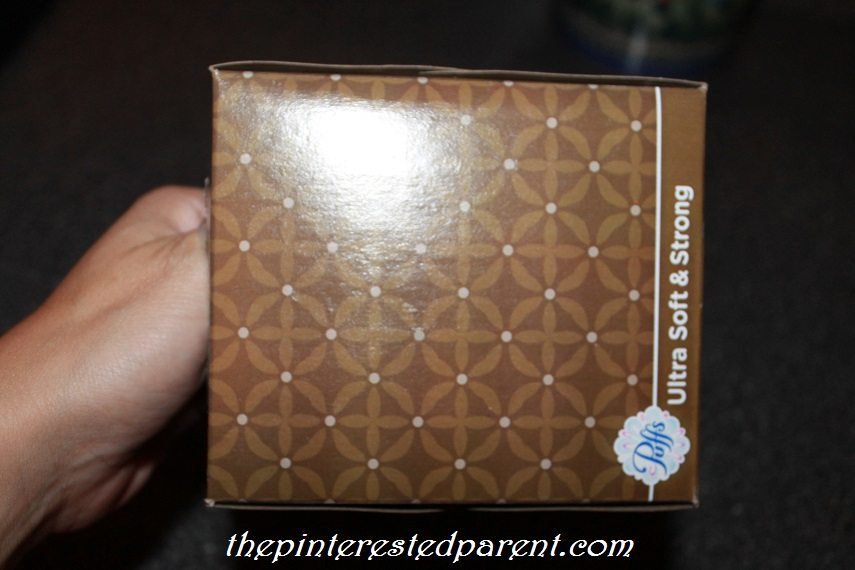
Tissue Box
Paint
Craft stick
Large button
Toothpick
Sticks or dowels
Buttons
Directions:
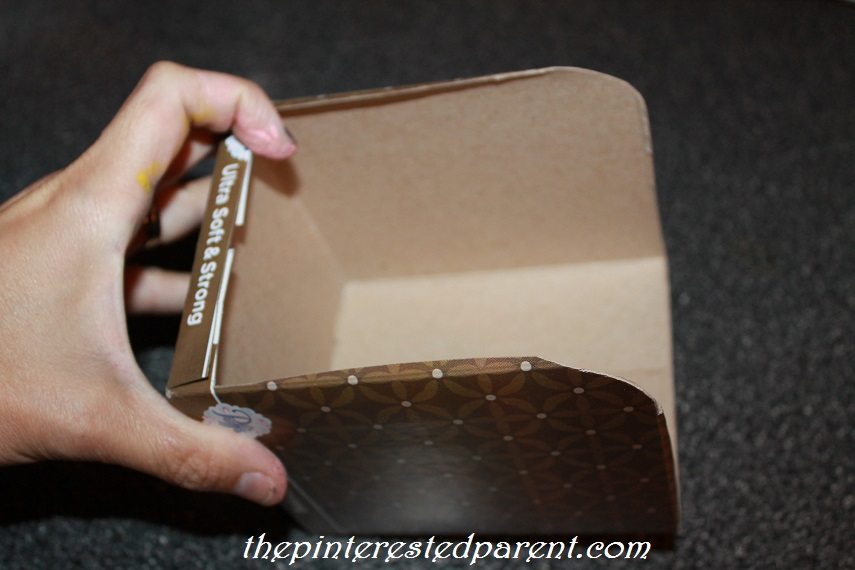
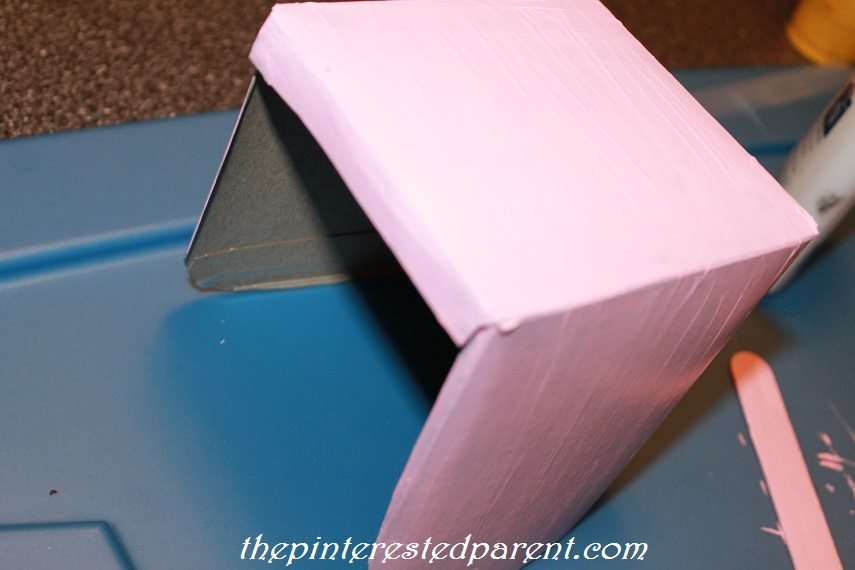
Cut the top of the tissue box off & cut off most of one side leaving a slight lip.
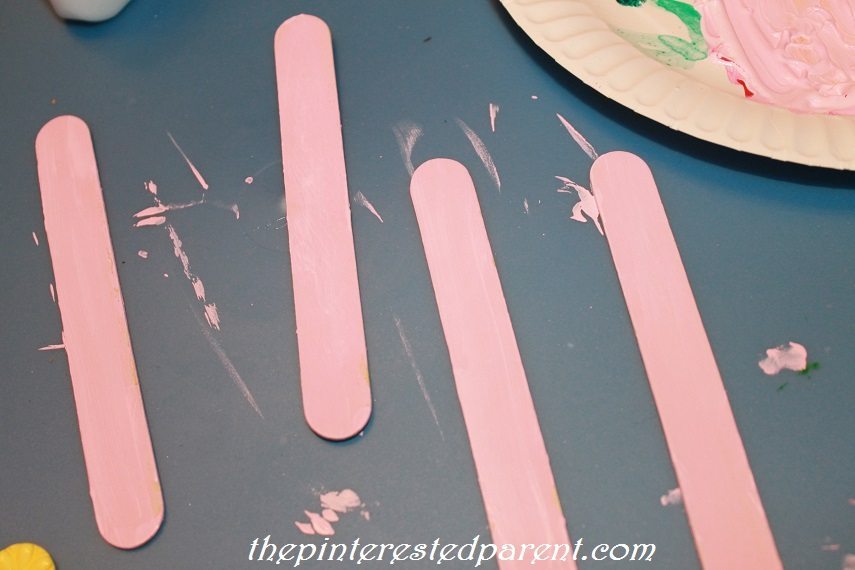
Paint the box & 6 craft sticks.
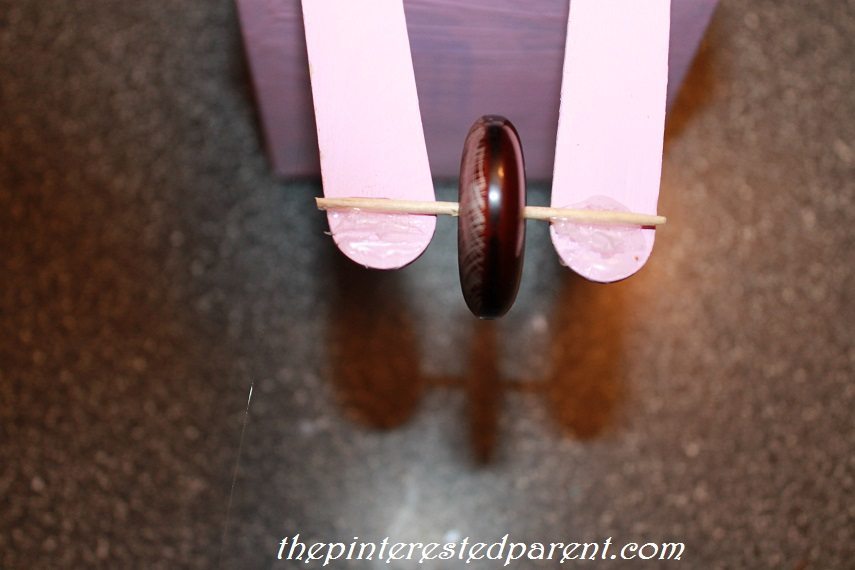
Glue two parallel sticks underneath the box on the cut end as shown. The open side should be at the top. Glue two more sticks onto the other end so that they slant towards one another as shown.

Stick a toothpick through a hole in the large button. Place the button in between the two slanted craft sticks & glue the toothpick in place to secure.
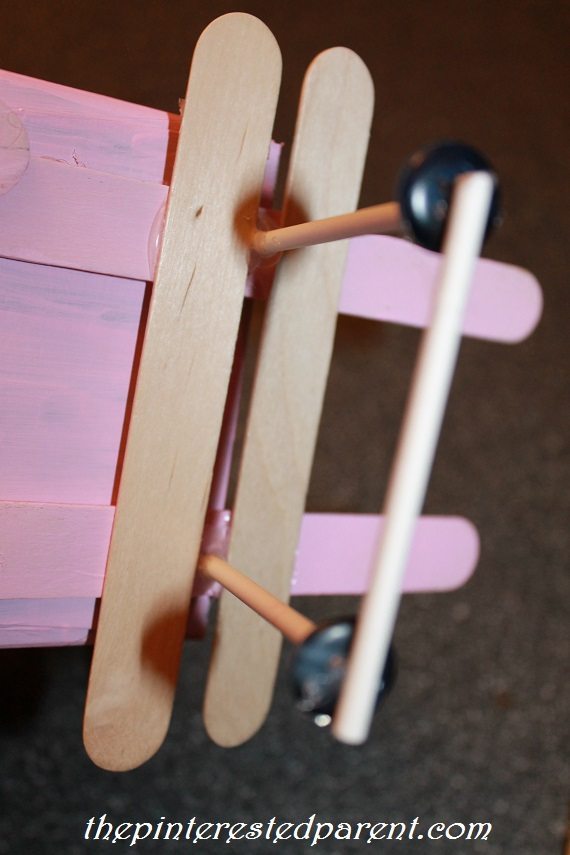
Glue two more crafts sticks underneath the parallel sticks. Glue 3 dowels or wooden sticks together to form a brace for your wheel barrow & glue it between the two craft sticks.. (I glued a button on either end of the brace for more glue surface & stability.)
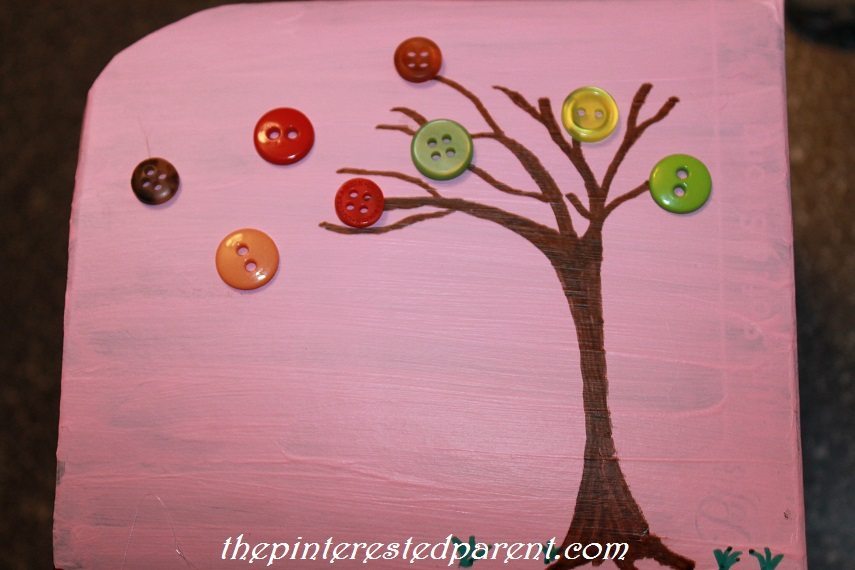
I painted a tree trunk & added button leaves to dress up our wheelbarrow a bit. You may decorate yours however you choose.
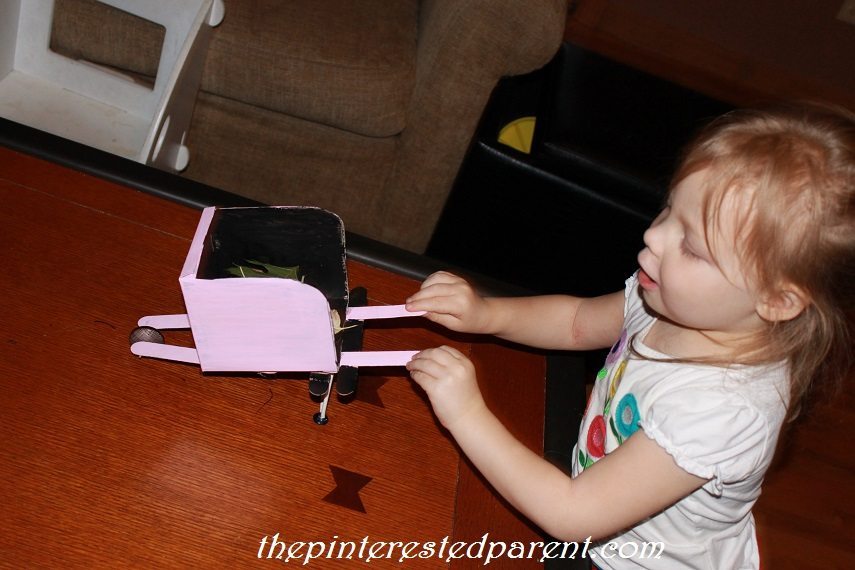
Mai had a lot of fun wheeling it around. We filled it with leaves from outside & she had a little indoor gardening fun with it.
Thank you as always for stopping by. Please follow us on Facebook as well.


Very cute and seriously clever way to make a wheel barrow as a craft, Kim 🙂
Thank you, Janine. It is actually pretty cute & it moves around very well.