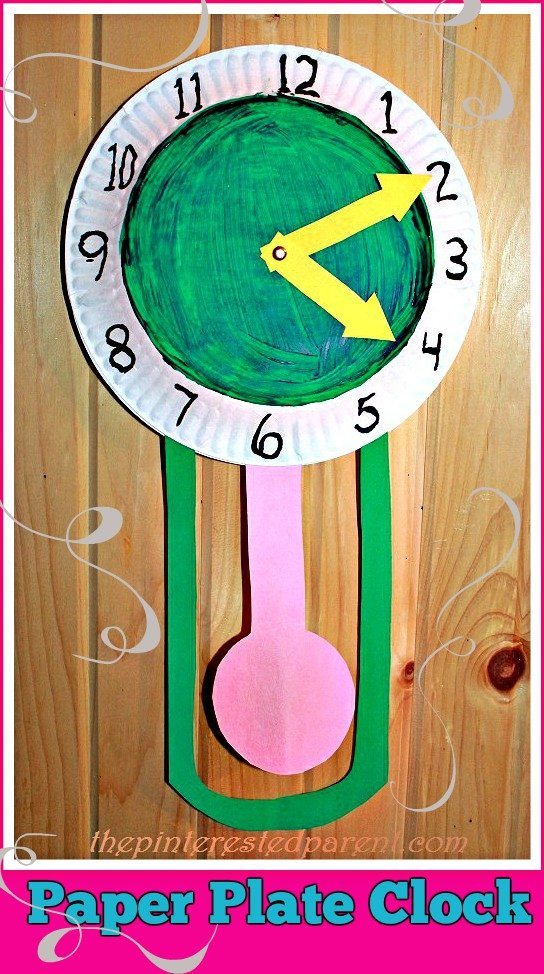
*This post contains affiliate links*
Before my husband & I had our daughter, New Year’s Eve was a whole lot different from it is today. We used to have a big New Year’s party every year complete with a New Year’s back drop. Our celebration has changed over the last few years. It is a far quieter evening, but has still remained festive and fun only in a much different way.
Last year we celebrated with friends & the kids almost made it to 11 o’clock.
11 o’clock last year meant nothing to my daughter as she had very little concept of time, but this year she understands it a bit more & we have been working on our time telling skills. With New Year’s fast approaching, it seemed fitting to make a New Year’s clock. It would be a great craft for the holiday & allow us to continue with our teachings on time.
What you will need:
Paper plates (2 for each clock made)
Paint
Markers
Glue
Directions:
Paint inside of the bottom of a paper plate avoiding the outside edges. Let the paint dry.
Use a marker to write in your hour numbers around the clock.
Cut out clock hands. Make one larger than the other.
Push a split pin through the hands & the paper plate. Secure loosely so that the hands move easily.
Cut a pendulum shape & another shape like shown to house your pendulum. Glue the pendulum housing to the back of the clock face. Center it under the 6 o’clock.
Use another split pin to insert the pendulum to the middle of another paper plate.
Glue the paper plates together while avoiding the area that houses the pendulum.
Use your new clock to teach your child how to tell time. Hopefully they love changing the time & moving the pendulum as much as my little girl does.
Thank you as always for stopping by. Please follow us on Facebook as well.