
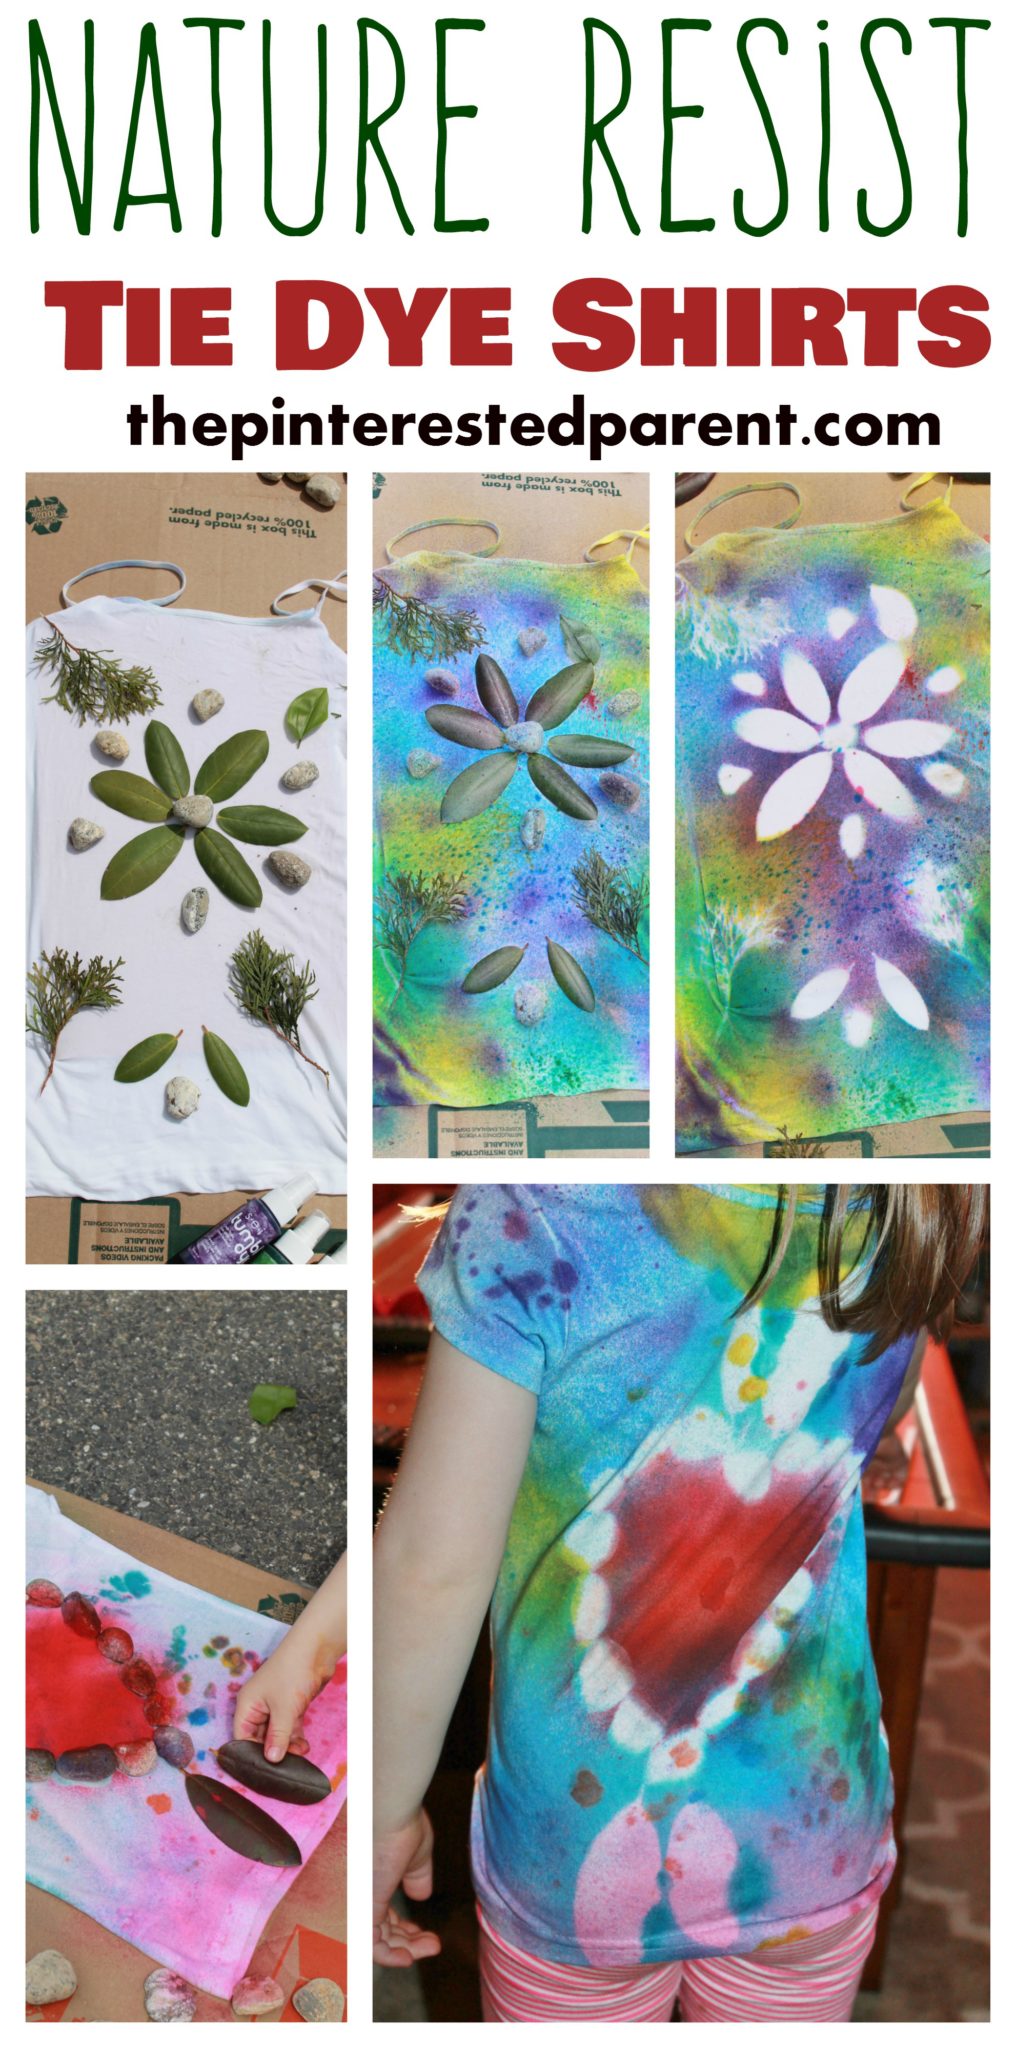
Use items in nature to create beautiful nature resist art and t-shirts. This is a wonderful project for people of all ages.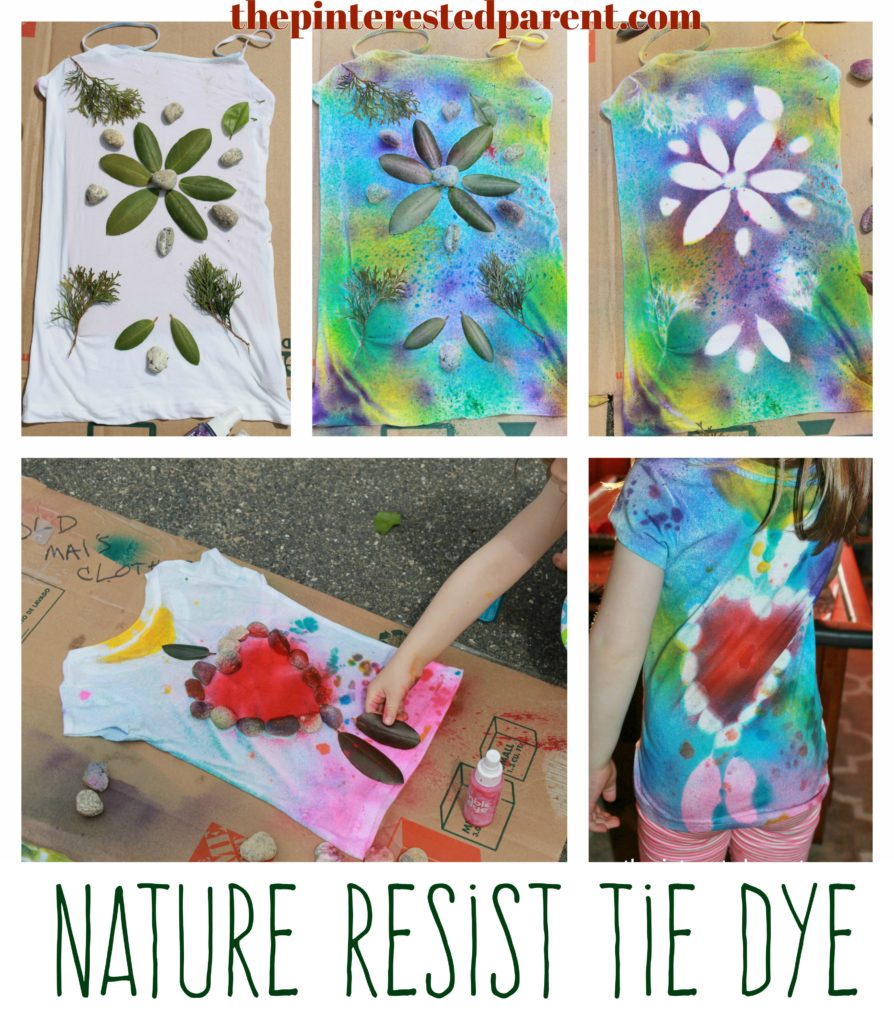
*The Pinterested Parent is a participant in the Amazon Services LLC Associates Program, an affiliate advertising program designed to provide a means for sites to earn advertising fees by advertising and linking to Amazon.com. In addition, text and image links in this post may be affiliate/referral links, which means we may be compensated if you make a purchase after clicking through these particular links* See full disclosure policy.
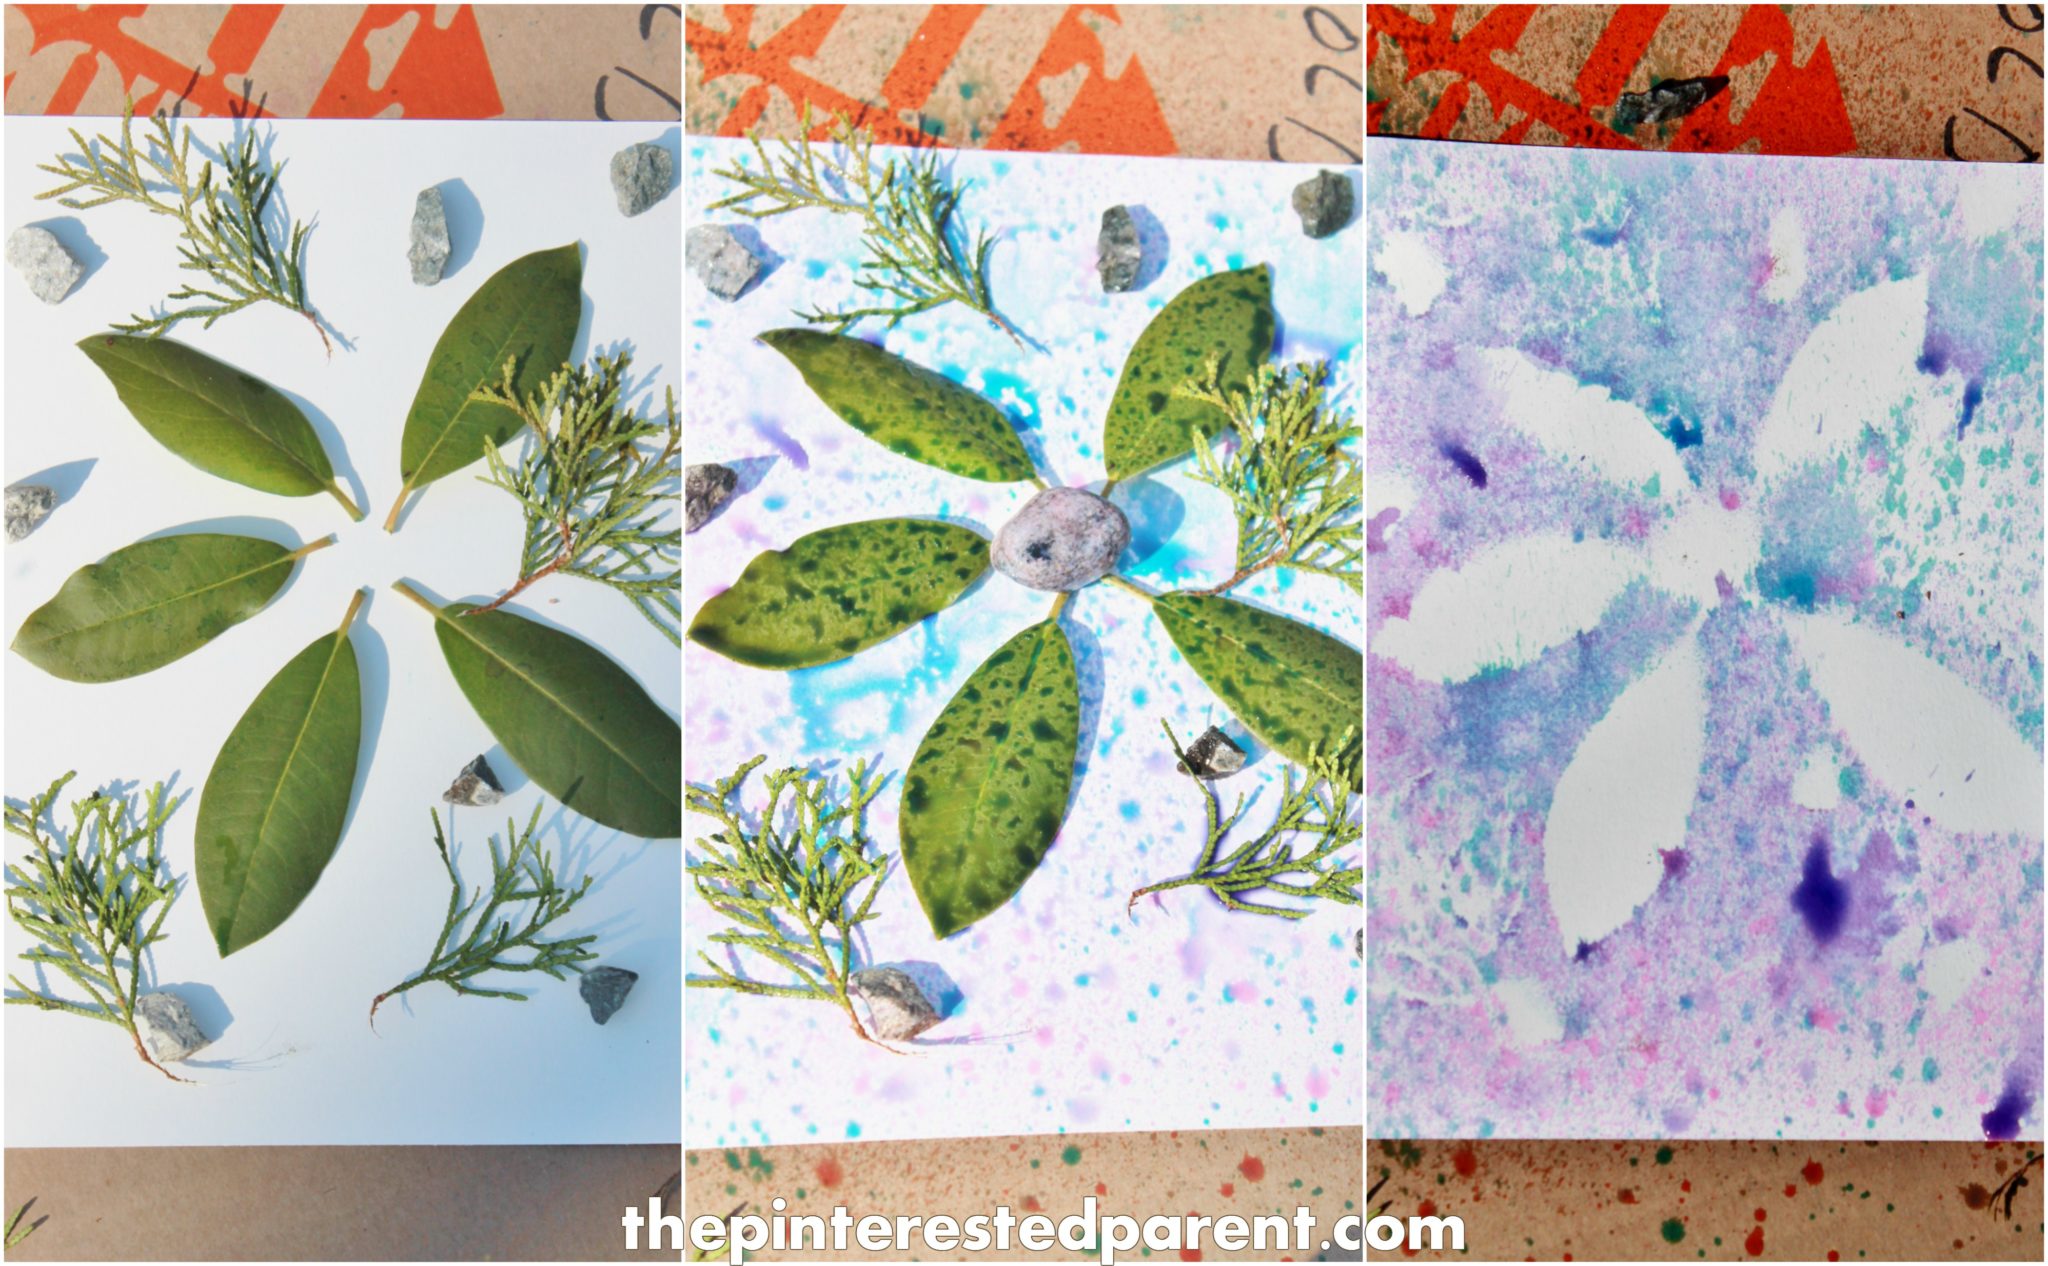
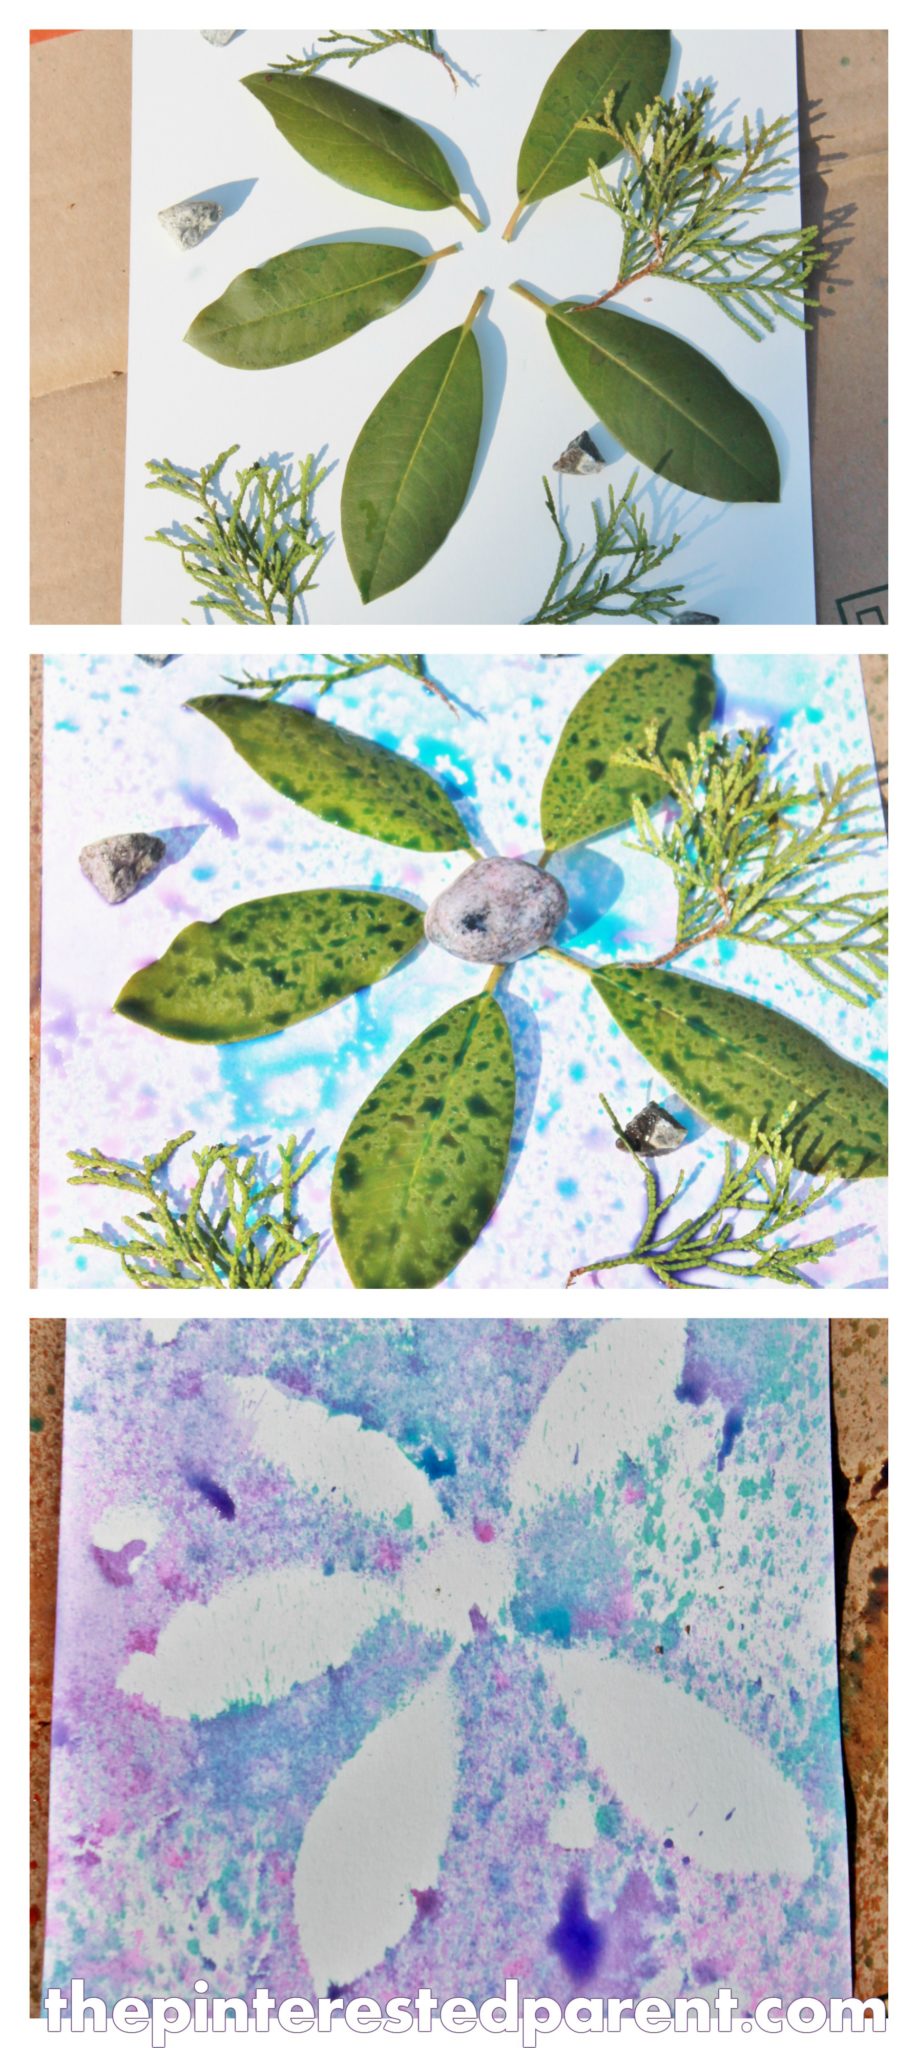
We have been enjoying the beautiful weather these past few weekends & spending most of our time outdoors. We have been experimenting and playing with different nature arts and crafts. Last weekend, we brought some watercolor paper outside and laid some leaves and rocks on top and used spray bottles to spray the paper with a mixture of food coloring and water. This simple nature resist project gave us an idea.
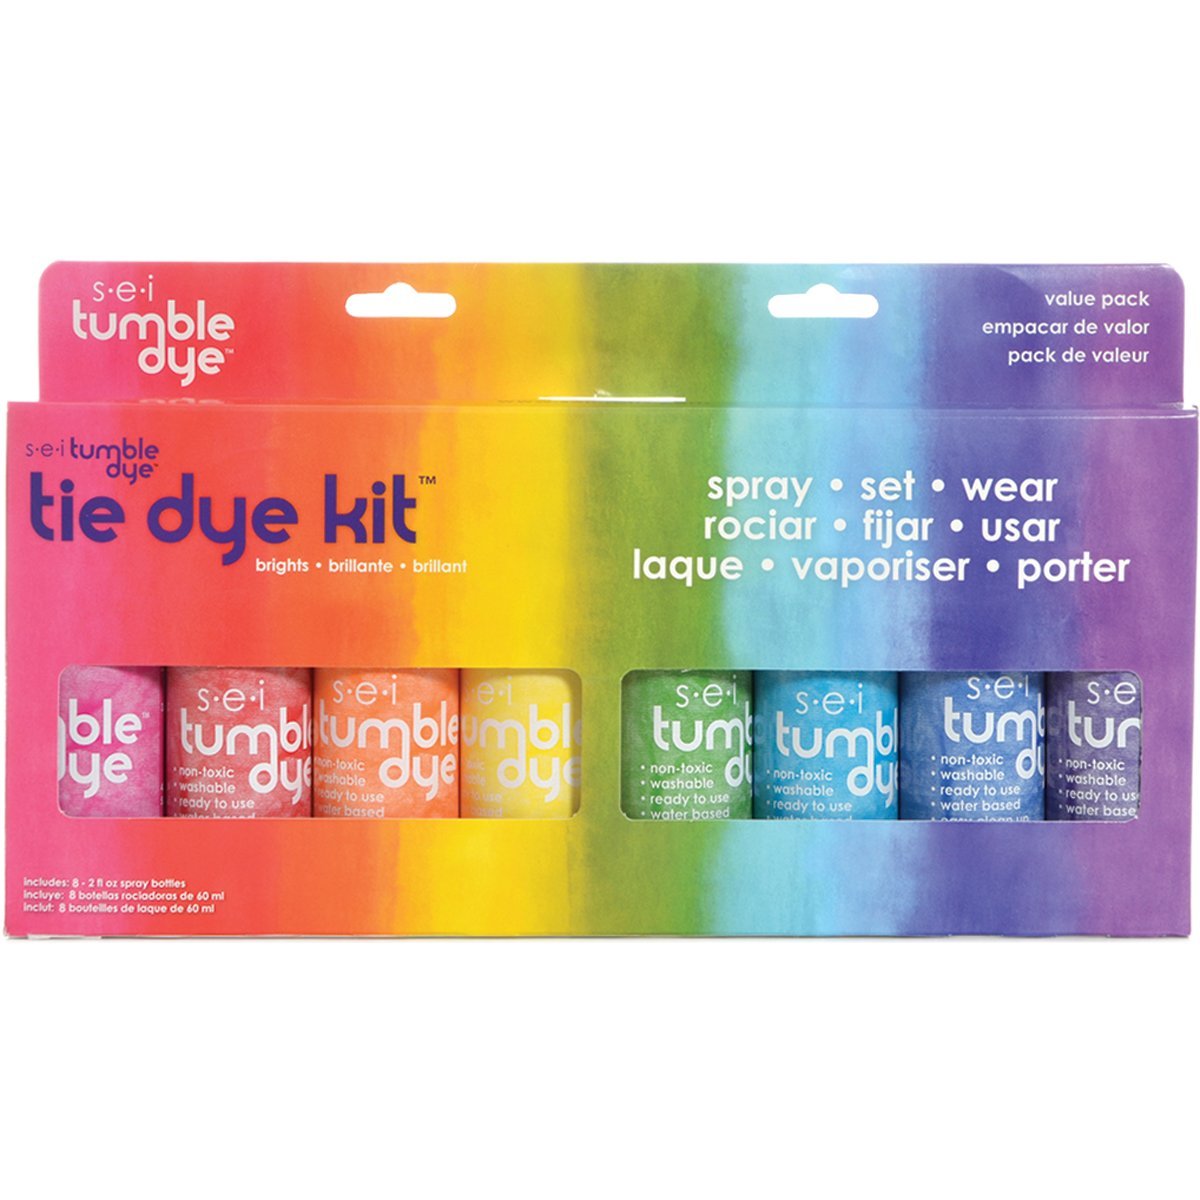
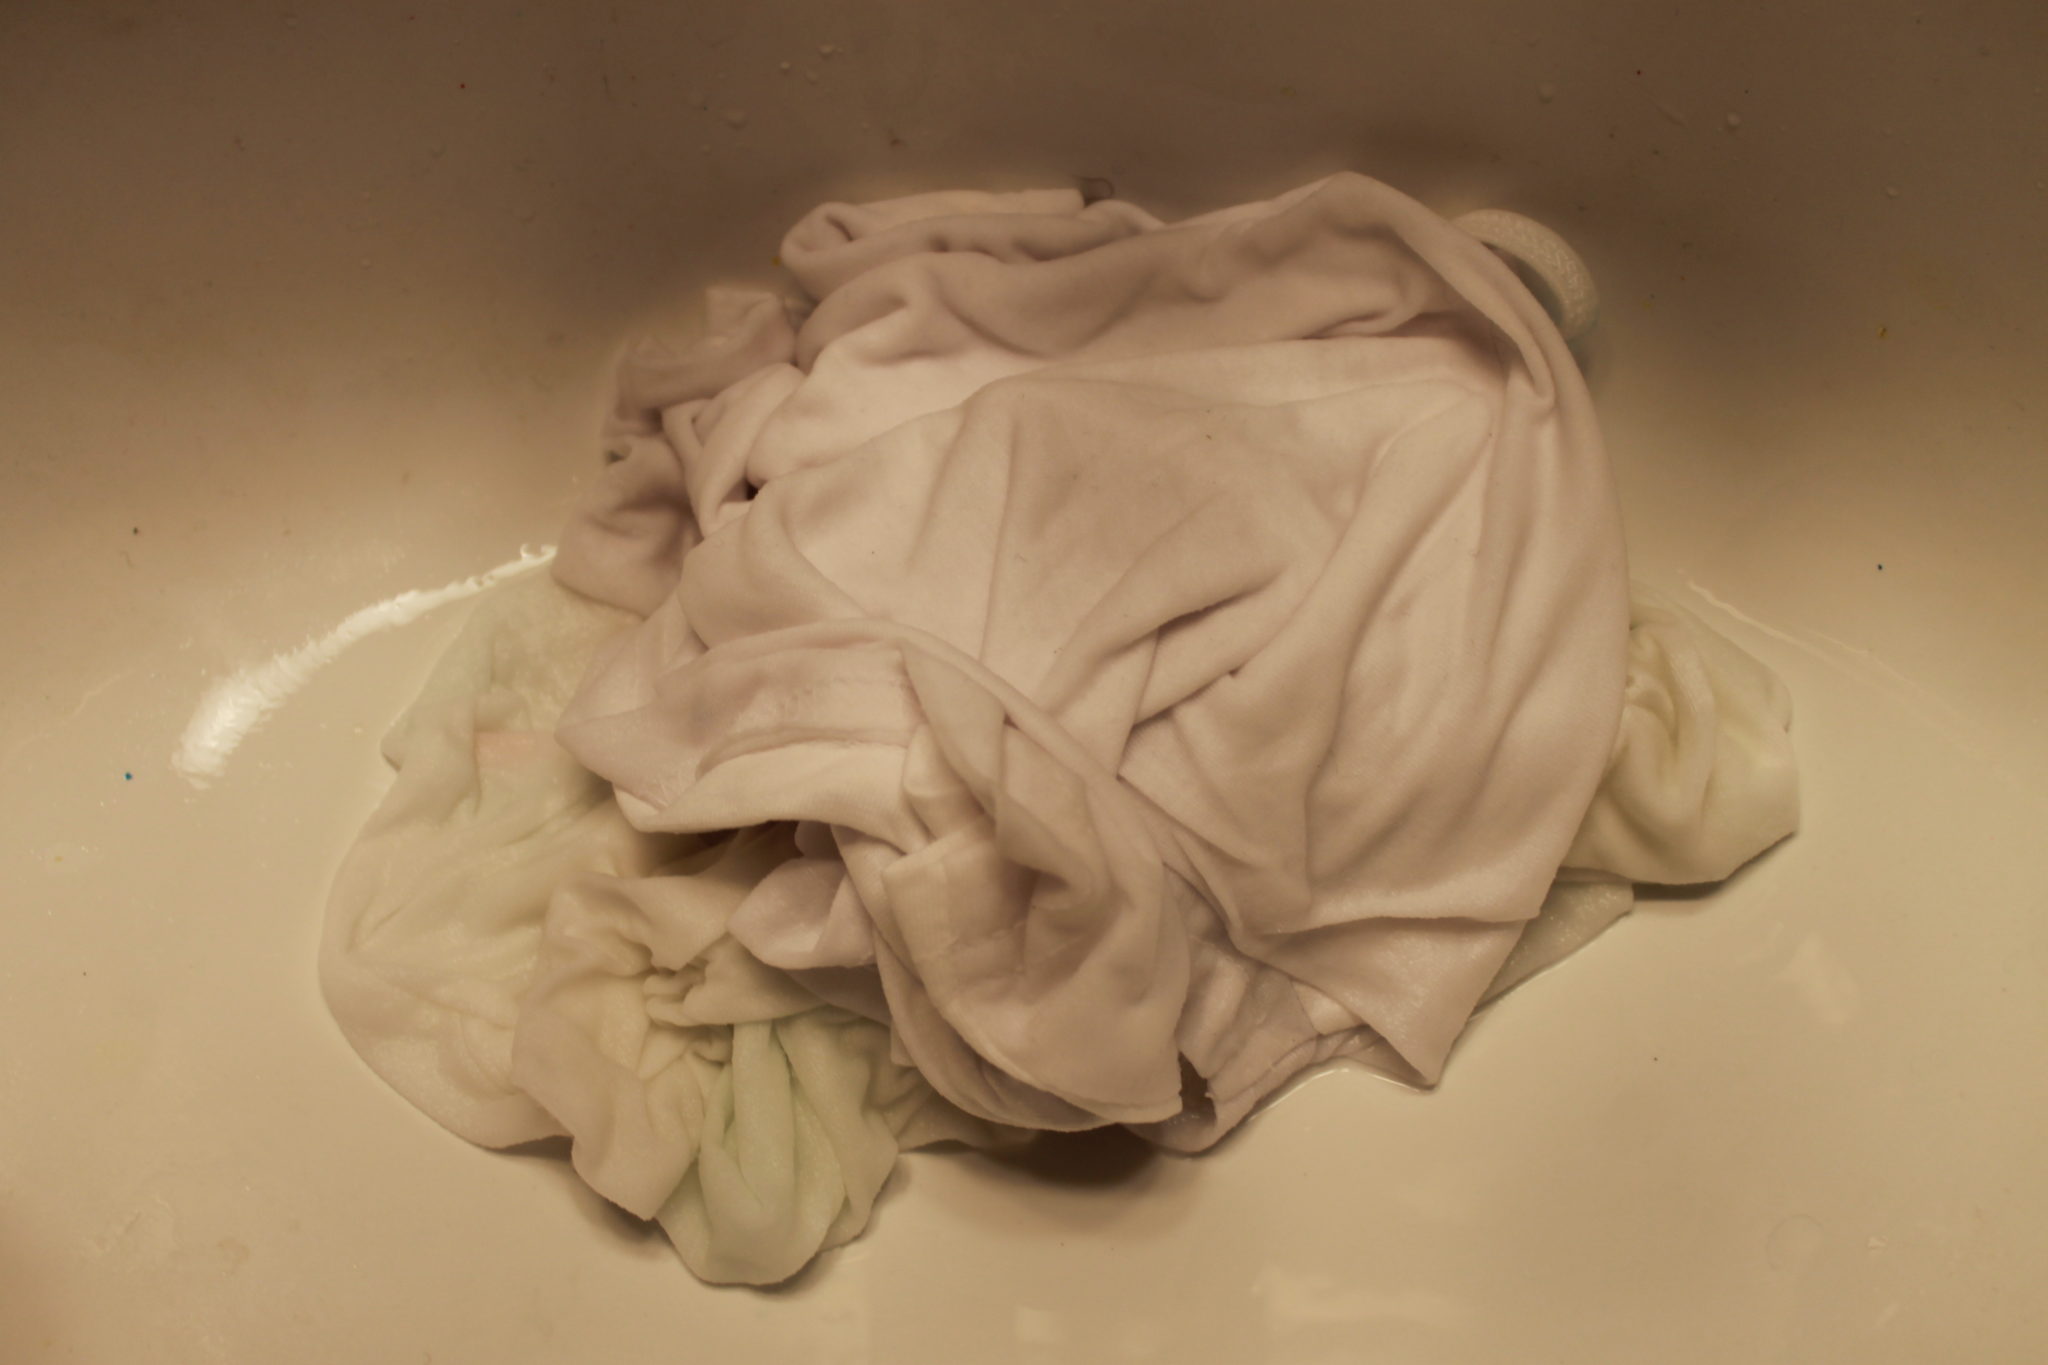
It came out lovely. I loved the effect & wanted to try it on t-shirts. We tried to recreate the effect to tie dye t-shirts. They came out great, but after we washed the shirts, the food coloring washed out. The food coloring didn’t take, but we were not going to give up on our idea. We found a non-toxic tie dye spray kit on Amazon & hoped that this would do the trick.
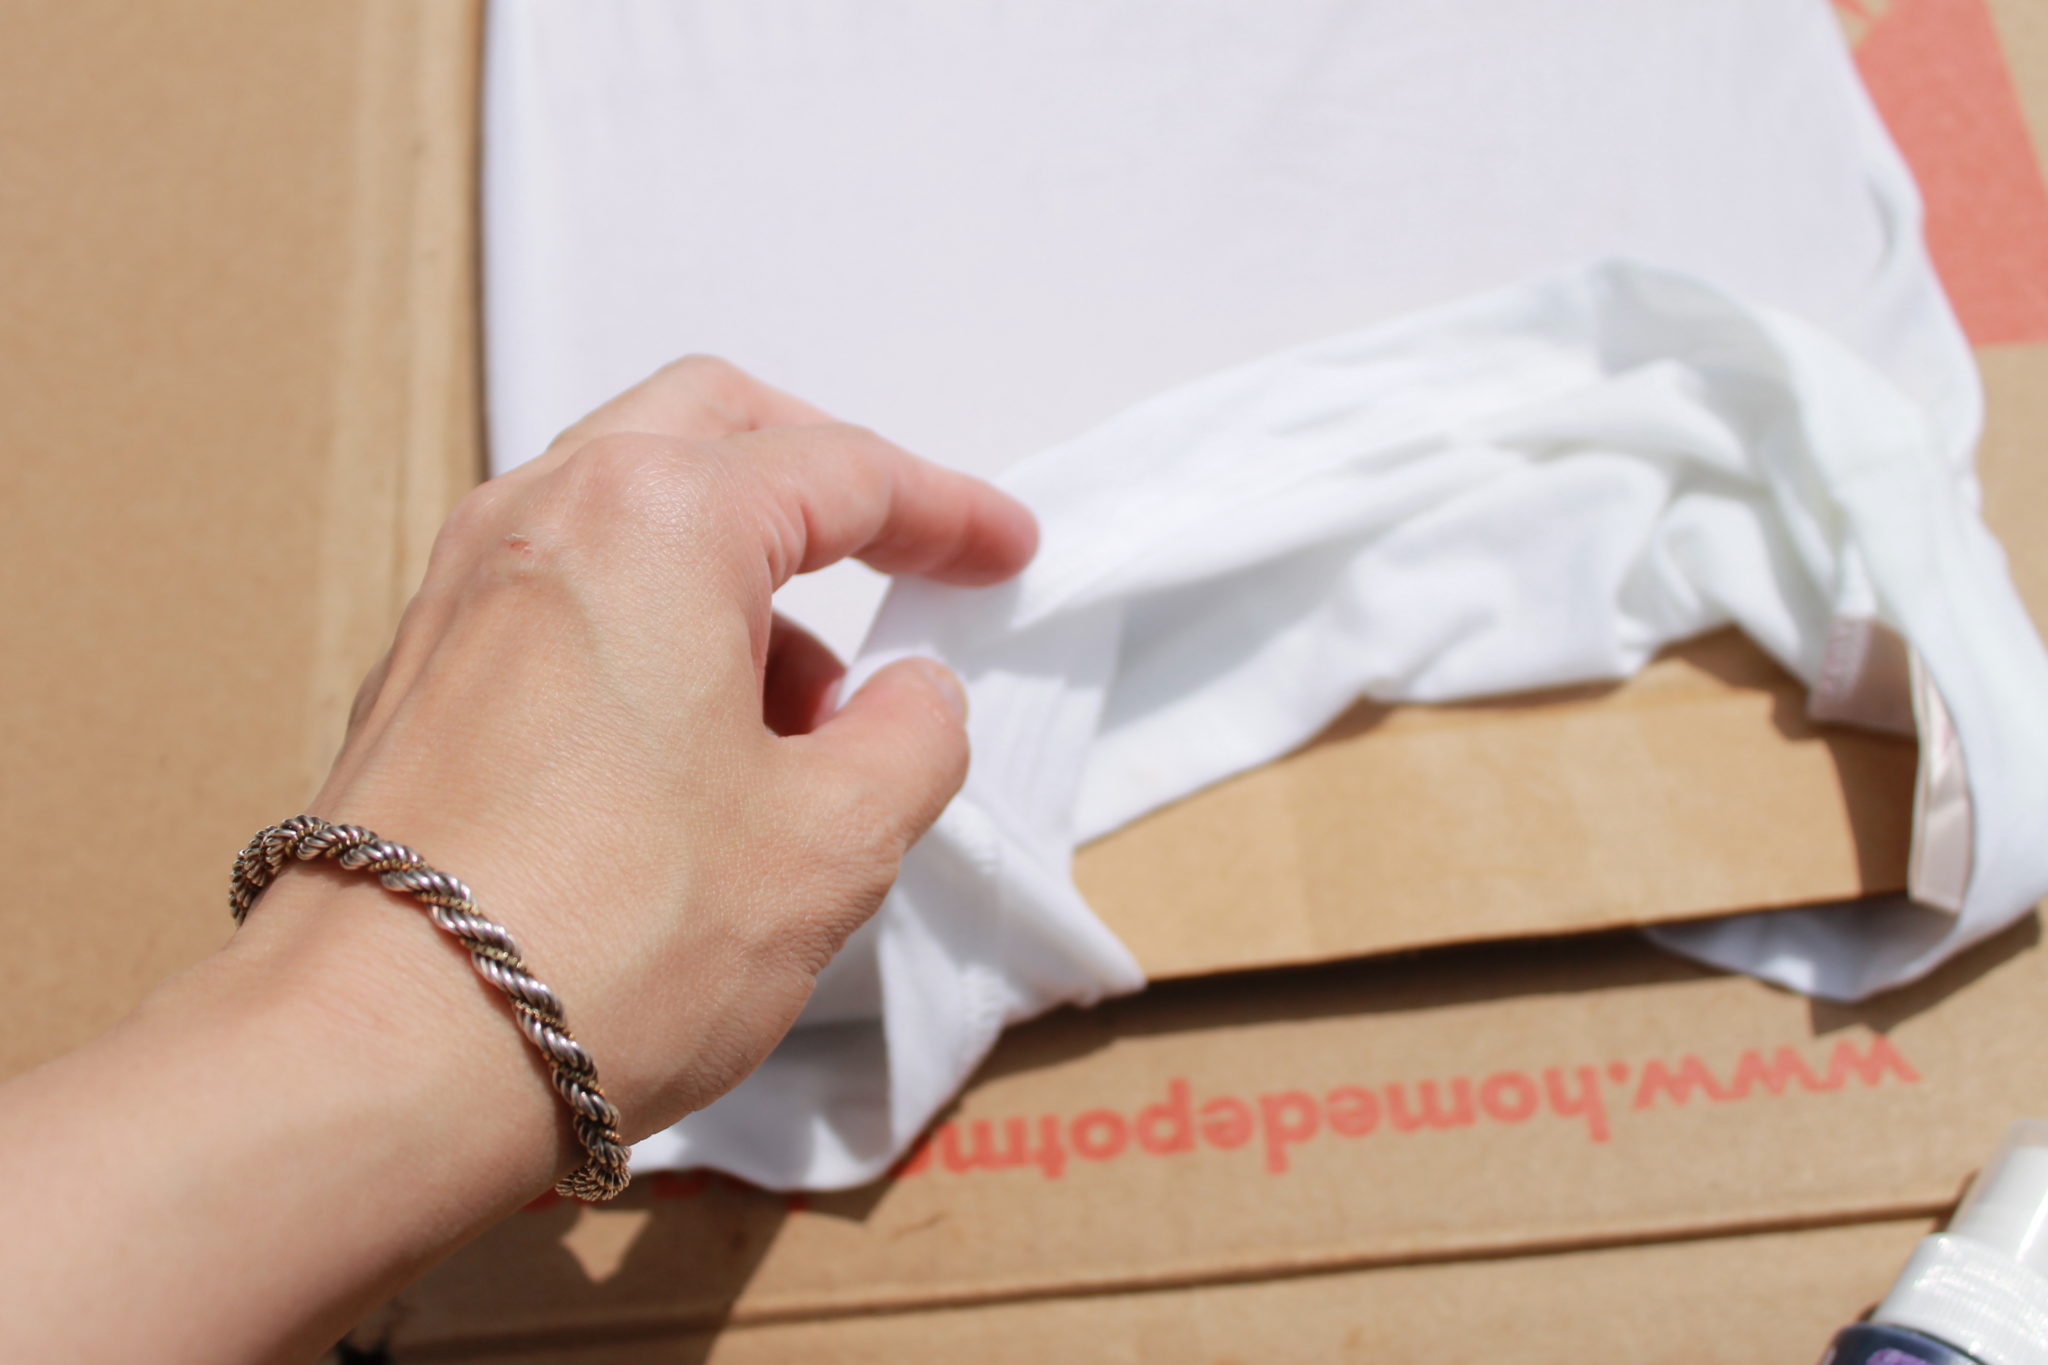
The directions on the package did not require that we prep our shirts, but I soaked them in a half vinegar & water mixture to prep them nonetheless. I rang our shirts out & then brought them outside & laid them out flat on cardboard. I slid a piece of cardboard between one of the shirts to keep the color from bleeding through to the other side. My daughter wanted her color to go through,
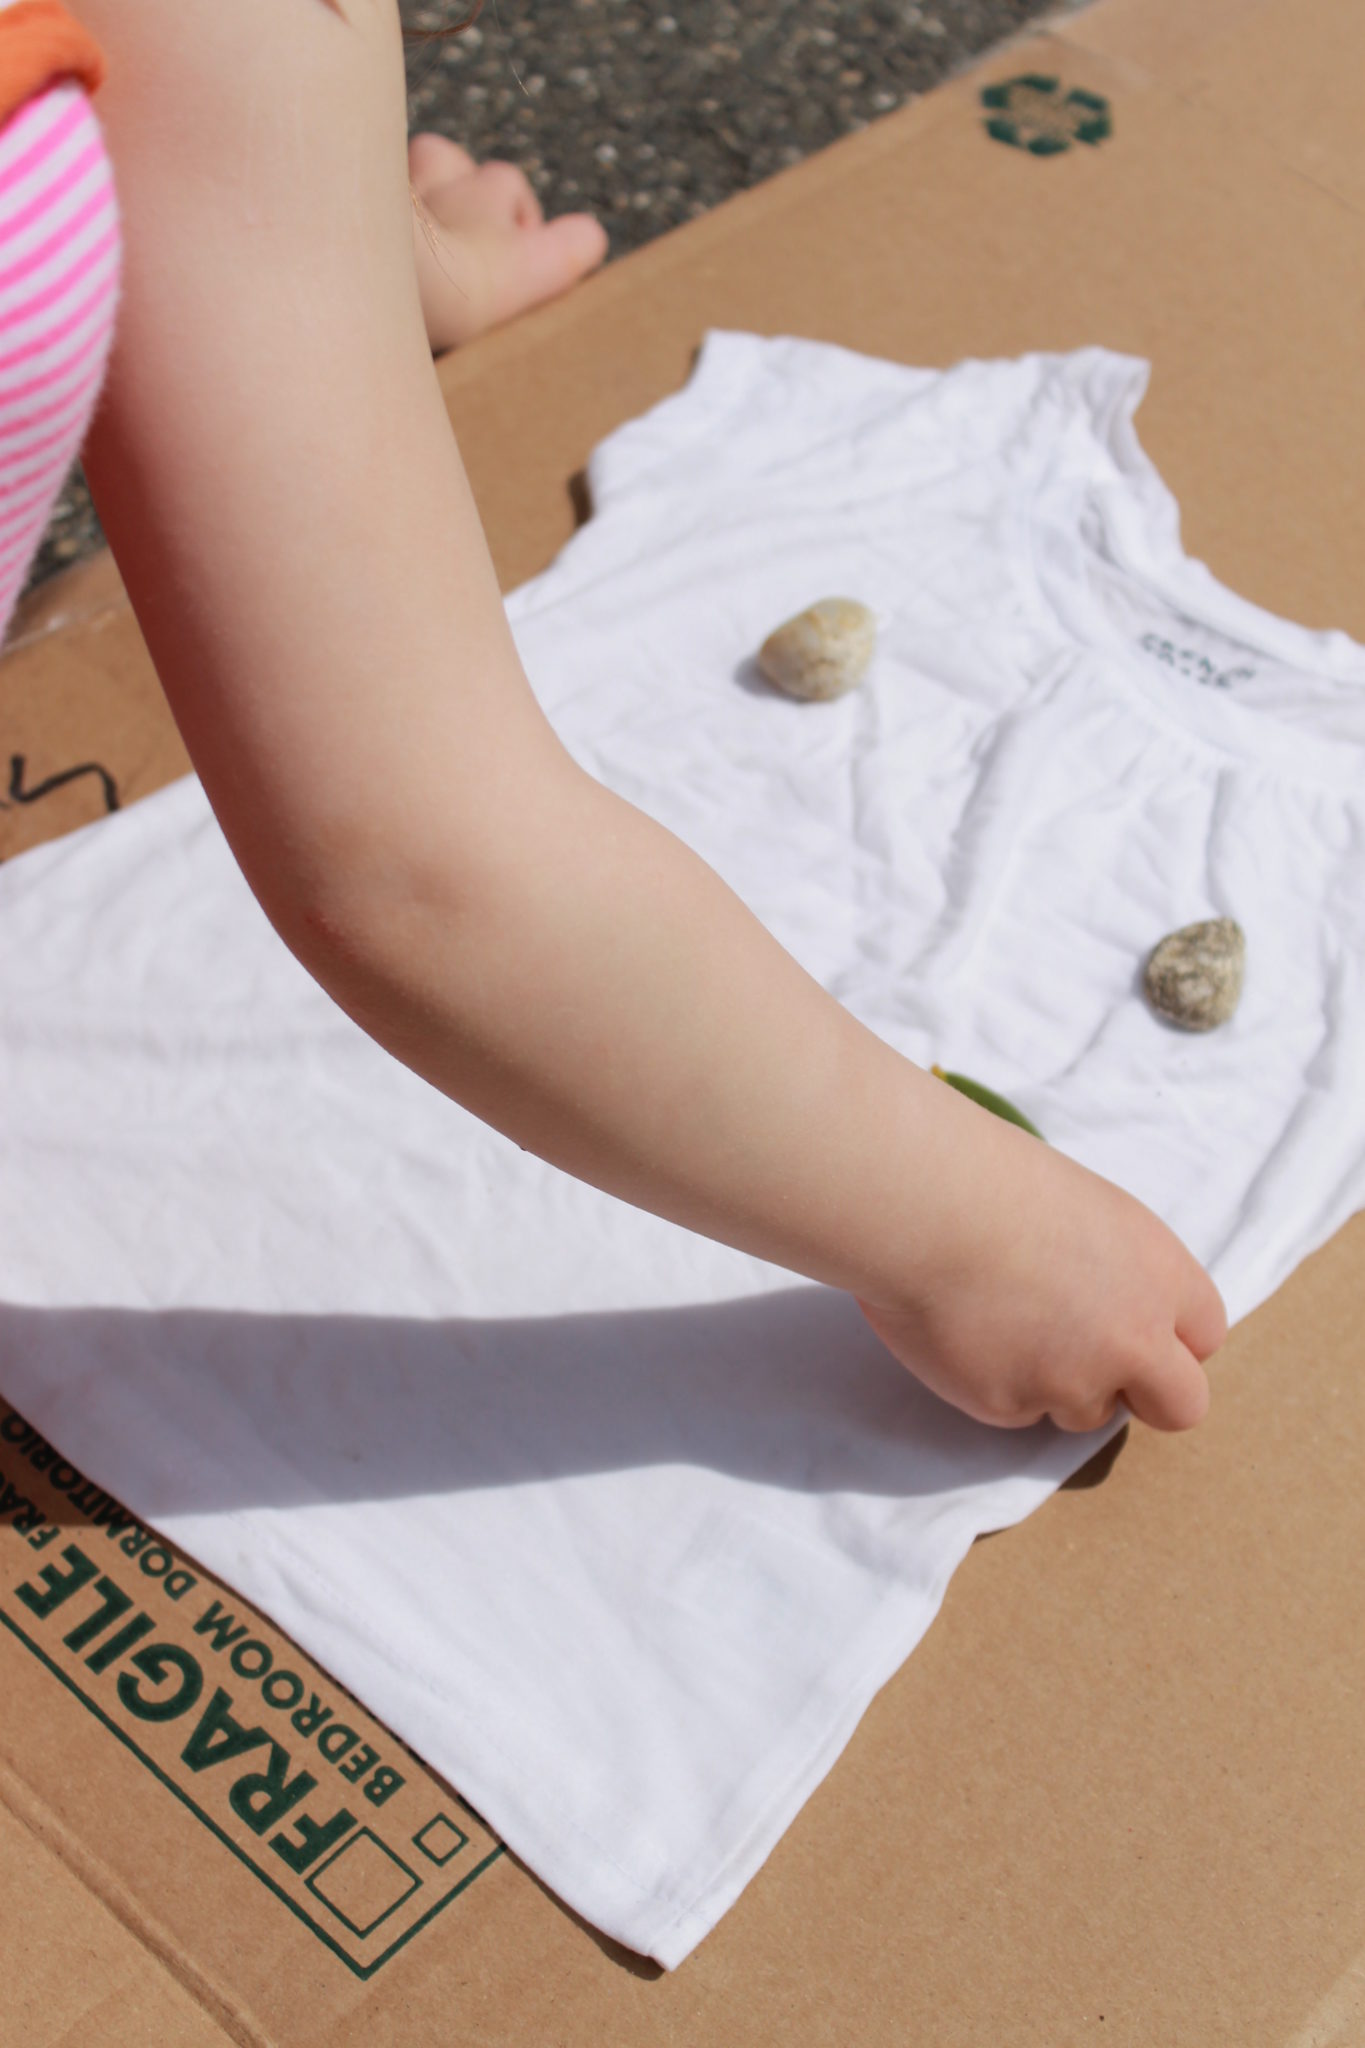
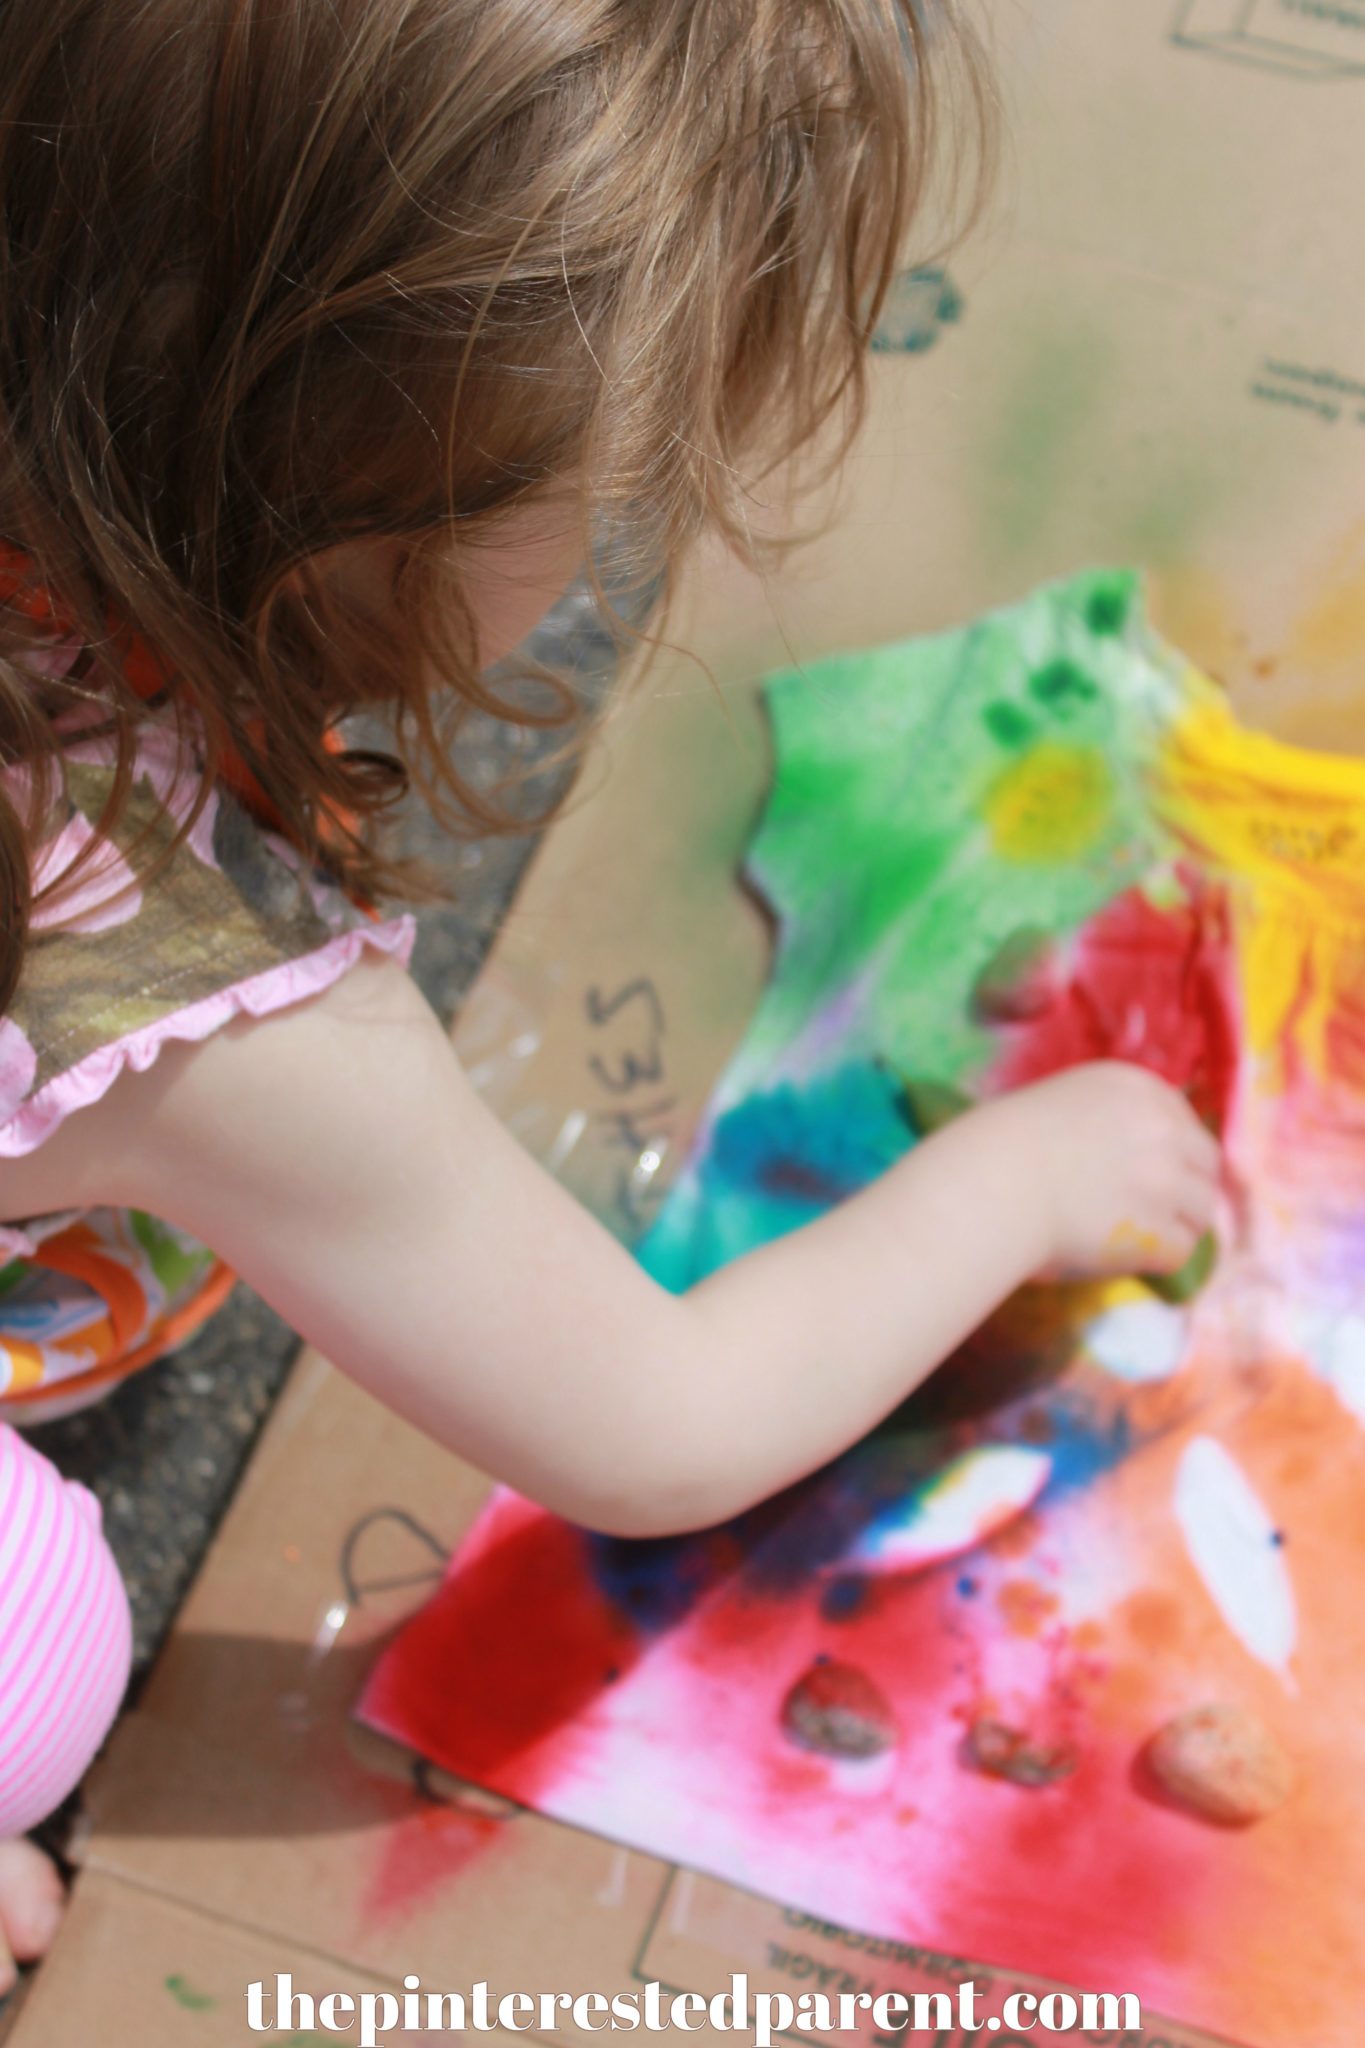
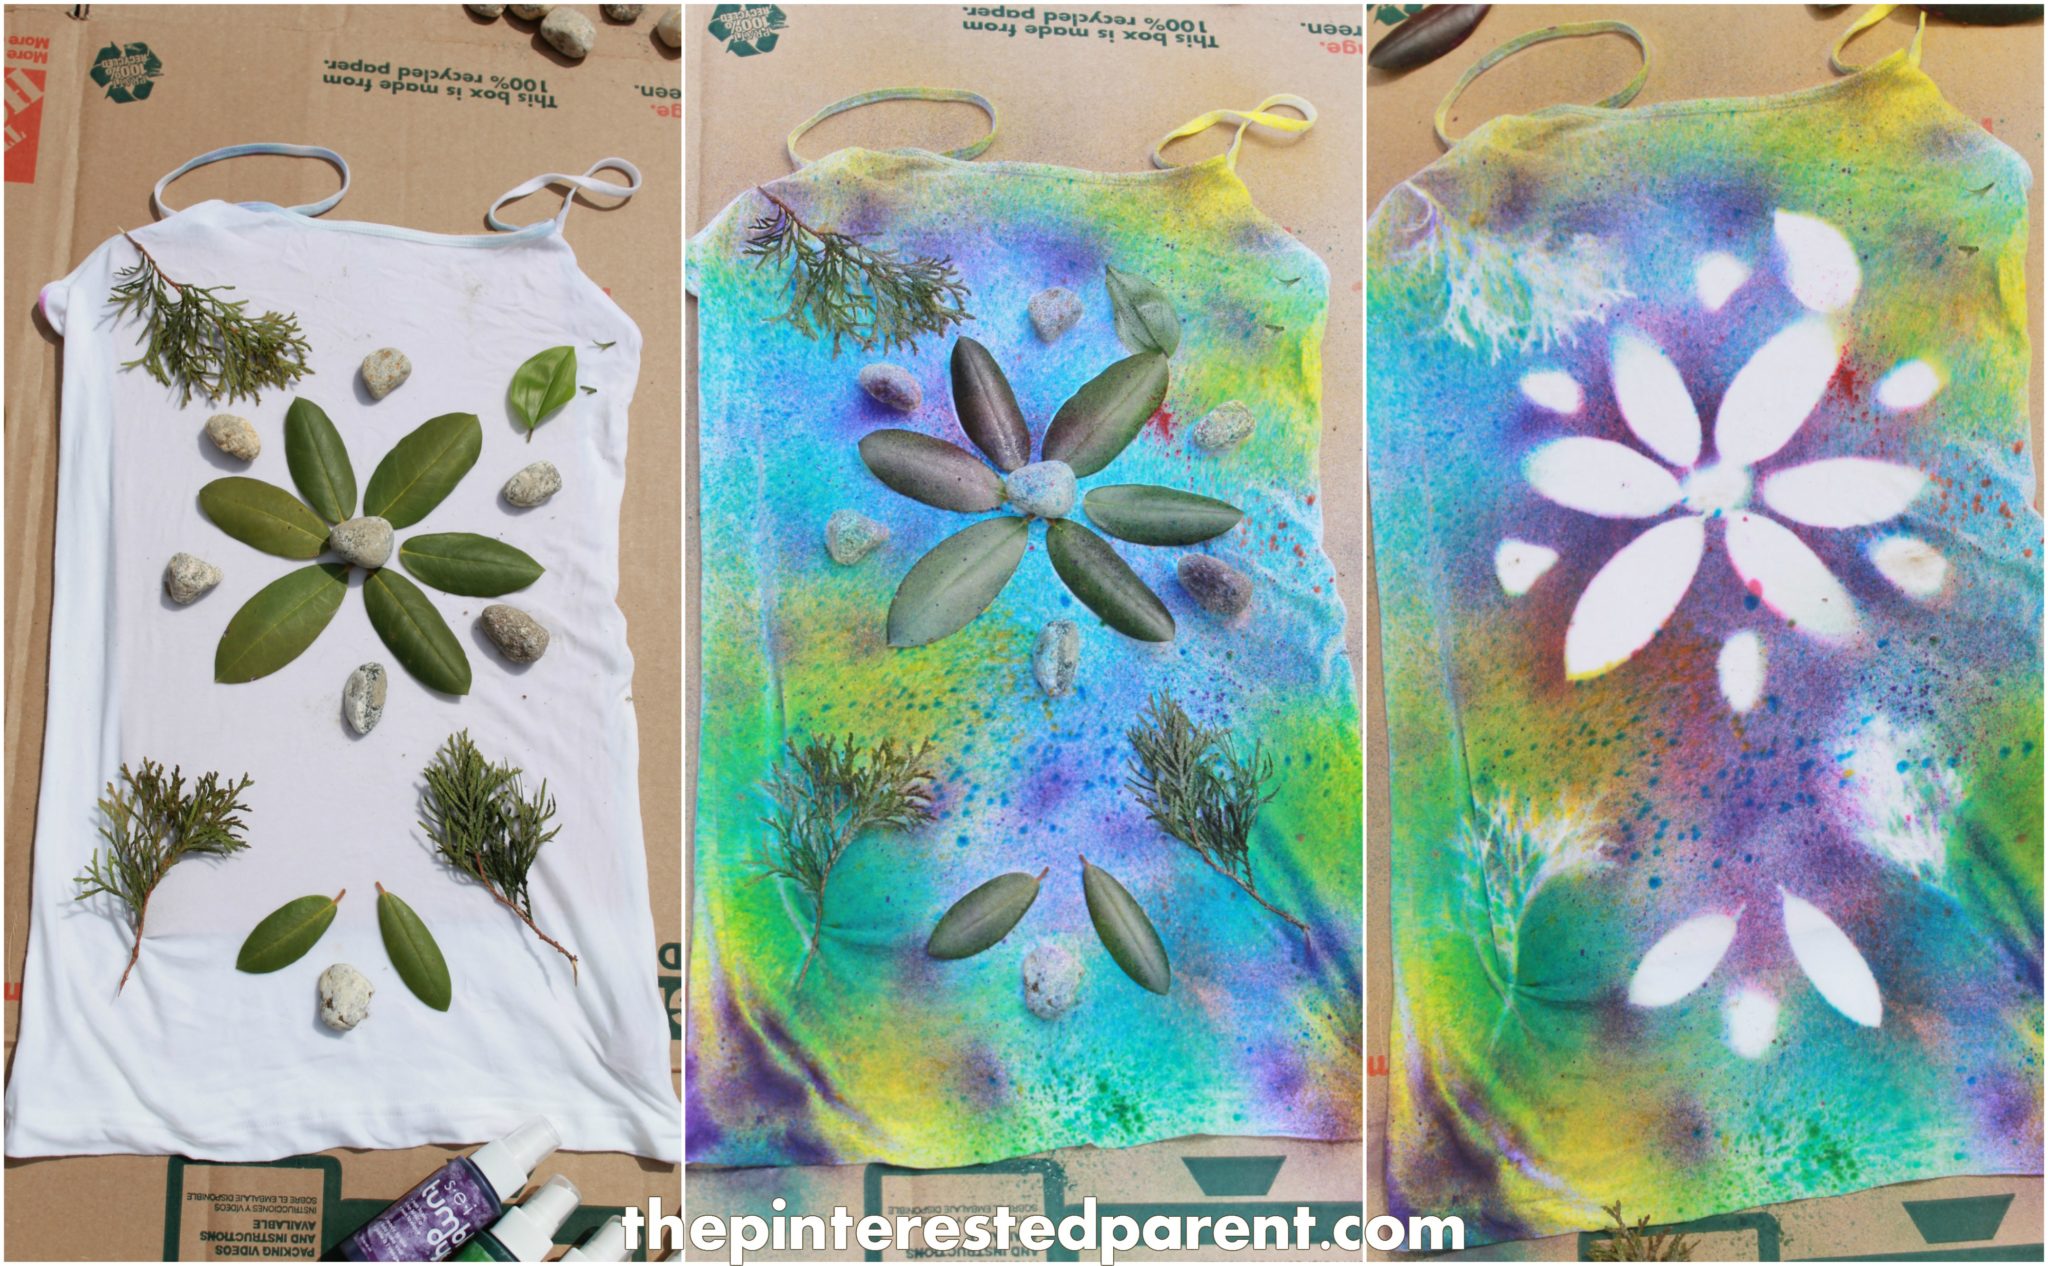
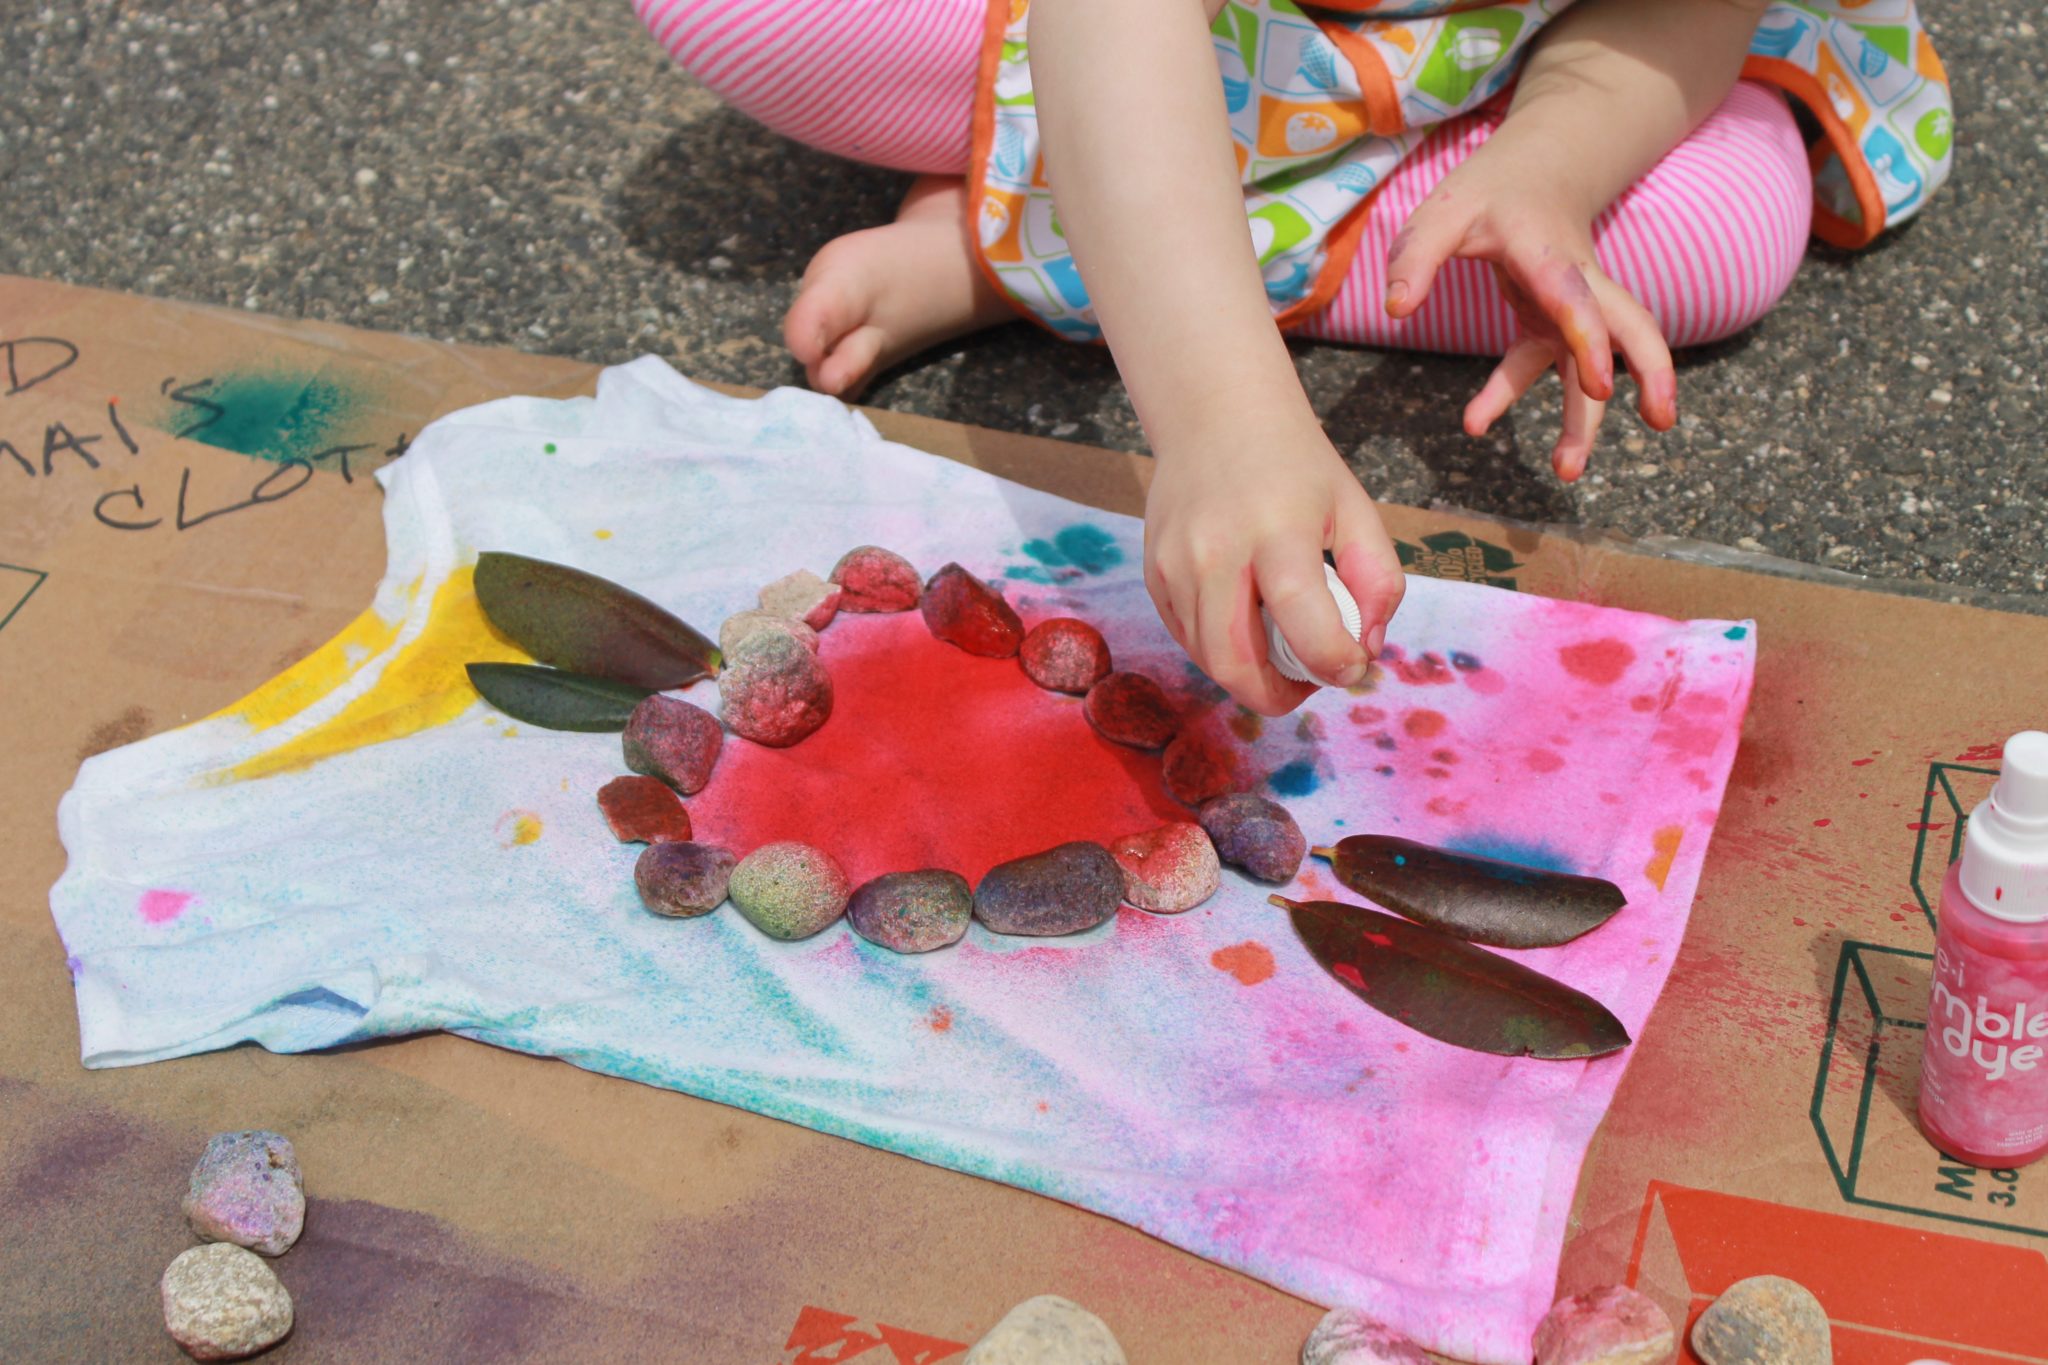
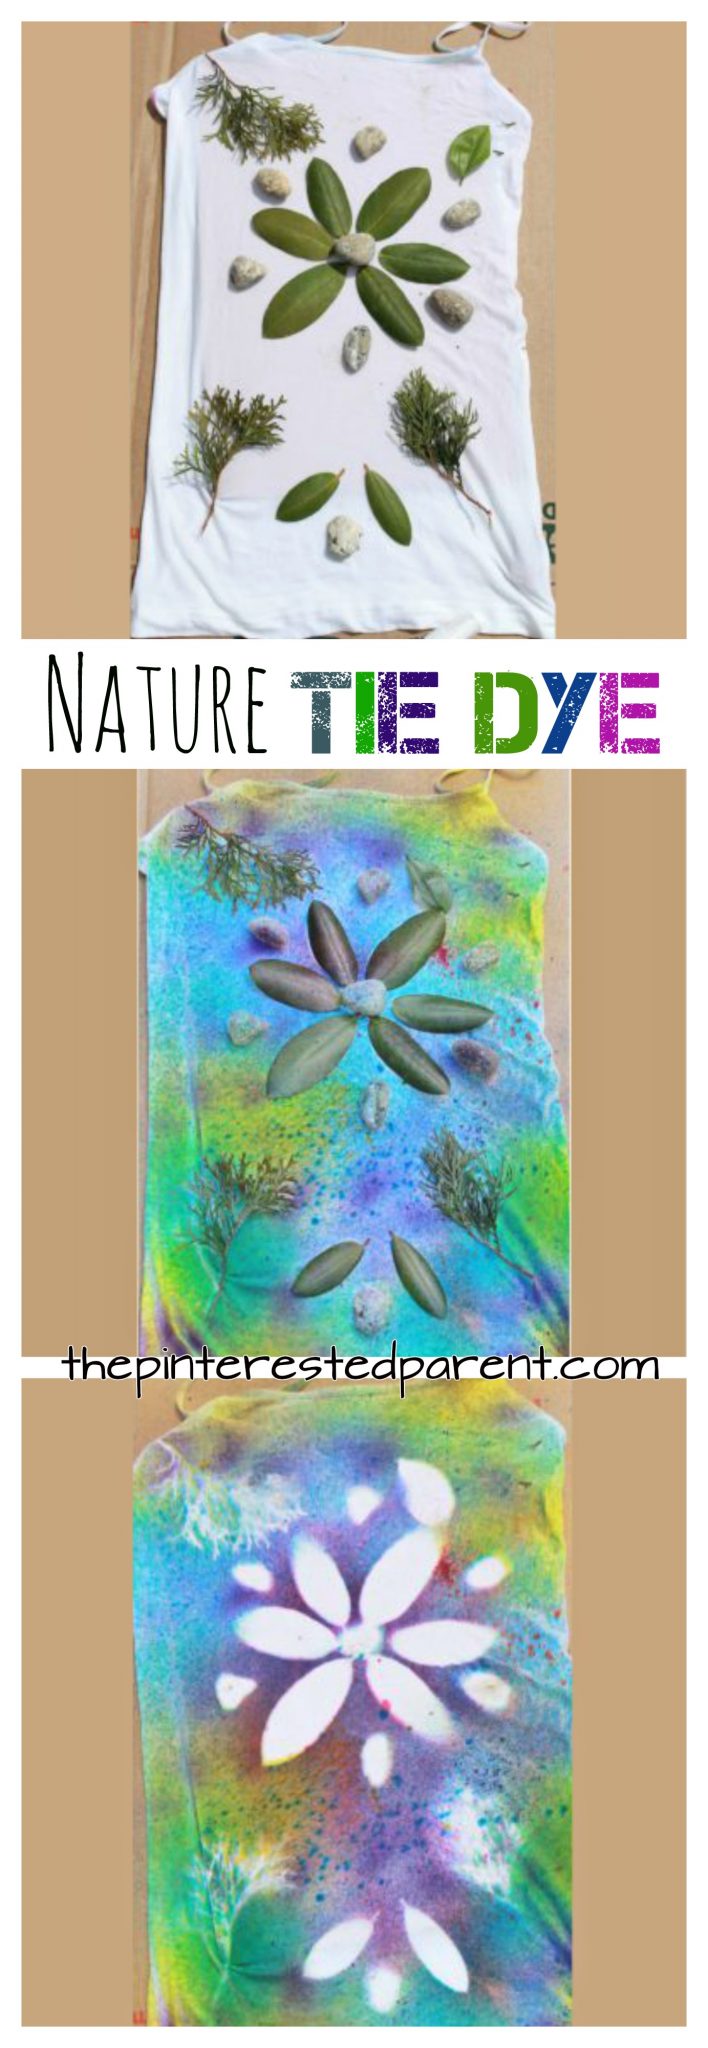
We gathered rocks, leaves & branches to create our designs. My daughter & I went to work on placing our design elements.

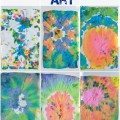
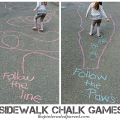
Once we had all of our pieces in place, we began to use the spray. Spray over the shirt. Spraying from the side can cause the dye to run under, overspraying could cause this as well. My daughter wore an apron, but we forgot to put on gloves. It is recommended to wear them because it does get messy. Luckily, the spray washes off of skin very easily.
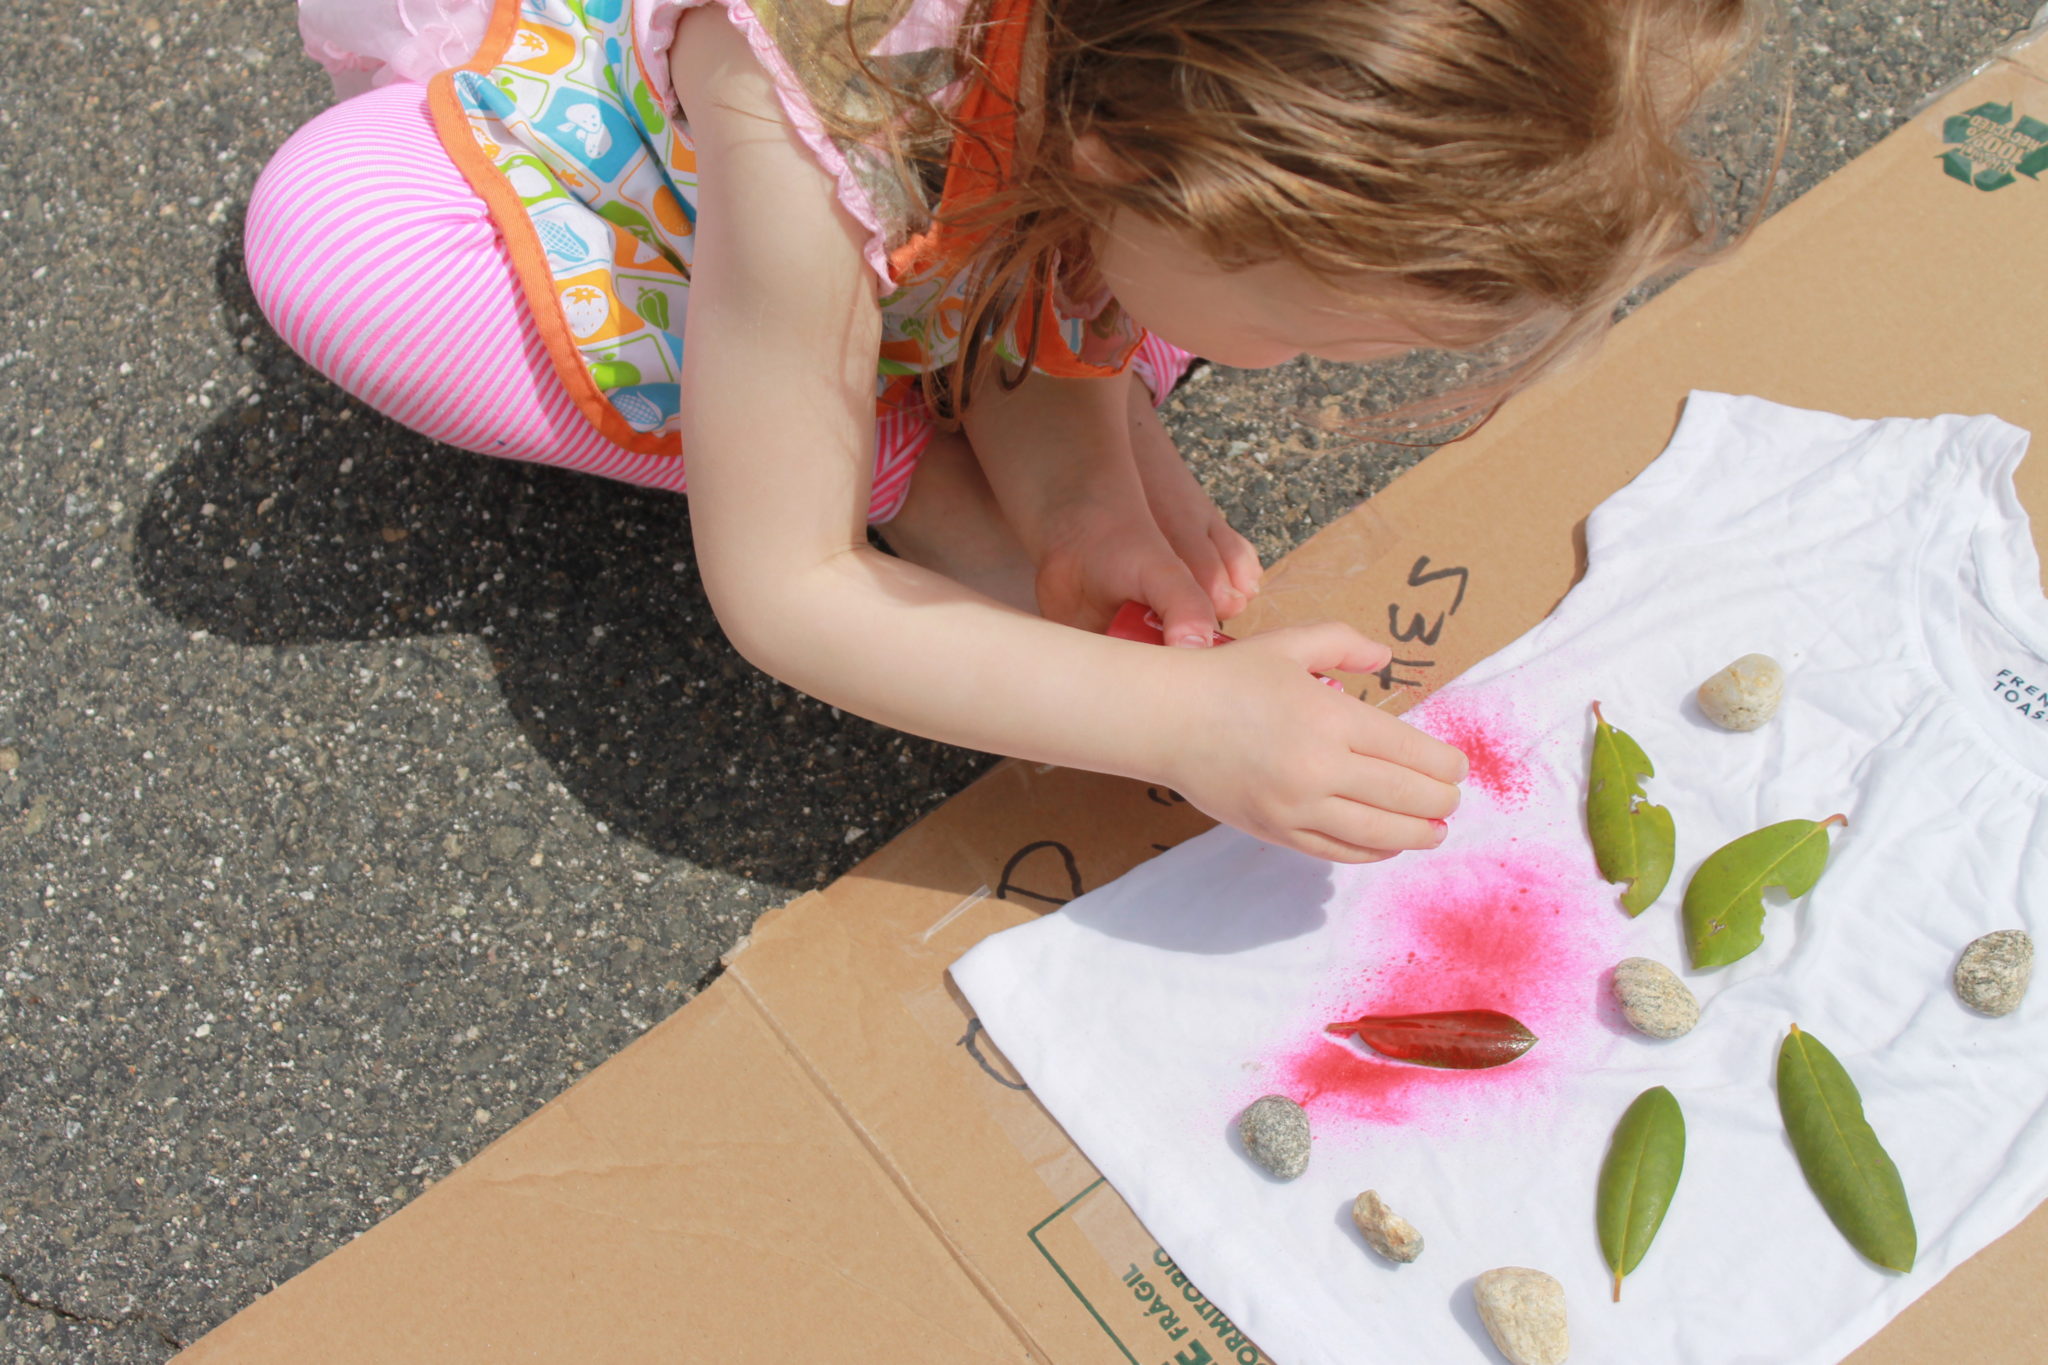
We did one side & let it sit out in the sun to dry. The packaging recommends to let the shirt sit for an hour, but we flipped after just a few minutes.
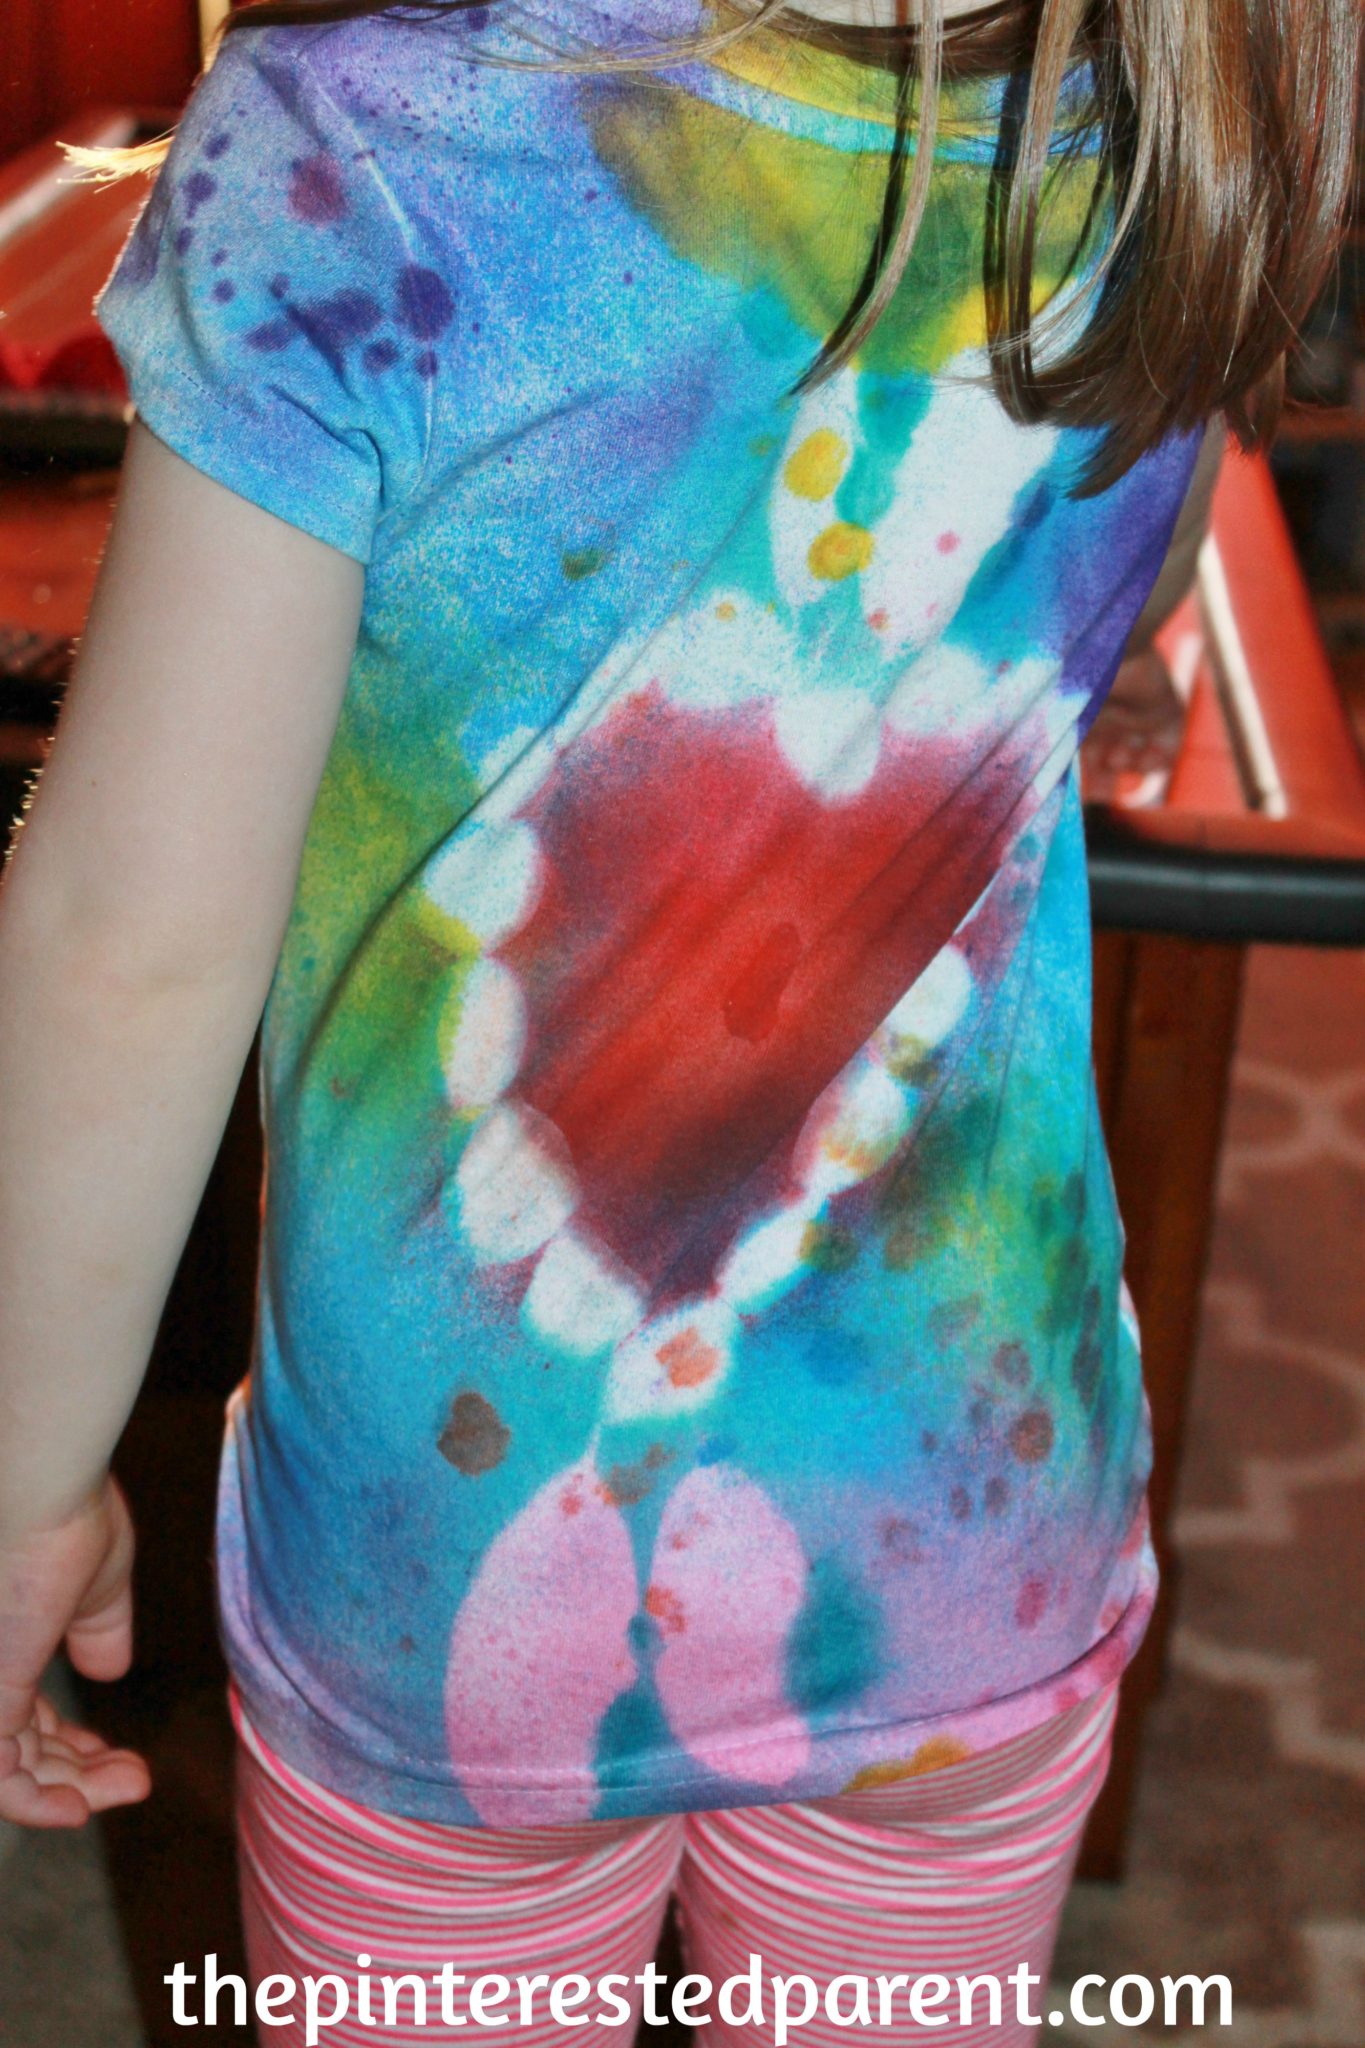
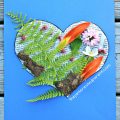
We made heart designs out of rocks on the opposite side of both t-shirts.
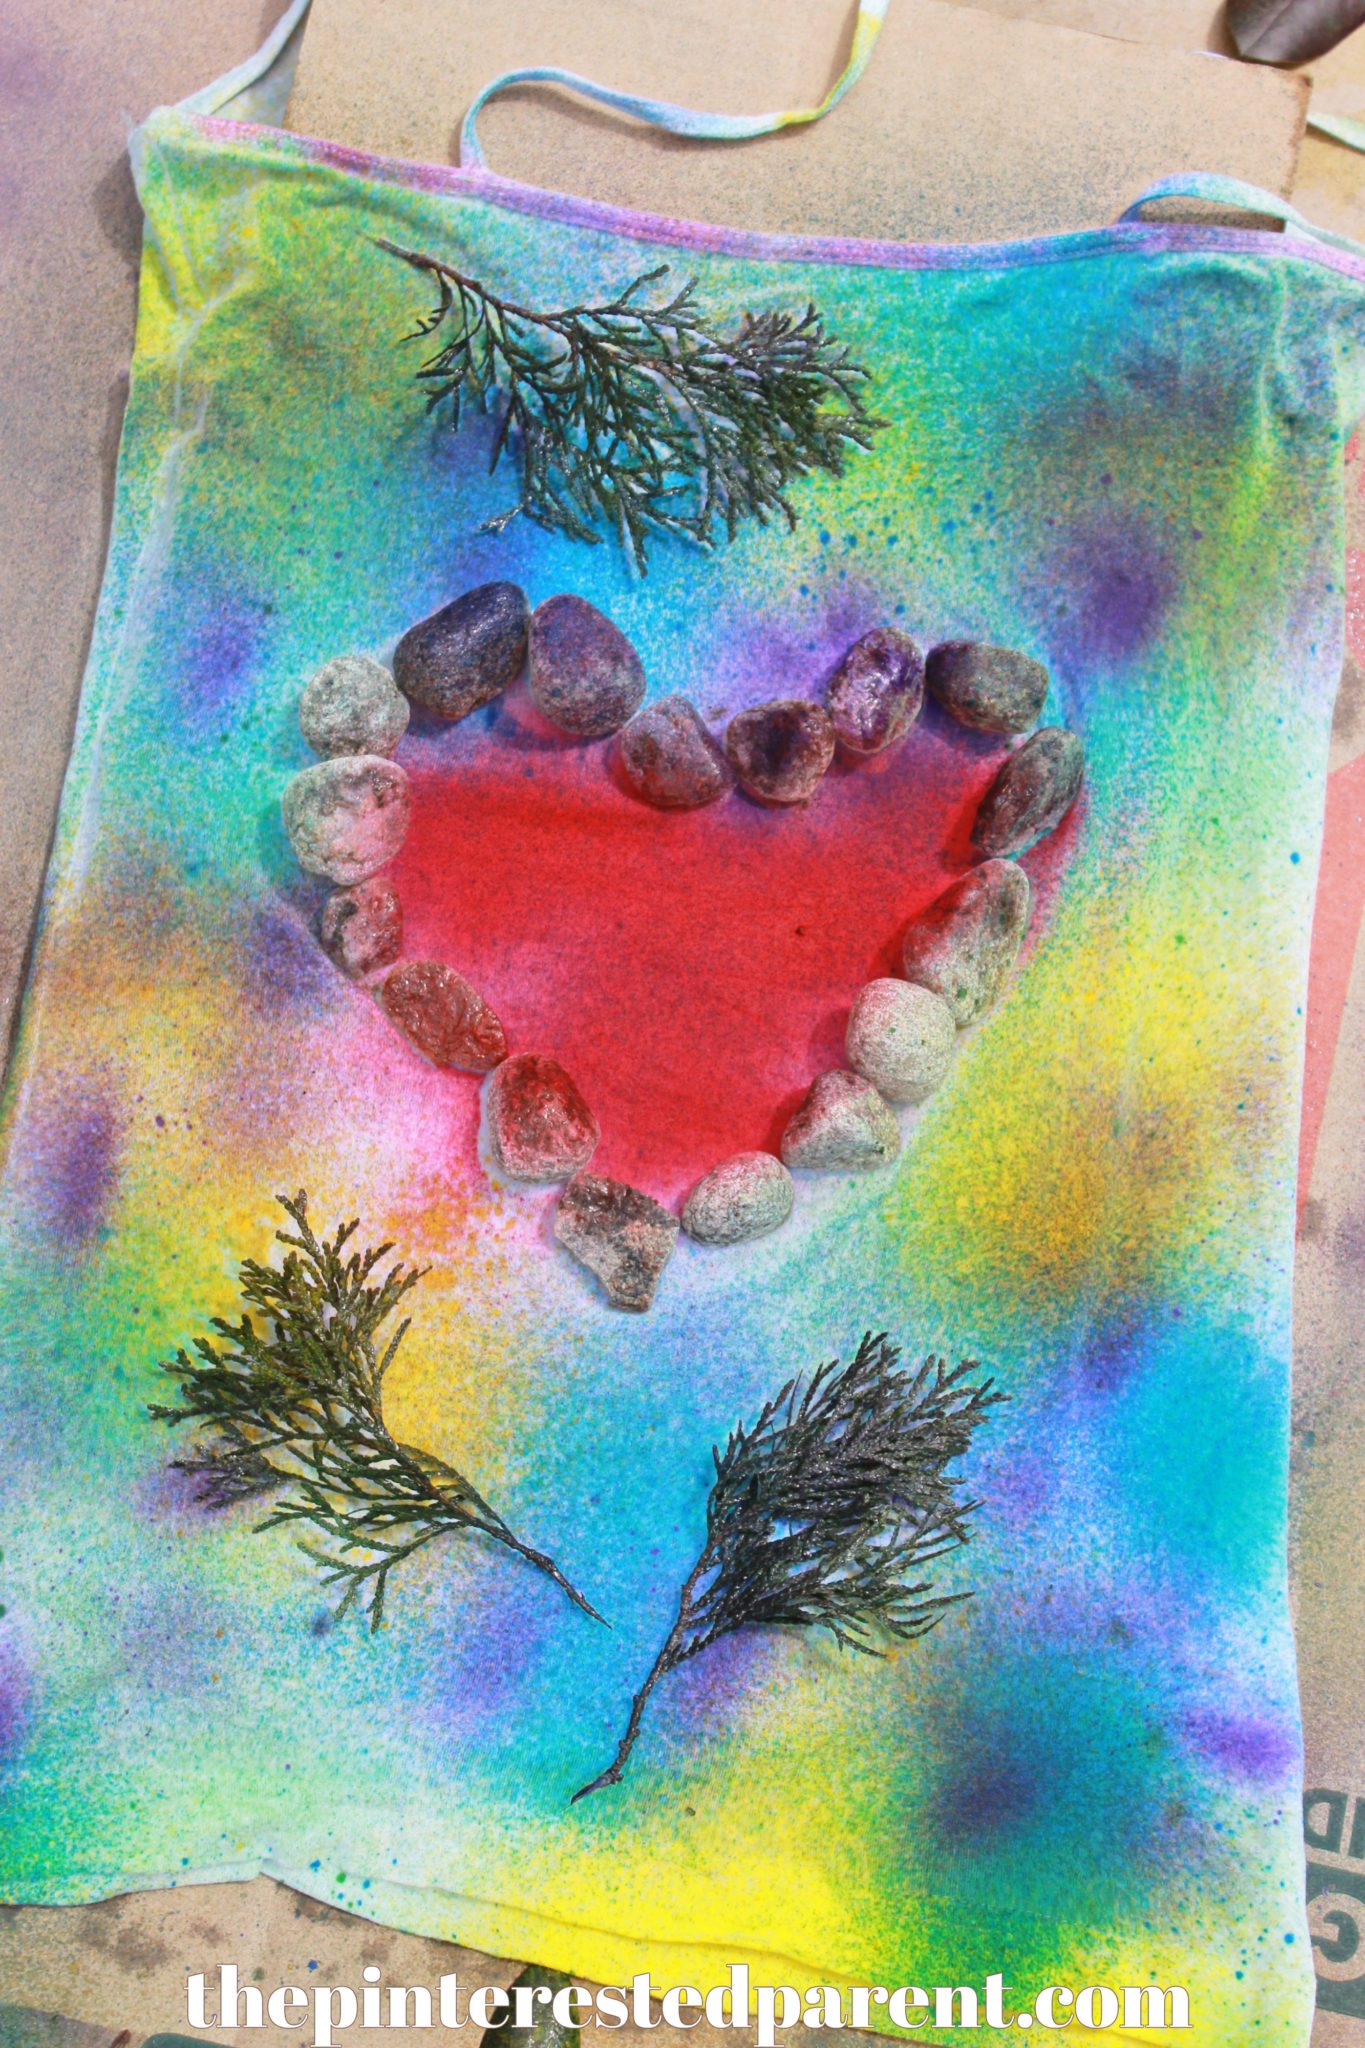
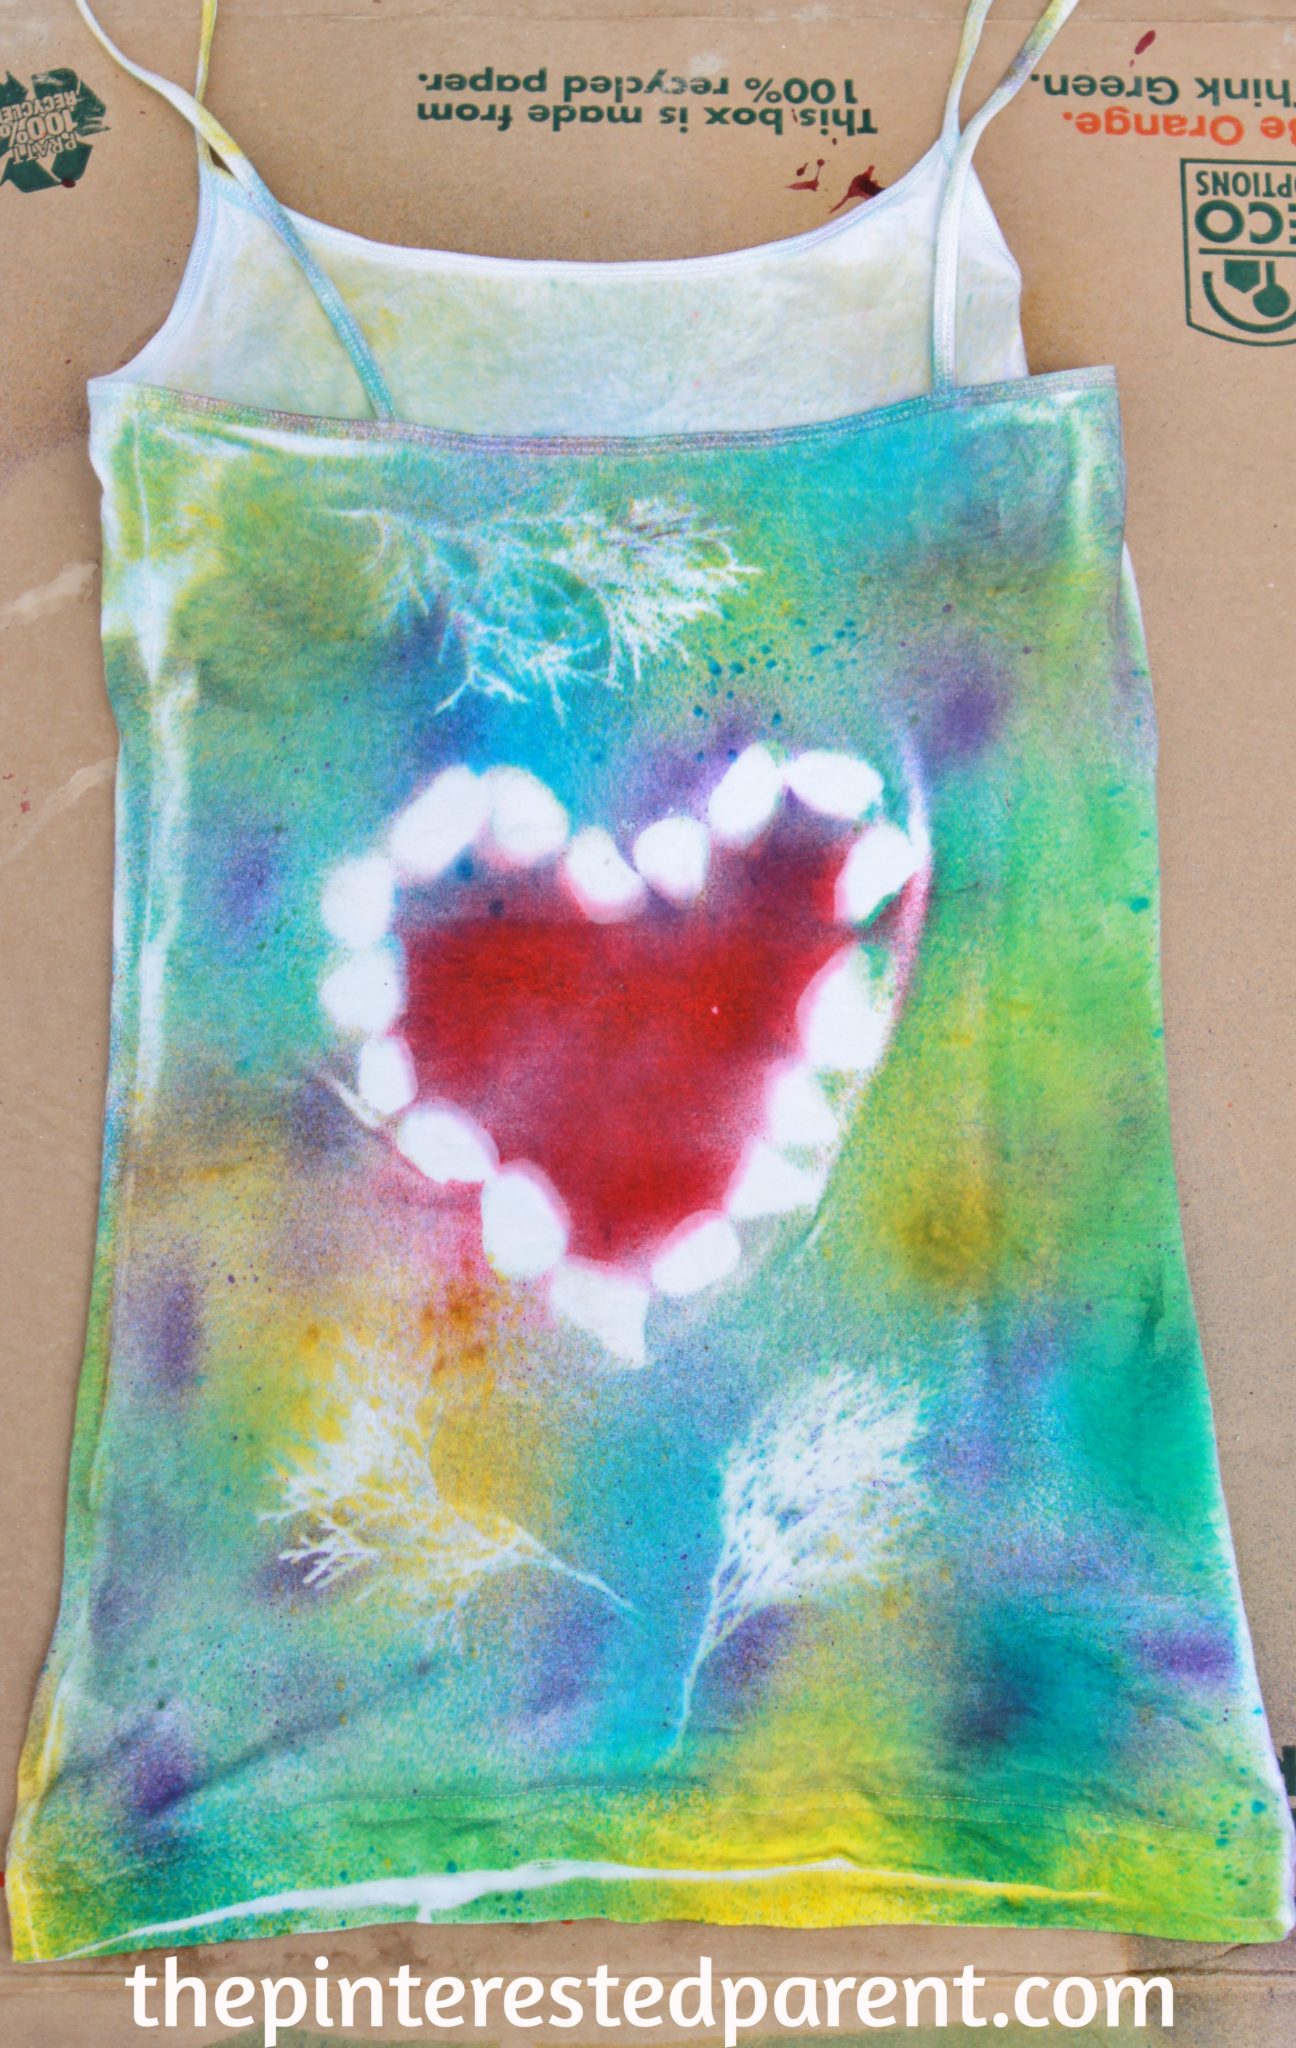
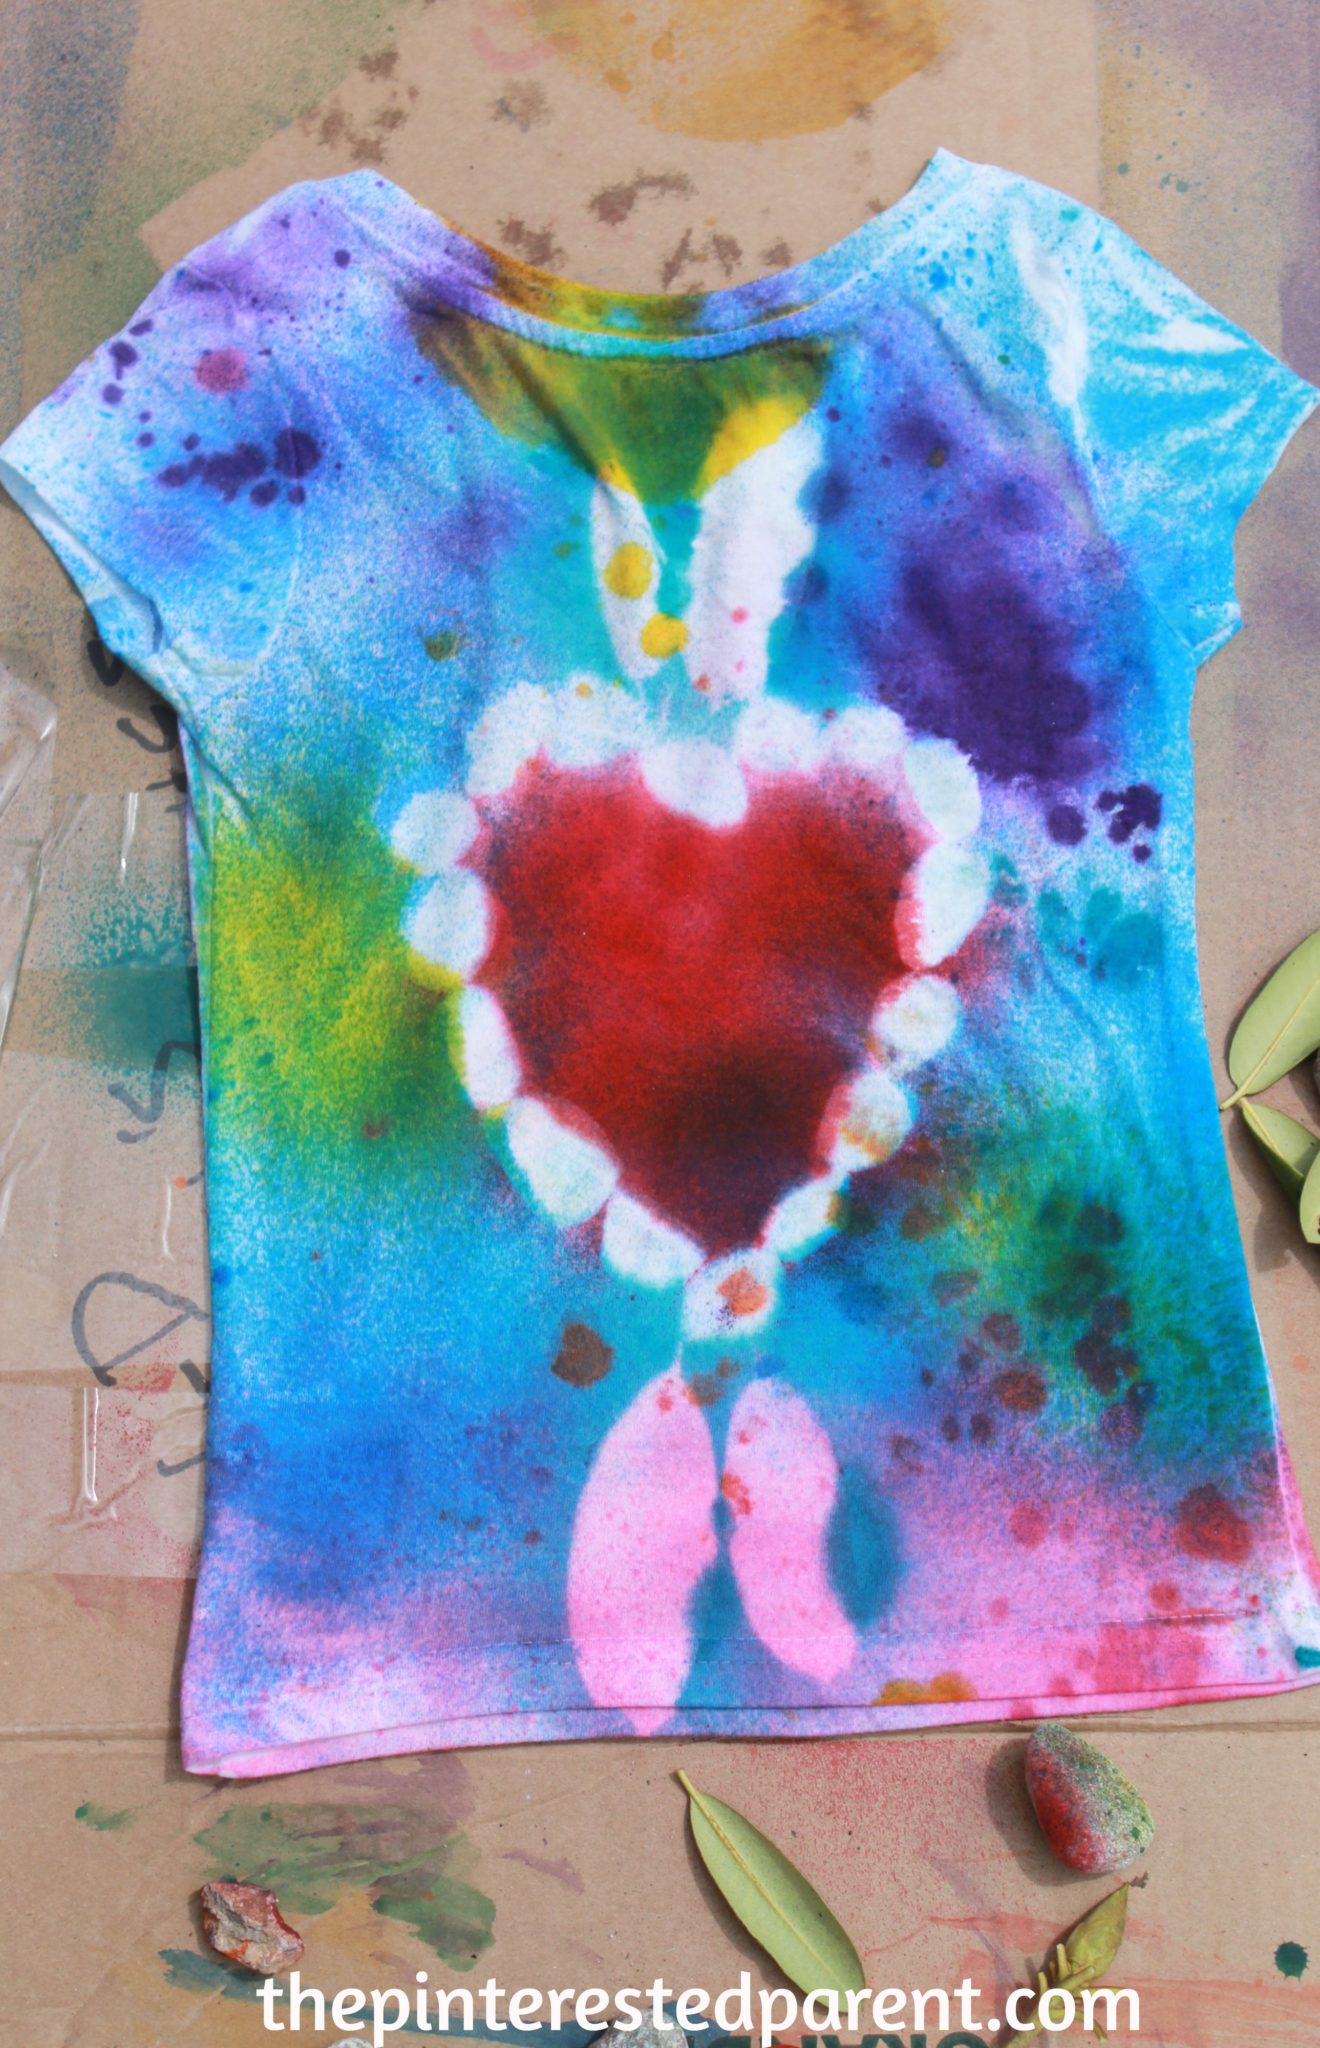
When we finished spraying the other side, we let it dry in the sun for about 1 1/2 hours. The dye sets in the dryer after about 20 minutes. I also ironed it before washing to help heat set it a little bit more. Once the dye was set, we washed them as normal & then air-dried the shirts. The color held up beautifully. My daughter was so proud of her shirt. She couldn’t wait to put it on & show it off.
Thank you as always for reading. Please visit us on our Facebook page as well.


Love how this came out and going t have to keep in mind if we try tie dye this summer here, too 🙂
I am using this for a lesson plan and hope it’s okay to use some of your images to help the teacher understand what needs to be done.
Hi Kenna, that is fine. You may absolutely use them for a lesson. You can use my images for teaching just as long as they are not republished.