I stumbled across an old post that I did a couple of years ago. It was a project that I was particularly fond of, but had forgotten about. I wanted to reintroduce the technique to my daughter now that she was older and it was a great opportunity to update the old grainy photos.
*This post contains affiliate links*
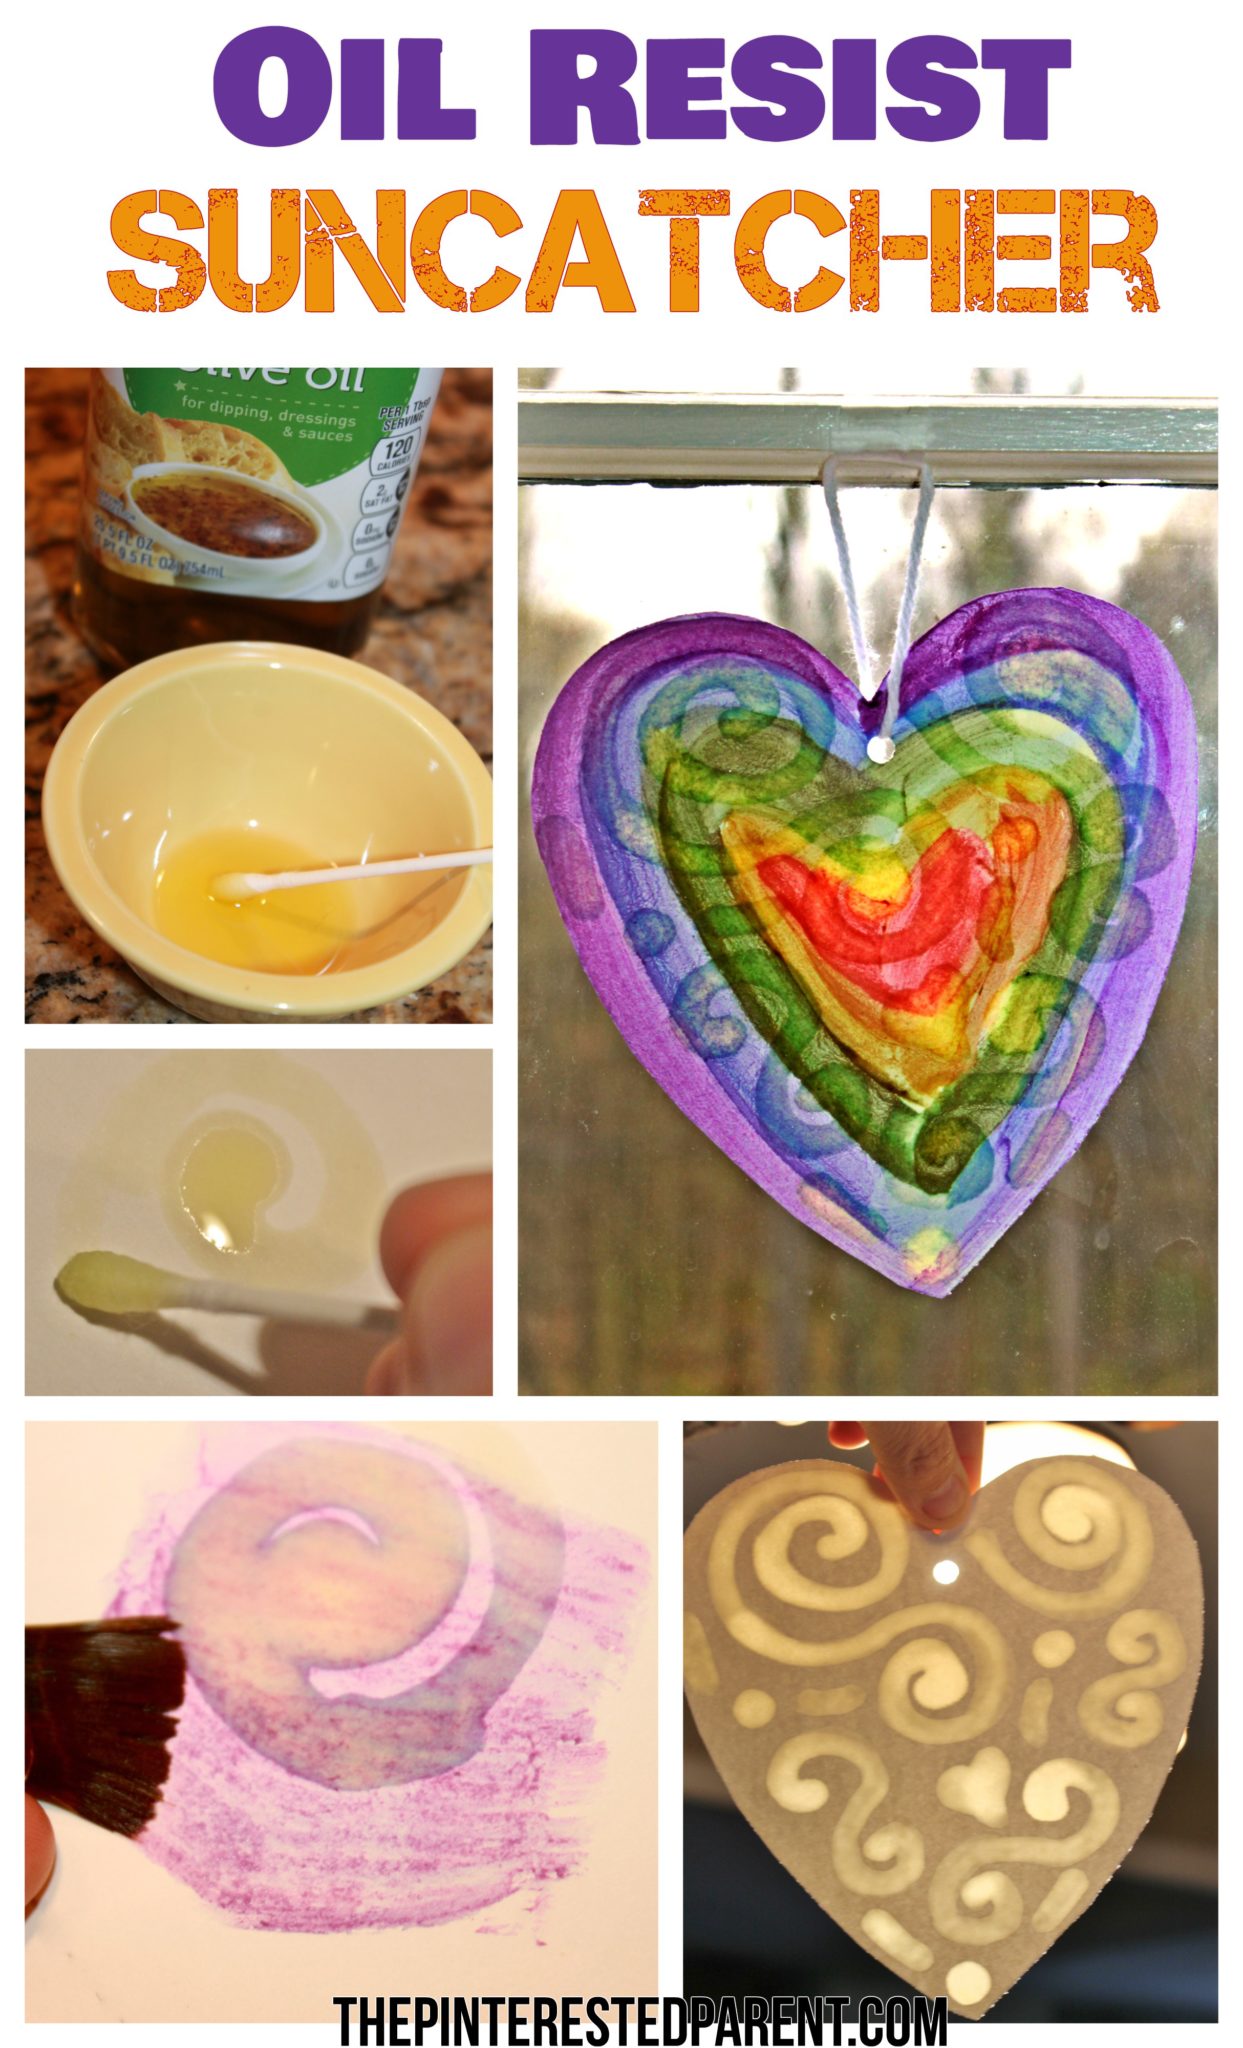
The process is a simple one. We poured just a cap full of oil into a small dish.
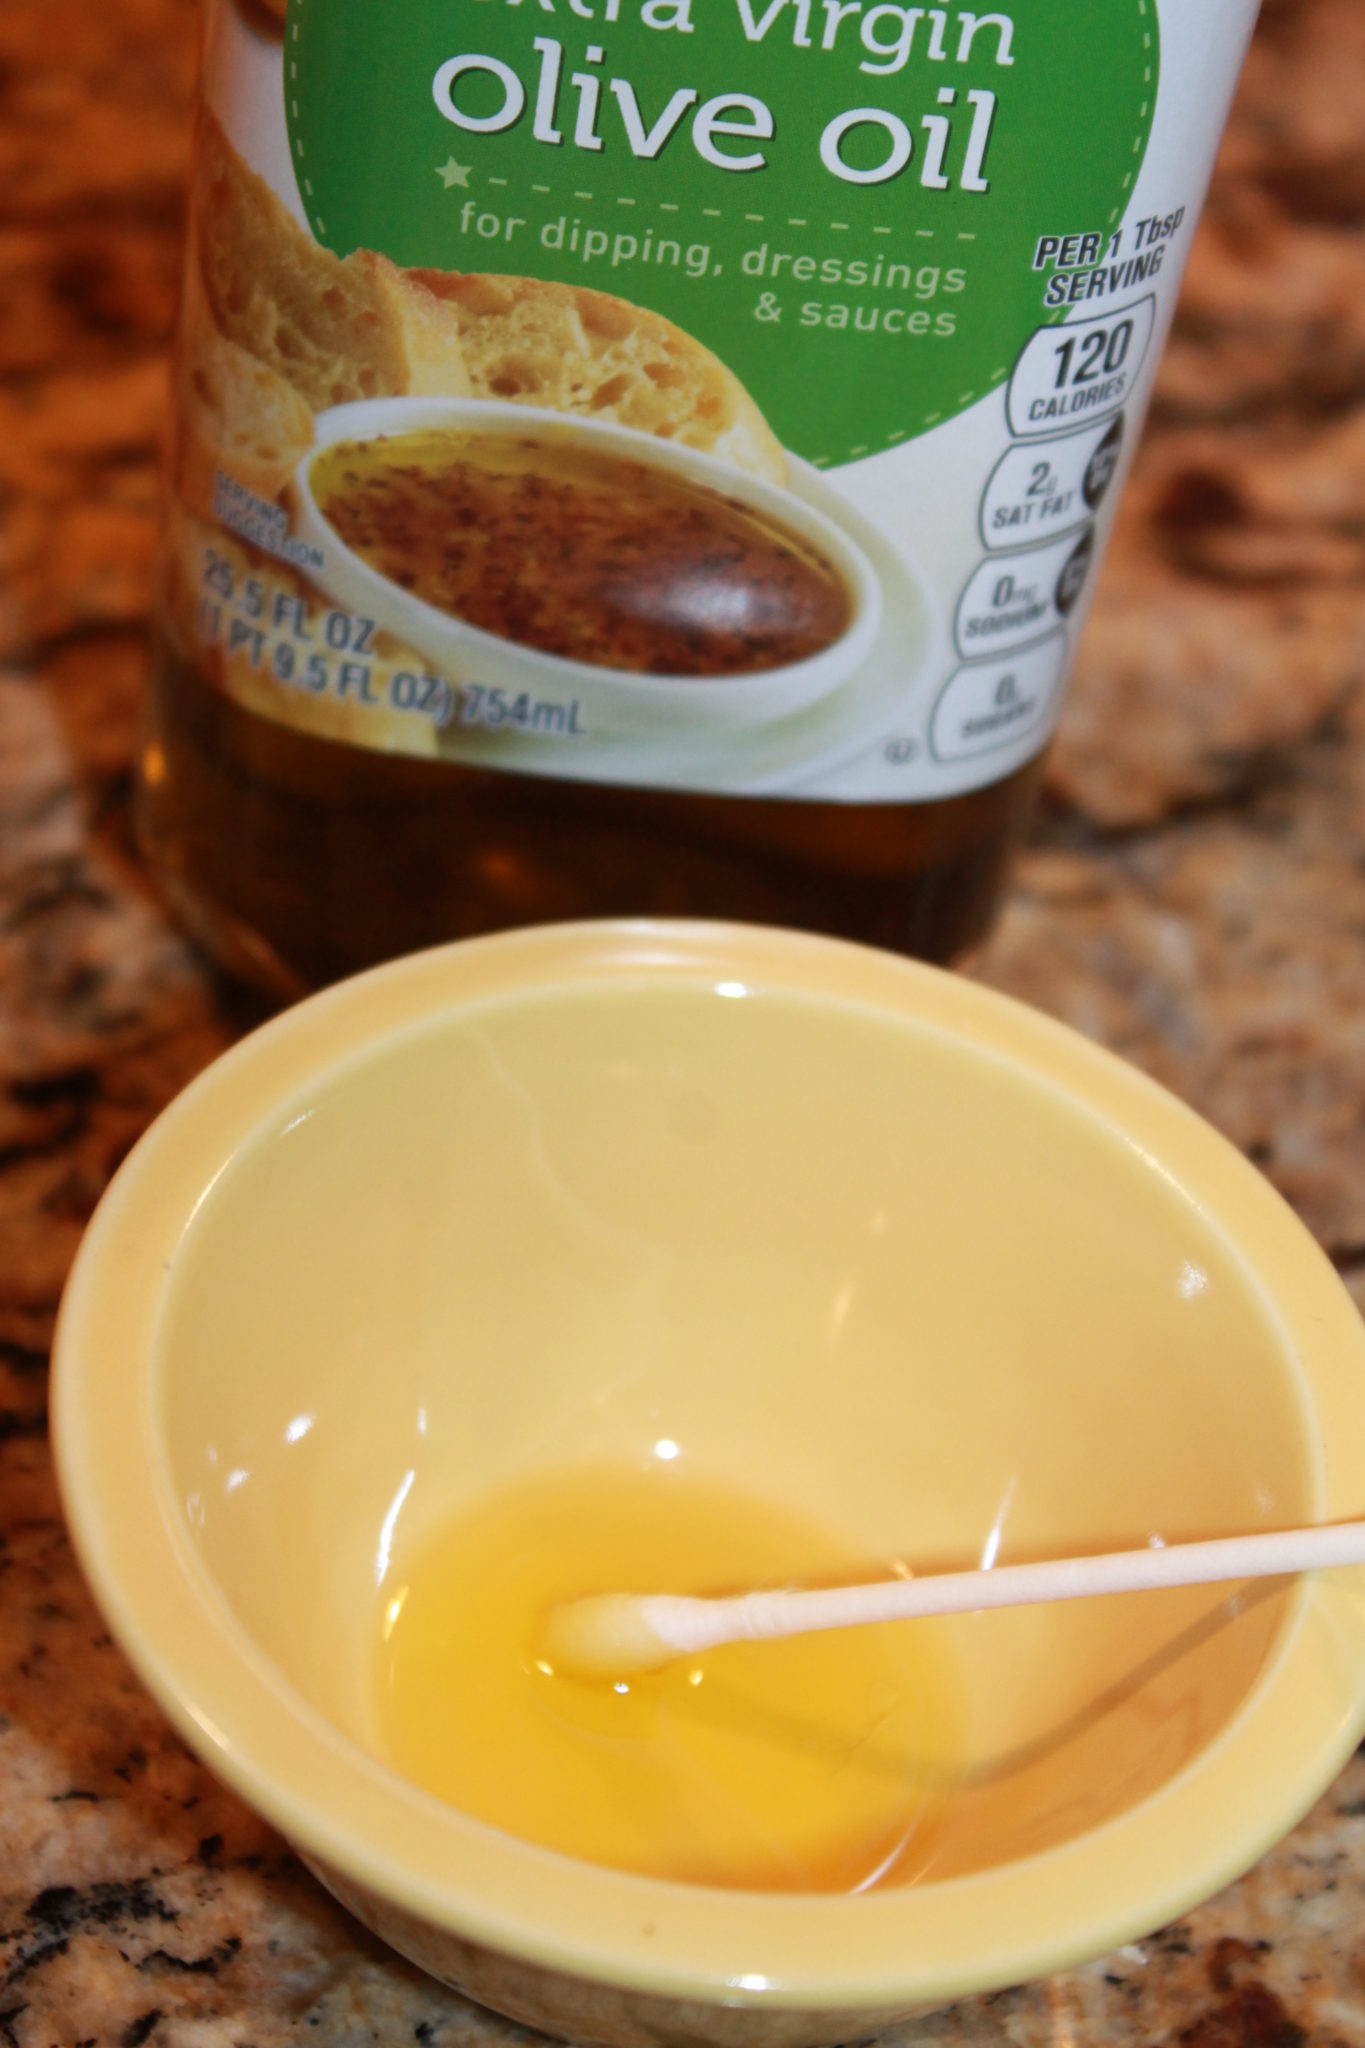
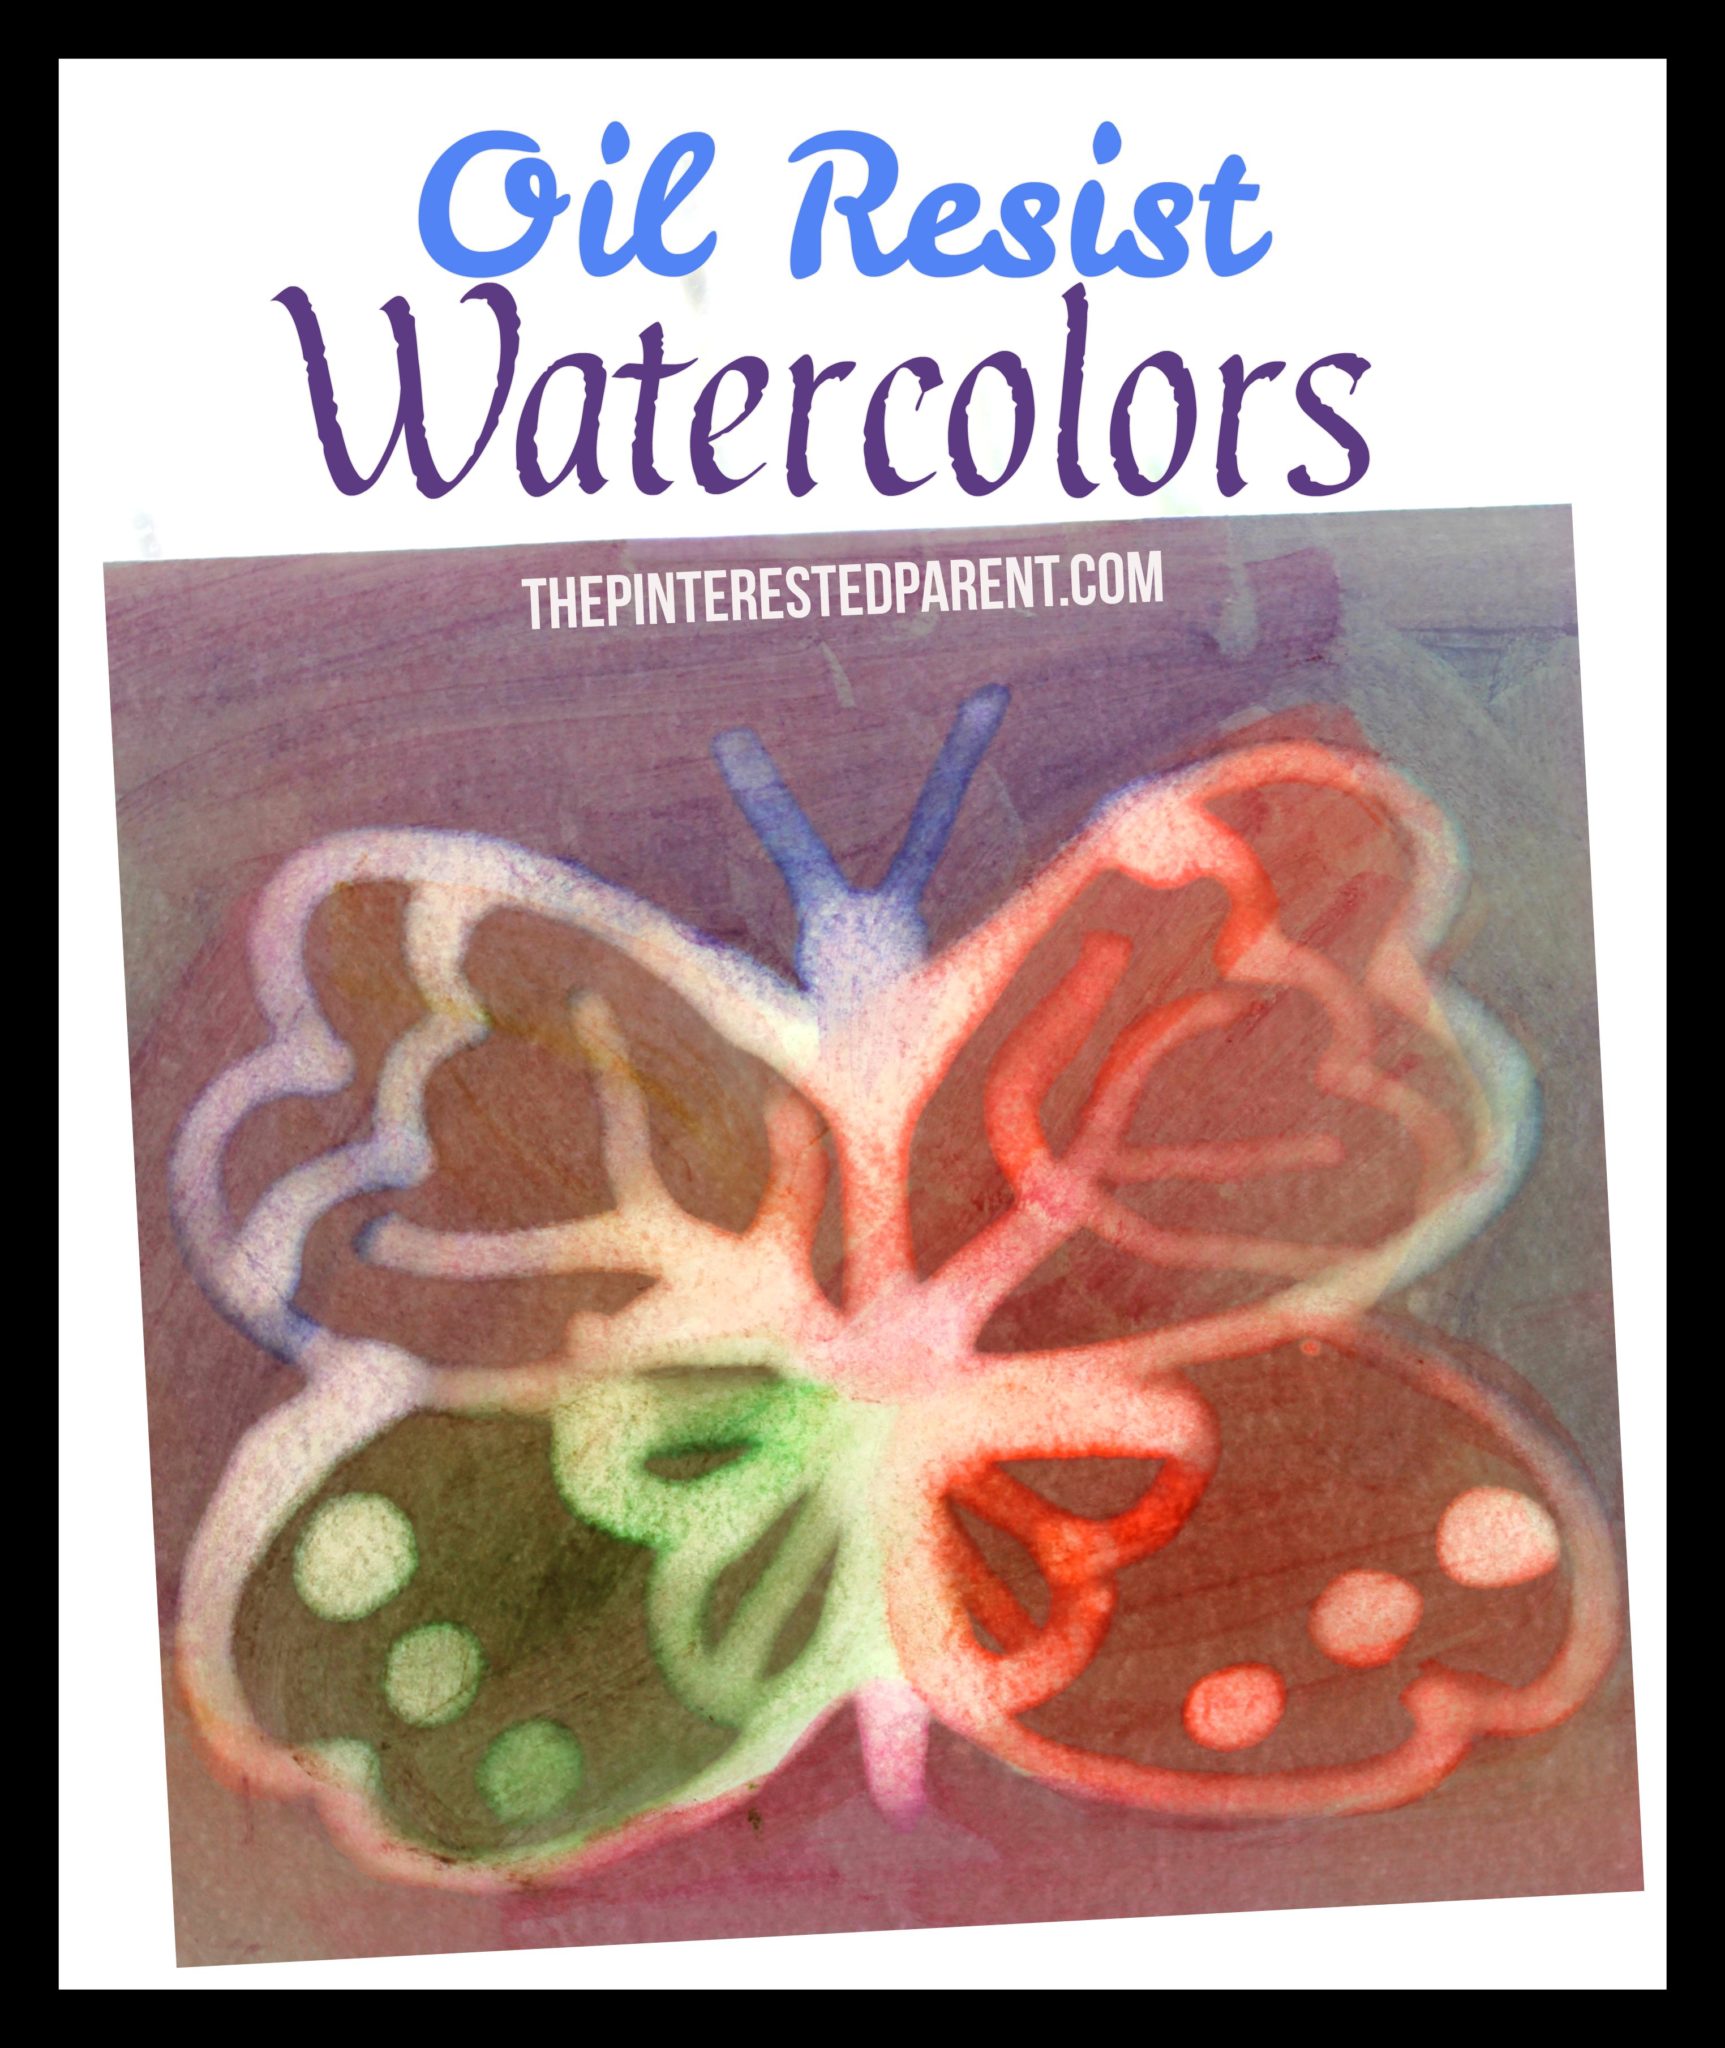
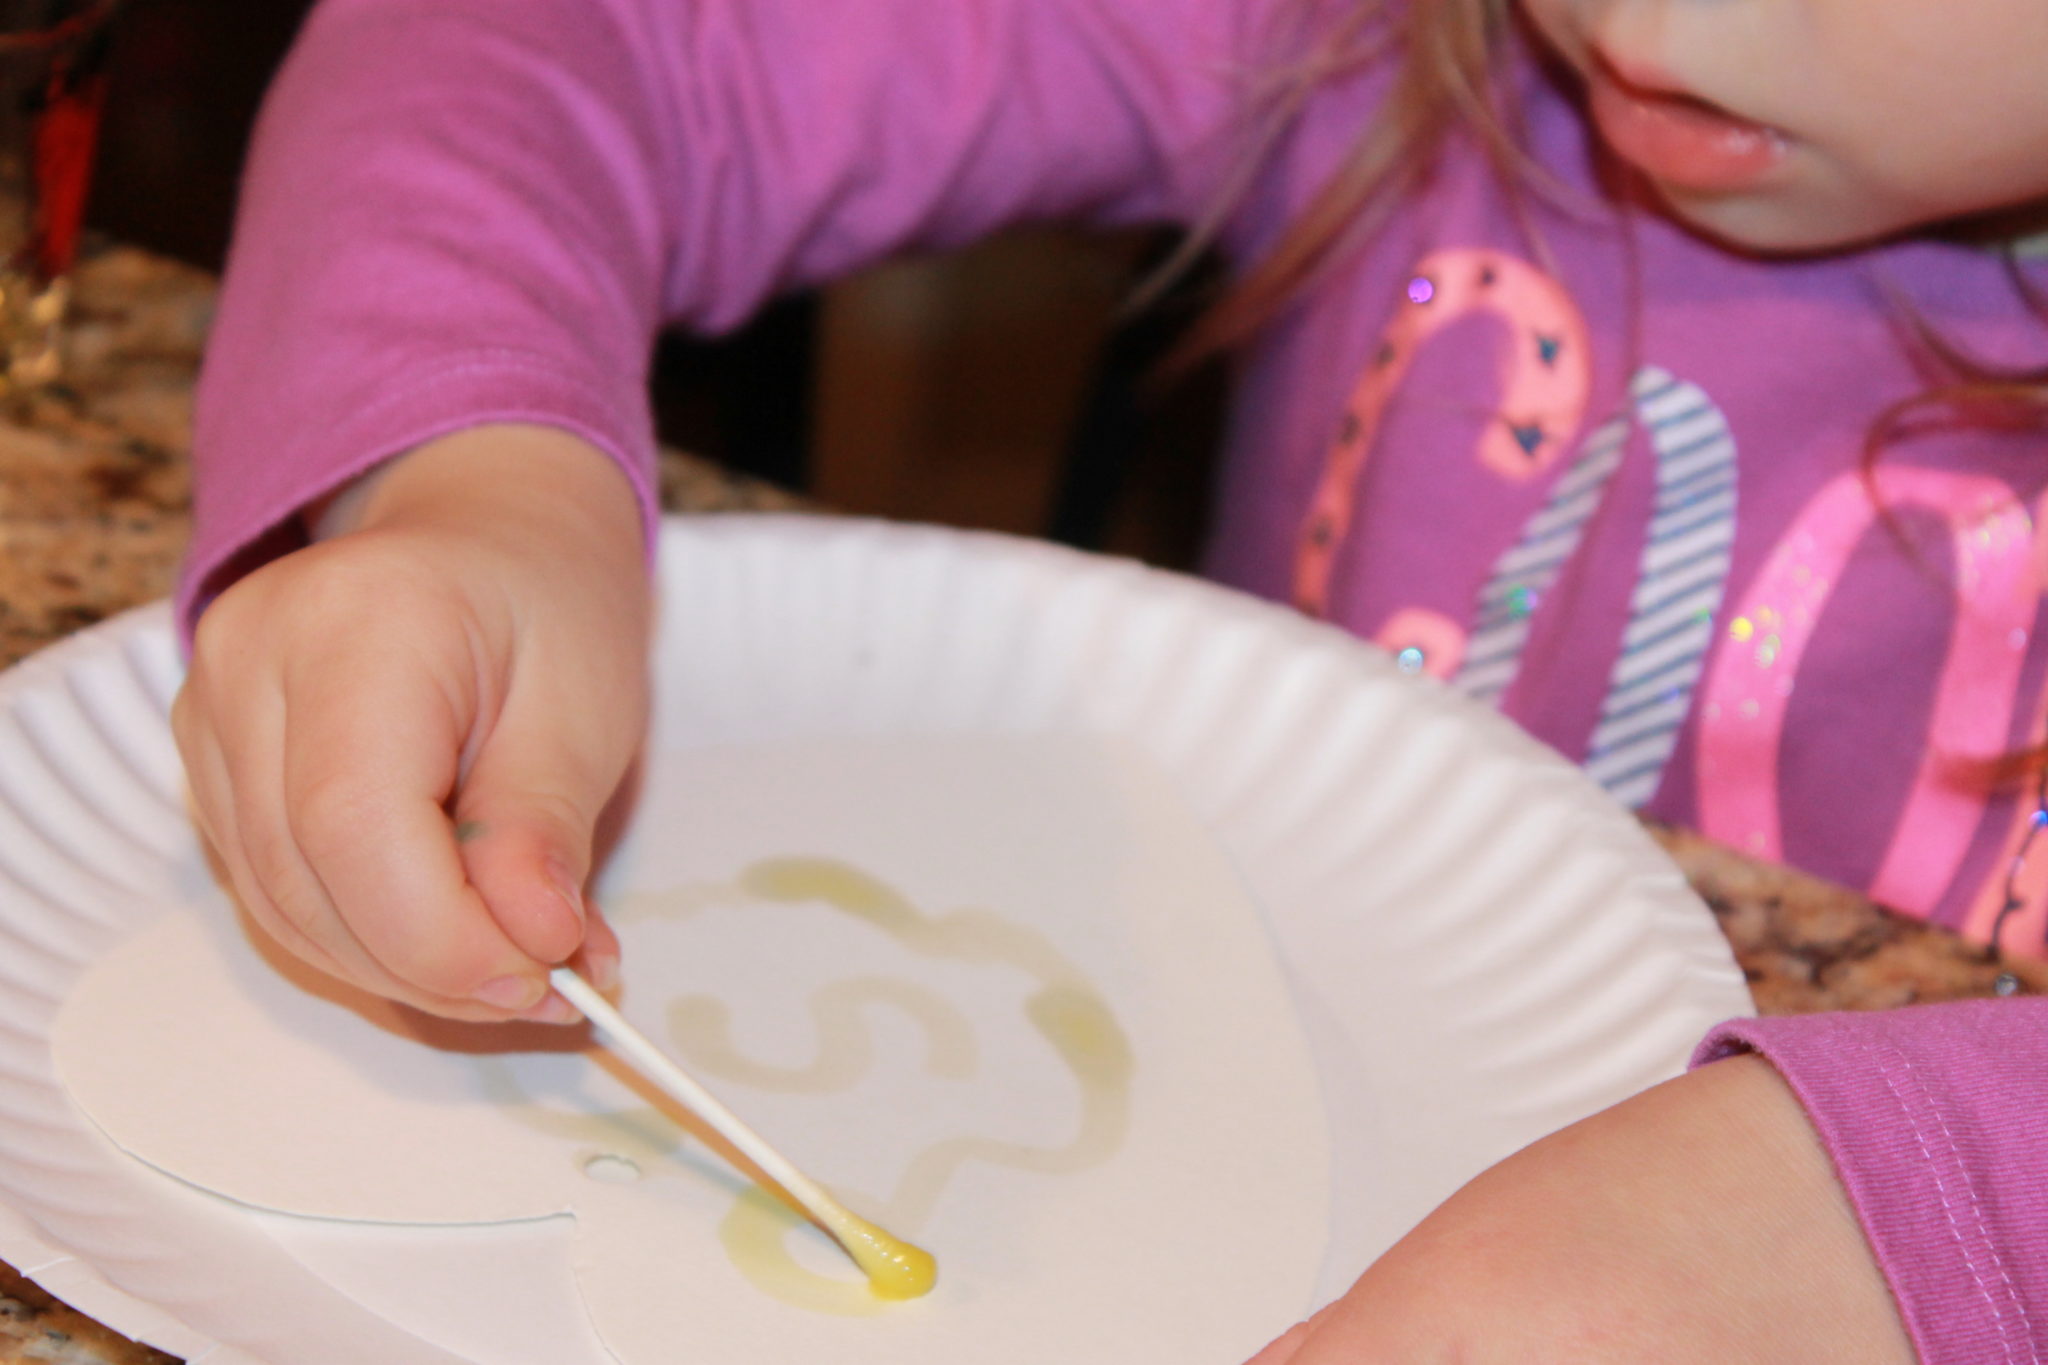
I liked the butterfly from the first time I did the project, so made it again to test it out. We used a Q-Tip to soak up the oil & drew the design onto a piece of watercolor paper. Don’t be afraid to be generous with the oil.
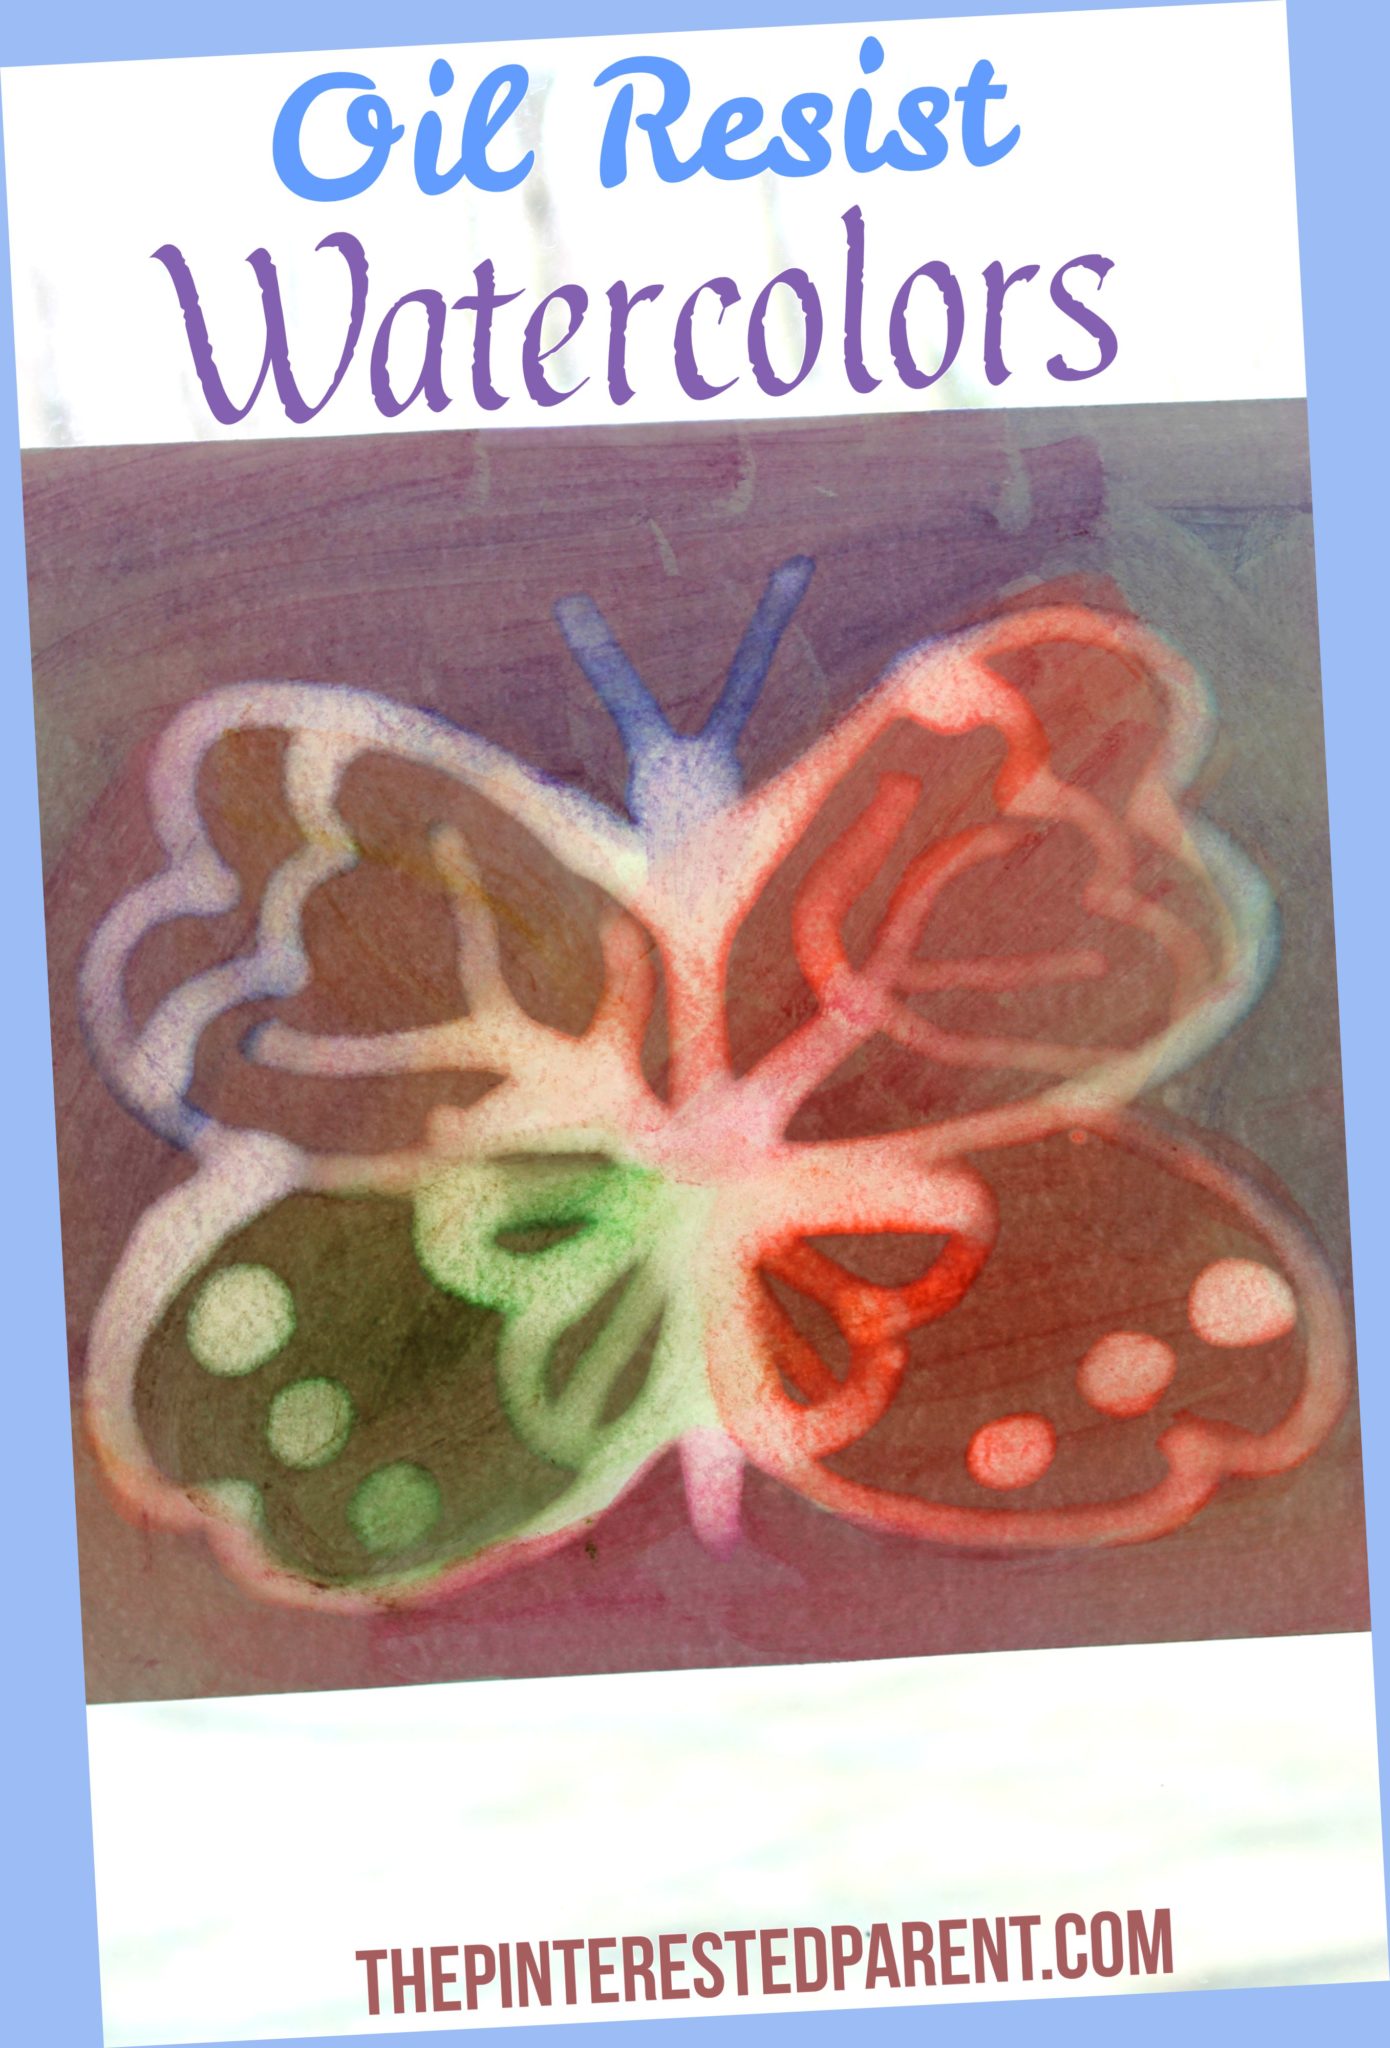
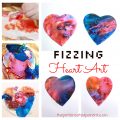
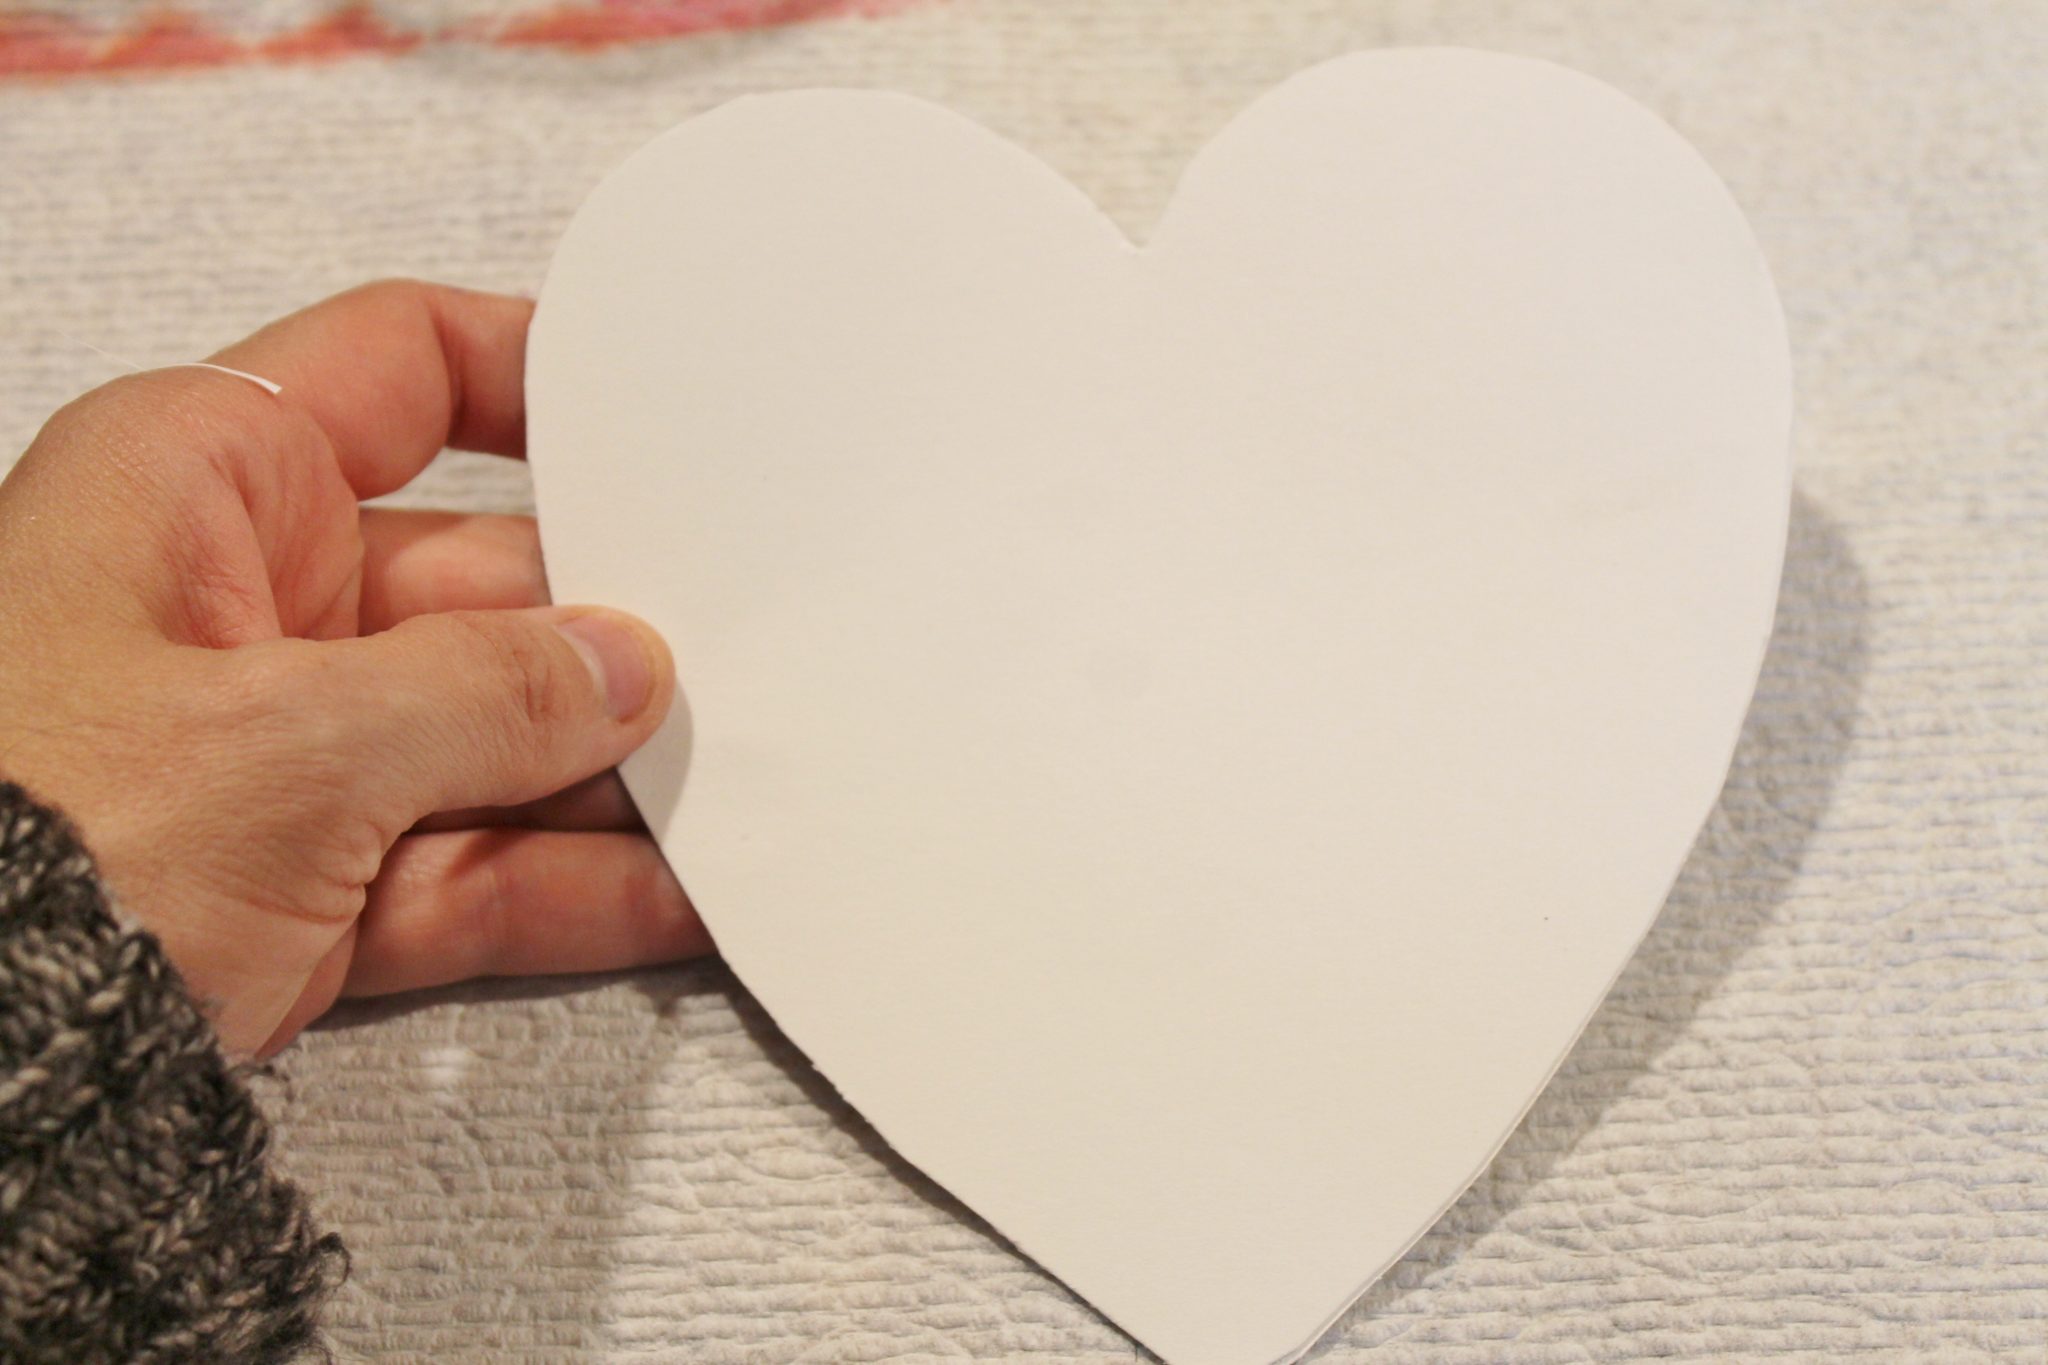
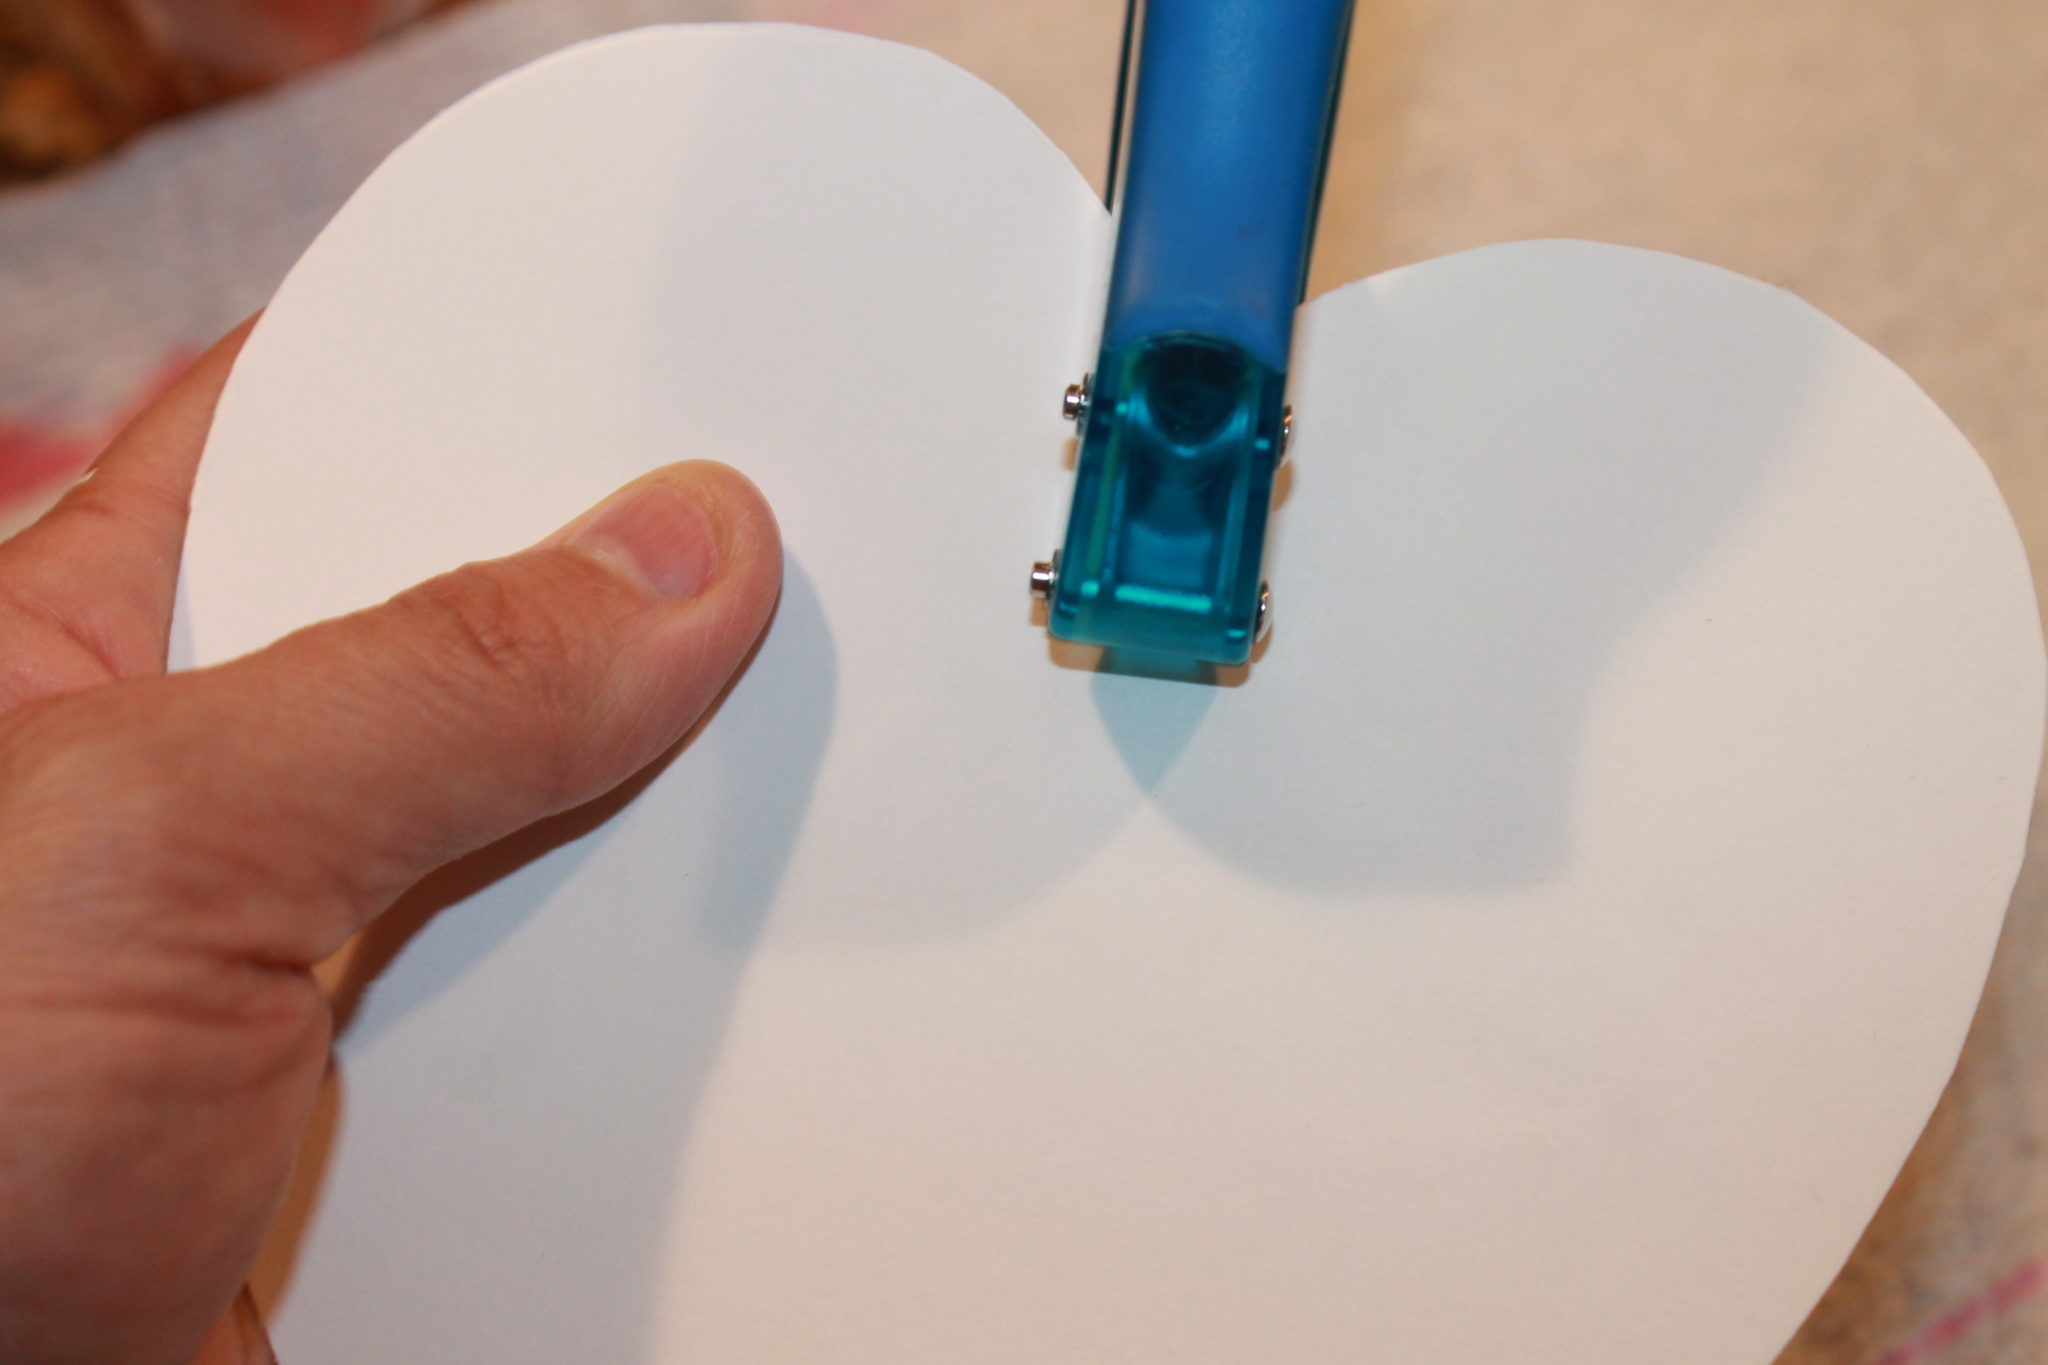
It worked just as I remembered. My daughter loves hearts, so I cut us out heart shapes to paint & design. I used a hole punch to punch a hole at the top to be able to hang it up later in the window.
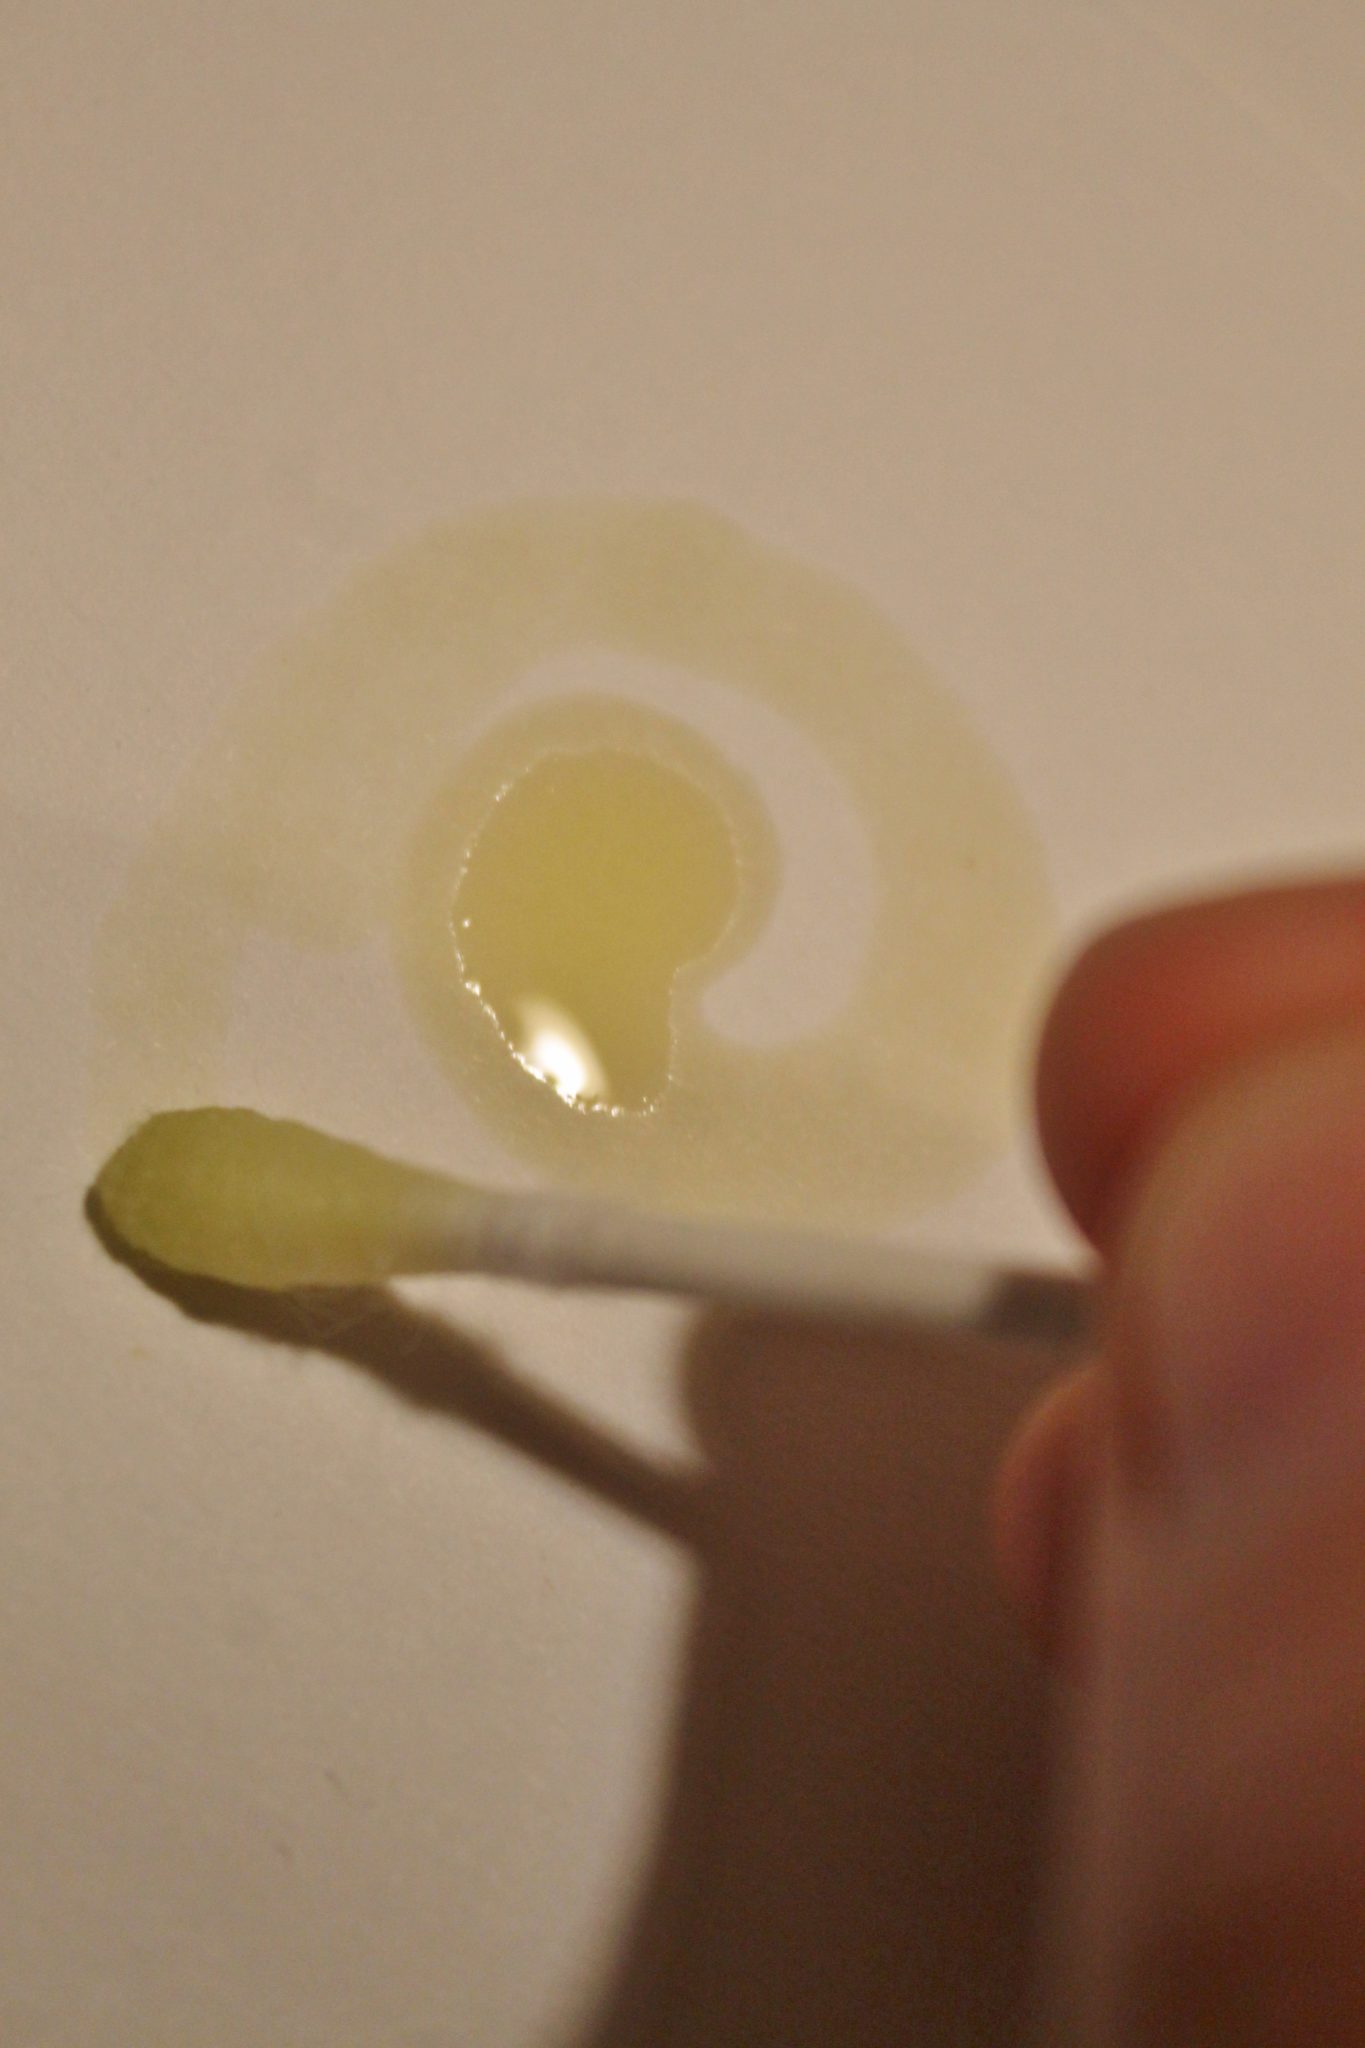
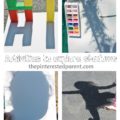
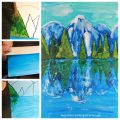
If you hold your design up to the light, you can see how the light shines through the oil. My daughter thought this was very cool.

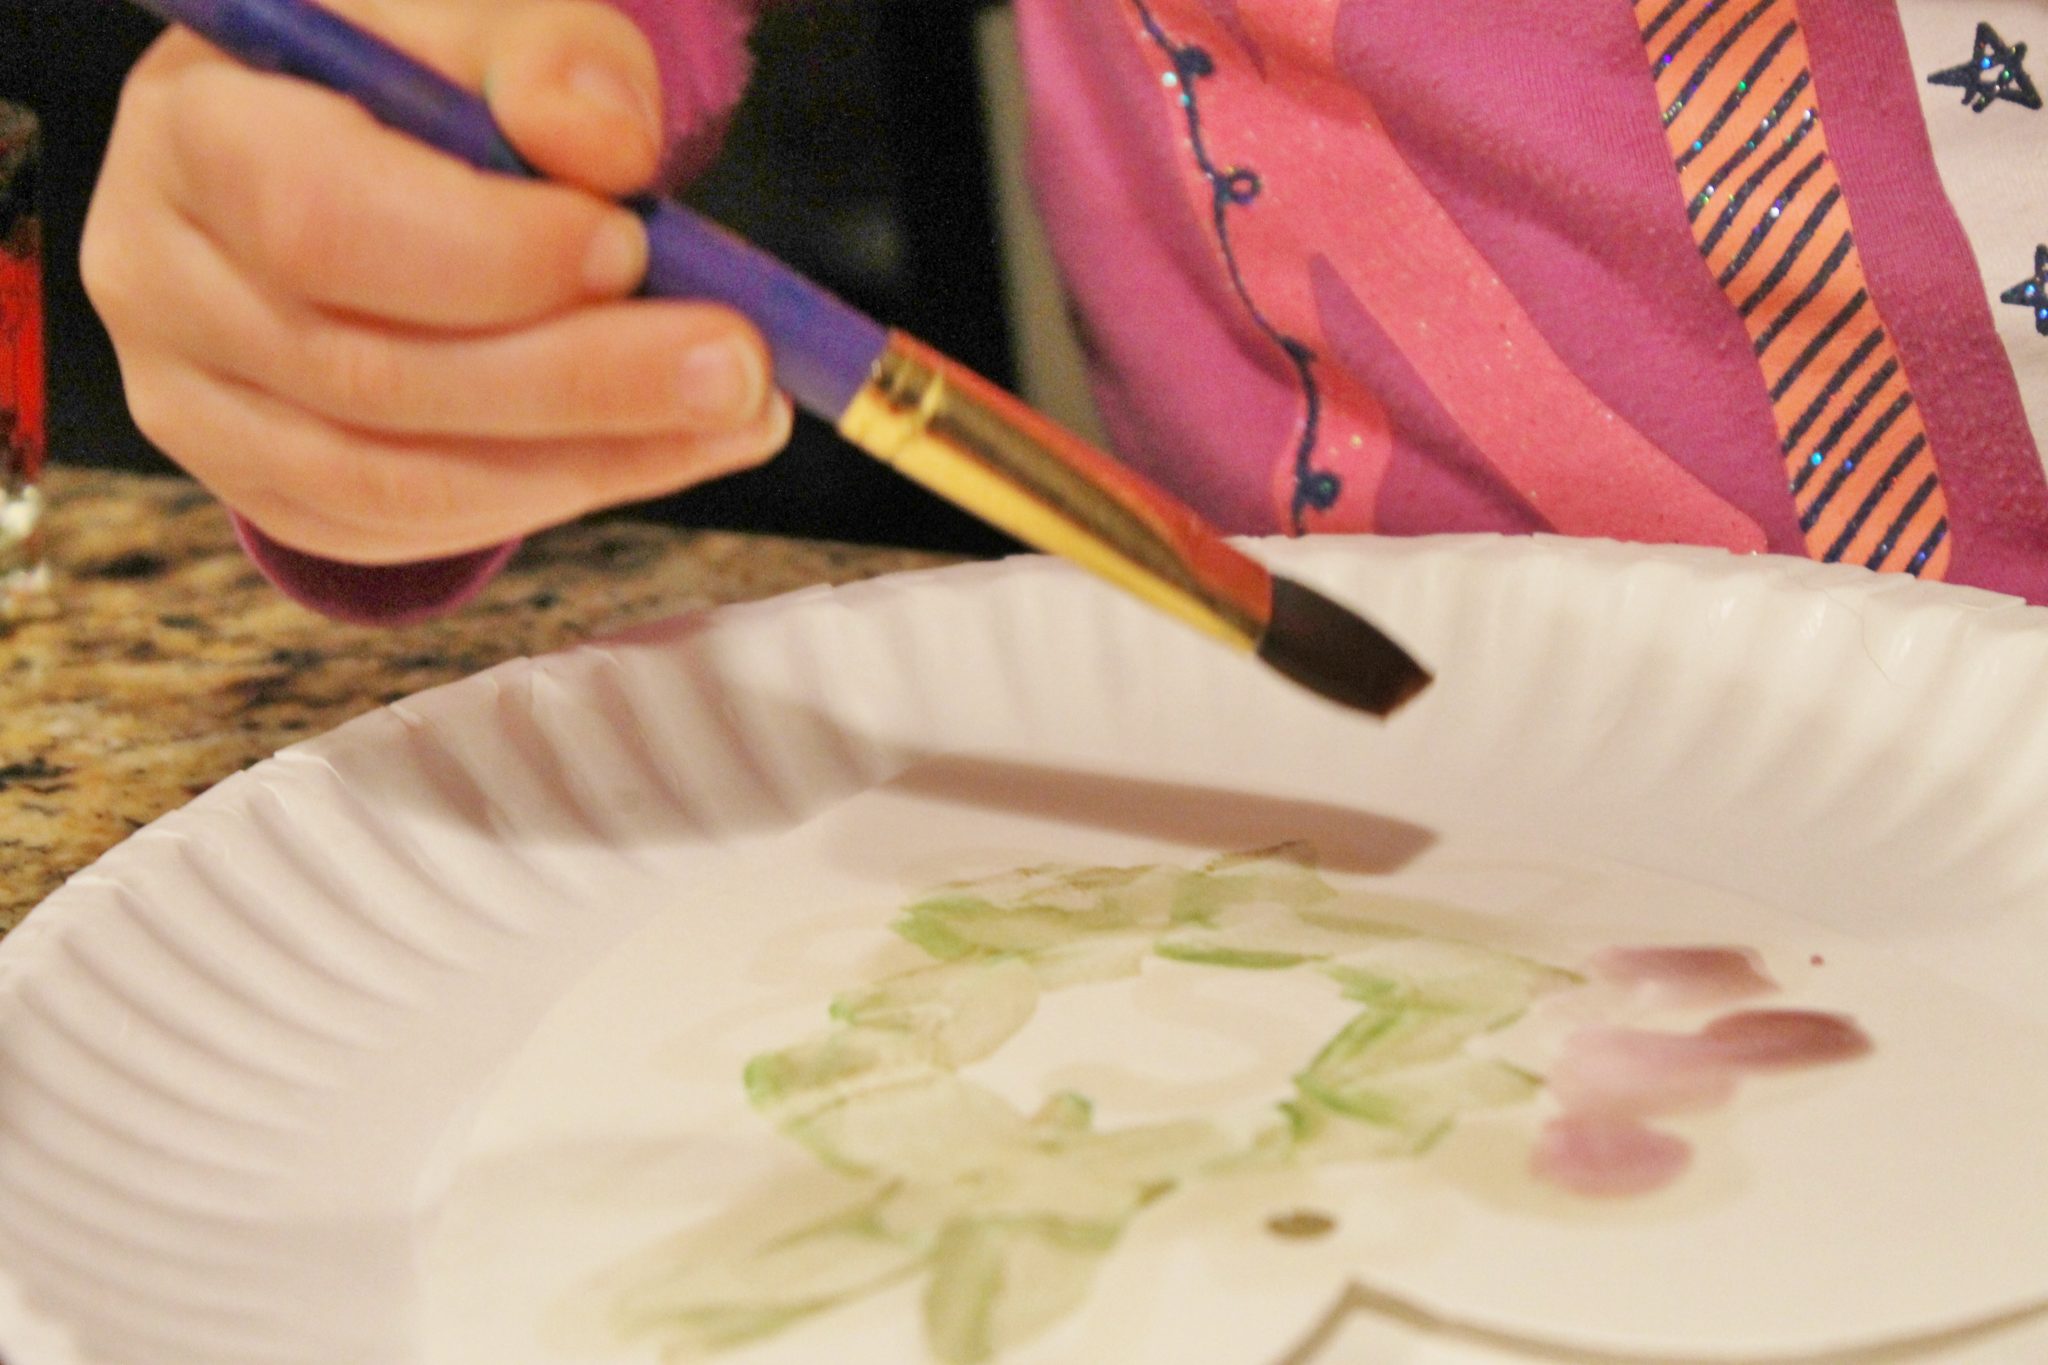
The paper absorbs the oil within minutes. After the oil dried we used our favorite homemade watercolors to paint our designed hearts.

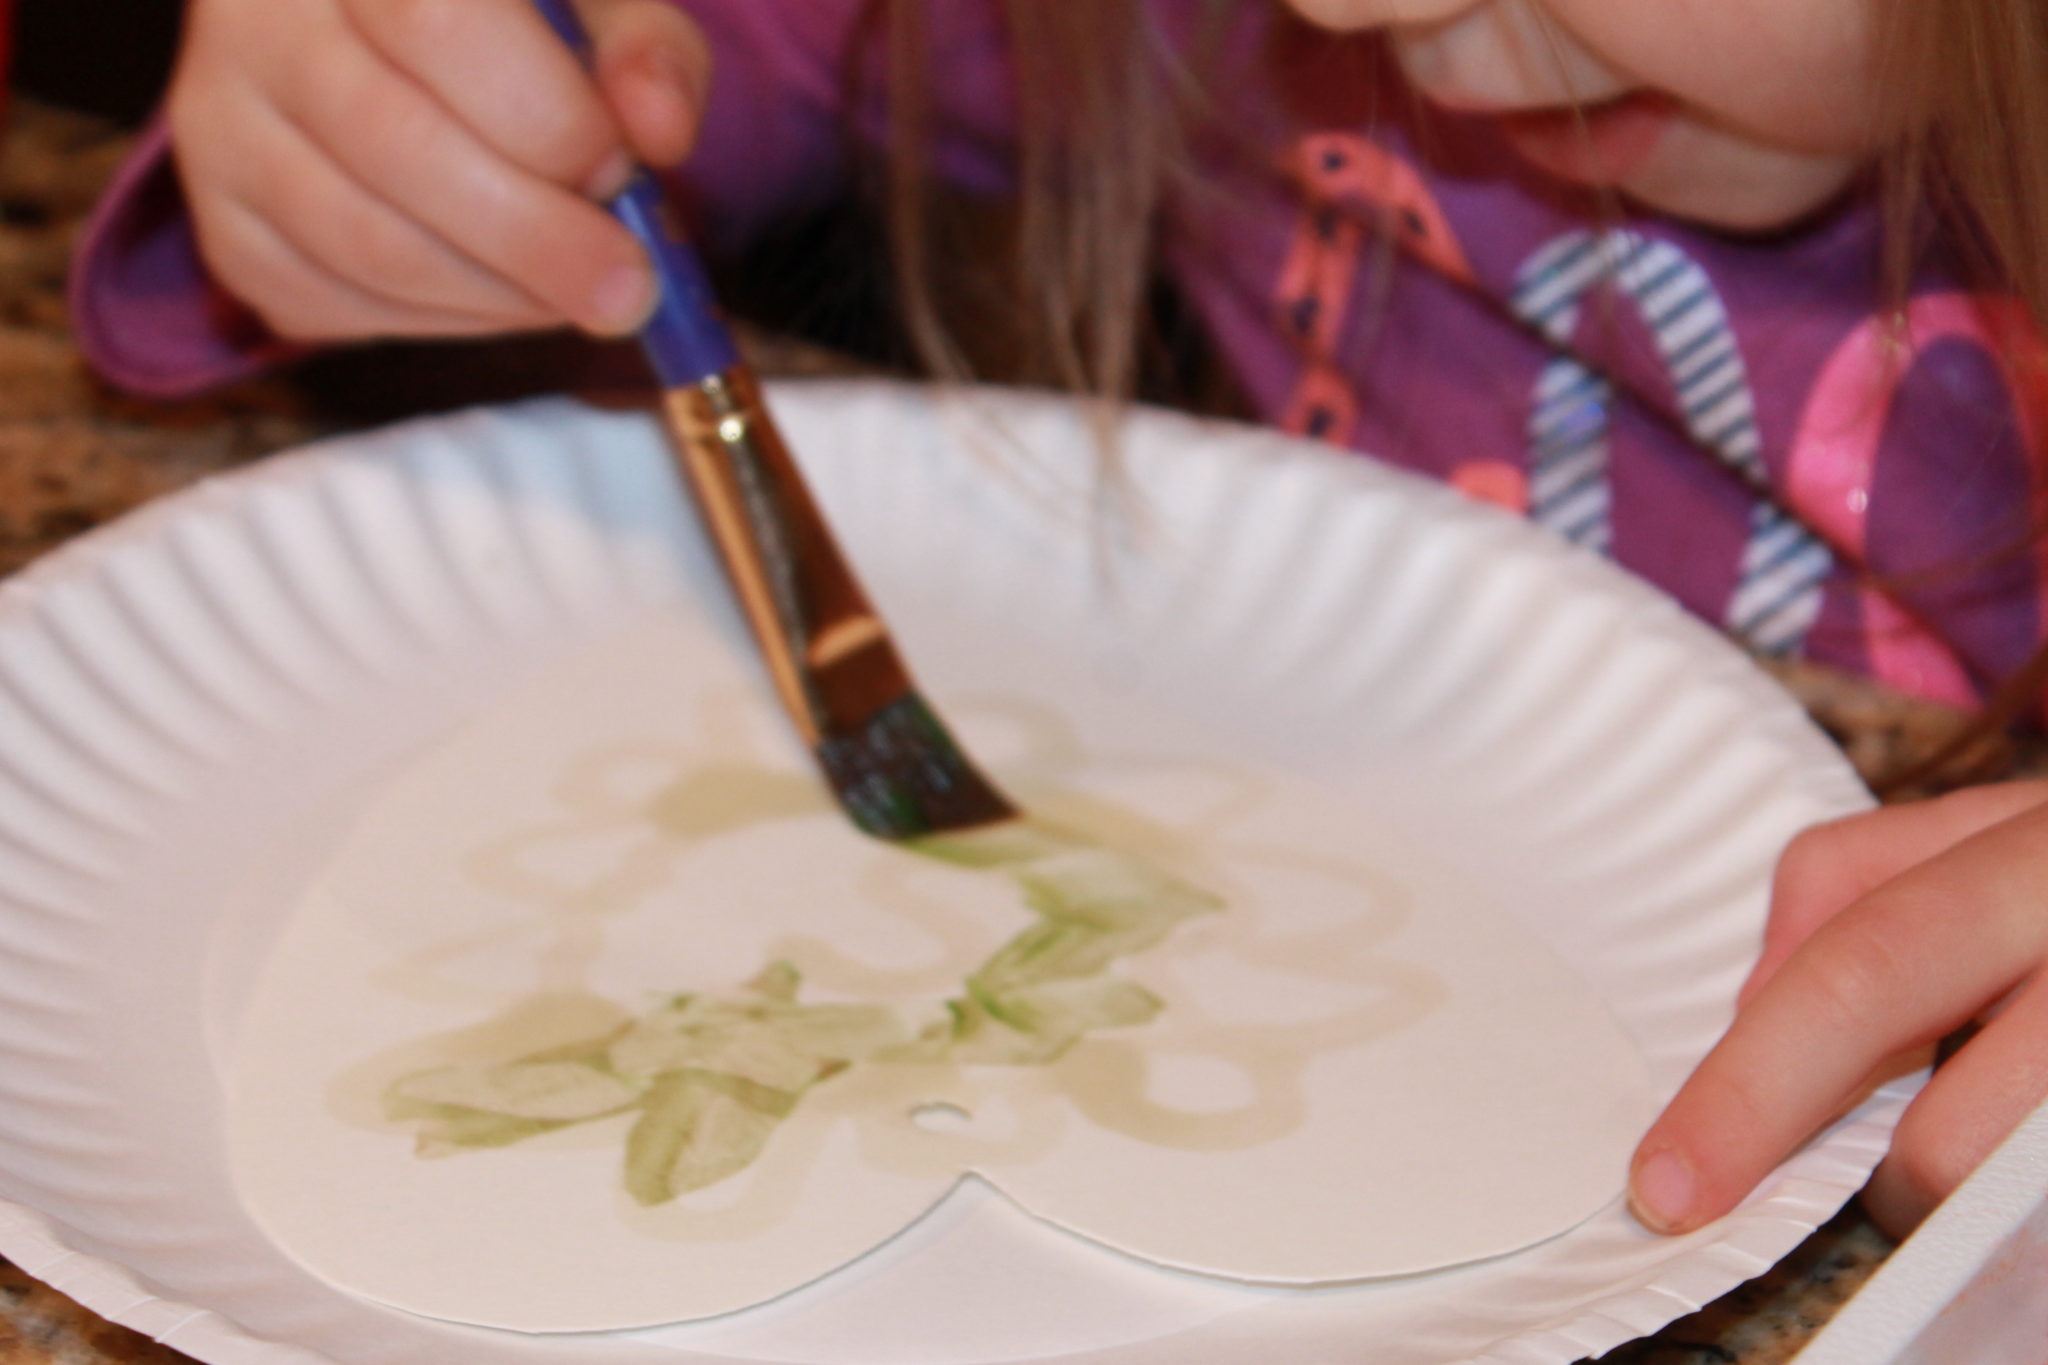
After we finished painting, I strung a piece of yarn in the hole at the top of the heart.
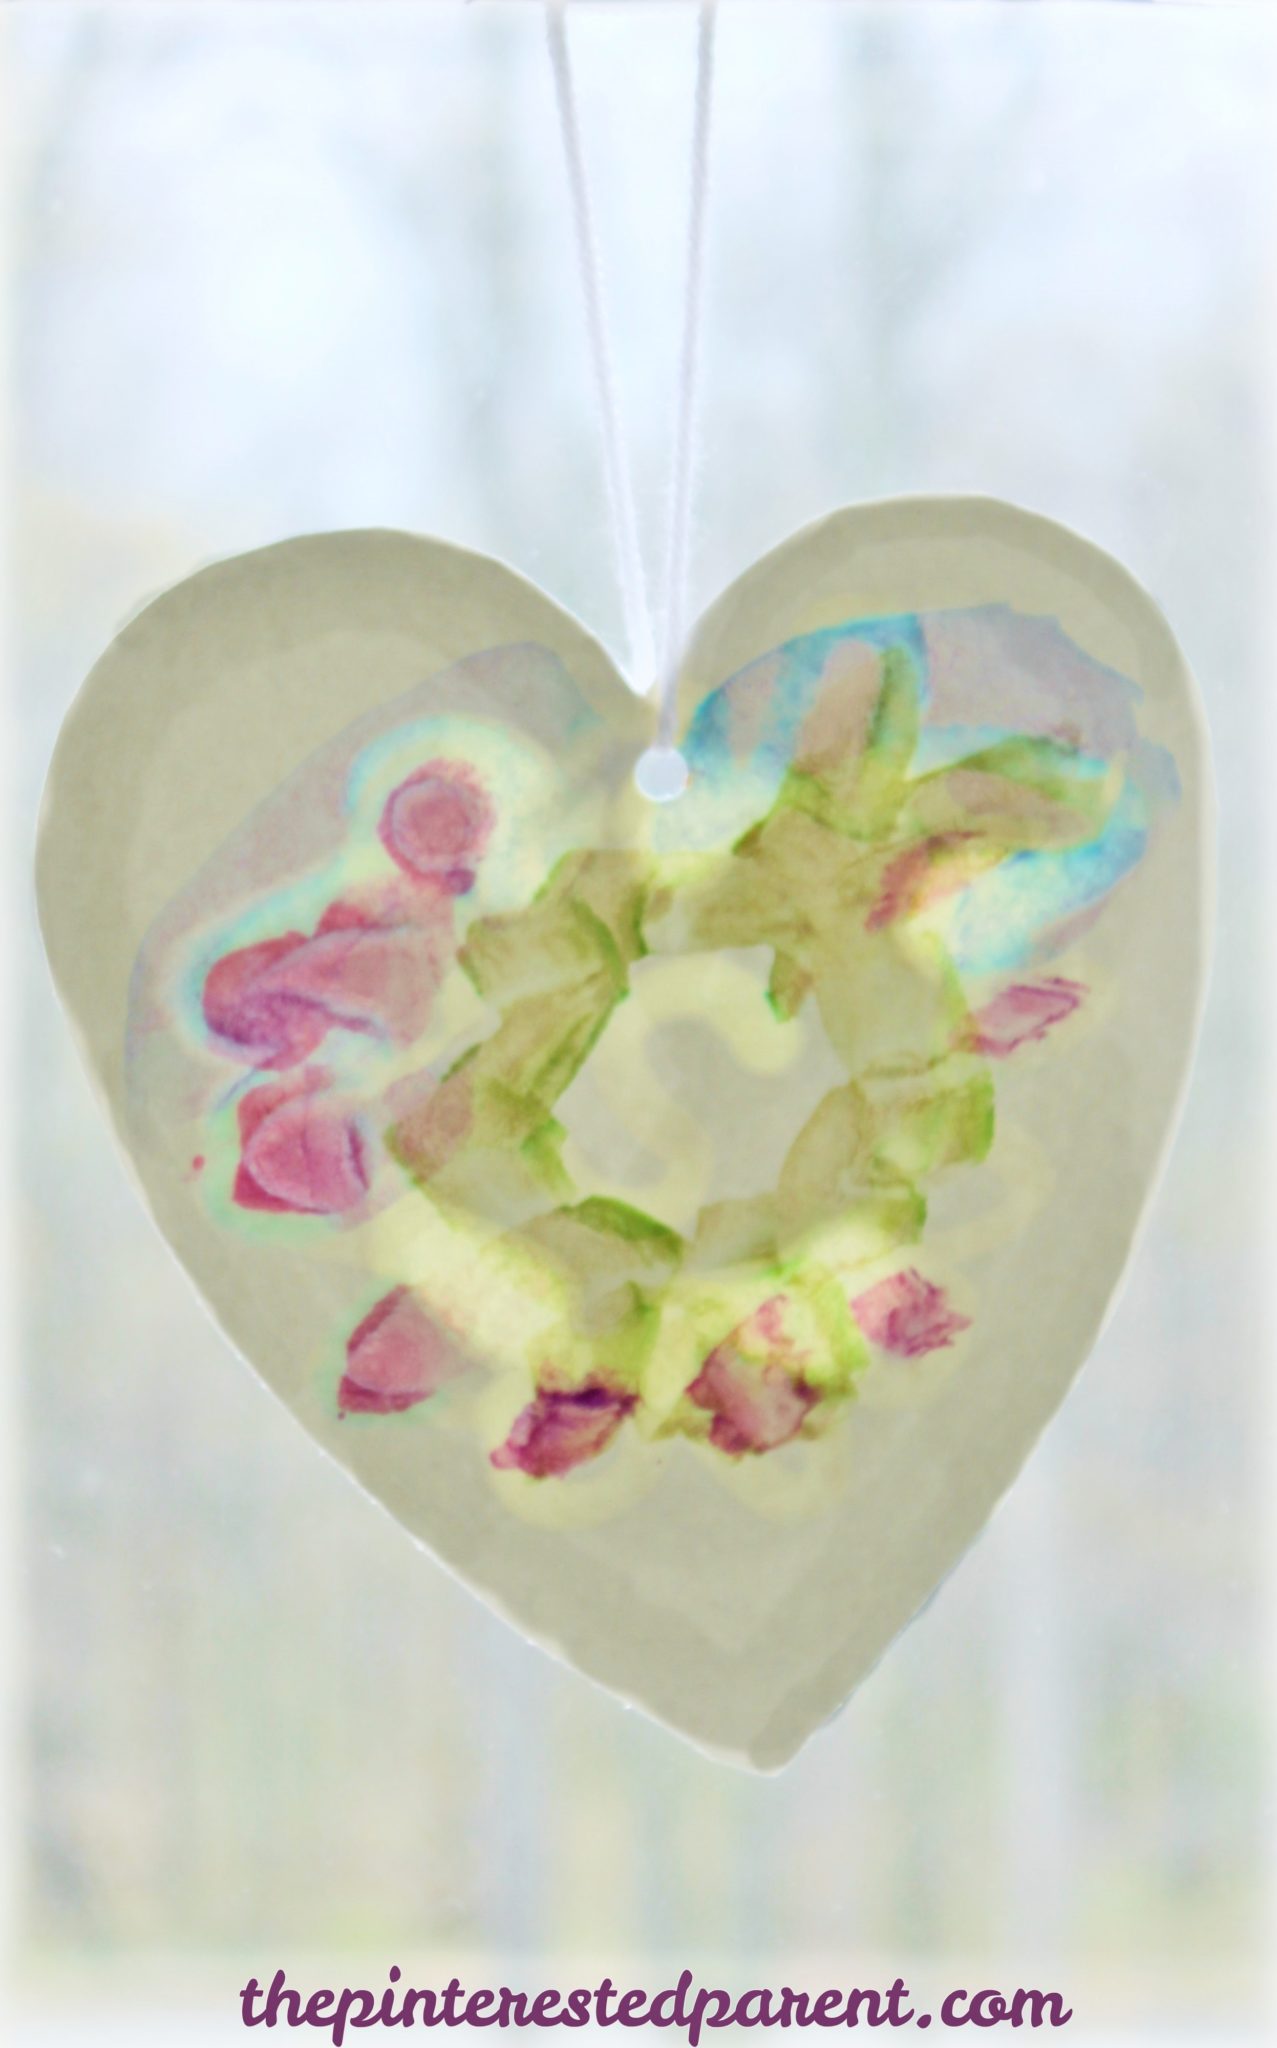
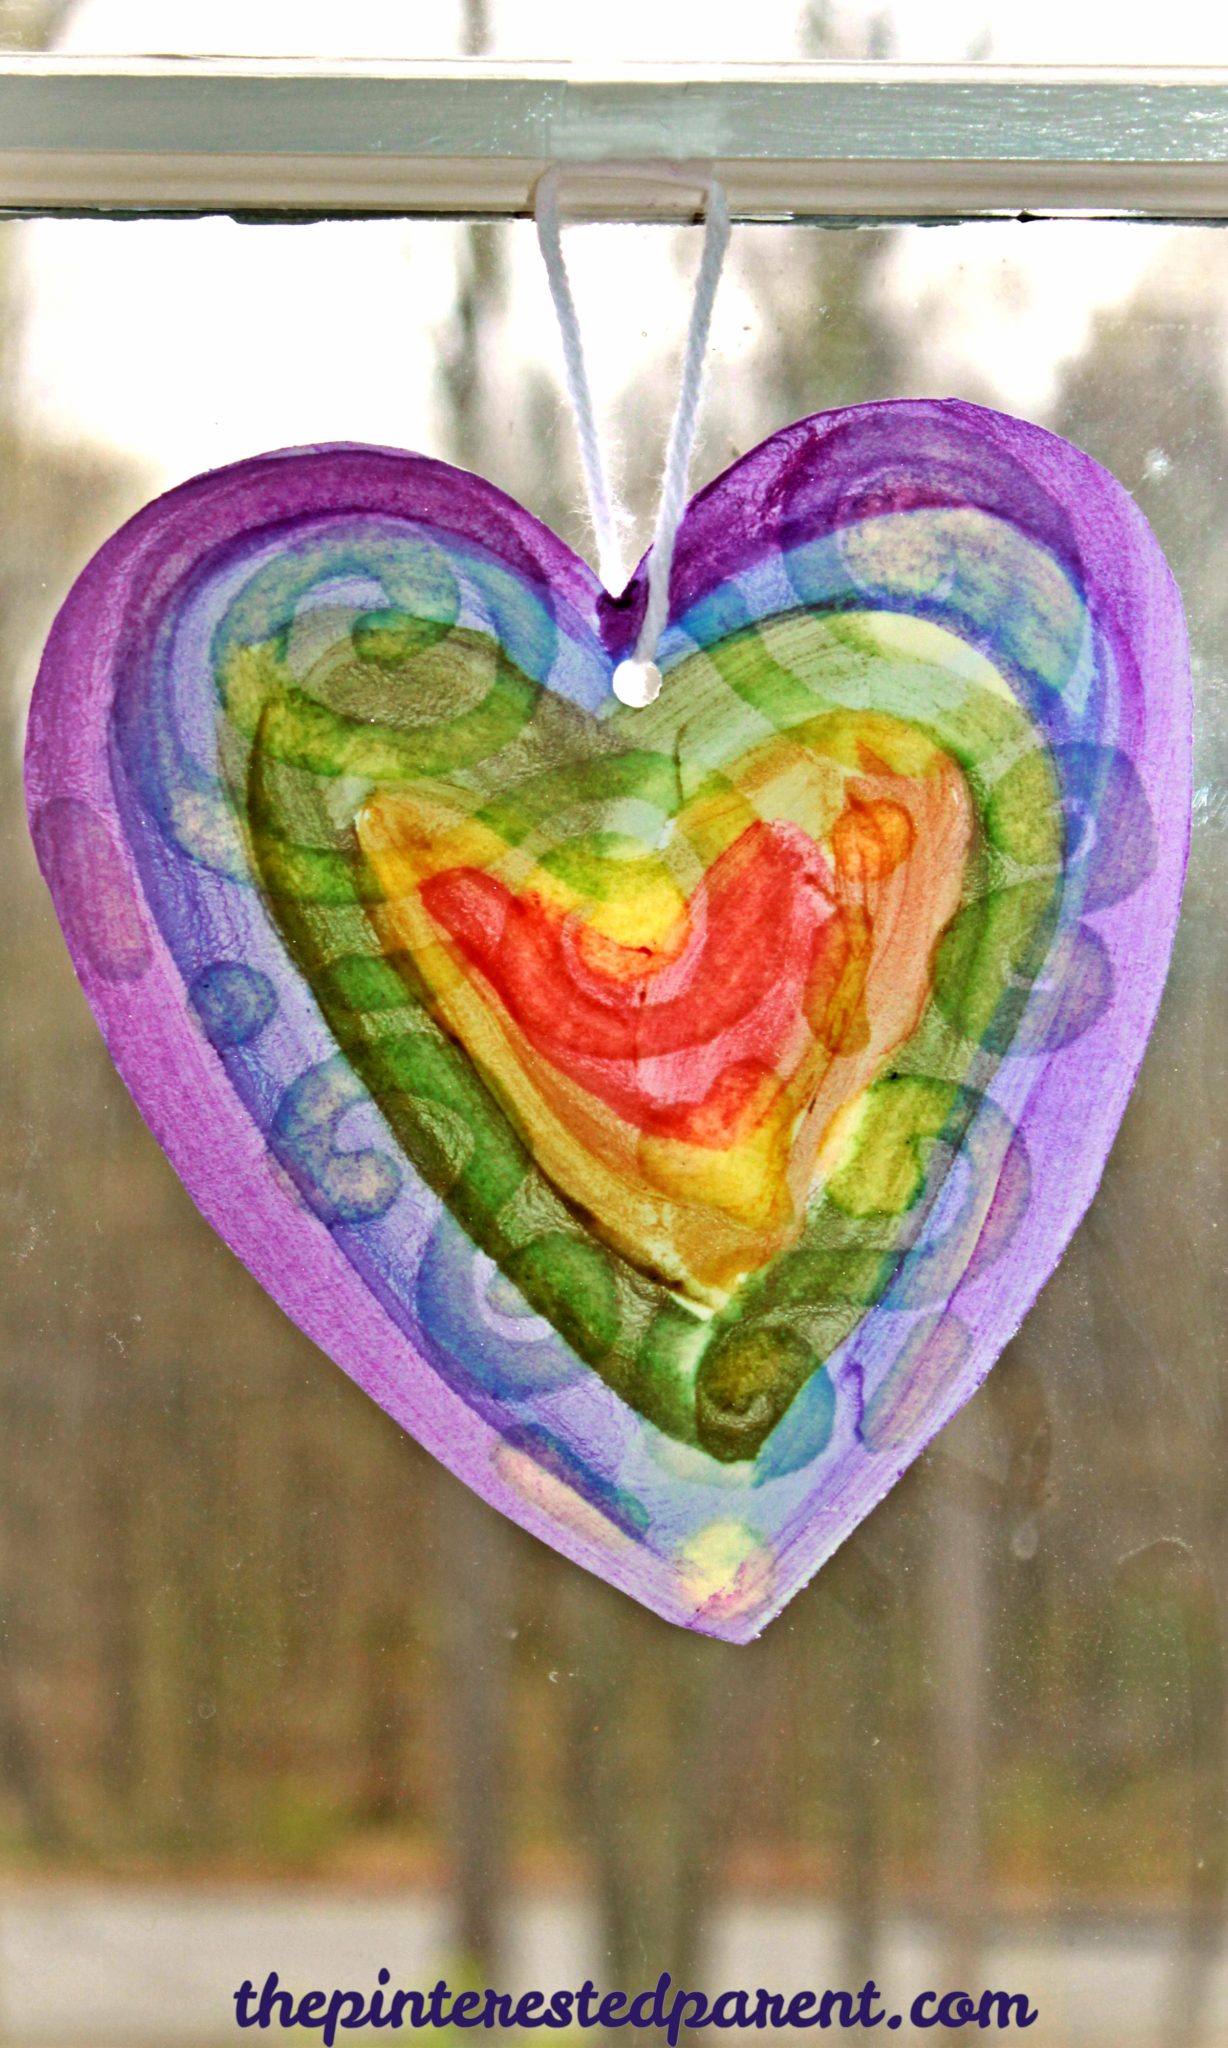
The paintings looked lovely with light shining through the oiled designs. The paintings will fade from the sun in time, but they are simple & fun to make again and again.
Thank you as always for reading. Please visit us on our Facebook page as well.