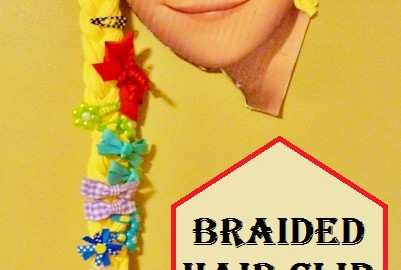
My little girl was born with very little hair. She, like her father had a receded hair line. (Sorry Honey!) There was no hair in the front, but there was quite a bit in the back. As time went on, the back of her hair continued to grow, yet the front stayed hairless. She started to take on a sort of baby mullet. I dressed her in pink as much as possible to avoid the “Isn’t he cute.” “Thank you, SHE is cute, isn’t she?”
So, when Mai was finally able to pull her hair back into pigtails, mommy was elated.
I bought hair clips & barrettes galore. Every time we left the house, I had to throw a pretty clip in her hair. The problem is I had no where to put all of these little hair pretties and they ended up all over the house and lost.
Braided Hair Clip Holder
What you will need:
A sturdy piece of cardboard
Elmers glue
Modge Podge
A print out of a pretty princess
Yarn
Glue gun & hot glue
Adhesive picture hanging strips
Directions:
Print out a picture of your favorite princess on your home printer.
Carefully adhere the picture to a piece of cardboard & cut around the cardboard to match the shape of your picture.
Paint the Modge Podge over the top of your picture.
Measure out your yarn. You want it long enough to follow the length of the hair in the picture.
Working in small sections, paint on the Elmer’s glue.
Add your strands of yarn, a strand at a time following the same pattern of the hair in your picture.
Continue, working strand by strand pushing the strands tightly together.
Fill in all areas & let your glue dry.
Using the yarn, form a braid to your desired length.
Using a glue gun. hot glue the braid around the back & sides, where ever the braid touches the cardboard.
Add your picture hanging adhesive strips & hang. Add your hair clips to the yarn strands in the braid.
Related Topics:
http://tadashop.com/2014/02/05/tress-tamer-hearts/
http://crochetingbykally.wordpress.com/2014/01/30/hair-clips/