Do you know the old saying about giving a child a new toy & all they want to do is play with the box? This is mostly true. My daughter usually likes what is in the box too, but she has been amused by a box for days on more than one occasion.
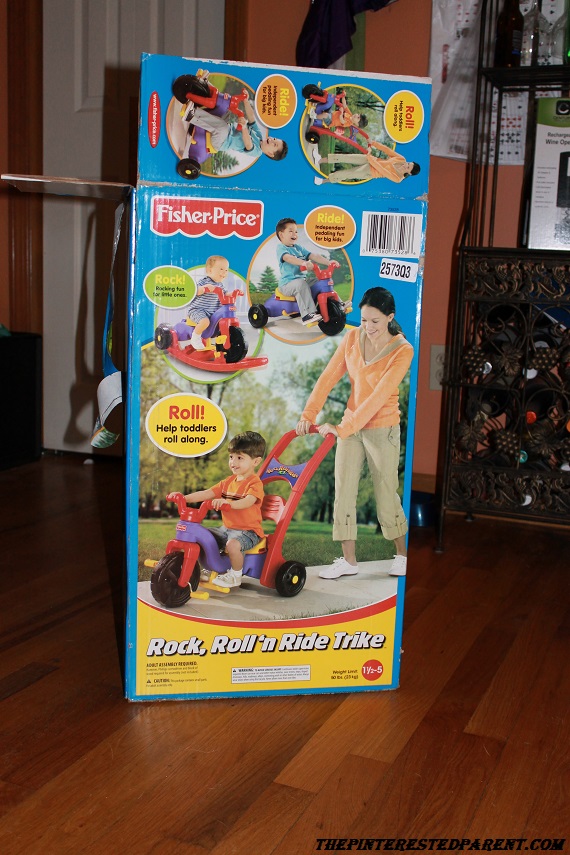
Last week we got her a new toddler trike. She had fun helping Mommy & Nanna put it together & she even rode it a little after it we put it together.
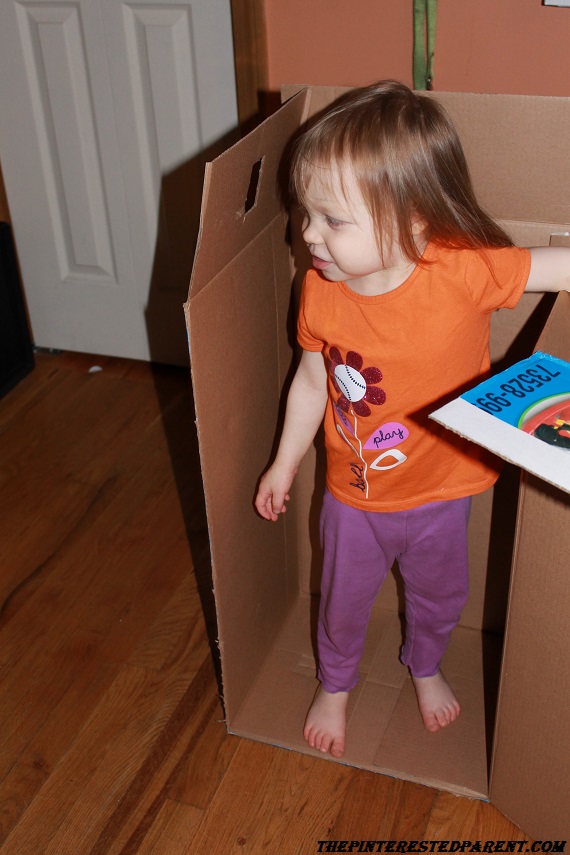
And then she spotted the box…
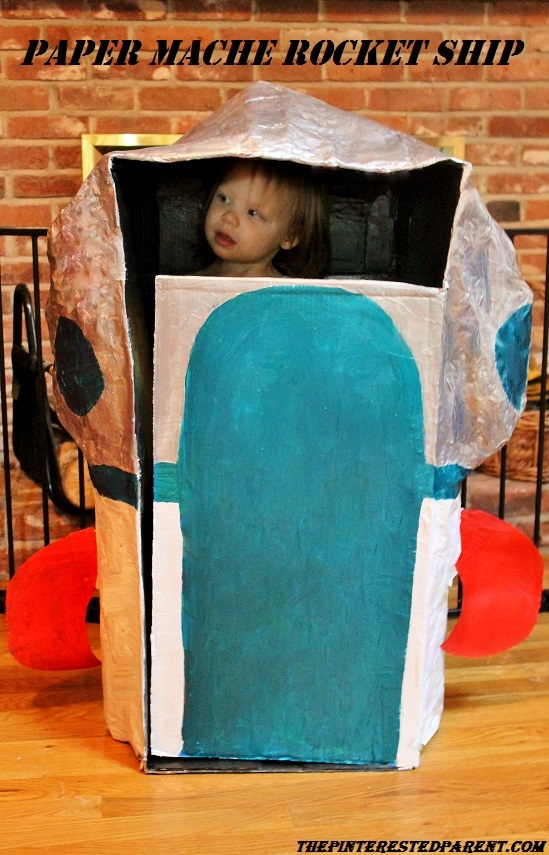
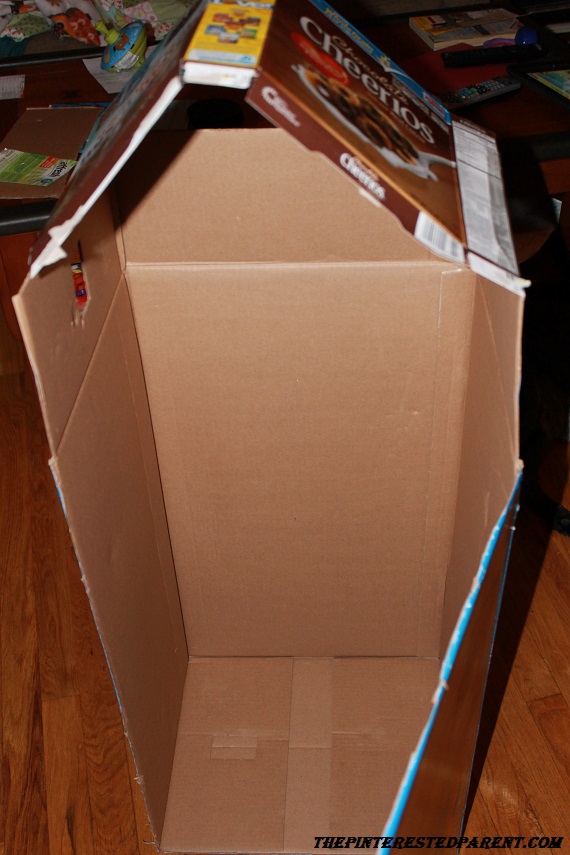
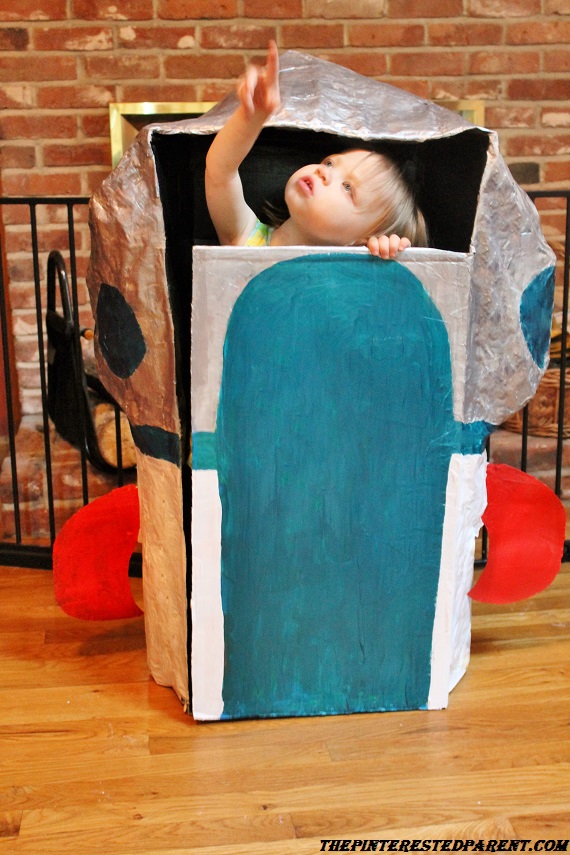
She wanted to play with the box, so I cut open the front to make her a door so she could play in it.
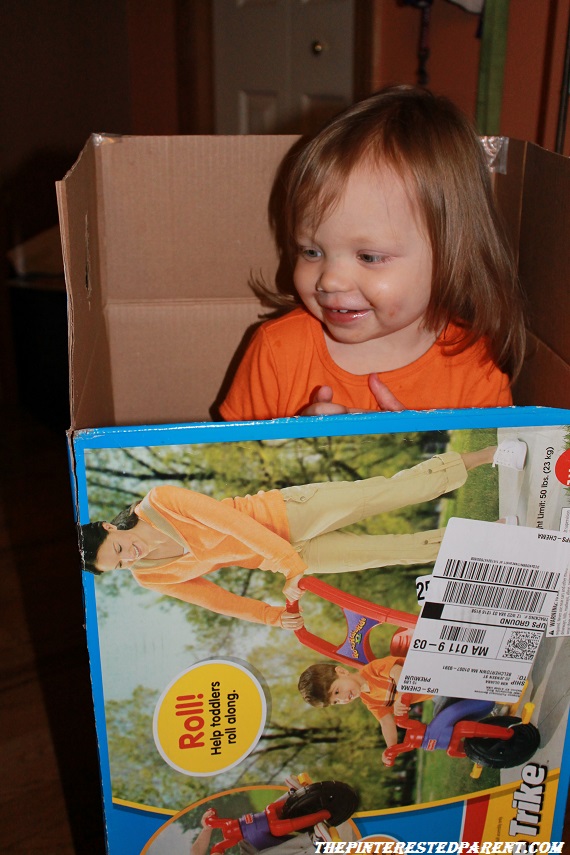
Mai climbed in & said, “Look Mama, my rocket ship.”
And that is how it all started.
What you will need:
A large box
A couple of cereal boxes
Tape
Newspaper
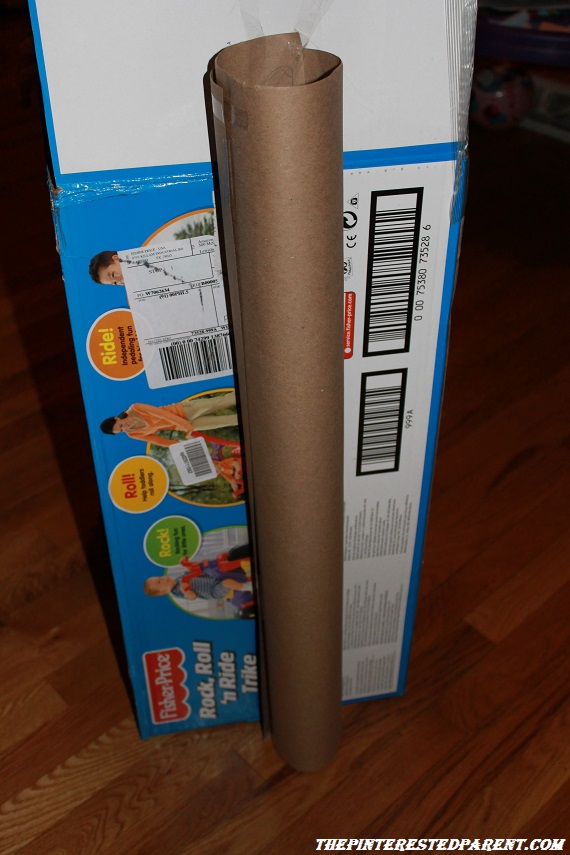
3 empty wrapping paper tubes
Paint
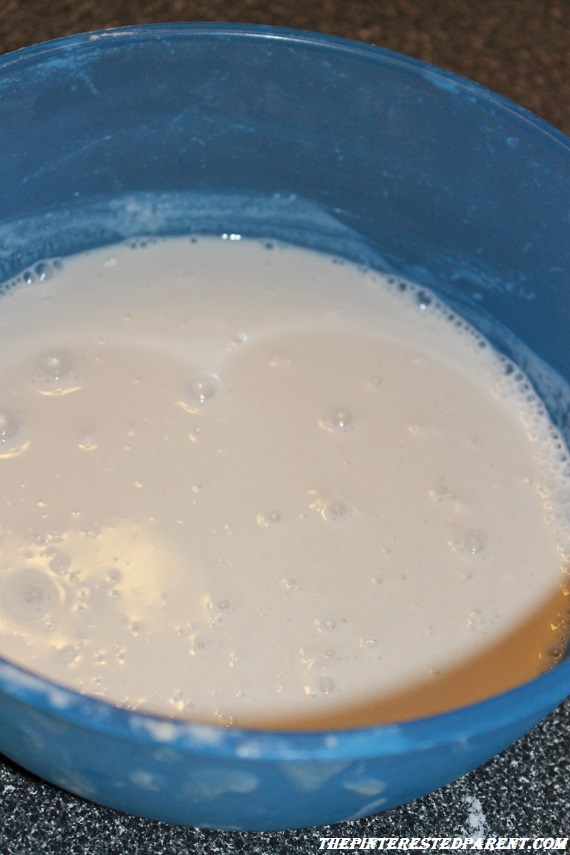
Paper Mache Paste:
1 part flour
2 parts water
Directions:
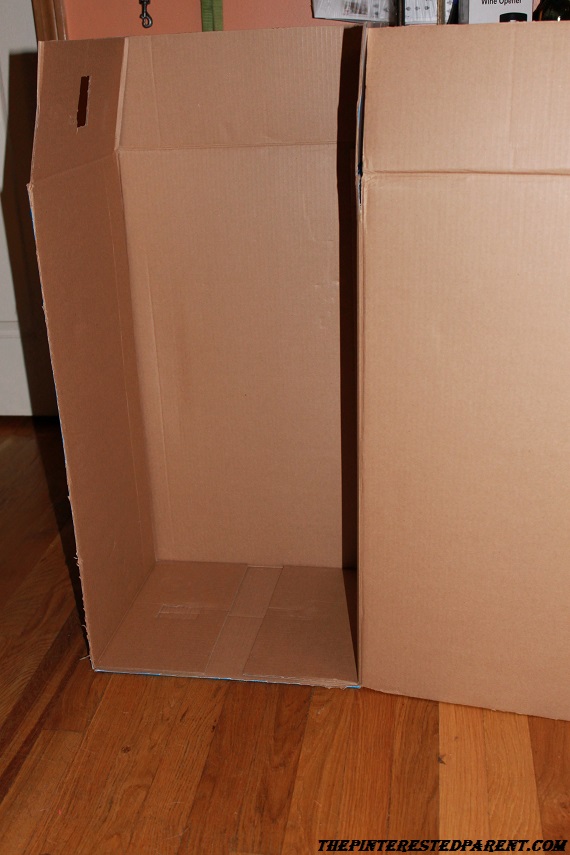
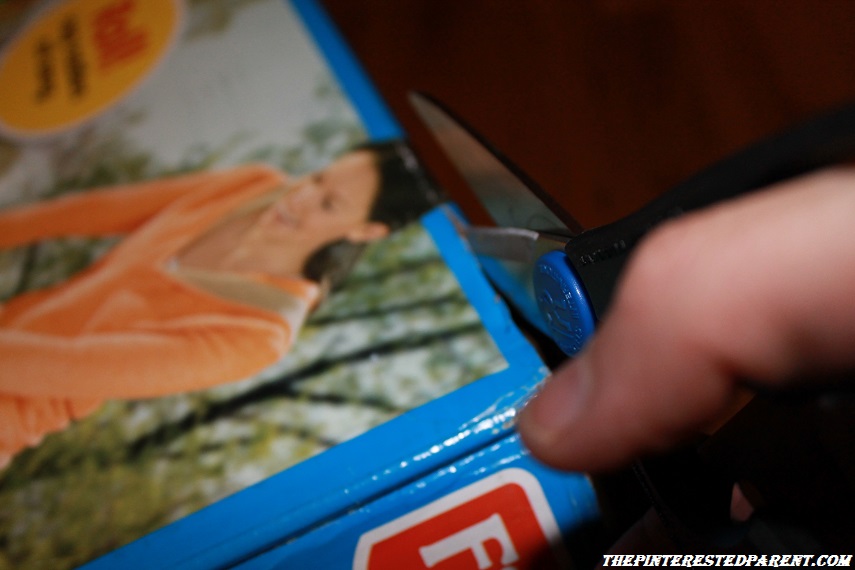
Cut the front fold down flap off the box to leave an opening at the upper front of the box.
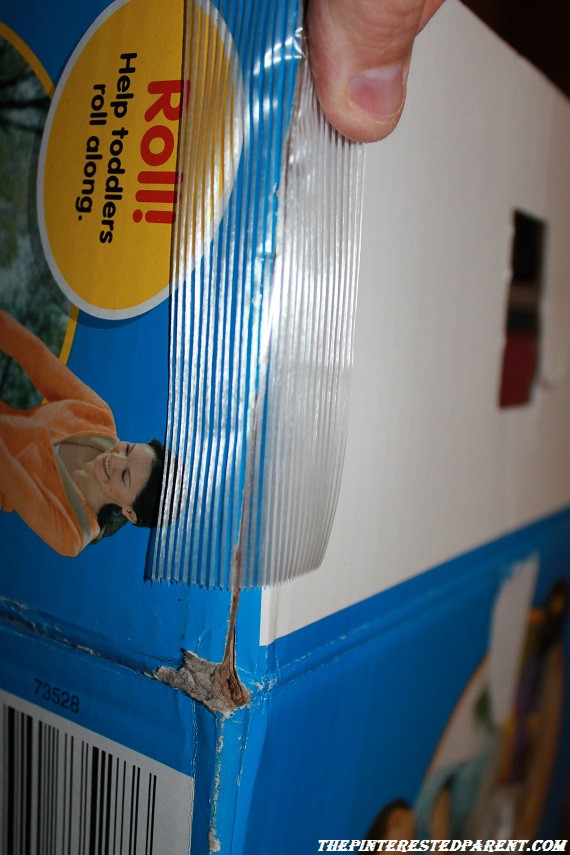
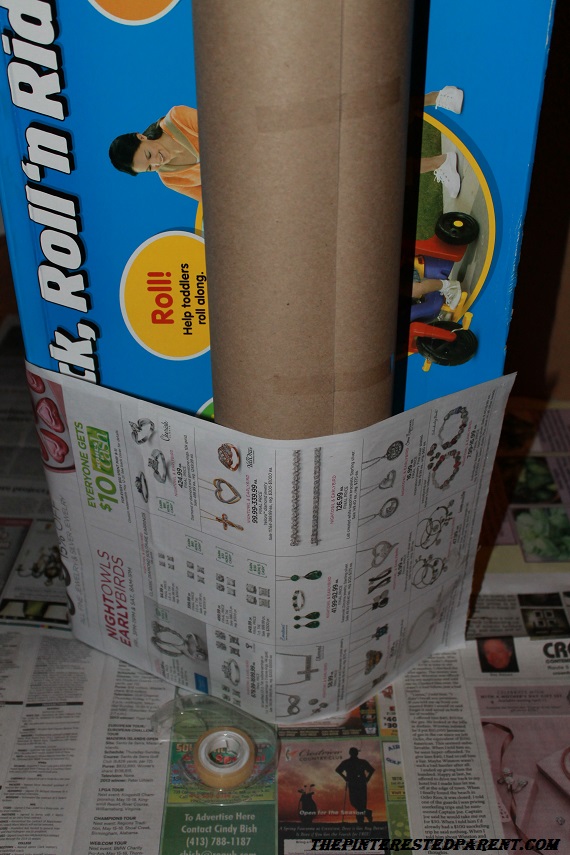
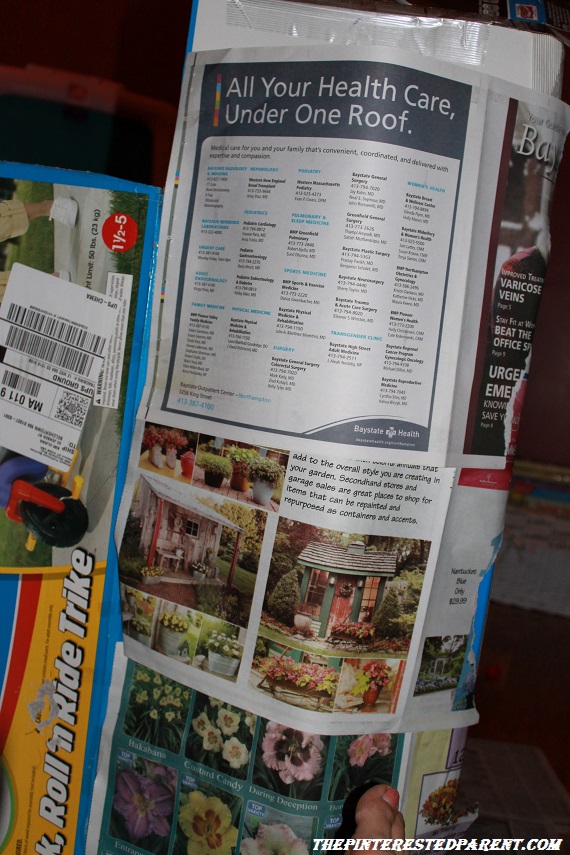
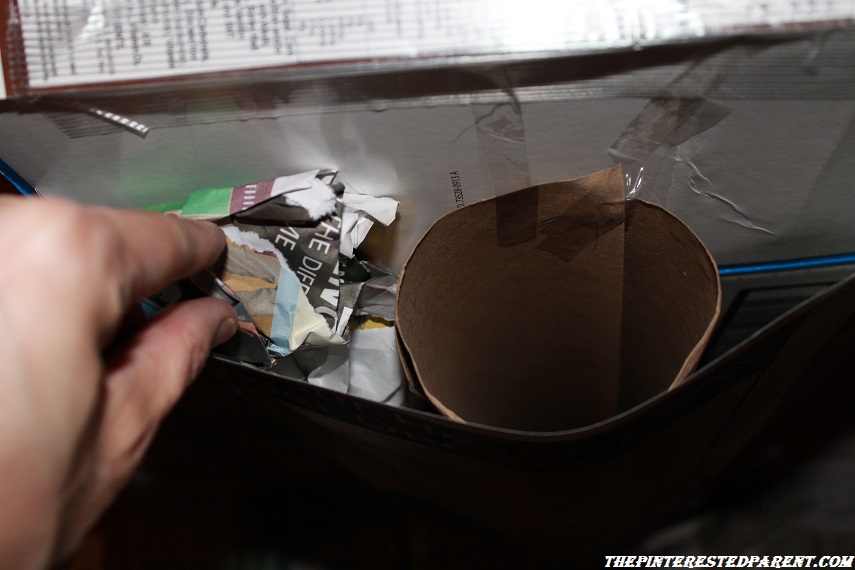
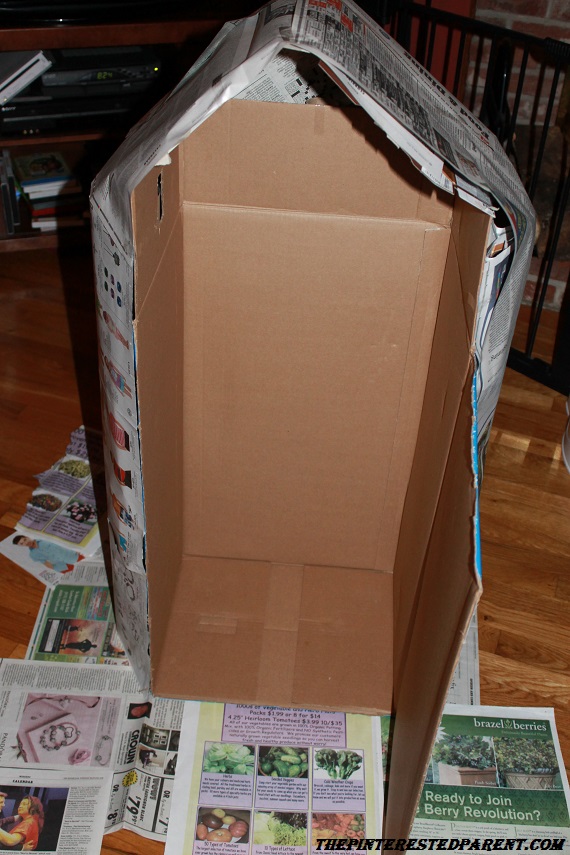
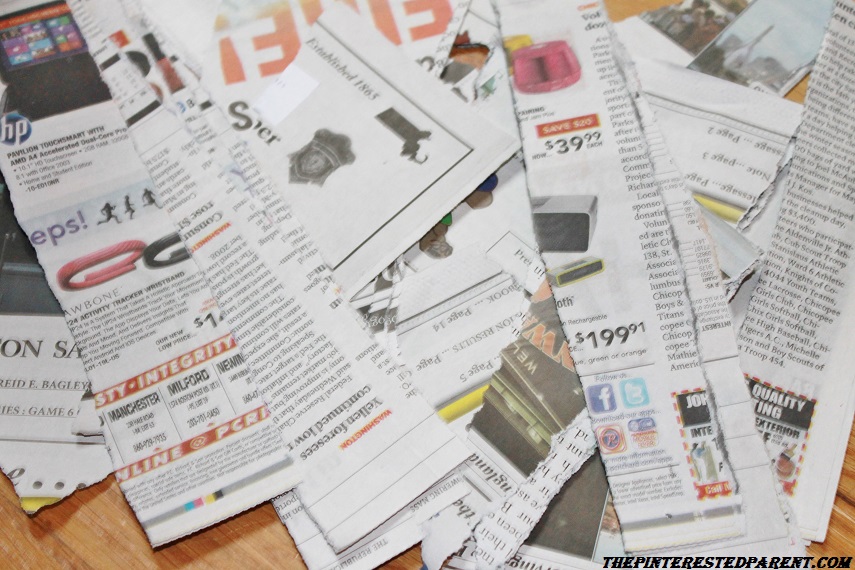
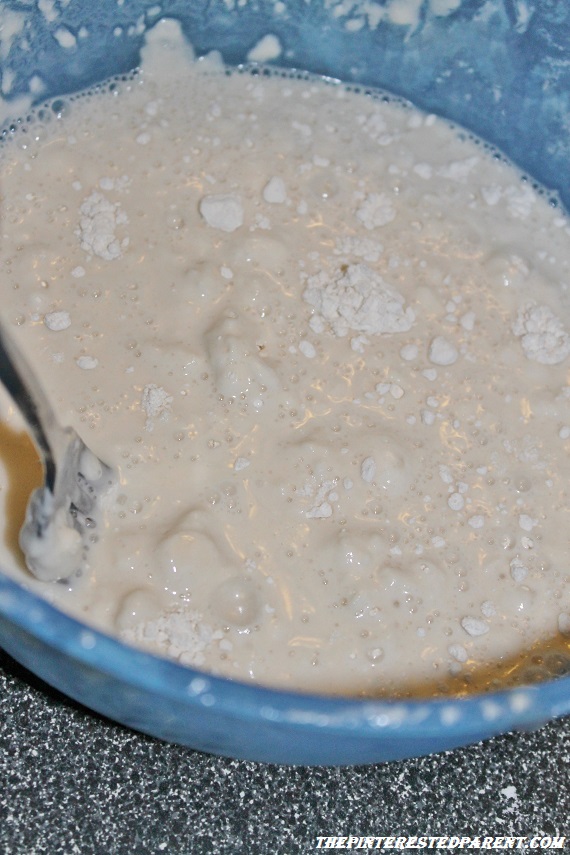
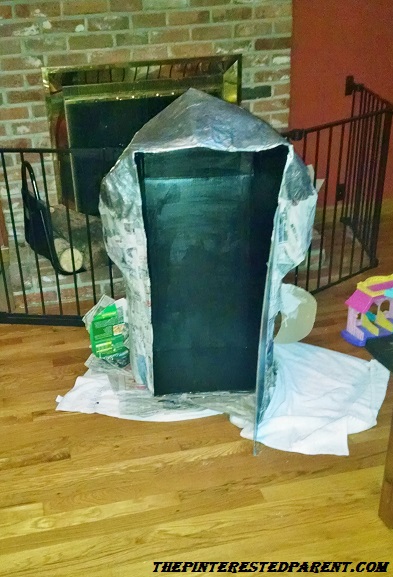
Pull the remaining fold down flaps up so the seams all touch and tape into place. This will lengthen the box on the sides & back.Use a cereal box & form into an upside down “V”. Tape it into place at the top of your box to form a roof.Tape a wrapping paper roll to the center of each side and one in the back.Wrap a full sheet of newspaper tightly across the roll. This will help round the sides.Wrap both side & the back all the way up to the top.Stuff crumbled paper through the top to help firm it up. Turn the box on it’s side & tape newspaper under the box & block the opening of our rounded section.Wrap full pages around the whole project and tape securely in place.Tear strips of newspaper & set aside until you are ready to start forming your paper mache project.Mix your paper mache paste. I did one cup of flour & 2 cups of water at a time. Mix well.
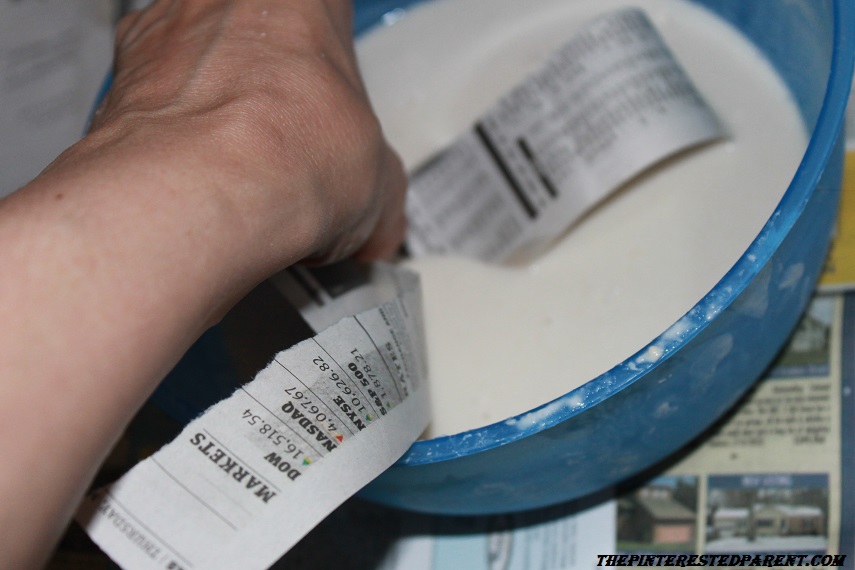
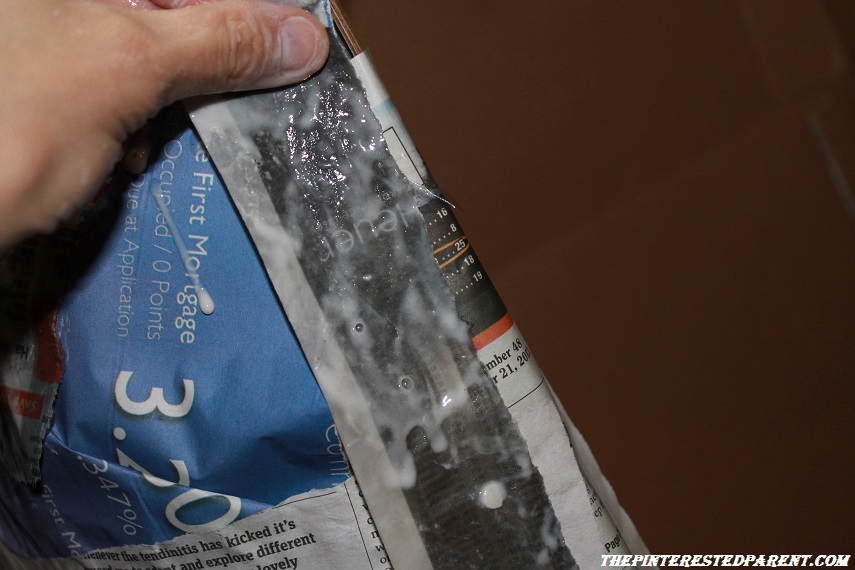
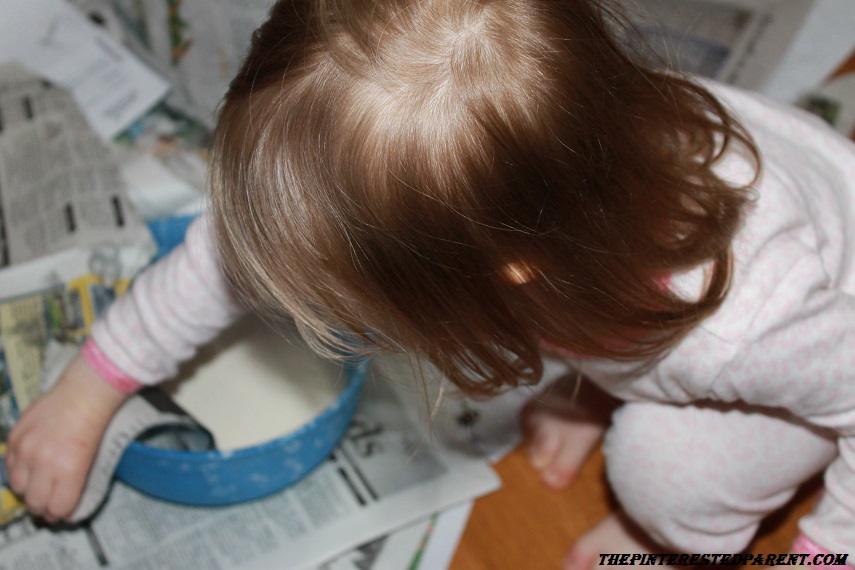
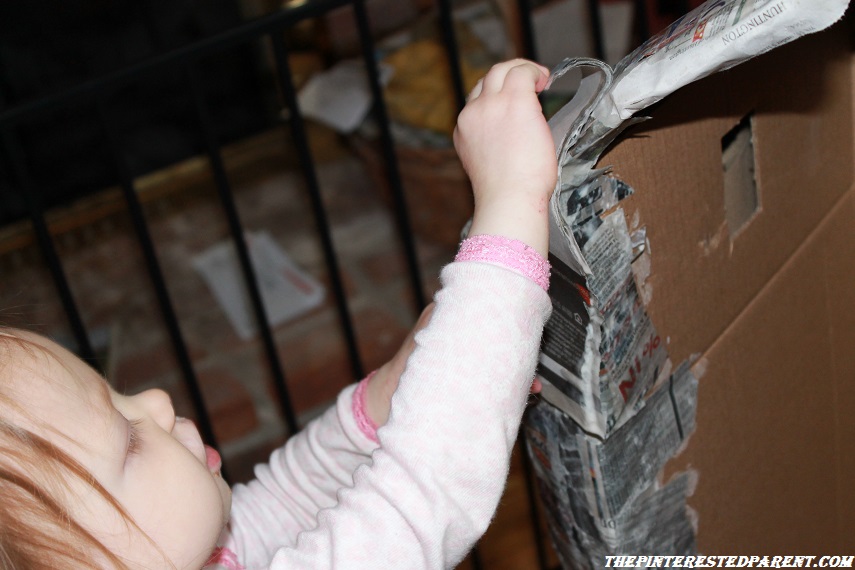
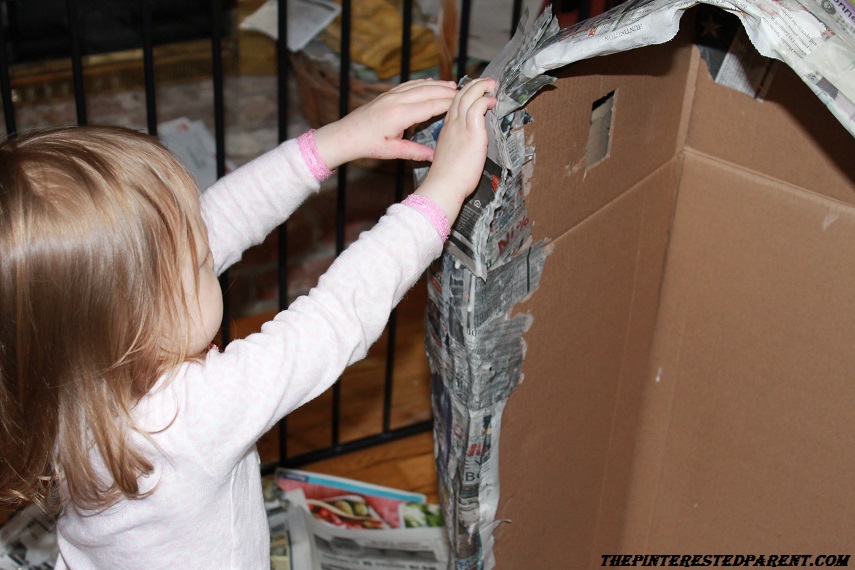
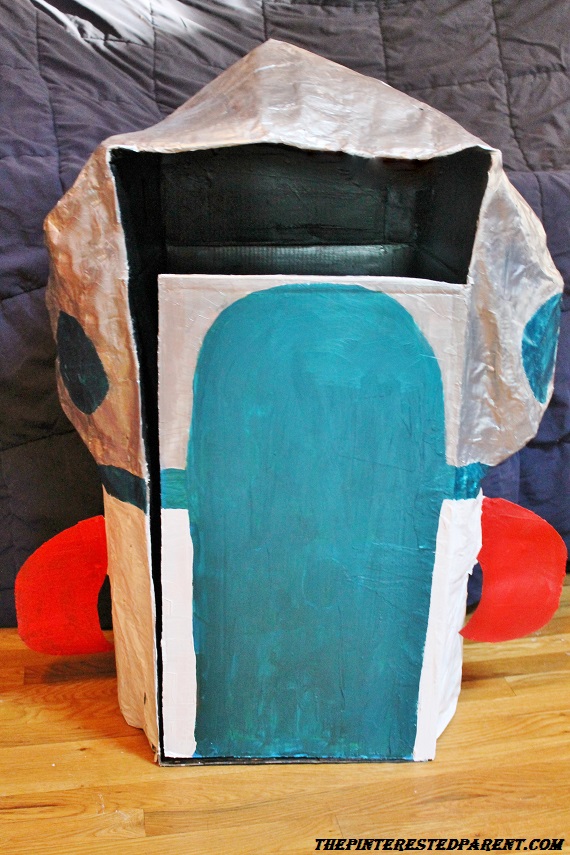
Dip a strip of newspaper strip into the paste.Smooth out piece by piece across your project. Use smaller pieces to use in the edges an corners. Smooth well.A little helper makes things go quicker.To create the rounded areas along the upper sides, tape crumpled paper to the sides and paper mache over them until it protrudes to the desired amount.Wrap the paper mache strips around the corners and edges. To smooth out lumpy areas use small bits of paper to fill in holes & crevices. Be sure to paper mache along the inside as well to strenghten the bottom of the roof.Use another cereal box to cut out side fins for your rocket. Tape them into place and paper mache around the fins, focusing on where the fin meets the rocket. Continue to add your paper strips & paste until you have reached the desired shape. More layers will offer a sturdier project. Do not forget to paper mache around the edges , the door & around the bottom. Let dry.After your paper mache has dried, paint in colors of your choosing.Let the paint dry & then it is time for blast off. “Look Mama, the moon.”
This website uses cookies to improve your experience. These cookies feedback information to our analytics and advertisers. We track views of the site - which pages are visited, whether you are a regular or returning visitor to help generate a more personalised experience. You can switch cookies off or follow the READ MORE. AcceptRejectRead More
Privacy & Cookies Policy
Privacy Overview
This website uses cookies to improve your experience while you navigate through the website. Out of these, the cookies that are categorized as necessary are stored on your browser as they are essential for the working of basic functionalities of the website. We also use third-party cookies that help us analyze and understand how you use this website. These cookies will be stored in your browser only with your consent. You also have the option to opt-out of these cookies. But opting out of some of these cookies may affect your browsing experience.
Necessary cookies are absolutely essential for the website to function properly. This category only includes cookies that ensures basic functionalities and security features of the website. These cookies do not store any personal information.
Any cookies that may not be particularly necessary for the website to function and is used specifically to collect user personal data via analytics, ads, other embedded contents are termed as non-necessary cookies. It is mandatory to procure user consent prior to running these cookies on your website.

 Do you know the old saying about giving a child a new toy & all they want to do is play with the box? This is mostly true. My daughter usually likes what is in the box too, but she has been amused by a box for days on more than one occasion.
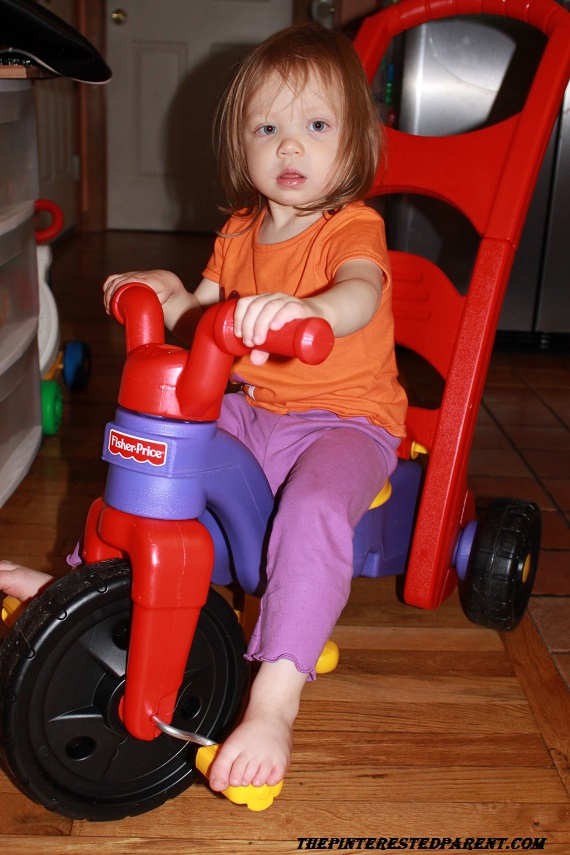


Aww, so cute and will say my girls always seem to enjoy the box more then the actual toy at times, too!! 🙂
Yup! Not as much now as when she was younger. She does appreciate the toys inside now, but a big box like this and she couldn’t resist.
So true about the box, my kids will spend hours in one!! This is such an adorable idea though!!! 🙂