
When I was a teenage girl, I had a huge poster print that hung over my bed. It was Gustav Klimt’s The Kiss. I loved this picture. I would stare at it every morning & it just made me smile. A few years back we were lucky enough to visit Austria, the birthplace of Klimt. While there, I fell in love with more of his work.
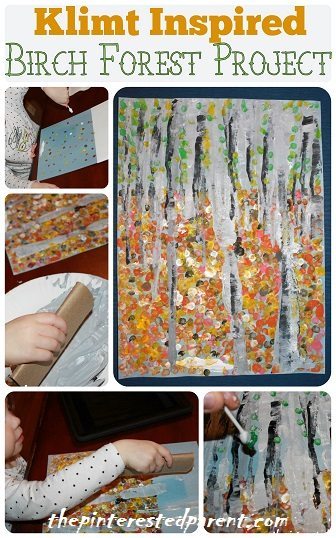
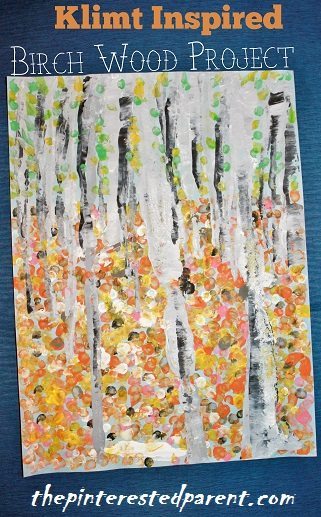
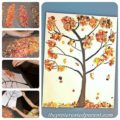
We have been tackling many artist inspired projects lately & I wanted to try one inspired by Klimt. With it being fall & with all of fallen leaves, I thought The Birch Forest would be the perfect project for me & Mai.
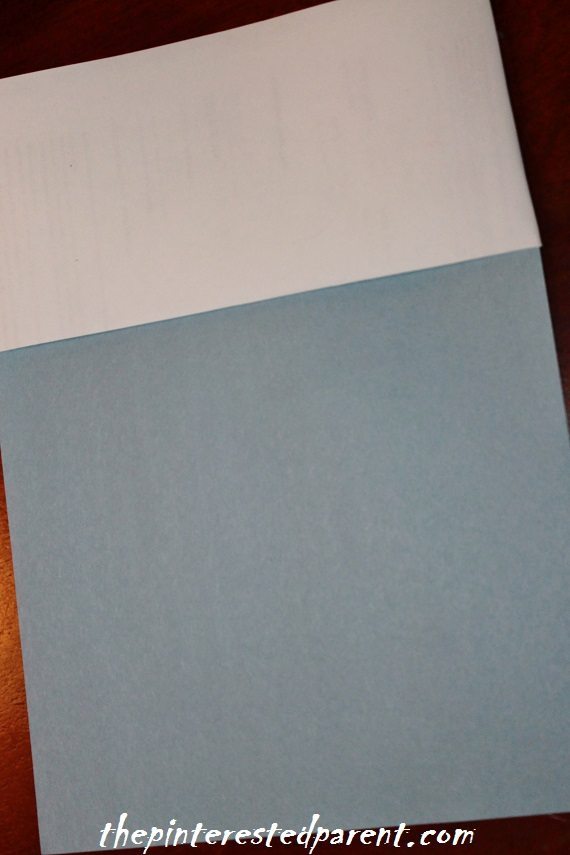
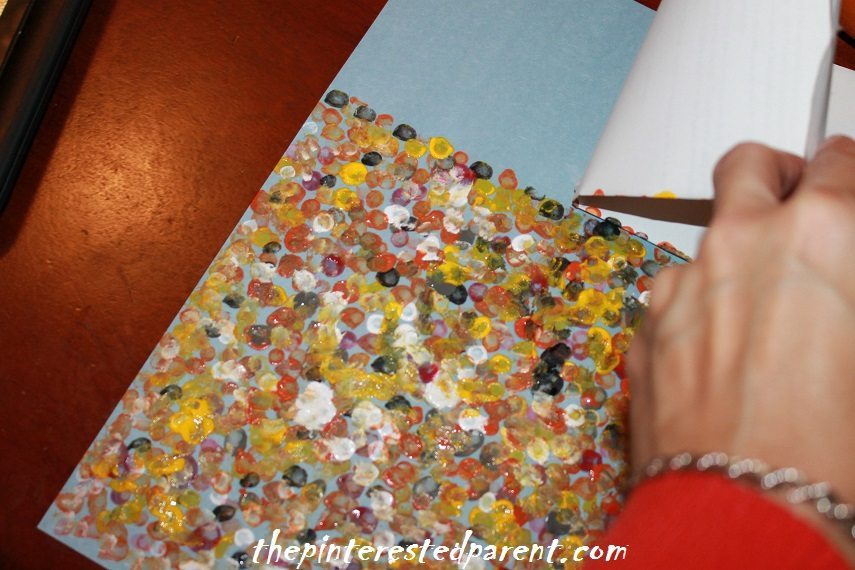
We started out with a light blue piece of construction paper.
I covered the top 1/3 of the paper with a piece of paper, lightly taped into place.
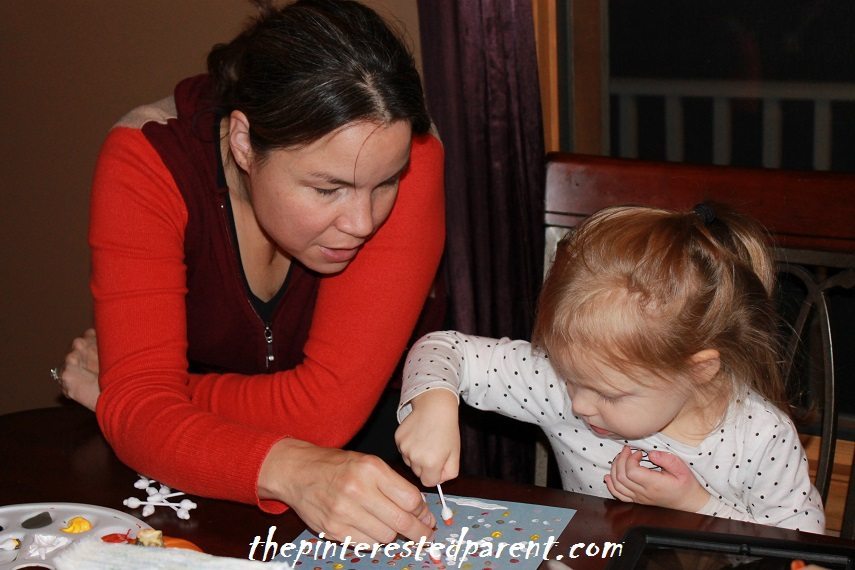
I added fall paint colors to our palette. We used safety Q-tips to dot on the paint colors. The safety Q-tips are much larger than regular swaps & work great for art projects like these.
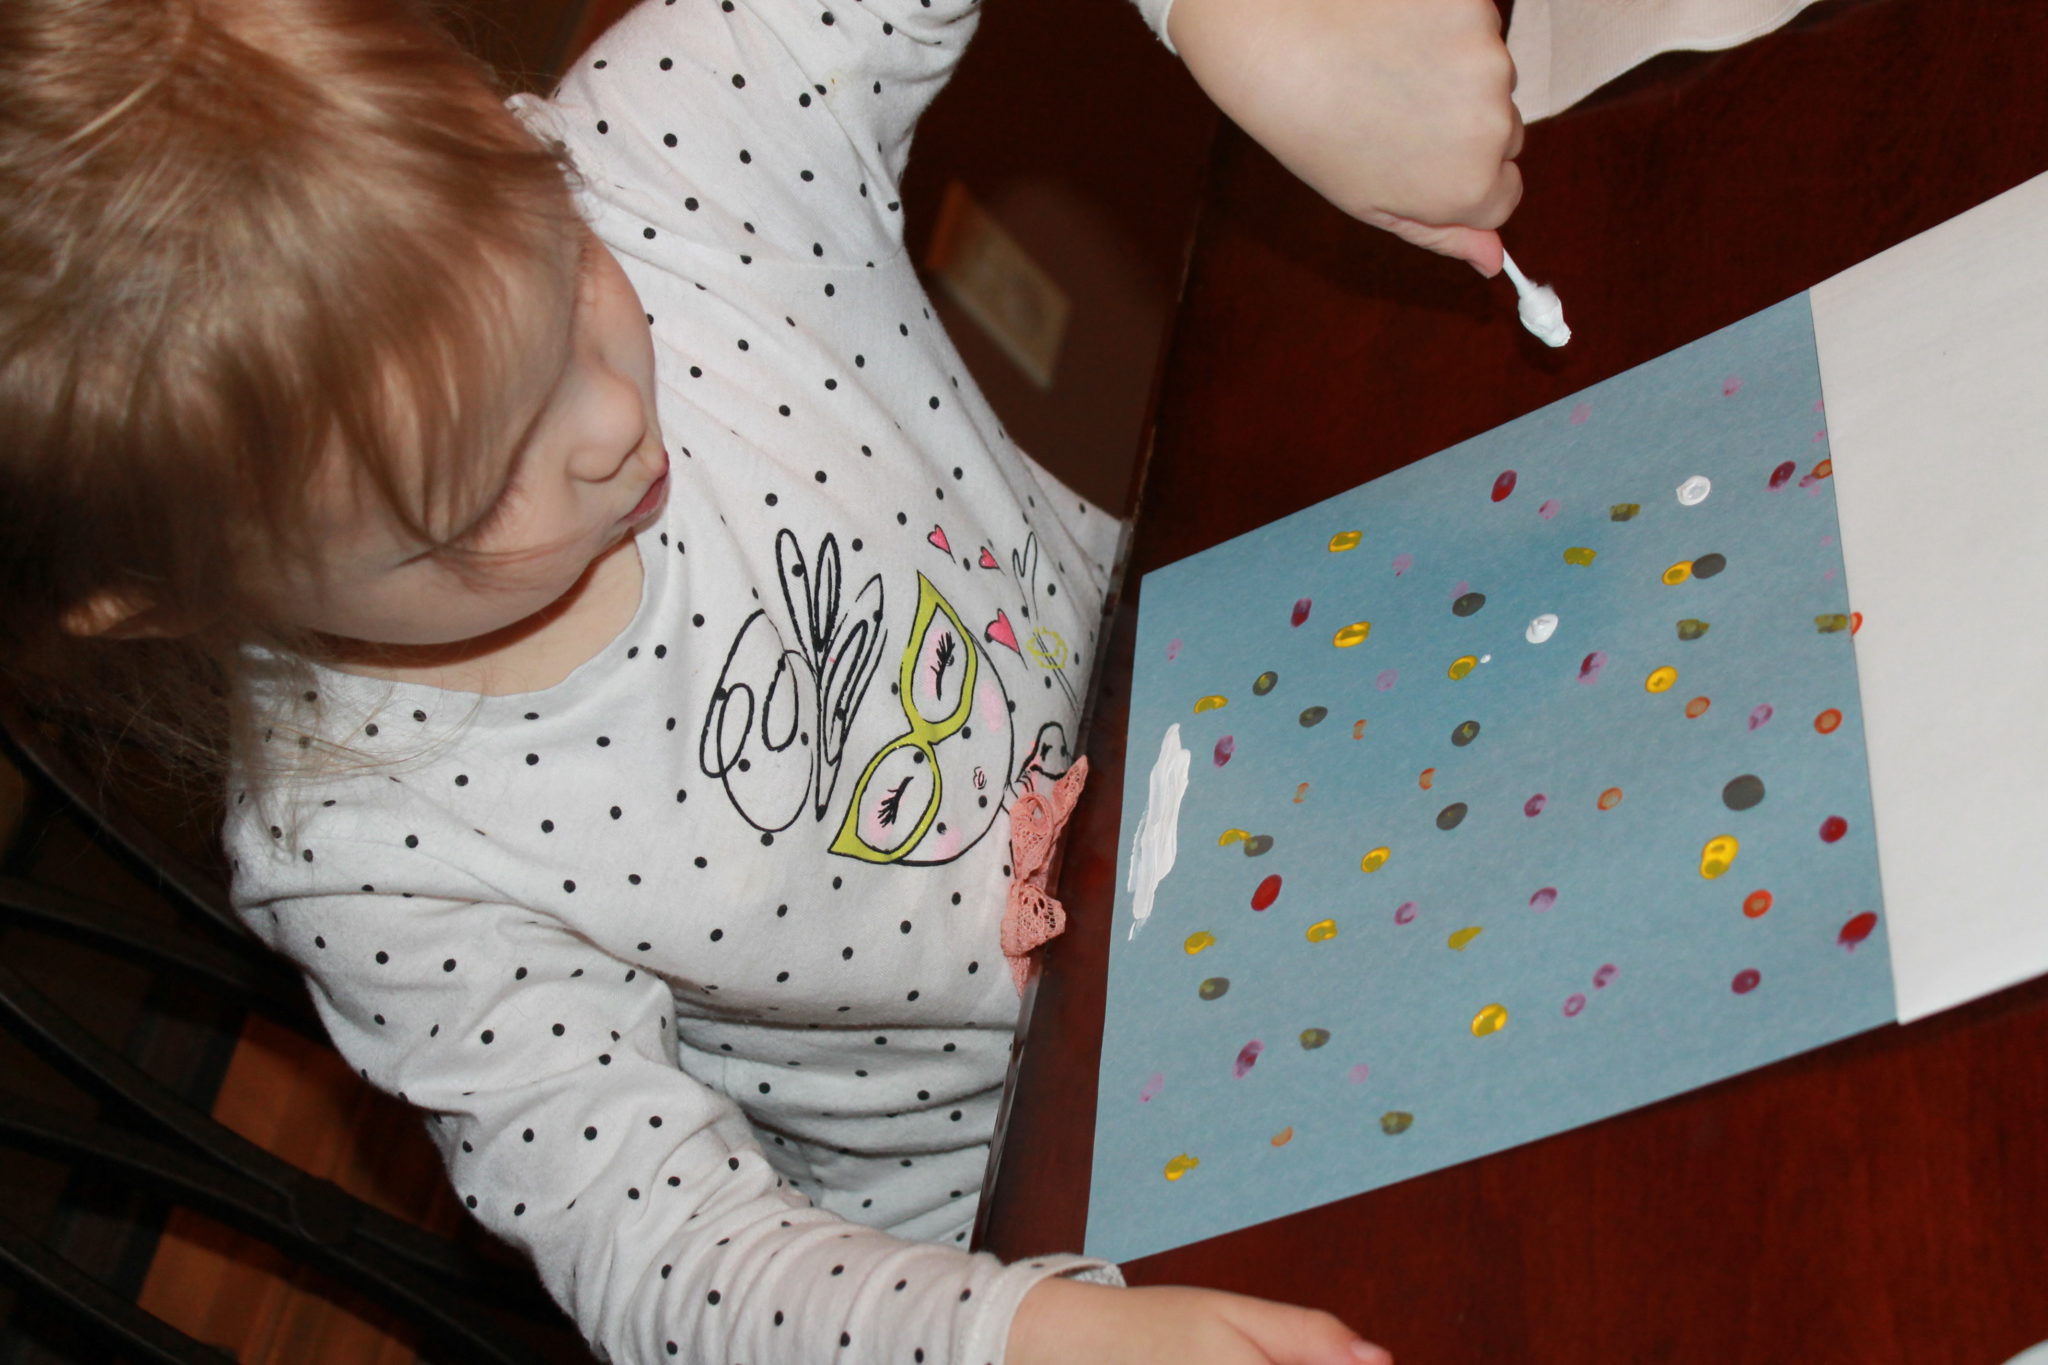
There was a lot of surface to cover so Mai & I dotted the paper together. It is always fun when we can work as a team.
After covering the uncovered area in paint, remove the taped on piece of paper.
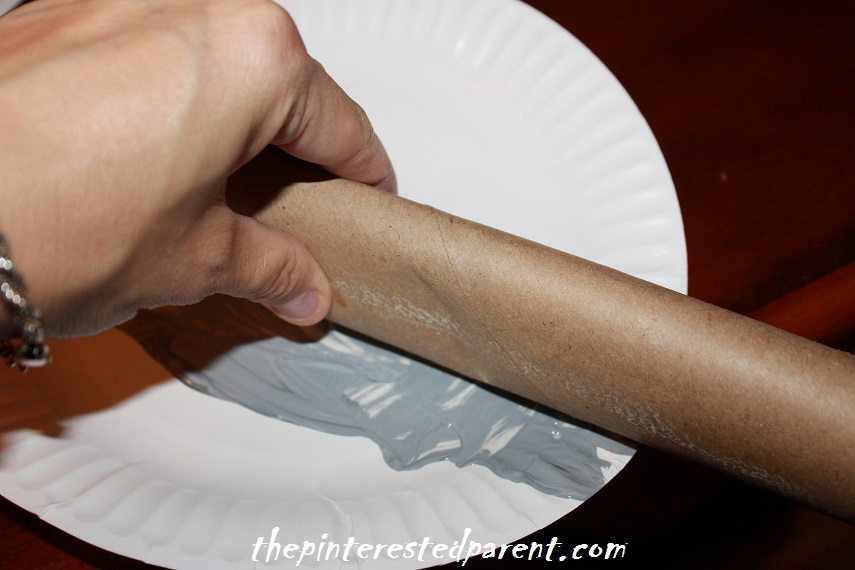
Pour gray paint on to a large flat surface. Flatten a paper towel roll & dip it into the paint at the crease.
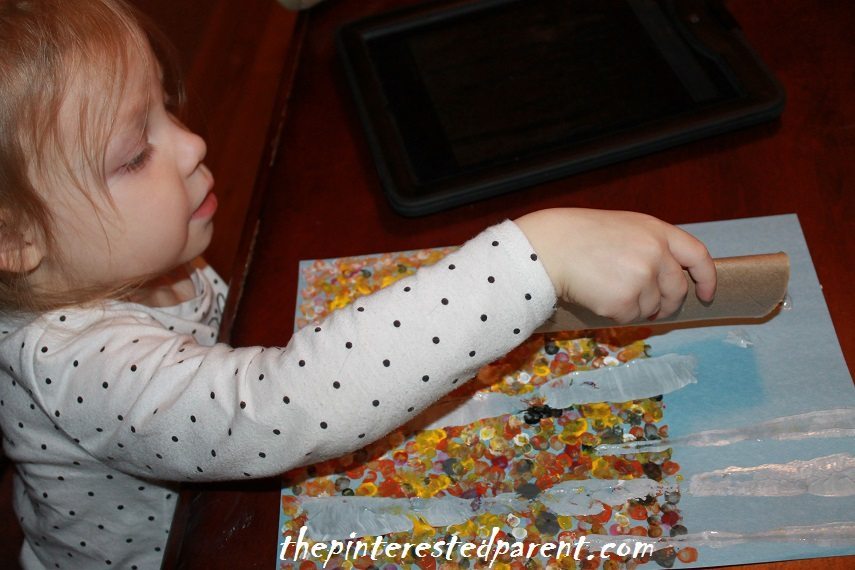
Stamp the paper towel roll on the paper vertically to form the tree trunks. Start with a few long trunks & then cut the paper towel roll in half.

Flatten the tube more to form a tighter crease & continue to stamp with branches.
After you are happy with the amount of branches that you added, dot in green between the branches on the top portion of your picture.
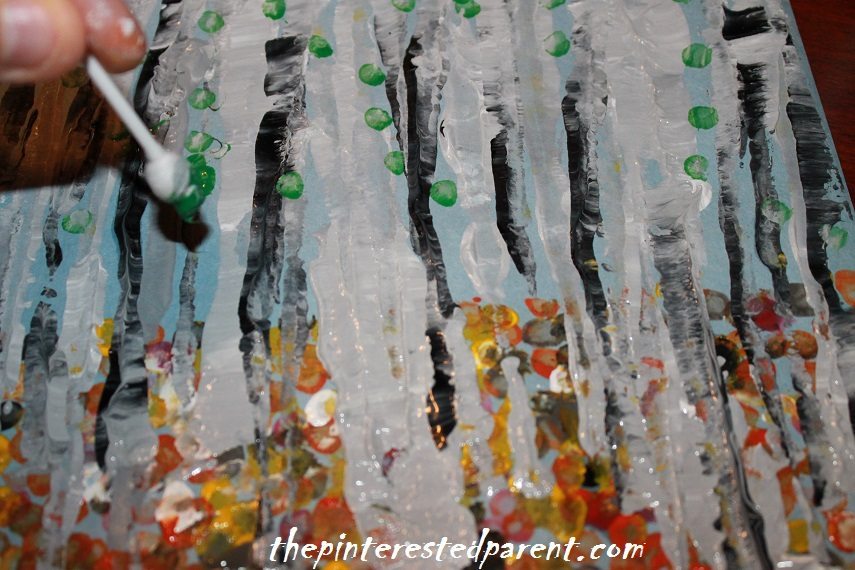
Let your project dry & find a great place to hang up your new masterpiece.
Thank you as always for stopping by. Please follow us on Facebook as well.
Absolutely gorgeous, Kim and definitely did an amazing job and looks pretty close to the original! 😉
Thank you, Janine. It was fun to make together.
Wow! This is such a great idea – I may have to use this one in my classroom.
Thank you. I hope they like it. 🙂