
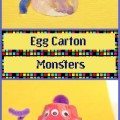
Egg cartons have become my new favorite craft material. We eat a lot of eggs, so we always have them in abundance. There are so many fun & simple things that you can do with them. I like to pre-cut them & keep on hand for when we are ready to use them. Mai was playing with them and made a monster face with a couple of them. “Rrrrwwwarrr” “Let’s make monsters mommy.” She is going through a monster phase right now. How about we make something less scary? Since Easter is upon us, we changed the monsters into little hatching chicks.
Cut up your egg cartons. Like I said, I have a lot of them.
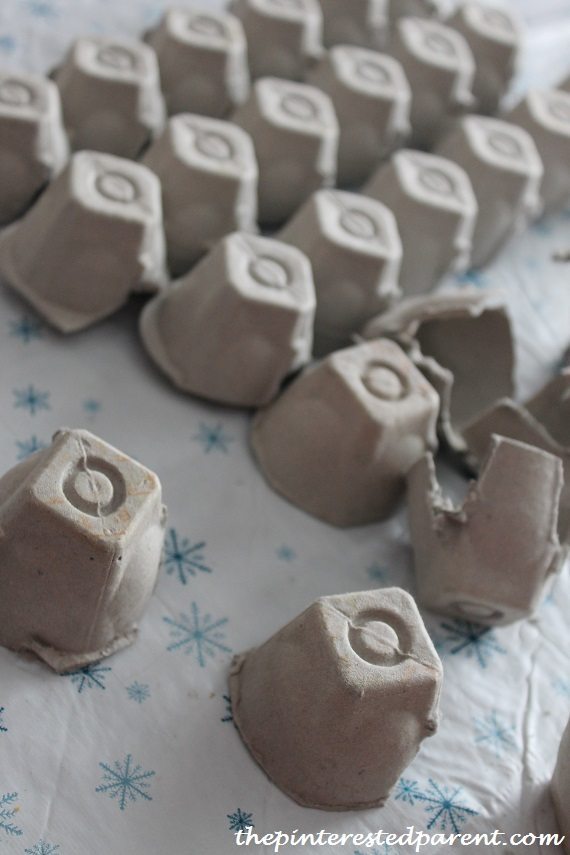
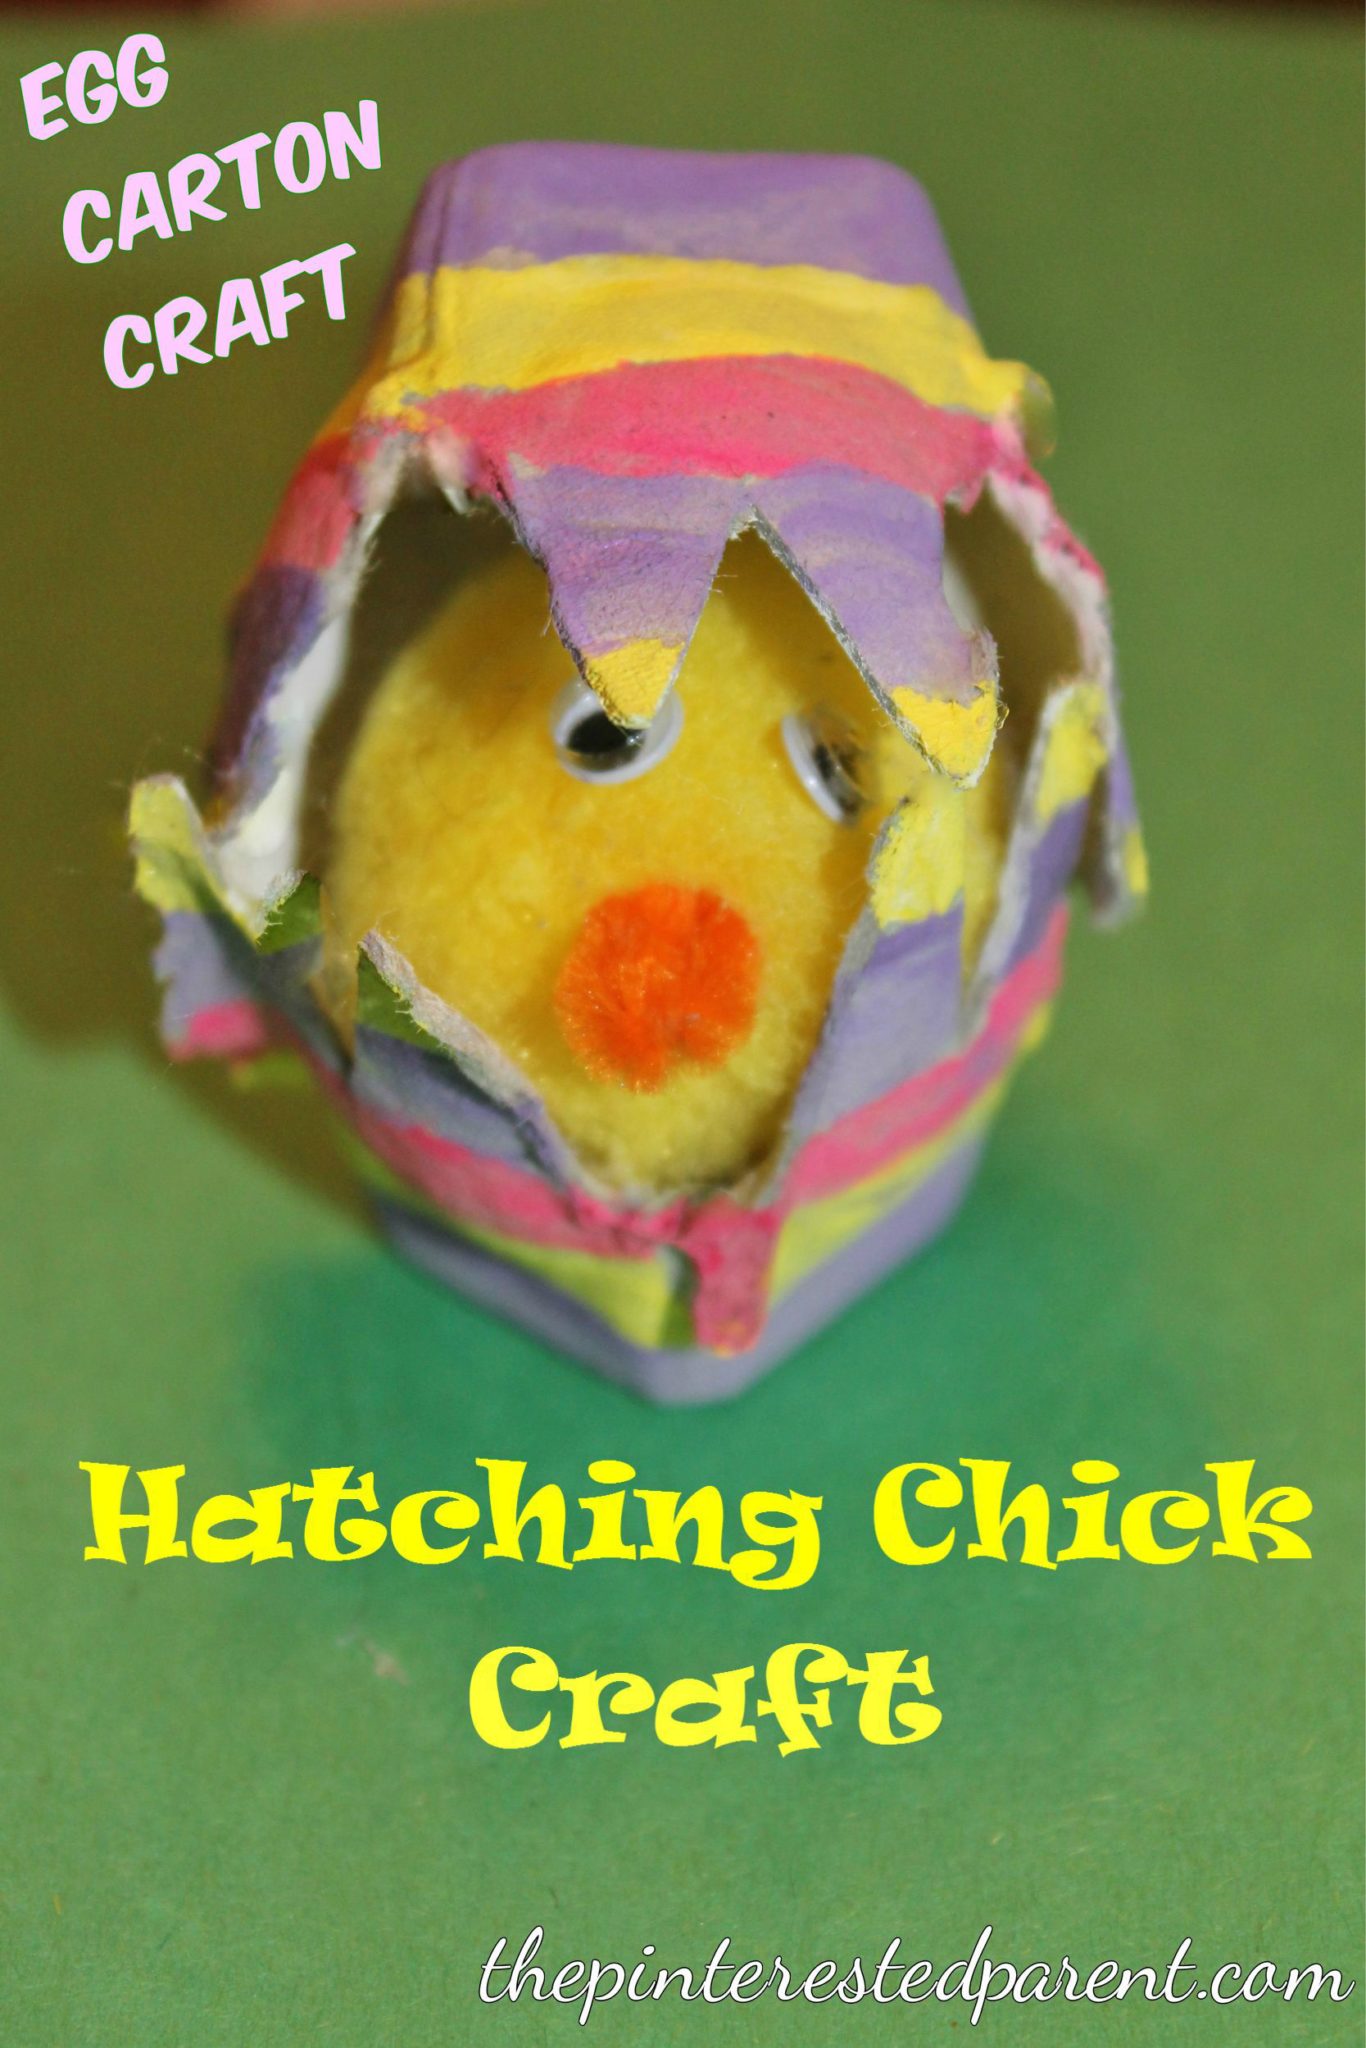
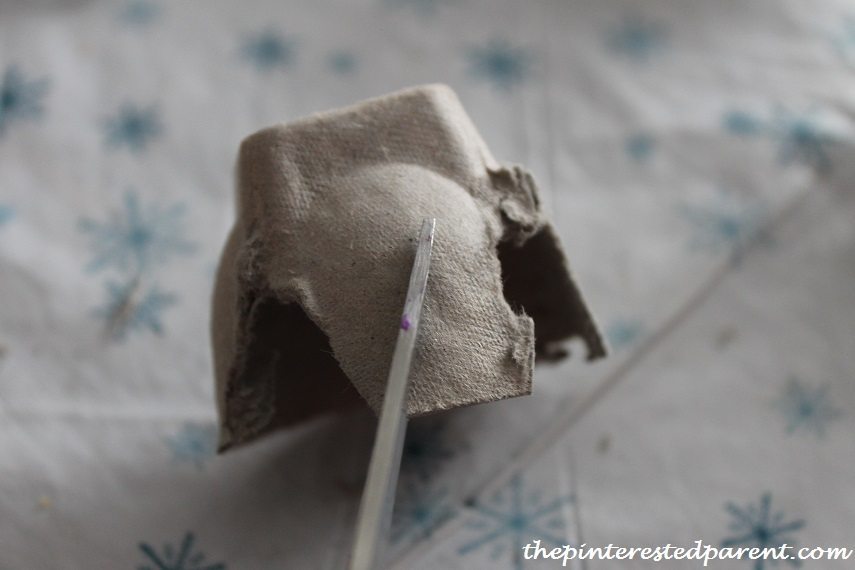
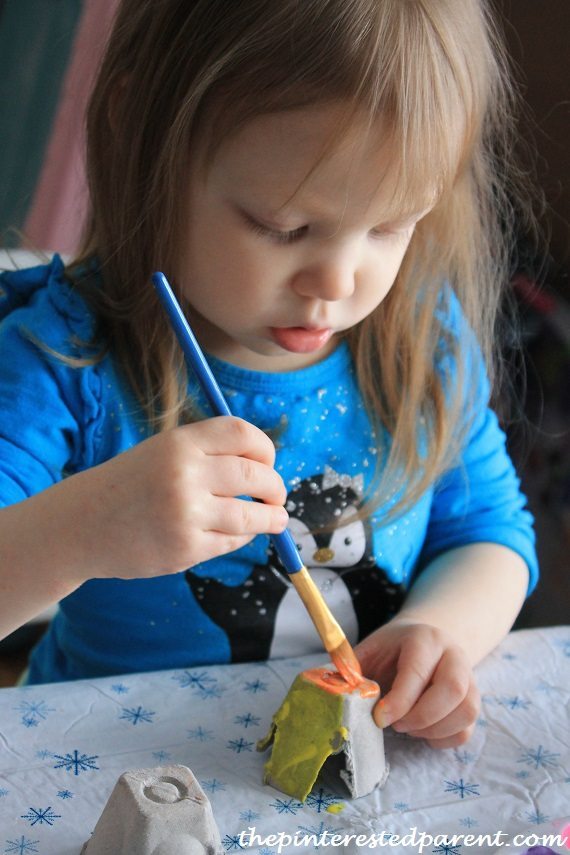
For this craft you will need two individual sections for each egg that you will be making. One side of the piece will be solid. On the opposite end, it will be more jagged. On the jagged end, cut out an upside down V to form the look of a crack. Do this to both pieces.
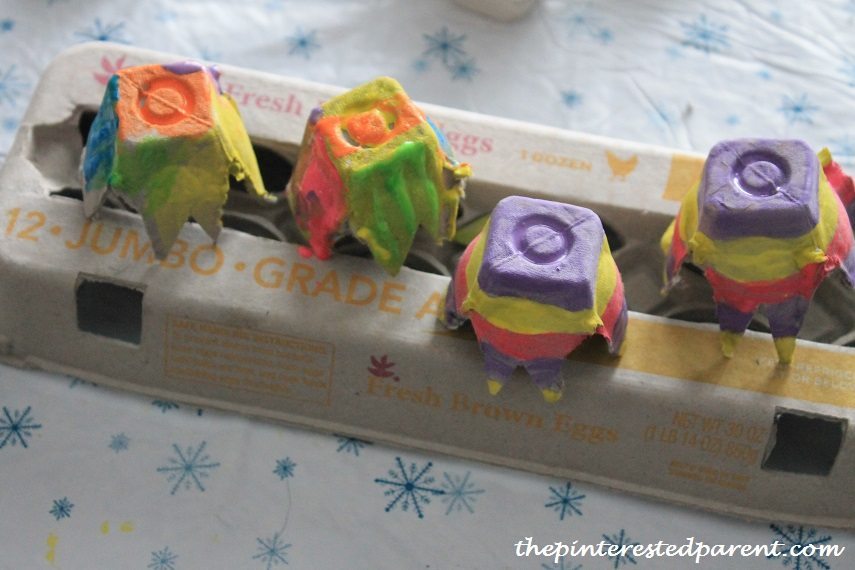
Paint both sections in pastel colors.
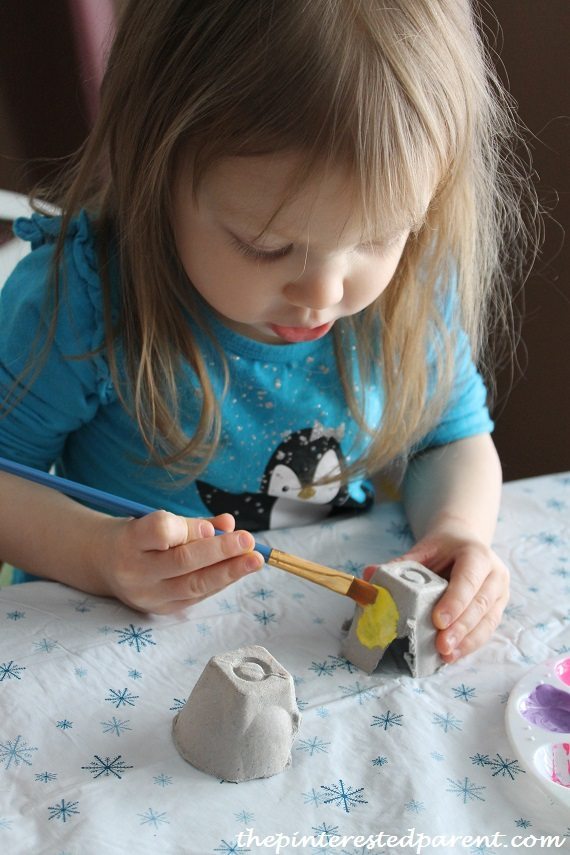
Let dry.
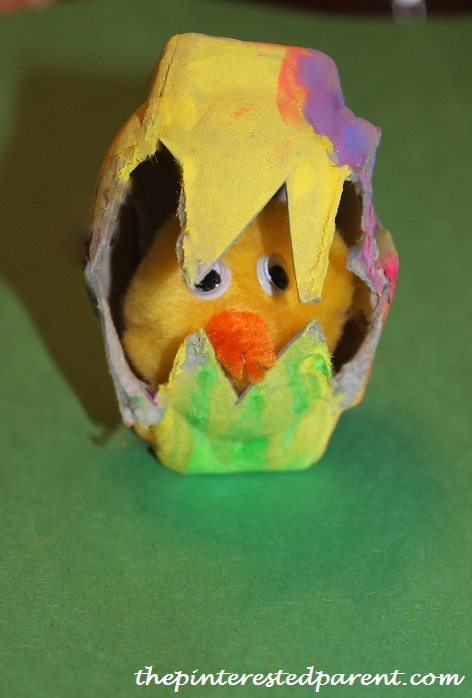
Form your chick with yellow pom poms, googly eyes & a small piece of pipe cleaner glued into place for the beak. 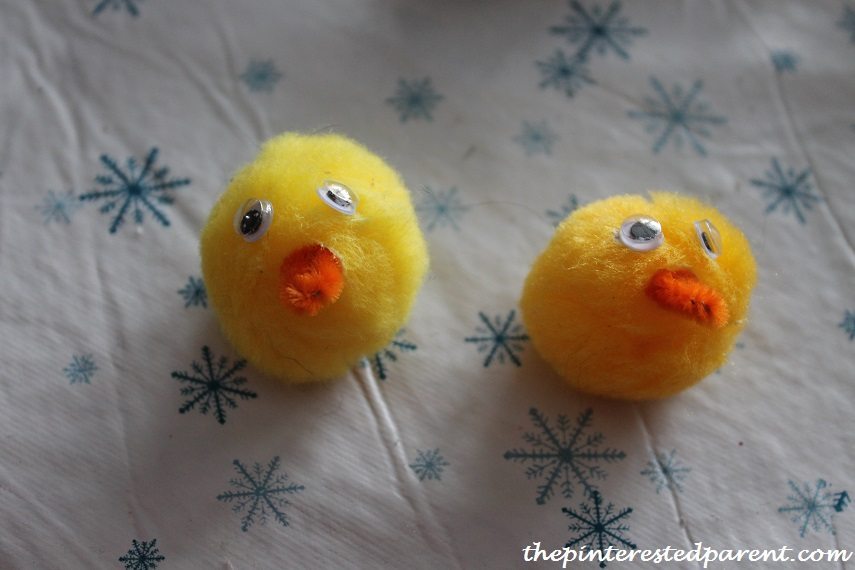
Place a chick in the bottom half of your egg.
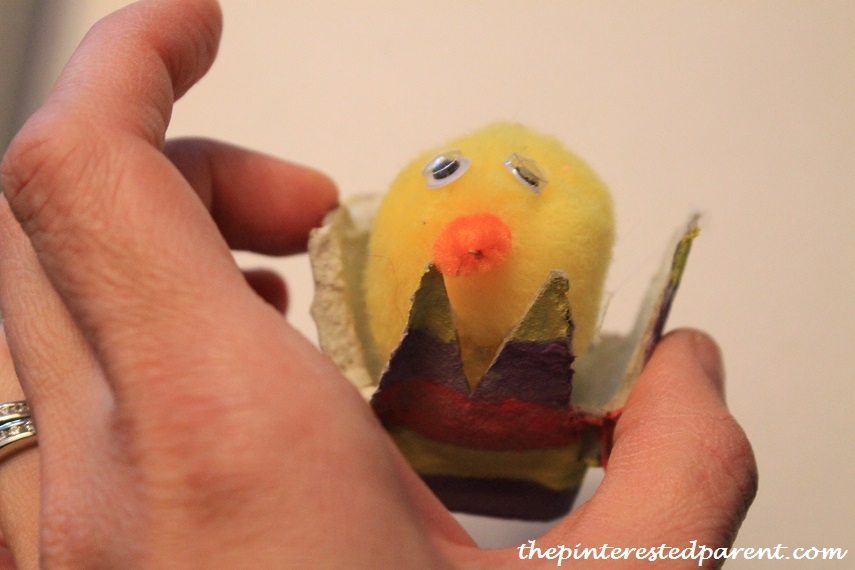
Glue the top half on to form your hatching Easter egg. Peep,peep, peep. This is a cute and simple craft for kids of all ages.
Thank you as always for stopping by. Please follow us on Facebook as well.
Omg, these are too cute and definitely may have to try soon with my girls!! Thanks for sharing 😉
Thanks Janine. They are sweeter in person. Mai painted a bunch of these.