Category

Egg Carton Crafts

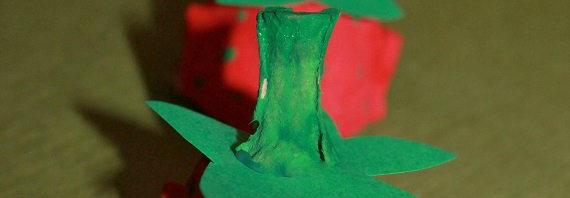
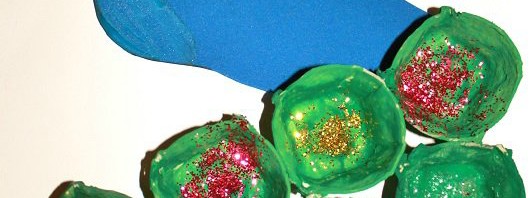
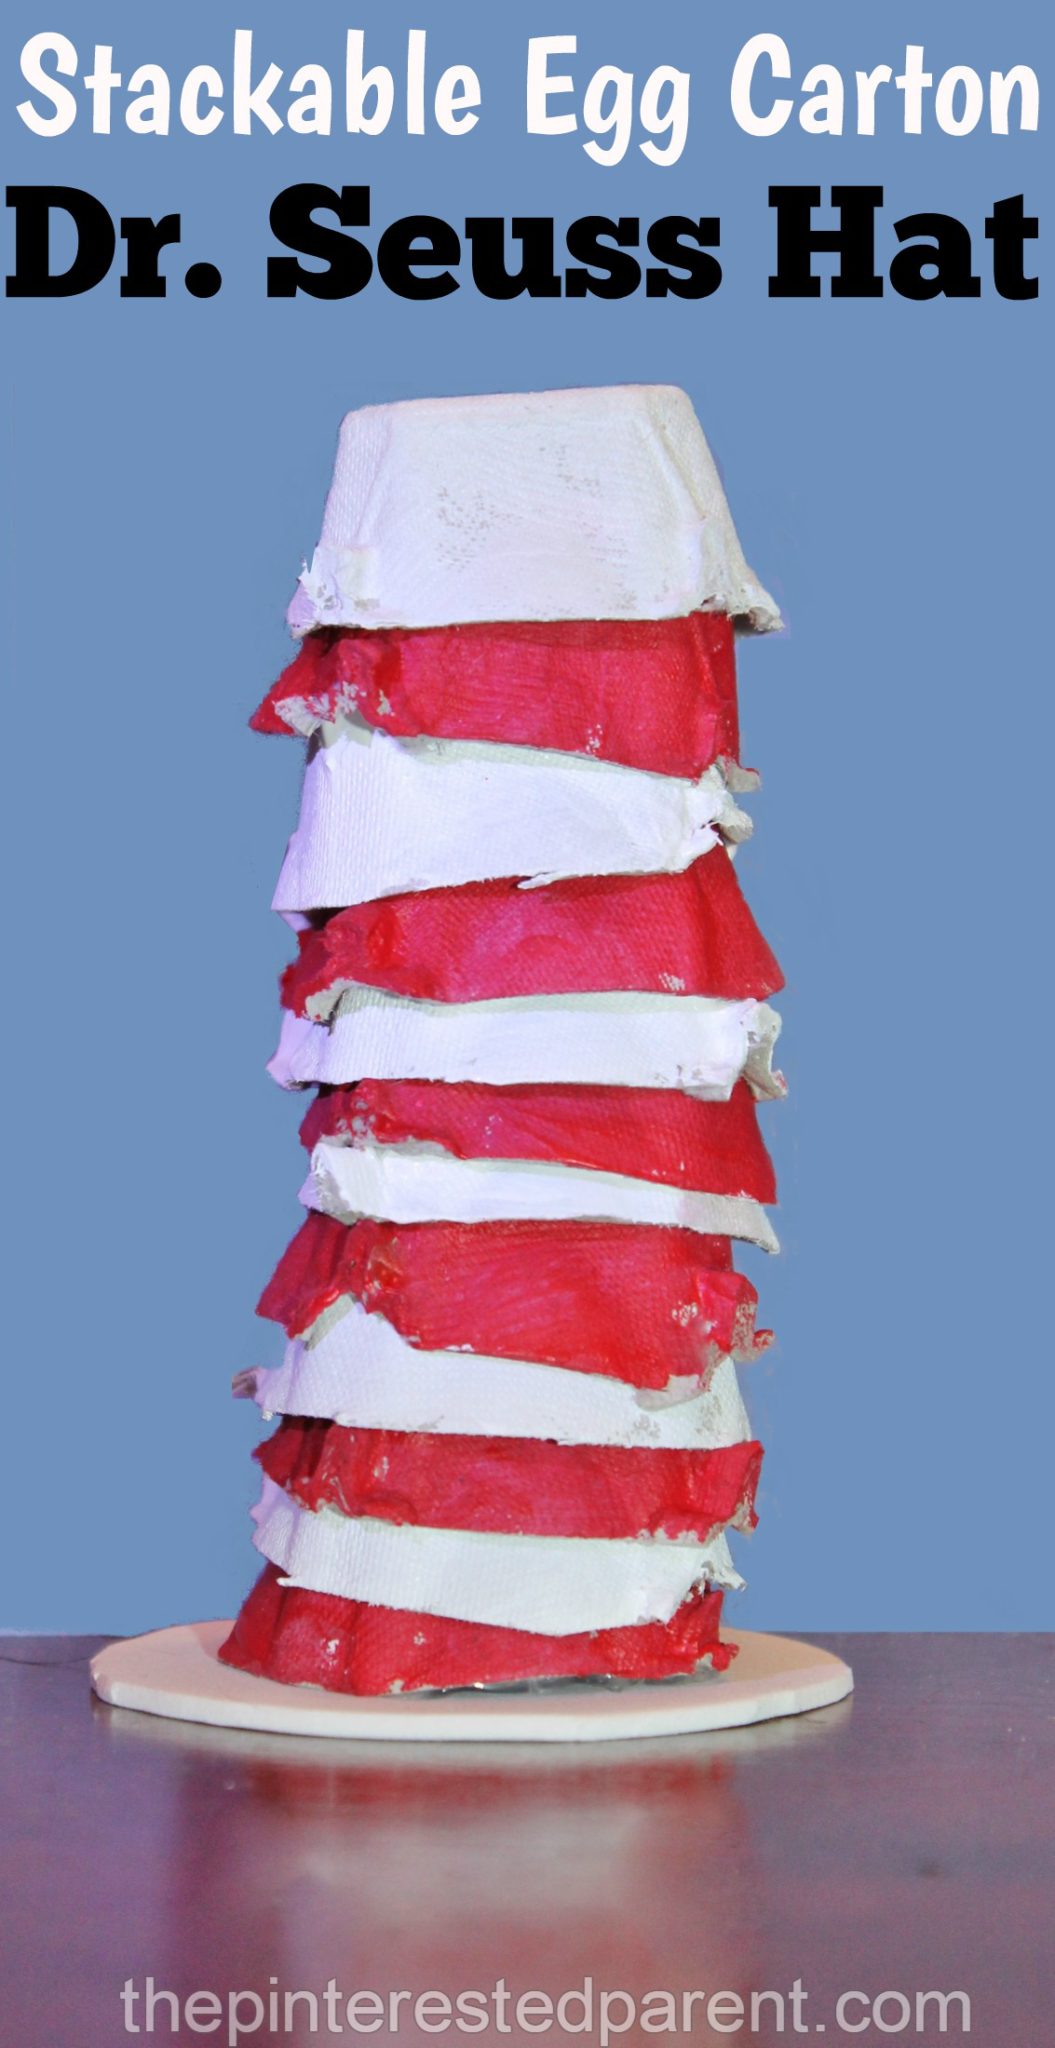
Paint & Stack Dr. Seuss Egg Carton Hat

Paint & stack egg carton Dr. Seuss hat craft for kids.


In celebration of Dr. Seuss’ upcoming birthday, Mai and wanted to make a craft inspired by the great children’s author. We had about a dozen old empty egg cartons piling up in our craft room. We decided to put them to good use with this simple craft & activity inspired by the iconic Cat in the Hat hat.

All you will need for this craft is an old egg carton or more depending on how high of a stacking hat you want to make, red & white paint, a piece of white foam board or cardboard & glue.

I cut the sections of egg carton & then my daughter and I painted the 12 sections together in the red & white and then we let them dry.

IMG_4777IMG_4782

When one of the red sections dries, glue it to a piece of foam or cardboard cut into a circle a bit larger than the egg carton. This will be the base of your hat.

IMG_4784

Once the rest of your pieces are dry, you can stack your hat in the red, white, red pattern. Mai was so eager to stack them, that she grabbed them before they dried, so the paint smeared a bit, but it did not bother her anything. When she finished stacking her hat, she asked for more to stack. She wanted a “reaaaally big hat” she told me. Tomorrow we will paint more to add to our stack.

IMG_4786 IMG_4790

Thank you as always for stopping by. Please follow us on Facebook as well.

Egg Carton Christmas Ornaments

Egg Carton Christmas Ornaments - holiday arts and crafts for kids with recyclables.

We are officially just 50 days until Christmas & I have a confession to make. I love Christmas. I know everyone is moaning & groaning that it is too early to get in the holiday spirit, but I just love it. I can’t wait to put up our tree and I can’t wait for Christmas carols & snow, but alas I must wait a few more weeks for those things. One thing I do not have to wait for are the Christmas crafts.  What better way to start getting me into the spirit.

Last week we cut up multiple empty egg cartons to build towers with. We had so many & I wanted to put them to good use, so last night we made a simple Christmas craft using our egg carton pieces,

Egg Carton Christmas Ornaments

Cut 2 egg carton sections for each ornament that you want to make.

IMG_0808

Paint the sections in the color of your choice & let dry.

IMG_0425

Glue your sections together like shown.

IMG_0809

Cut the tips off of the tall pointed sections of the egg carton. Paint them in silver or color with a marker & let the dry. Stick a piece of pipe cleaner into the hole & form a loop.

IMG_0810

Add a liberal amount of glue to the inside of the piece & glue to the top of the egg cartons as shown.

IMG_0811

Use glue & glitter to decorate your ornaments. Let dry.

IMG_0812

There you have a quick & easy homemade ornament for your tree.

Egg Carton Christmas Ornaments - holiday arts and crafts for kids with recyclables.

Thank you as always for stopping by. Please follow us on Facebook as well.

Jelly Fish Crafts

Cupcake Liner Jelly Fish Craft

For the past few weeks we have been preparing our house to put it on the market. We have been packing for weeks & trying to get all of the clutter out our home. I don’t think I realized just how much craft stuff Mai & I actually had until I started trying to box it all up. I have been having a hard time throwing any of it away & an even harder time picking which items have to get packed away & put into storage until we move. Right now I am just trying to use any loose pieces of craft material or pre-painted or pre-cut items. Mai wanted to work with cupcake liners and make jelly monsters. She had a very specific idea in mind.

IMG_4858

While she created her jelly monster, I worked on a different kind of jelly creature.

Cupcake Liner Jelly Fish

Directions:

Cut a wavy pattern into the bottom of a cupcake liner.

IMG_4862

Cut 4 pipe cleaners in half. Curl the ends of all 8 pieces.

IMG_4861

Place the liner on a piece of paper & arrange the pipe cleaners underneath. Use a liberal amount of glue & glue the pipe cleaners to the paper. Do not worry if not every section of pipe cleaner touches the paper, when the glue dries the cleaners will hold. You may weight down your pipe cleaners while they dry if you want them to lay flat.

IMG_4864

Add googly eyes to finish off your cute little sea creature.

Cupcake Liner Jelly Fish Craft

We had several egg carton sections that Mai had painted last week for a different craft. We used those to make another jelly fish craft.

Egg Carton Jelly Fish

Directions:

Paint a section of egg carton & let dry. Poke a hole through the center of the egg carton section.

IMG_4865

Poke a string through the hole & tie a knot on the inside of the section.

IMG_4868

Similar to the craft above, cut pipe cleaners in half &  & curl the ends. Glue the pieces of pipe cleaner to the inside of the egg carton. Let the glue dry & add googly eyes.

Egg Carton Jelly Fish

Thank you as always for stopping by. Please follow us on Facebook as well.


Egg Carton Eye Mask Craft

Egg Carton Eye Mask Craft


We have been packing up our house this month to prepare it for being put on the market. We only have a couple of weeks left to get our house ready, so we have to clear as much of the clutter as possible. I have had to pick & choose which craft materials I can store & which I can’t live without. Mai & I have a large collection of recyclables which include tissue boxes, paper towel rolls & more empty egg cartons than I know what to do with. Since I do not want to pack all of them, but cannot bring myself to throw them away, we decided to use some of them last night.

Egg Carton Eye Masks

This is a fun craft with many possibilities.

What you will need:

Empty egg carton

Acrylic paint

Cake pop or popsicle sticks

Glue

Optional: glitter, ribbon, googly eyes, jewels etc..


Directions:

Cut out 2 connected pieces of egg carton leaving a small amount of the outer lip of the carton as shown.

IMG_4645

Flip the section of carton over & clip away the bump on the lip to form a small triangular opening.

IMG_4646 IMG_4643

Cut the centers out of each carton section. Push your finger through the holes to smooth out jagged edges.

IMG_4644

Paint the sticks & let dry.

IMG_4647

Paint your egg carton pieces.

IMG_4649

Shake glitter onto your wet paint & let dry.

IMG_4652

Add any other embellishments of your choosing. We glued googly eyes to one of our designs.

IMG_4668

Mai loved her new sparkly eye masks.

IMG_4677

Thank you as always for stopping by. Please follow us on Facebook as well.


Egg Carton Monkey

Egg Carton Monkeys


My daughter hates bedtime. Much like her mommy, she is not a fan of sleep. Every night is a battle. She has a million excuses & she is a clever one. She knows mommy’s weaknesses. Tonight, I asked her if she wanted to make a craft with me. She had said yes, so I broke out all the paints & supplies. She changed her mind & then decided that she wanted Play-doh instead. When bedtime came though, she changed her tune. “Mommy, will you do a craft with me?” Mommy is such a sucker.

Egg Carton Monkey

Paint 3 egg carton sections in brown & let dry.

IMG_3535 

IMG_3526

Paint a lighter shade of brown in a heart shape onto one of the sections. Let dry.

IMG_3529

Draw in a nose & mouth with a marker & add googly eyes.

IMG_3536

Glue the carton together like shown & add foam ears & feet.

IMG_3538

Add pipe cleaners for arms & a tail.

Egg Carton Monkeys

Thank you as always for stopping by. Please follow us on Facebook as well.

Egg Carton Monsters

Egg Carton Monsters


My poor little girl has been sick for the past couple of days with a respiratory virus. She is on the mend, but we had a rough weekend. Most of the last few days have been spent cuddling on the couch, but today my little girl was feeling more like herself & was ready to get her hands in some paint.

Egg Carton Monsters

What you will need:

Egg Carton sections

Paint

Googly Eyes

Pipe cleaners

Glue Gun (For adults only)

School glue can be used by children to add googly eyes & other embellishments.


Directions:

Cut an egg carton & separate into individual sections. You will need three sections for each monster. Paint your pieces.


IMG_2654 IMG_2658 IMG_2660

Glue two of your sections together in the back leaving an opening in the front for an open mouth. Glue these two to another section as shown.

IMG_2668

Add different googly eyes, & arrange pipe cleaners for arms.


IMG_2738 IMG_2740


As we were making the monsters, the shape of the faces reminded me of Kermit the Frog. I had to make a Kermit for myself.

You will need 3 sections just like above. Paint all three green. Cut a circle out of the egg carton cover to form a tongue. Paint it red with a pink tongue in the center. Let them dry & glue the tongue to one section as shown.

IMG_2661

Cut eyes out of the egg carton cover. Paint in white, let dry & paint in the black part of the eyes.

IMG_2662

Glue the eyes to one of the sections (not the one with the tongue).

IMG_2665

Paint & cut a zig zag pattern out of the cover. Let dry & glue around the section with the tongue as shown.

IMG_2666 IMG_2673

Glue on pipe cleaners for arms.

Egg Carton Kermit


Thank you as always for stopping by. Please follow us on Facebook as well.


Egg Carton Strawberries Craft

Egg Carton Strawberries


My daughter is a very finicky eater. It is not easy to get her to eat her fruits & vegetables. She doesn’t like much, but she does love her strawberries. Tonight’s craft was inspired by these juicy treats.

Mai painted her egg cartons in red & then let them dry.

IMG_0826 IMG_0830

We dotted them in green after they dried.

IMG_0836

I trimmed the top cover of the carton for the stems.

IMG_0832

Mai painted these green.

IMG_0834

We cut the leaves for the strawberries out of construction paper.

IMG_0835

I glued the leaves & stems on using a glue gun. They look good enough to eat.

Egg Carton Strawberries Craft


Thank you as always for stopping by. Please follow us on Facebook as well.

Egg Carton Peacock Craft

Egg Carton Peacock Craft


A while back, I bought a stack of burlap canvases. They having been sitting there collecting dust for several months now. Last night after dinner, I wanted to try one out. I painted a peacock, while Mai watched.

IMG_0929

“What you making, Mama?”

“A peacock.”

“I want to make a peacock too!”


Egg Carton Peacock Craft

What you will need:

An egg carton

Acrylic paint

Glitter

Glue

Construction paper


Directions:

Cut the egg carton & separate each individual egg carton section. Paint the inside of the sections & around the outside sides in green. After painting each section, sprinkle glitter on the inside before the paint dries. Mai was so excited to add the glitter that she would not put it down even to paint the egg carton.

IMG_0922 IMG_0918

While Mai painted the cartons, I cut the body of the peacock out on construction paper. Add a beak & use paint to add details.

IMG_0926

IMG_0927

Glue the body down to a piece of construction paper & then glue the egg carton pieces in place.

Egg Carton Peacock Craft

Thank you as always for stopping by. Please follow us on Facebook as well.

Egg Carton Insects

Egg Carton Insects 2


My daughter likes bugs. We make bug crafts often, so forgive the repeated insect theme. We do however always craft them out of different materials & tonight was a new one for our insect crafts. We had a lot of pre-cut egg carton sections just waiting to be used. Mai started painting her insects while I cooked this evening. She painted a lot of them, so we needed to make a few.

IMG_9993IMG_9992IMG_9994

After she painted them we let them dry.

For our bumble bee, we used a yellow section & painted black lines around the outside for the striping. We used a medium sized pom pom for the head & added in googly eyes. We formed the antennae & wings out of pipe cleaners.

IMG_0017


Our lady bug was made with a red painted section dotted with black paint. I also dotted a red pipe cleaner for the wings. Add a head & antennae with eyes to this pretty little insect as well.

IMG_0020


We had a few other sections in assorted colors. We combined these to form a butterfly. We used a pipe cleaner glued through the center of the four sections for the body. We added a sparkly pom pom for the head, followed with a striped pipe cleaner for our antennae. When each of these was glued into place, we added a pipe cleaner outline on each side to form the wings.

Egg Carton Butterfly


We used our final section, which Mai painted black to form a spider. We used 4 pipe cleaners to form the 8 legs & added another pom pom head & eyes. All in all I think that they came out very cute. Mai agreed.


Egg Carton Insects

Thank you as always for stopping by. Please follow us on Facebook as well.