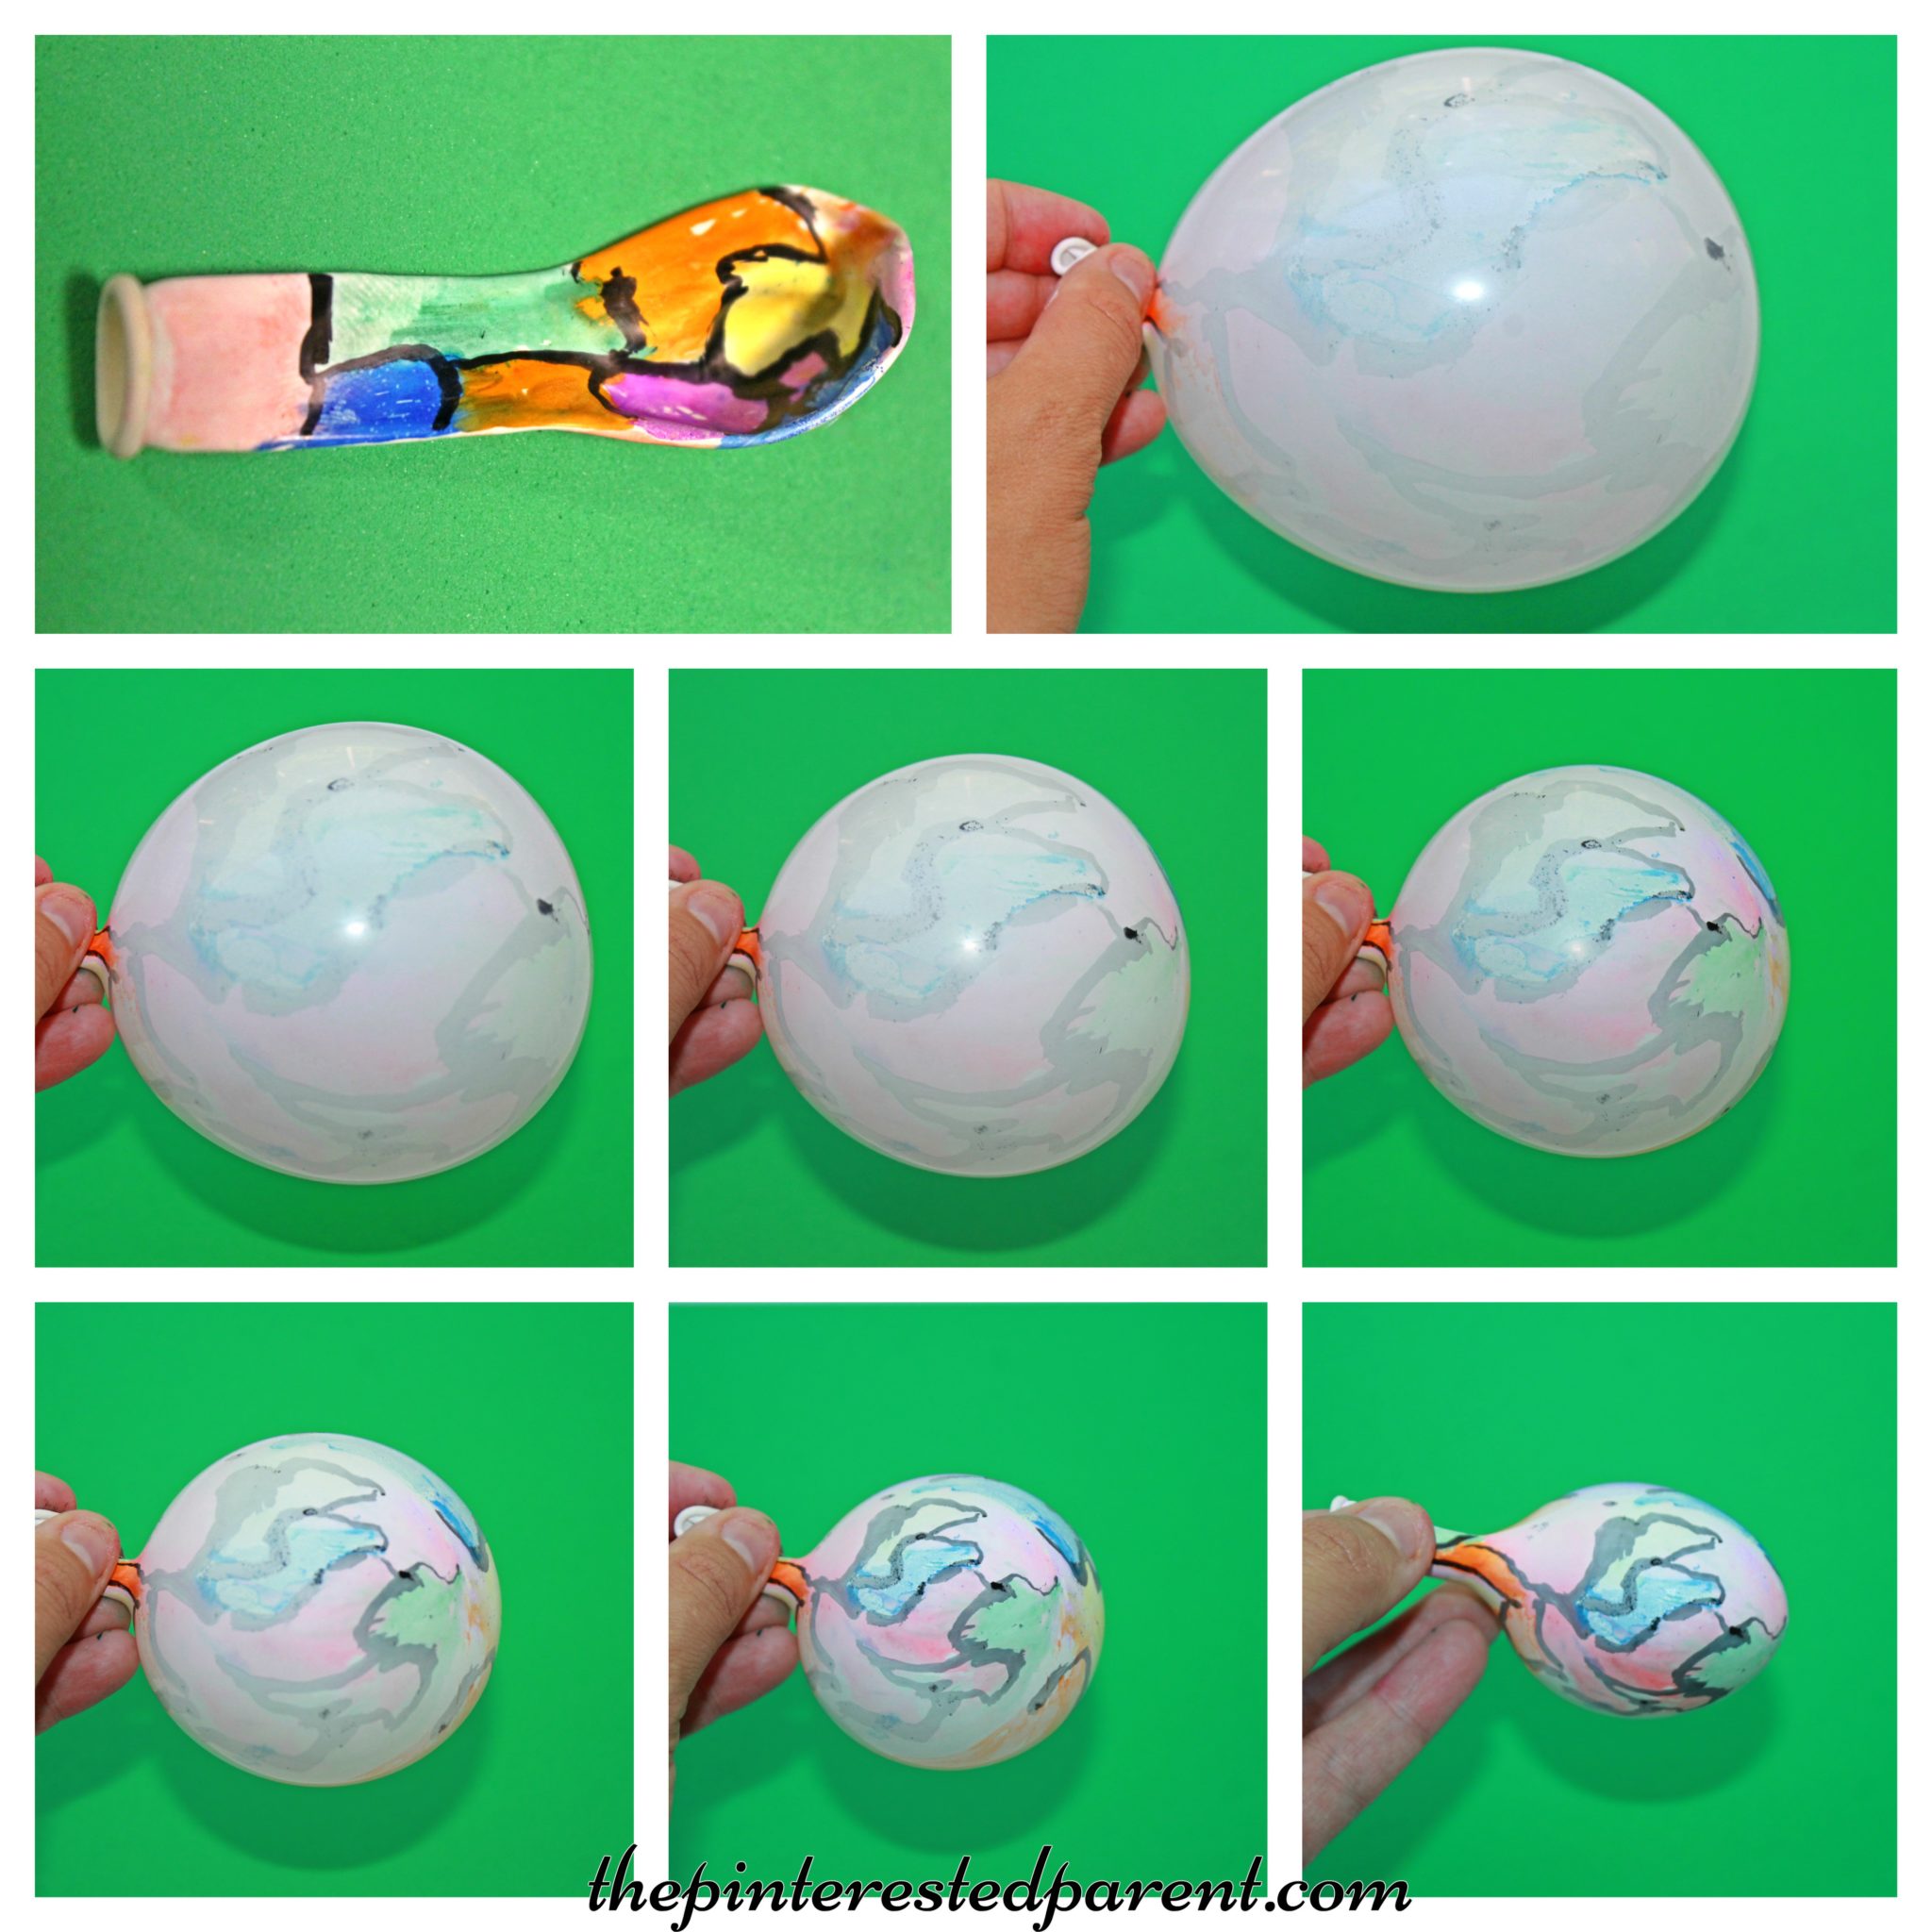
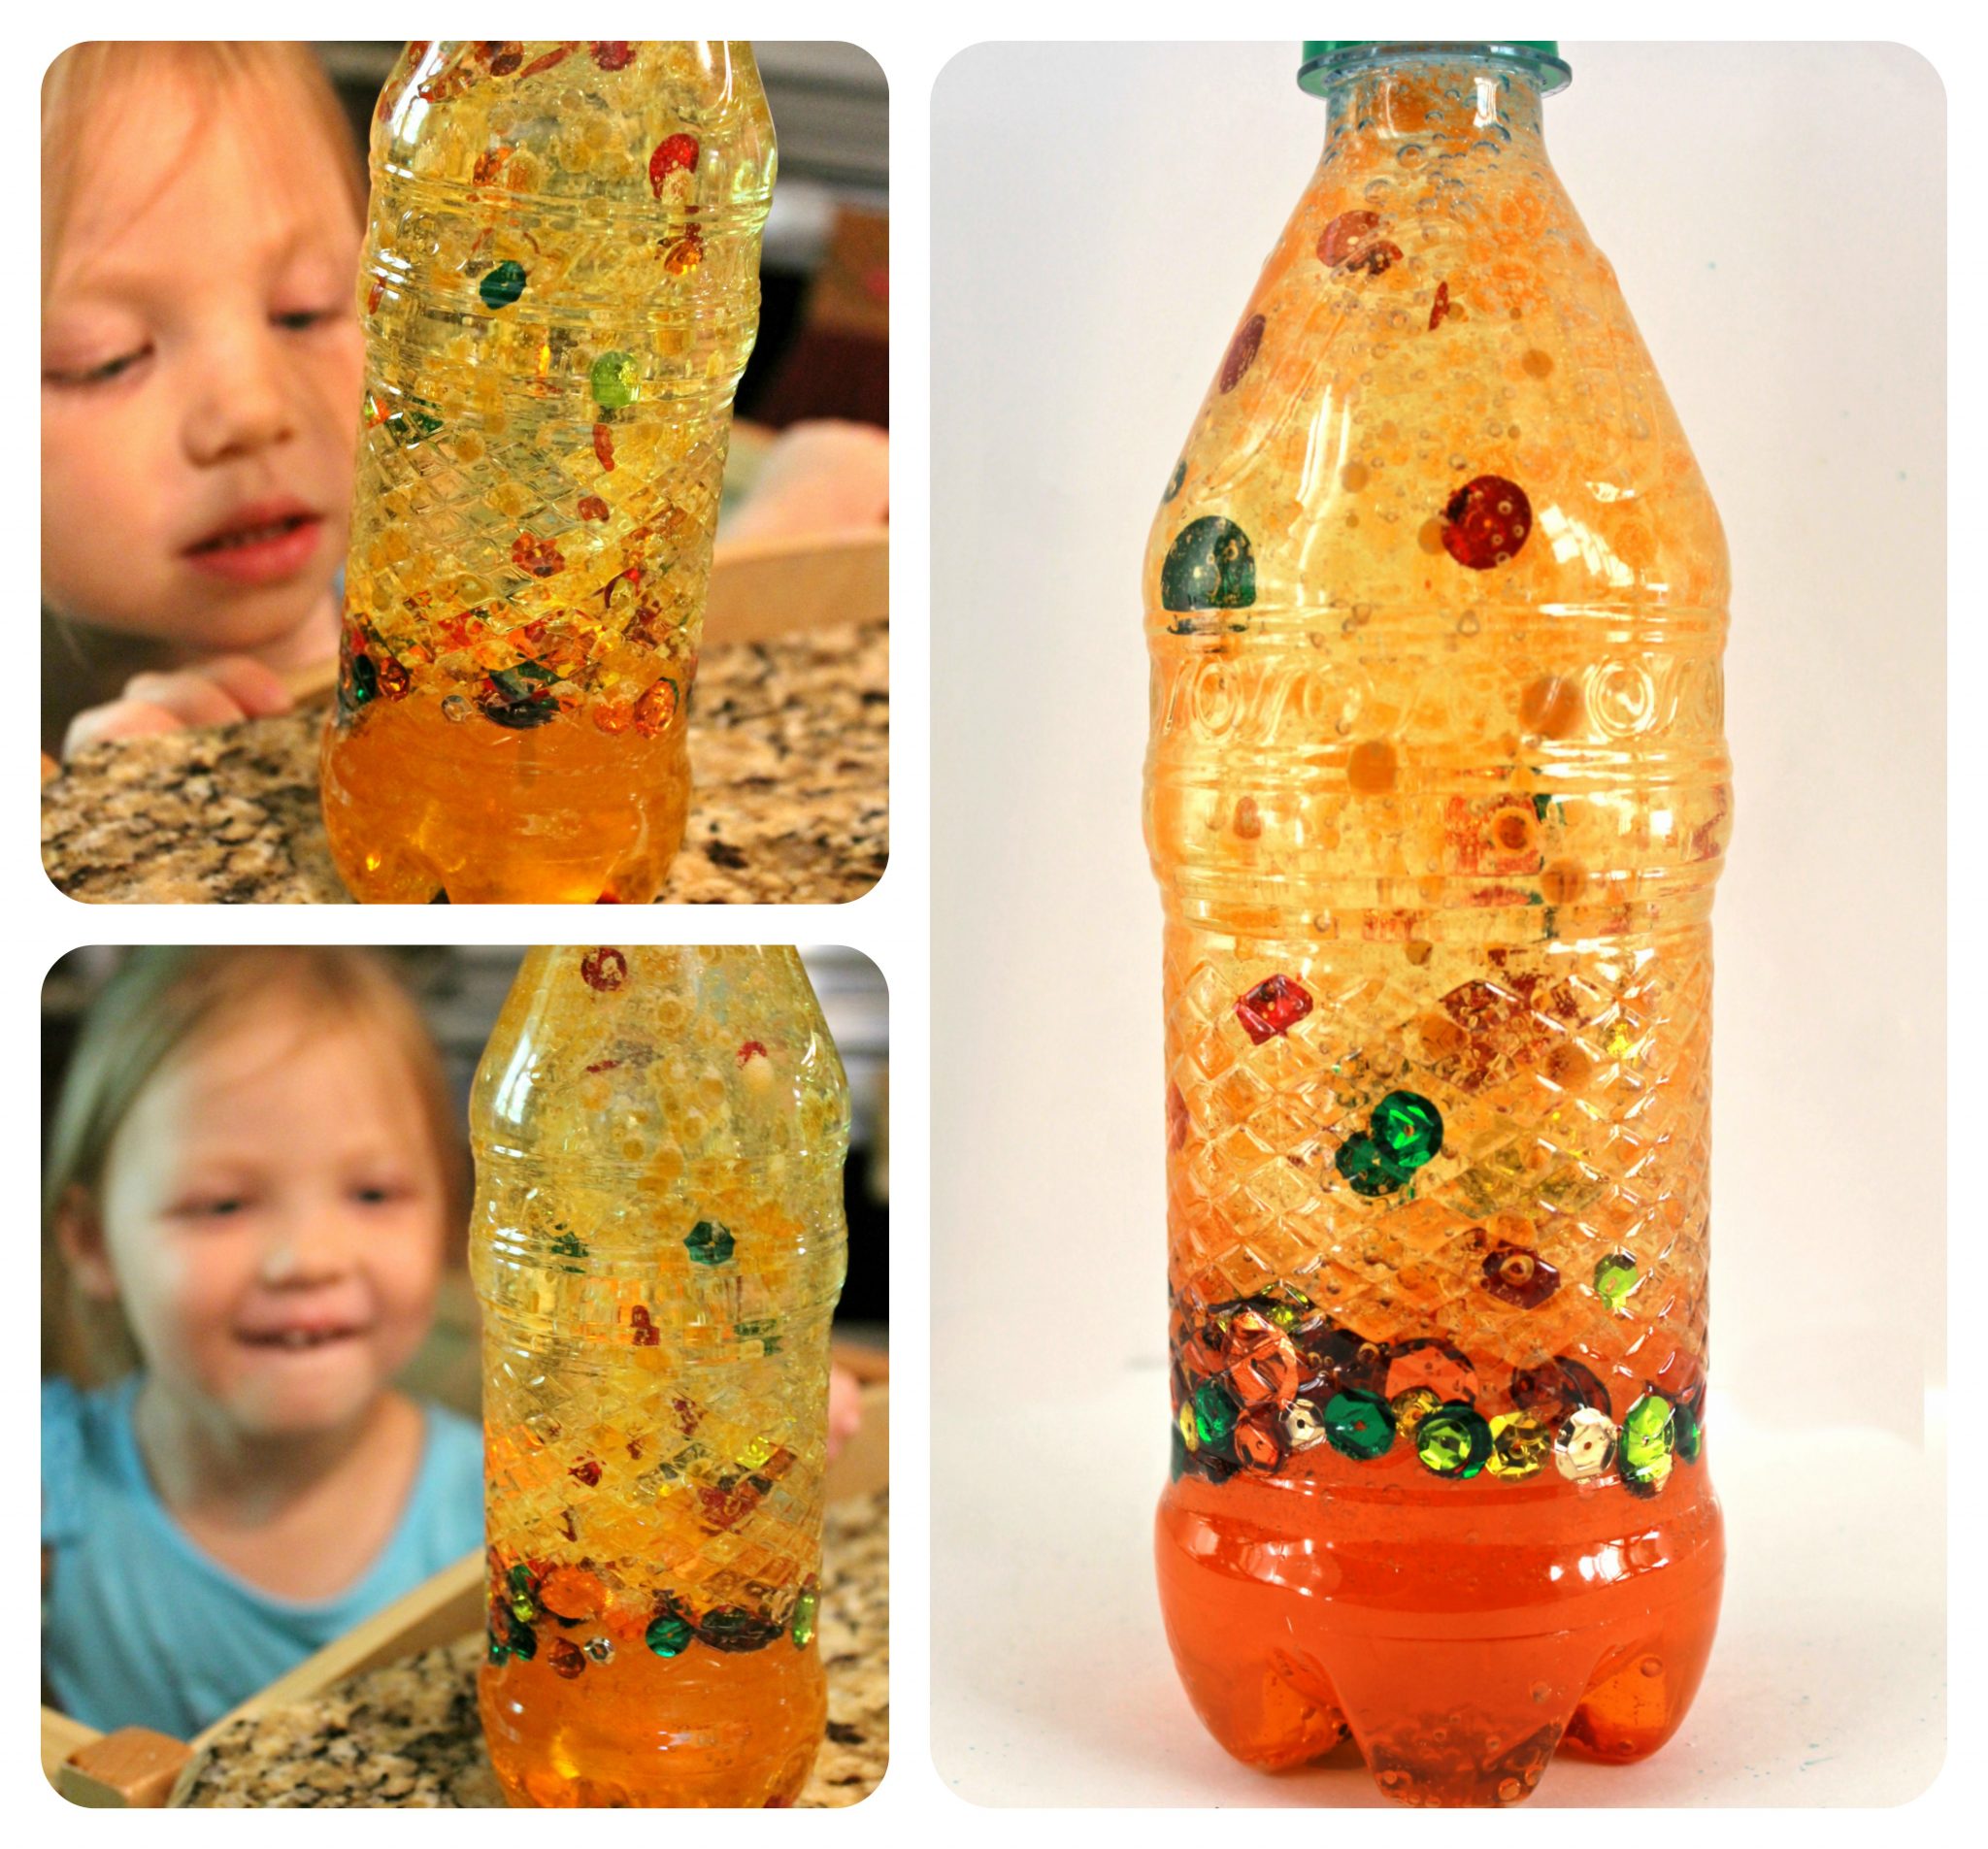
Tag

experiments

Sequin Lava Lamp

Homemade Fall sequin lava lamp - science experiments with oil & water for kids, toddlers & preschoolers

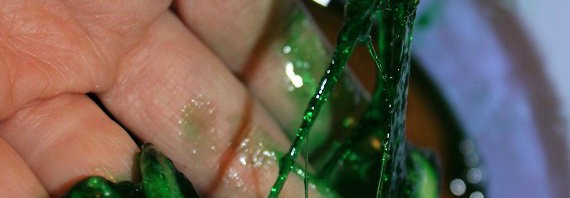
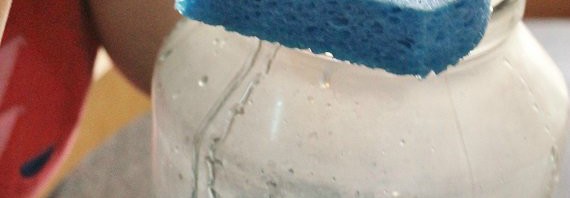
*This post contains affiliate links*

My daughter loves to help with the dishes. Every chance that she gets she jumps up on her safety stool and washes the dishes with me. She was washing a particularly greasy item the other day & was having a hard time getting it clean. We added more soap to her sponge & discussed how oil & water react with one another.

14433093_10209063382414989_7589571275757701038_n

We have done simple experiments with oil & water before, but I thought this was a great opportunity to do one of our old favorites. Here’s how.

Find an old 20 oz water bottle. Tear off the label & filled the bottle about 3/4 of the way full with vegetable oil & then pour the water almost to the top. Leave enough space so that the mixture won’t overflow once the lava reaction occurs. You will see the separation between the oil & water in the bottle almost immediately.

img_4399 img_4398 img_4402

Add a few drops of food coloring to the water & then insert sequins. We wanted to make a fall themed lava lamp, so we used fall colors for ours. Once the sequins settle, add a half a tablet of Alka Seltzer to the bottle to stir it all up.

img_4406 img_4404 img_4408

My daughter was thrilled to watch the sequins dancing around. She added tablet after tablet of Alka Seltzer to our homemade lava lamp.

Homemade Fall sequin lava lamp - science experiments with oil & water for kids, toddlers & preschoolers

Our homemade lava lamps were fun & pretty to watch.

Homemade Fall sequin lava lamp - science experiments with oil & water for kids, toddlers & preschoolers

Fall sequin lava lamp - science experiments with oil & water for kids

Thank you as always for stopping by. Please follow us on Facebook as well.

Simple Balloon Experiment

A simple experiment testing the effects of pattern on the balloon once it expands and inflates & deflates. Simple science for kids.

My daughter is obsessed with balloons. There are balloons bouncing around our house most of the time. We have bags of them & she asks me to blow up new ones for her all the time. Yesterday, she picked up one of her balloons & started coloring it with a marker. Looking at her colored balloon gave me an idea. I grabbed one of our noninflated balloons and used markers & sharpies to color in a design. It did not need to be anything elaborate, just a quick design.

Continue Reading…

Water & Ice Science For Toddlers

Water Transfer Experiment


When choosing science experiments to do with my toddler, I find that the simpler the experiment the better. She loves water play, so the experiments with water are our favorites. I found the great ideas for these fun & easy experiments from two of my favorite science sites for kids www.sciencekids.co.nz & stevespanglerscience.com. Make sure that all of these are done with parental supervision.

Water Transfer Experiment

All you will need for this experiment is 2 glasses, water, a couple of drops of food coloring & a couple of sections of paper towel.

Place 2 glasses next to each other. Fill one of the glasses with water. Add a few drops of food coloring to it.

IMG_3562

Twist 2 sections of paper towel as shown.

IMG_3563

Put each end of the paper towel into both of the glasses.

IMG_3564

You can watch the color creep across the paper towel as it absorbs the colored water. This will take a little bit of time. We kept checking on our glasses every few minutes.

IMG_3566 IMG_3569

My daughter was so excited once the blue water started dripping into the other glass. “Look mama! It’s dripping. Look Look!” Like I said, it is the simplest things…

IMG_3576


After some time, the water will move from one glass into the other.

Water Transfer Experiment

In between checking on our water transfer, we tried a couple of other quick experiments.

Sticky Ice Experiment

Cut a few strands of yarn or string & put them aside. Put ice cubes into a clear container of water. Lay the yarn across an ice cube or two & sprinkle the ice & the yarn with Kosher salt. Let it sit for a moment. The science behind it is that the salt will melt the ice & then as it sits in the cold water will refreeze around the string.

IMG_3573

Lift the yarn & watch as the cube sticks to the string.

 IMG_3571

Sticky Ice Experiment

This last one was more for me than my daughter, as she was completely disinterested in this one, while I found this fascinating. Fill a glass all the way to the top with water. Place a piece of cardboard over the top of the glass. Place the palm of your hand over the cardboard and press putting pressure around the edges & in the center. You can feel a slight suction while you press. Flip the glass upside down & carefully remove your hand. The water & the cardboard should stay in place. Do this over a sink in case just in case.

Upside Down Water Experiment

Thank you as always for stopping by. Please follow us on Facebook as well.

Fake Snot Experiment

Fake Snot Experiment


I have said this several times over the last few months, but I will say it again. It was a rough winter for us. Our whole house was sick more than we were healthy this past winter & unfortunately the spring has not been much kinder to us. There has been plenty of nose blowing & snotty noses in this house, so when I saw this experiment it seemed to be right up our alley. This experiment show how mucus is formed, which is with sugar & proteins. There were many variations on this, but I found this on Yeah I Made It.

The Fake Snot Experiment

What you will need:

1/2 cup of boiling water

3 packets of unflavored gelatin

1/4 cup of Caro (corn syrup)

Food coloring


Directions:

Add the boiling water to a bowl & add a drop of food coloring. Mix in the packets of gelatin and let it soften & stir.

IMG_1264


Add the corn syrup to the mixture. Pull the fork up & watch as the mixture forms stringy snot-like strands.

IMG_1265


“Ugh gross, mama! It looks like boogers.”


IMG_1299 IMG_1300

It will thicken up as it cools. Add water if needed to keep it from getting to thick.

IMG_1297


Thank you as always for stopping by. Please follow us on Facebook as well.

Raining Sponge

Teaching your children science doesn’t have to be complicated. Here is a simple experiment that toddlers and preschoolers will love.
Raining Sponge Experiment


Science for kids does not need to be complicated. The simplest of things can be fun & educational. I like doing experiments that require very little set up, clean up & are done with items that are easily accessible. This is about as simple as it gets.

Continue Reading…

Toddler Science Made Easy

Saltnice.jpg

I must have lived a very sheltered childhood because there are so many things that I never did as a child. Having a child of my own, I have been introduced to so many things that I missed out on when I was young. It is as if I am reliving my own childhood vicariously through her. My husband on the other hand has the inside scoop on all sorts of fun stuff that I never heard of, mostly in the form of science experiments. He introduced me to baking soda volcanoes last year & then the other day when I came home from grocery shopping he was working with Mai on another one.

I walked in the door to see my husband & daughter playing with a Cartesian Diver. I am sure many of you have heard of this, but this is one I missed as a child. I must have dozed off during science class that day. It was such a simple concept and I was as fascinated by it as my daughter was.

Cartesian Diver

All you need is a clean soda bottle, water, & a ketchup packet (or in our case a duck sauce packet) Do a float test first on the packet to make sure that it floats.

Fold the packet in half the long way to insert it into the bottle.

Fill the bottle all the way to the top with water & put the cap back on.

Squeeze the sides of the bottle. The little ones will need two hands. Squeeze the bottle & watch the packet sink.

CartesianDiver.jpg

P1180938

Let go of the bottle & let it float back up.

P1180939

Mai had so much fun that it inspired a few more experiments.

Salt & Ice Experiment

All you need for this experiment is some ice, salt & food coloring.

On a baking tray, lay out some ice. You can choose to use a large sheet or cubes.

Sprinkle salt on the cubes. The salt will cause the ice to beginning melting where sprinkled.

P1180959

Squirt different colored food coloring onto the ice & watch as it seeps into the ice and follows the melted tracks. It makes a lovely effect.

P1180962

We also had some fun experimenting with oil & water this week. For more on our oil & water experiments please check out our latest article in SEEK MAGAZINE.

OilWater.jpg

Thank you as always for stopping by. Please follow us on Facebook as well.

Baking Soda Volcanoes

BakingSodaVolcano.jpg

It has been a month now since Mai started daycare. As you all know, I was not exactly over the moon with the decision to put her in daycare, but now I couldn’t be happier. It is a pain waking up early to drop her off before work & I do still get that feeling of guilt at leaving her there, but I have seen such a wonderful change in her over these past few weeks. She comes home with great stories about her new friends & the fun things that they do together. It warms my heart to hear her talk about her day with such excitement.

The other day when my husband arrived to pick her up, they were outside making baking soda volcanoes. Hubby had a difficult time getting her to leave her fun activity. When they came home, they both wanted to share with me how much fun Mai & friends had playing with the volcanoes. My husband told me that it was just a simple activity using baking soda & vinegar. He said that he used to do this a lot as a child. Perhaps I lived a very sheltered childhood, but I had never heard of such a thing. I have seen many things on Pinterest for different science experiments that caused eruptions, but never actually looked at how they were made. Had I realized it was so simple I would have tried these ages ago. Thank you Miss Laura, you gave us a wonderful activity to try at home.

Baking Soda Volcanoes

What you will need:

Baking soda

Vinegar

Food coloring

Squeeze bottles

Small receptacle or cup- we used a mini flower pot & a Dixie cup

Plastic dish bin

Play Sand (optional)

Place your small receptacle in the center of the plastic dish bin. We used a mini flower pot & also a Dixie cup. Surround it with sand to give it a more volcanic look. Add baking soda to your center container. In a squeeze bottle or bottles, mix vinegar & food coloring. Squeeze the colored vinegar mixture over the baking soda & watch it erupt.

IMG_4373

IMG_4402 IMG_4404

IMG_4385 IMG_4396

IMG_4391 IMG_4409

IMG_4408 IMG_4418

If you can’t tell, our daughter loved this. We went through a whole bottle of vinegar & box of baking soda. When we were done, she said, “Mama, Dada go to store to buy more food coloring?”. I guess we have to hit the supermarket for more supplies.