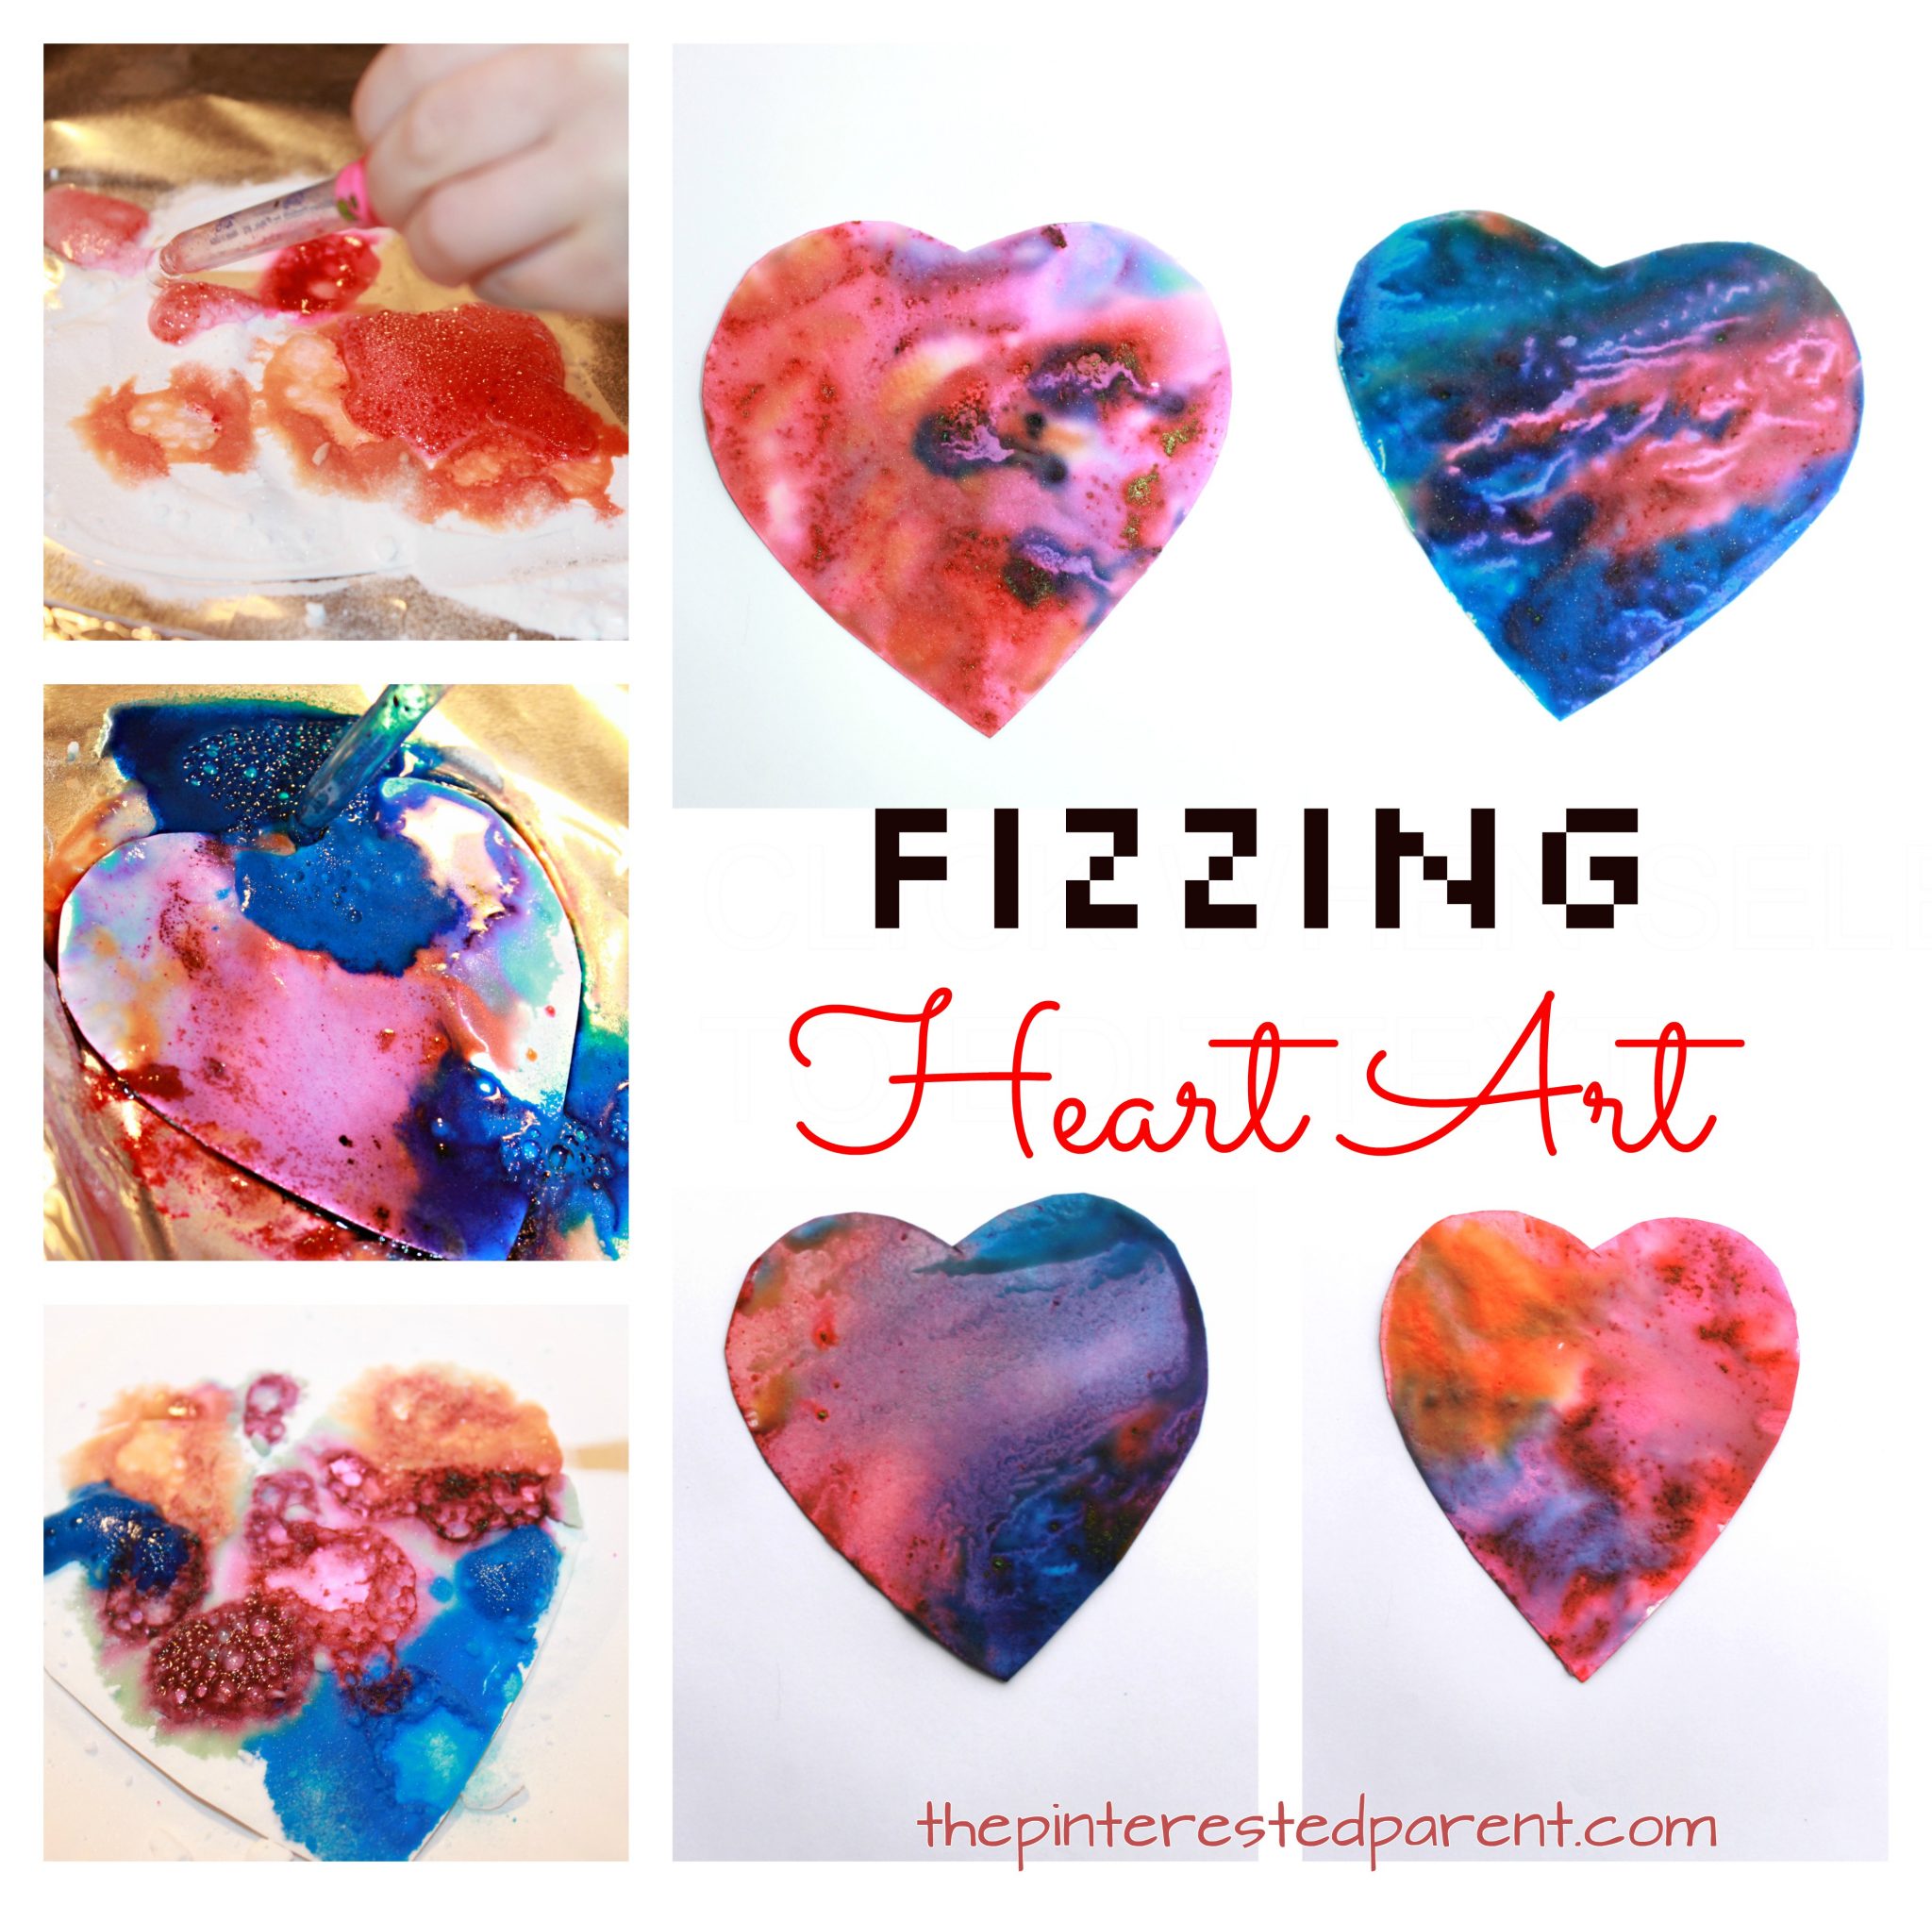
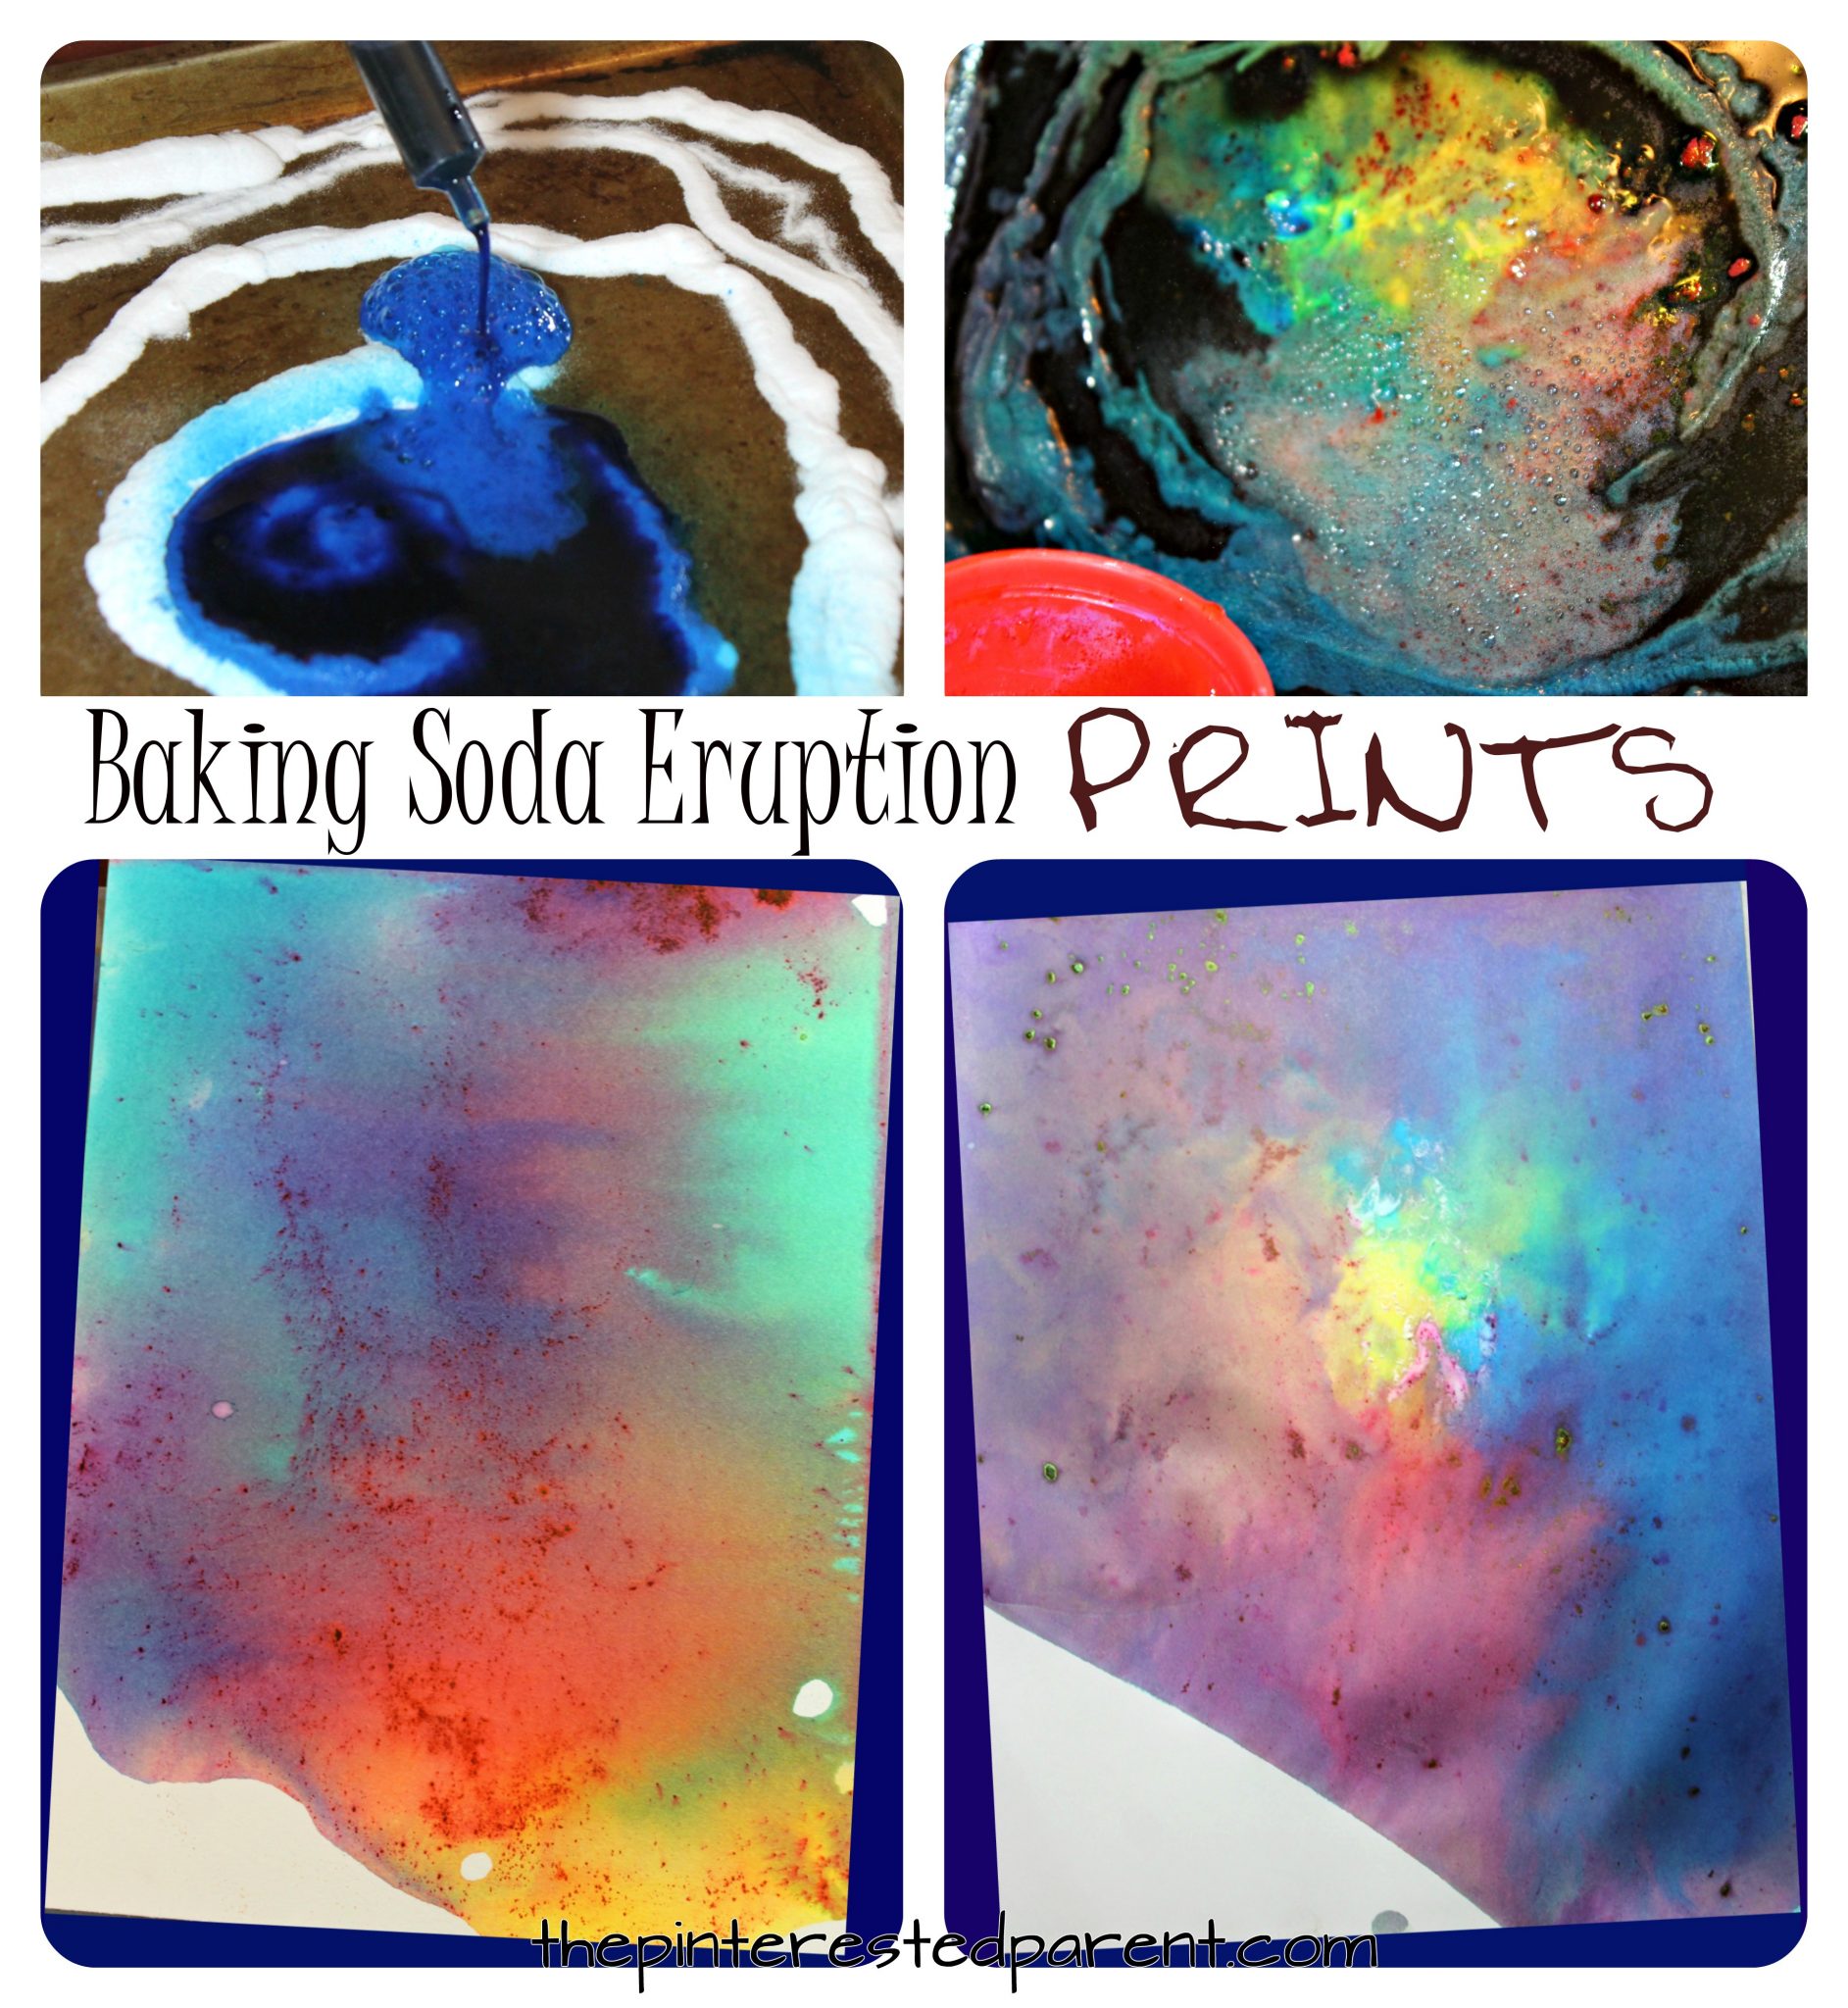
Baking soda and colored vinegar eruptions have been one of our daughter’s favorite activities for years. What’s not to like? They’re fun. They’re fizzy and they’re colorful. They are so beautiful that we have even made a few art projects using the eruptions. For Valentine’s Day this year, we made Fizzing Heart Art. The fizzing hearts were such a hit, that we wanted to try it again. The plan was that we were going to make red, white and blue fizzing stars for the Fourth of July, but my daughter stumbled across an idea of her own. We have been doing a large number of printing projects lately, so my daughter turned our original project into these beautiful baking soda eruption prints.
Tag
science
25 Rain Themed Arts, Crafts & Activities
Rain, rain, please don’t go away. We are ready for some rain themed crafts and play.
Not everybody likes rainy days. Once that first drop falls, many people run for cover, but not us. My daughter and I love the rain. It is beautiful. It is soothing and it makes things grow. What’s not to love? With spring approaching, we are ready to dive into some rain themed arts, crafts and play. If you are looking for some fun rainy ideas too, check out some of these fun and amazing ideas.
Make, Explore, Paint Rainbows
Science and art combine in this amazing and simple rainbow experiment. The kids will love to make, explore and paint rainbows.
The other day, my daughter picked up a CD and was fascinated by the rainbows that formed on it when she moved it around. We held it under the light and moved it all around and admired the bursts of color. The colors were so beautiful. We wanted more and had an idea to try to paint our rainbows.
Fizzing Heart Art Eruptions
These fizzing heart eruptions are a fun way to combine science and art with beautiful and unpredictable results.
Baking soda and vinegar eruptions are a favorite in our house. The ingredients are usually always readily available, they are easy to set up and fascinating to watch. My daughter wanted to make them this week and so we did. With Valentine’s Day nearing, we thought a fizzing heart project would be perfect.
*The Pinterested Parent is a participant in the Amazon Services LLC Associates Program, an affiliate advertising program designed to provide a means for sites to earn advertising fees by advertising and linking to Amazon.com. In addition, text and image links in this post may be affiliate/referral links, which means we may be compensated if you make a purchase after clicking through these particular links* See full disclosure policy.
She has recently perfected making hearts. She draws them and cuts them out all the time, so with her love of hearts and Valentine’s approaching quickly, hearts were the perfect choice for our fizzy paintings.
Sequin Lava Lamp
*This post contains affiliate links*
My daughter loves to help with the dishes. Every chance that she gets she jumps up on her safety stool and washes the dishes with me. She was washing a particularly greasy item the other day & was having a hard time getting it clean. We added more soap to her sponge & discussed how oil & water react with one another.
We have done simple experiments with oil & water before, but I thought this was a great opportunity to do one of our old favorites. Here’s how.
Find an old 20 oz water bottle. Tear off the label & filled the bottle about 3/4 of the way full with vegetable oil & then pour the water almost to the top. Leave enough space so that the mixture won’t overflow once the lava reaction occurs. You will see the separation between the oil & water in the bottle almost immediately.
Add a few drops of food coloring to the water & then insert sequins. We wanted to make a fall themed lava lamp, so we used fall colors for ours. Once the sequins settle, add a half a tablet of Alka Seltzer to the bottle to stir it all up.
My daughter was thrilled to watch the sequins dancing around. She added tablet after tablet of Alka Seltzer to our homemade lava lamp.
Our homemade lava lamps were fun & pretty to watch.
Thank you as always for stopping by. Please follow us on Facebook as well.
Simple Balloon Experiment
My daughter is obsessed with balloons. There are balloons bouncing around our house most of the time. We have bags of them & she asks me to blow up new ones for her all the time. Yesterday, she picked up one of her balloons & started coloring it with a marker. Looking at her colored balloon gave me an idea. I grabbed one of our noninflated balloons and used markers & sharpies to color in a design. It did not need to be anything elaborate, just a quick design.
Hunting For Worms
As you know, we love to read. We regularly visit the library & just love to find new books to read.
*This post contains affiliate links*
On our last visit to the library, we found a book that we chose for its funny name. The title ‘Yucky Worms’ attracted my daughter. It got quite a chuckle.
Abstract Fizzing Art
*This post contains affiliate links*
Our daughter has been helping more around the house. She helps fold her own clothes, she sets the dinner table & she has just started to do the dishes with me. Last night while doing the dishes, she was excited to watch the soap foam up while washing out a few squirt bottles. “Look it, mama. It looks like a volcano.” She squeezed out a lot of soap eruptions & forgot about the dishes. I made a deal with her that if we finished the dishes that we would make our own volcanoes.
We finished our dishes & as promised we took out our baking soda & vinegar to make volcanoes. I poured a bowl of baking soda for eruptions & the flip switched, my daughter wanted to paint instead. Since we had already pulled out the baking soda, we combined the two.
We mixed a little vinegar with a few drops of different colors of food coloring gel.
We placed a piece of watercolor paper onto a cookie sheet. My daughter used a scooper to spread baking soda all over the paper. She used a medicine dropper filled with the colored vinegar.
The paint fizzled & puffed up into little balls. She mixed the colors & squirted them all over the paper.
When it started to puddle, she lifted the edge of the paper to let the paint bubbles drip. The result was a lovely abstract piece. She liked it so much, she grabbed another piece of paper & did another.
It was a little messy, but we had a lot of fun with it.
Thank you as always for reading. Please visit us on our Facebook page as well.
Exploring Shadows
When I heard the weather report for this weekend, I was overjoyed. I could not wait to get outdoors with the family. I asked my daughter what she wanted to do & she wanted to bring her building blocks outside & play. We brought them out & began to build with them in the driveway.
Water & Ice Science For Toddlers
When choosing science experiments to do with my toddler, I find that the simpler the experiment the better. She loves water play, so the experiments with water are our favorites. I found the great ideas for these fun & easy experiments from two of my favorite science sites for kids www.sciencekids.co.nz & stevespanglerscience.com. Make sure that all of these are done with parental supervision.
Water Transfer Experiment
All you will need for this experiment is 2 glasses, water, a couple of drops of food coloring & a couple of sections of paper towel.
Place 2 glasses next to each other. Fill one of the glasses with water. Add a few drops of food coloring to it.
Twist 2 sections of paper towel as shown.
Put each end of the paper towel into both of the glasses.
You can watch the color creep across the paper towel as it absorbs the colored water. This will take a little bit of time. We kept checking on our glasses every few minutes.
My daughter was so excited once the blue water started dripping into the other glass. “Look mama! It’s dripping. Look Look!” Like I said, it is the simplest things…
After some time, the water will move from one glass into the other.
In between checking on our water transfer, we tried a couple of other quick experiments.
Sticky Ice Experiment
Cut a few strands of yarn or string & put them aside. Put ice cubes into a clear container of water. Lay the yarn across an ice cube or two & sprinkle the ice & the yarn with Kosher salt. Let it sit for a moment. The science behind it is that the salt will melt the ice & then as it sits in the cold water will refreeze around the string.
Lift the yarn & watch as the cube sticks to the string.
This last one was more for me than my daughter, as she was completely disinterested in this one, while I found this fascinating. Fill a glass all the way to the top with water. Place a piece of cardboard over the top of the glass. Place the palm of your hand over the cardboard and press putting pressure around the edges & in the center. You can feel a slight suction while you press. Flip the glass upside down & carefully remove your hand. The water & the cardboard should stay in place. Do this over a sink in case just in case.
Thank you as always for stopping by. Please follow us on Facebook as well.