
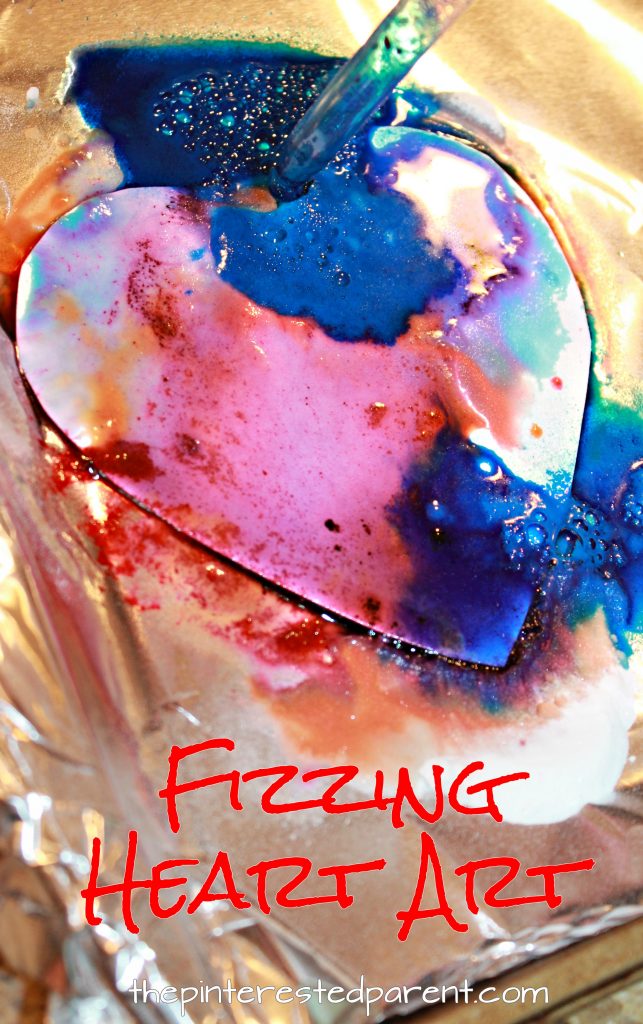
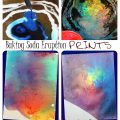
These fizzing heart eruptions are a fun way to combine science and art with beautiful and unpredictable results.
Baking soda and vinegar eruptions are a favorite in our house. The ingredients are usually always readily available, they are easy to set up and fascinating to watch. My daughter wanted to make them this week and so we did. With Valentine’s Day nearing, we thought a fizzing heart project would be perfect.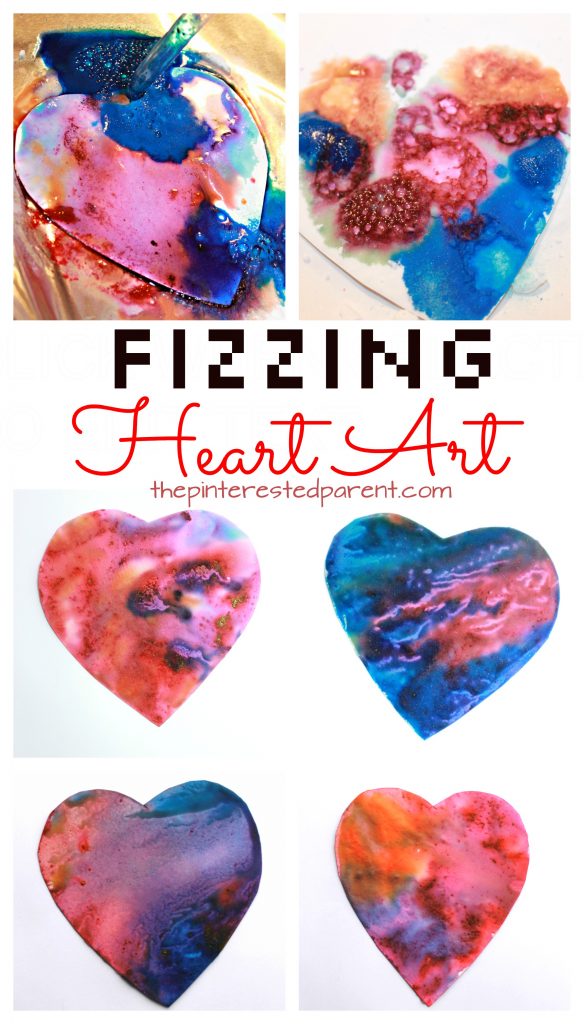
*The Pinterested Parent is a participant in the Amazon Services LLC Associates Program, an affiliate advertising program designed to provide a means for sites to earn advertising fees by advertising and linking to Amazon.com. In addition, text and image links in this post may be affiliate/referral links, which means we may be compensated if you make a purchase after clicking through these particular links* See full disclosure policy.
She has recently perfected making hearts. She draws them and cuts them out all the time, so with her love of hearts and Valentine’s approaching quickly, hearts were the perfect choice for our fizzy paintings.
You can also check out our video on our Facebook page.
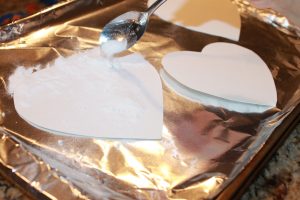
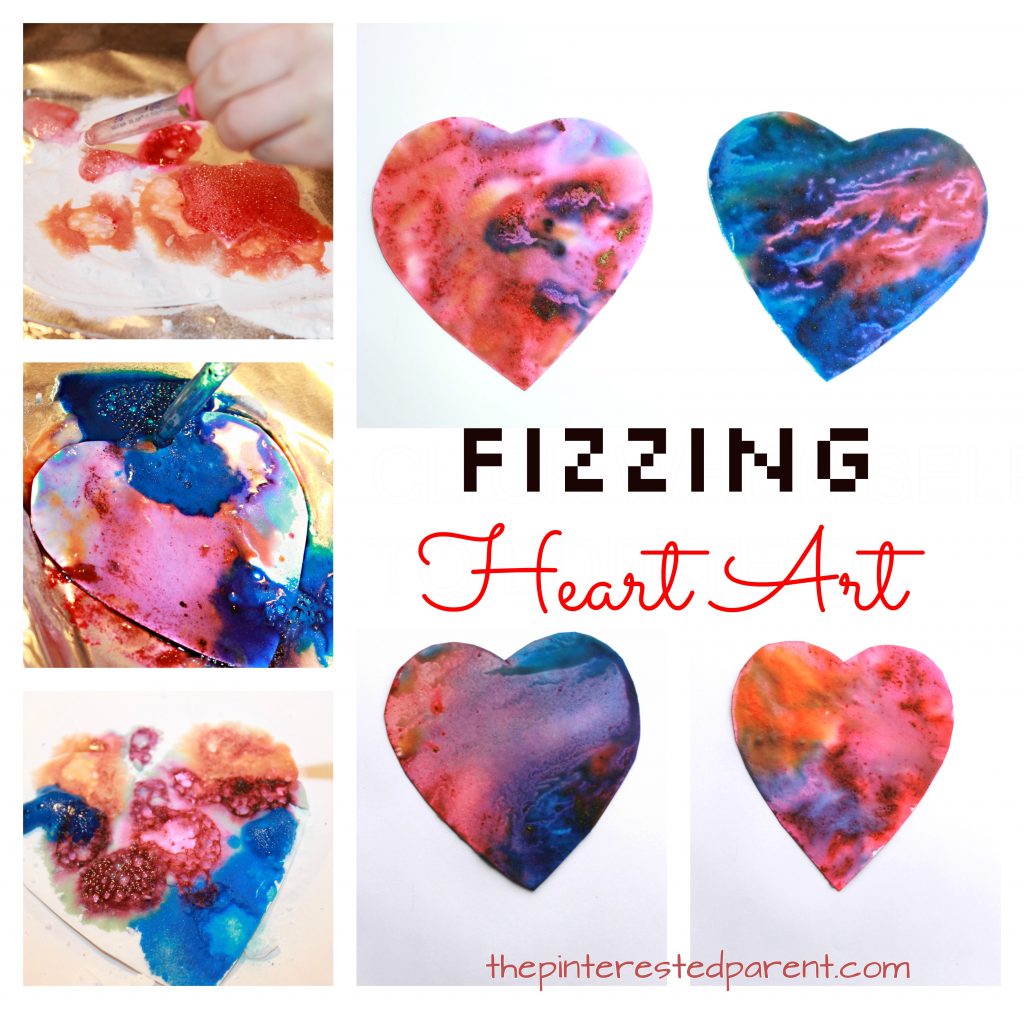
We cut hearts out of watercolor paper and laid them down inside of a foil lined baking sheet to help contain the mess. I do strongly recommend using the watercolor paper for the best results. I poured the baking soda into a bowl and gave my daughter a spoon to spread it out across her hearts. She wanted to do them one at a time.
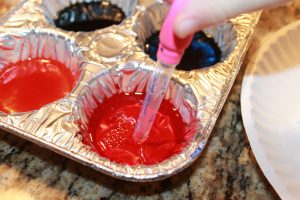
We used a disposable muffin tin and mixed vinegar and food coloring gel in each section. We used roughly about 1/4 of a cup of vinegar and a couple of drops of food coloring. Food coloring concentrations will vary, so you may have to adjust your food coloring as needed. We used six colors of my daughter’s choosing.
You can use a clean medicine dropper or pipettes to spread out the colored vinegar to start your reactions.
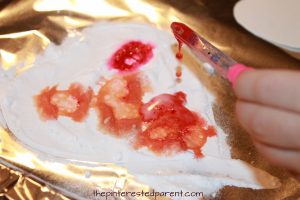
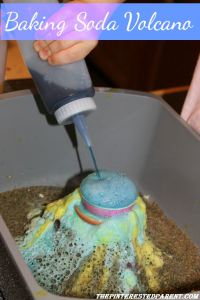
My 4 year old started squeezing the colored vinegar mixtures across her baking soda covered heart. She squealed with excitement with each fizzy reaction. She added the colored vinegar until each fizzing heart was covered with color and the fizzing slowed down.
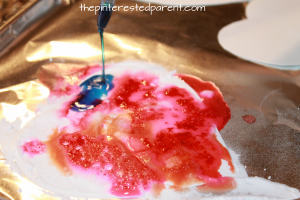
We tipped the excess paint off of the hearts and then set them aside to dry. Some hearts were wetter than others and some had more baking soda clumped on. The baking soda actually added a nice texture to the heart art. She did each heart one at a time and made four hearts in total.
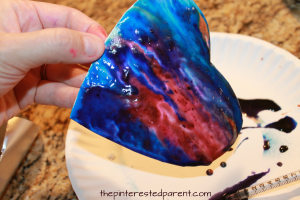
Here are our finished fizzing hearts. Didn’t they come out lovely?
Thank you as always for stopping by. Please follow us on Facebook as well.


This was so much fun❤️
Great! I am happy that you enjoyed it. My daughter loves doing this.
Cute idea! How long does the whole process take and how long to dry? I’m looking for ideas for my sons school party!
Thank you. I am glad that you liked it. It is a favorite art activity of ours. It is a very quick and easy set-up. The length would depend on each child, but I would say that my daughter spent about 5 minutes on each heart that she made. The length of drying will probably vary as well, depending on how much baking soda and colored vinegar they add to their project. They dried pretty quickly. I do not remember the exact time frame, but I do not believe it was no more than an hour for any of them. We did tip each heart after the process and let the excess paint and baking soda roll off of each, but the texture of each was a bit different.Some dried rather quickly and others took longer. I hope he has a wonderful party. Let me know how it works out for you. 🙂
My question is how much vinegar did you use?
I didn’t measure, but I would say that I used about 1/4 cup of vinegar to mix with each different color.
Question, my colors turned out very muted once everything dried…. thoughts on that? Also the baking soda chips off and then they lose color. Did I do something wrong?
Hi Kelly, I am not sure about the color. Perhaps it is the food coloring that you are using. Are the colors bright when wet? The colors will be a bit duller after they dry, but the photos pictured of our finished hearts were taken when the hearts already dried and the colors were still vivid. The food coloring that we use is highly concentrated. Maybe try adding more of the food coloring. The baking soda buildup will vary from craft to craft. We did tip each heart and pour off the excess liquid and baking soda before letting each dry. It helps with the large clumps of baking soda and reveals the under color. There will be some residue though. I didn’t lose chips, but each experiment will have different results depending on the amount of liquid and baking soda that each person uses. I hope this helps a little. Please let me know if you still have any questions.
Do you have to use water color paper or will copy paper work?
I would not recommend the copy paper. The paper will get weak and curl with just the liquid. Having the added weight of the baking soda will most likely tear it. You can try a card stock or thick paper. It may change the results a bit because of the difference in absorption.
When the hearts dry, does the color still look as vivid?
Hi Alexandra, I have received a lot of questions about this experiment with mixed results.The colors will appear softer when they dry and the colors will vary each time. I have had some that are bright such as the ones pictured and also some that have come out in a more pastel tone. Results also will vary depending on the concentration of your food coloring. The coloring that I used was highly concentrated and does offer vivid results. If you are using a less concentrated food coloring, you could try an additional drop or two of color. Thank you for reaching out.
Can you frame these after they’re finished drying?
Hi Oriana, A friend of mine made a bunch of these and hung them up. I would think that you should be able to frame them. You may just want to wipe them a bit with a dry paper towel to remove any baking soda residue.
I want to do this with my students tomorrow! Instead of using food coloring gel, could you use paint? I’m thinking for staining purposes, using acrylic paint would be better than using food coloring. Thanks.
Hello Stephanie, I have never made the eruptions with paint, but I would imagine that the paint diluted with vinegar would work as well. I would do a small test at home to make sure that it fizzes ok. I hope that your kids enjoy them. My daughter loves making eruption paintings.
Have you ever tried coloring a design with white crayon to leave a negative space when doing these? I wondered if you could do a cross or other shape with white crayon that will be left white when done.
I love crayon resist. That would be a great idea.
Love! About how long did it take to completely dry? Trying to decide if we can do with my daughter’s class for Valentine’s Day Party and have enough time to dry to bring home the same day.
I do not remember the exact drying time, but it was not very long. They should be able to bring them home the same day. You will want to shake off the excess baking soda mixture before transporting.