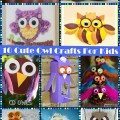
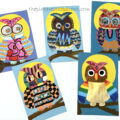
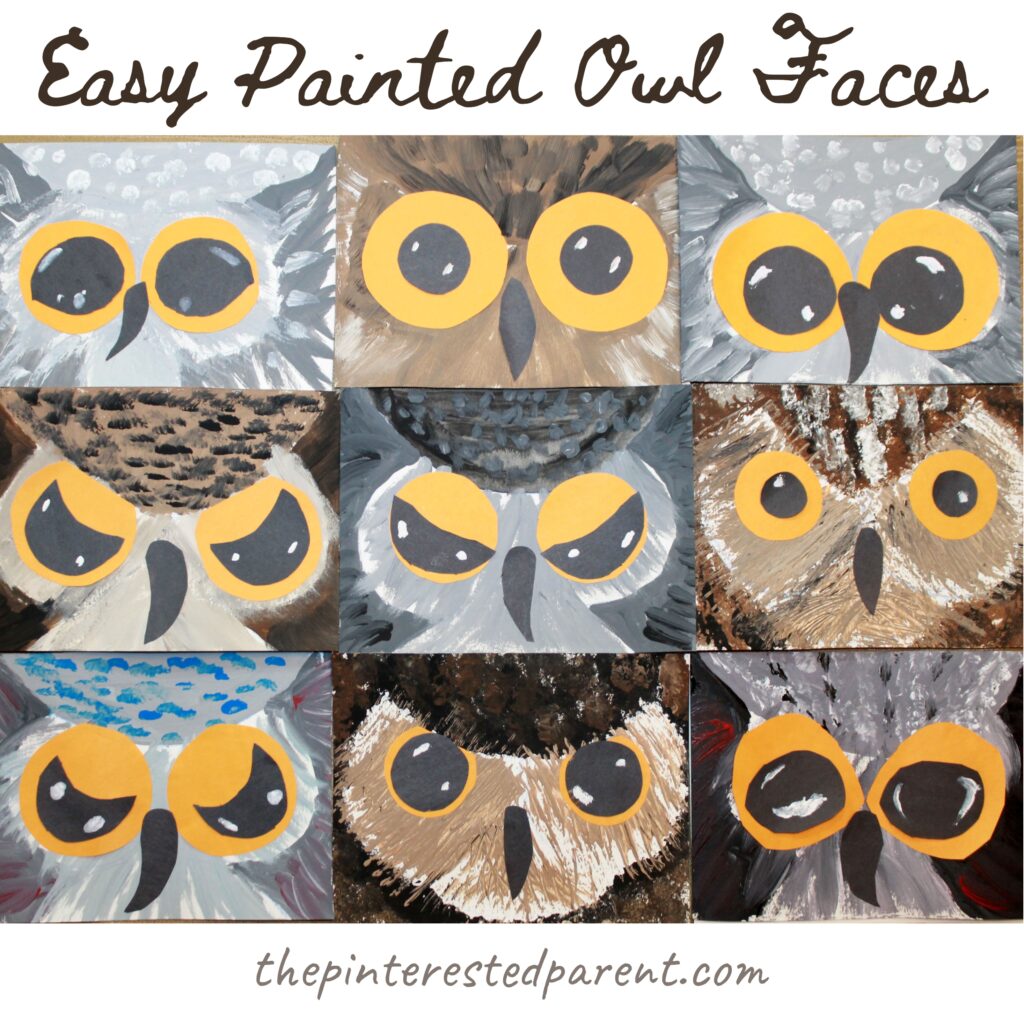
Who Who..loves owls? I do! I do! For me, it’s all about the eyes. There is something so hypnotic about them. This easy painting project focuses on their beautiful peepers and those adorable feathered faces. These painted owl faces are a quick and easy art project for the kiddos. My 7 year old loved making these.
*The Pinterested Parent is a participant in the Amazon Services LLC Associates Program, an affiliate advertising program designed to provide a means for sites to earn advertising fees by advertising and linking to Amazon.com. In addition, text and image links in this post may be affiliate/referral links, which means we may be compensated if you make a purchase after clicking through these particular links* See full disclosure policy.
What you will need:
Pencil
Acrylic Paint & Paint brushes
Optional: Fork, sponge, toothbrush as other options instead of a paintbrush
Directions:
Start with a piece of watercolor paper. We like to cut our paper into quarters because it is easier for the kids to paint and it extends your paper. You may, of course, use a full page.
Draw an arc at the top of your paper as shown.

Make two large circles side by side in the middle of the paper. It is ok if they overlap the arc, so don’t worry about it being perfect.

Then, draw another arc underneath the two circles.

Now for the painting…
Paint the inside of the top arc in the color of your choice.

Use a different color or a lighter or darker shade of the same color to add spots or lines over the already painted section.
We used a lot of neutral colors like browns, blacks, grays and white. I suggest playing around with color mixing to create lighter and darker shades of the same color by adding white or black. Eventually, we got more adventurous and started throwing in brighter colors too, like the blue and red in this one.

Paint the sides around the circles and the bottom arc in a different color or shade of the same color. Next, swipes lines of color along the edges to give it a feathery look.

Now, fill in the rest of the unpainted area using long brush strokes moving diagonally outward and downward through the middle.

Let the paint dry.

Cut two large circles out of orange construction paper. To get the eyes the same exact size, fold the paper in half first and then cut two out at a time.

For the inside of the eyes, cut out two smaller circles or crescent shapes out of black construction paper.

Cut a beak out of black construction paper and glue all of the parts to your dried painting. Dab a little white paint to the black of the eyes to give it a little twinkle.

Voila! There you have one cute and wise feathered friend.

Here is one of the ones that my munchkin made.

Dabble with other painting methods. We used a sponge and a fork for a couple of these for a different effect. Can you tell which ones?
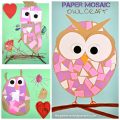
Check out more owl inspired arts & crafts projects.
Thank you as always for stopping by and don’t forget to visit our Facebook page.