Summer is only a few short weeks away and our yard is already starting to fill up with the flutter of butterfly wings. Today, we were lucky enough to get to study one resting in our garden. My daughter loves them. She was so excited about seeing that beautiful little butterfly that she wanted to make one later that day. We love working with bleeding tissue. I don’t know if it is the excitement of getting to tear the tissue paper into little pieces or if it is using the squirt bottle that my daughter likes more. Either way, the process is a fun one. 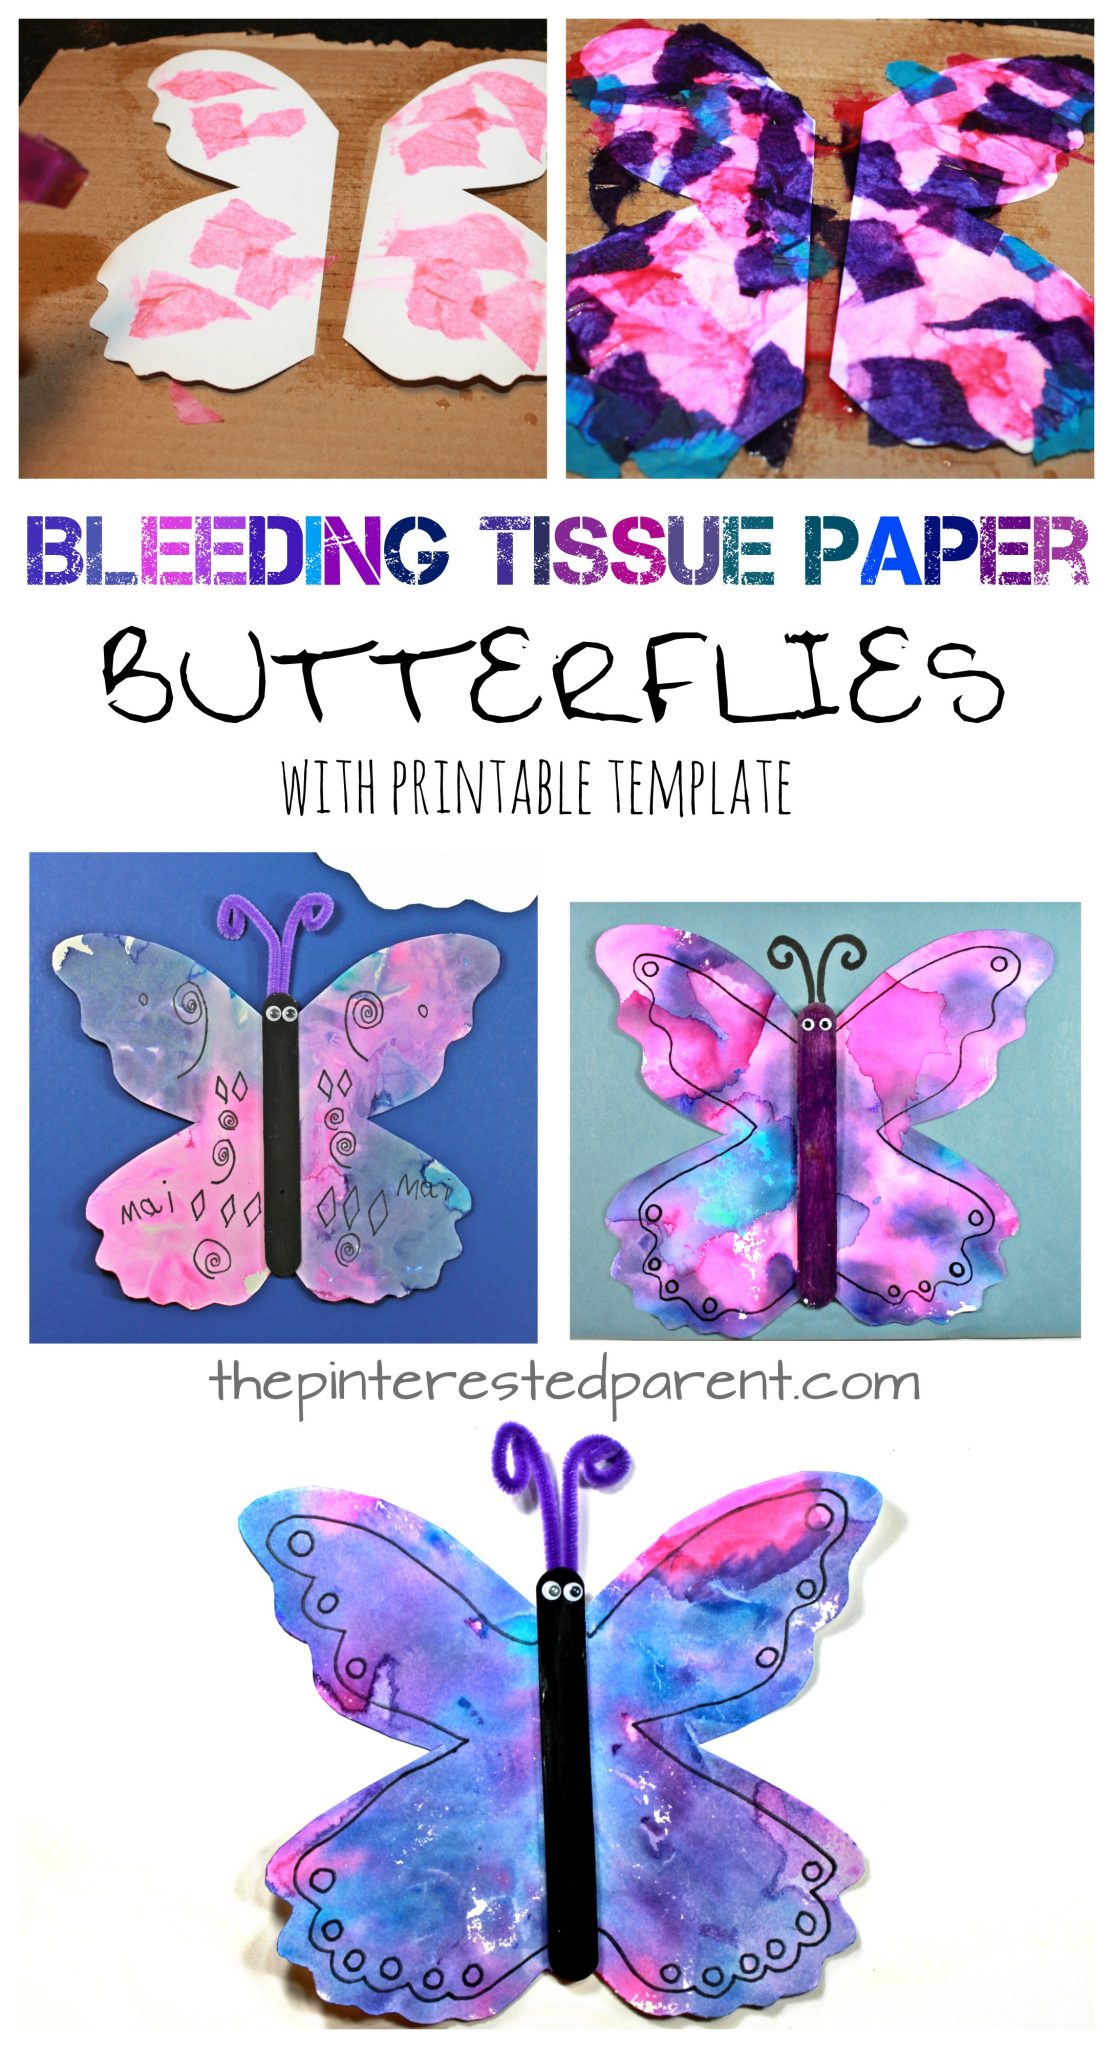
*The Pinterested Parent is a participant in the Amazon Services LLC Associates Program, an affiliate advertising program designed to provide a means for sites to earn advertising fees by advertising and linking to Amazon.com. In addition, text and image links in this post may be affiliate/referral links, which means we may be compensated if you make a purchase after clicking through these particular links* See full disclosure policy.
What you will need:
Black Sharpie
Jumbo craft stick
Googly eyes
Pipe cleaner
Tacky Glue
Scissors
Water
Butterfly Template optional
Directions:
This is a messy activity, so prepare your area with cardboard and newspaper.
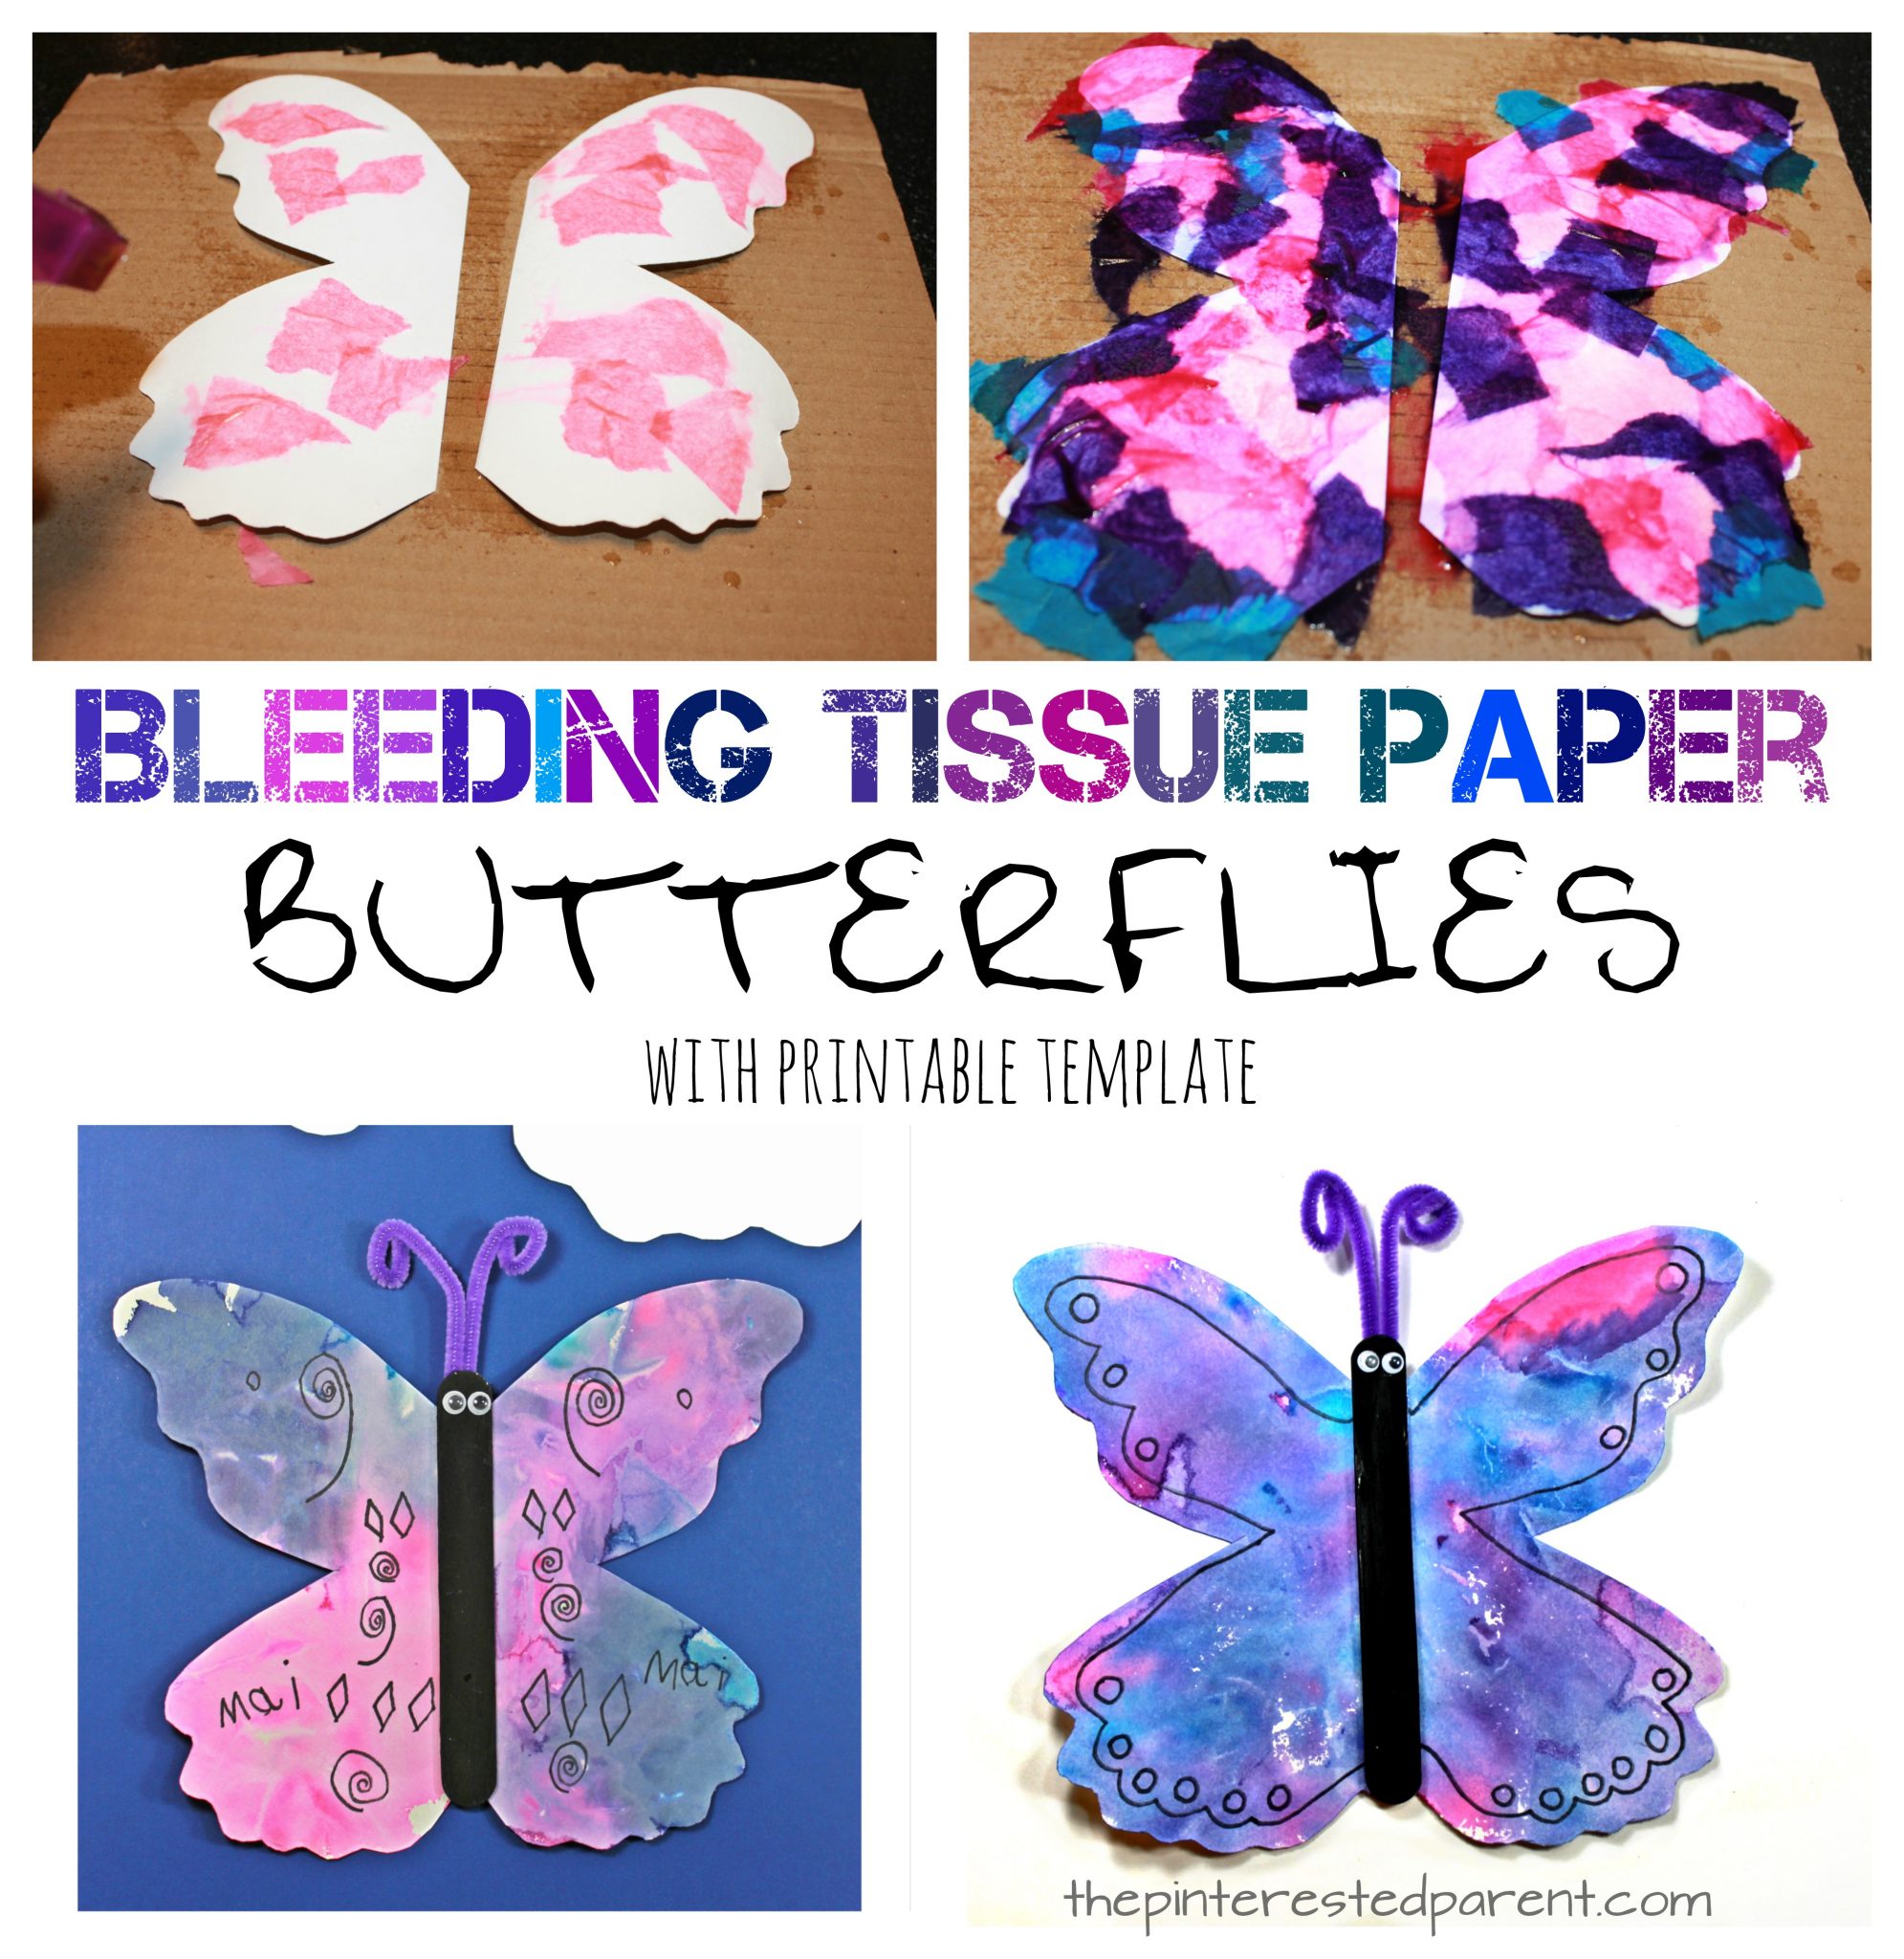
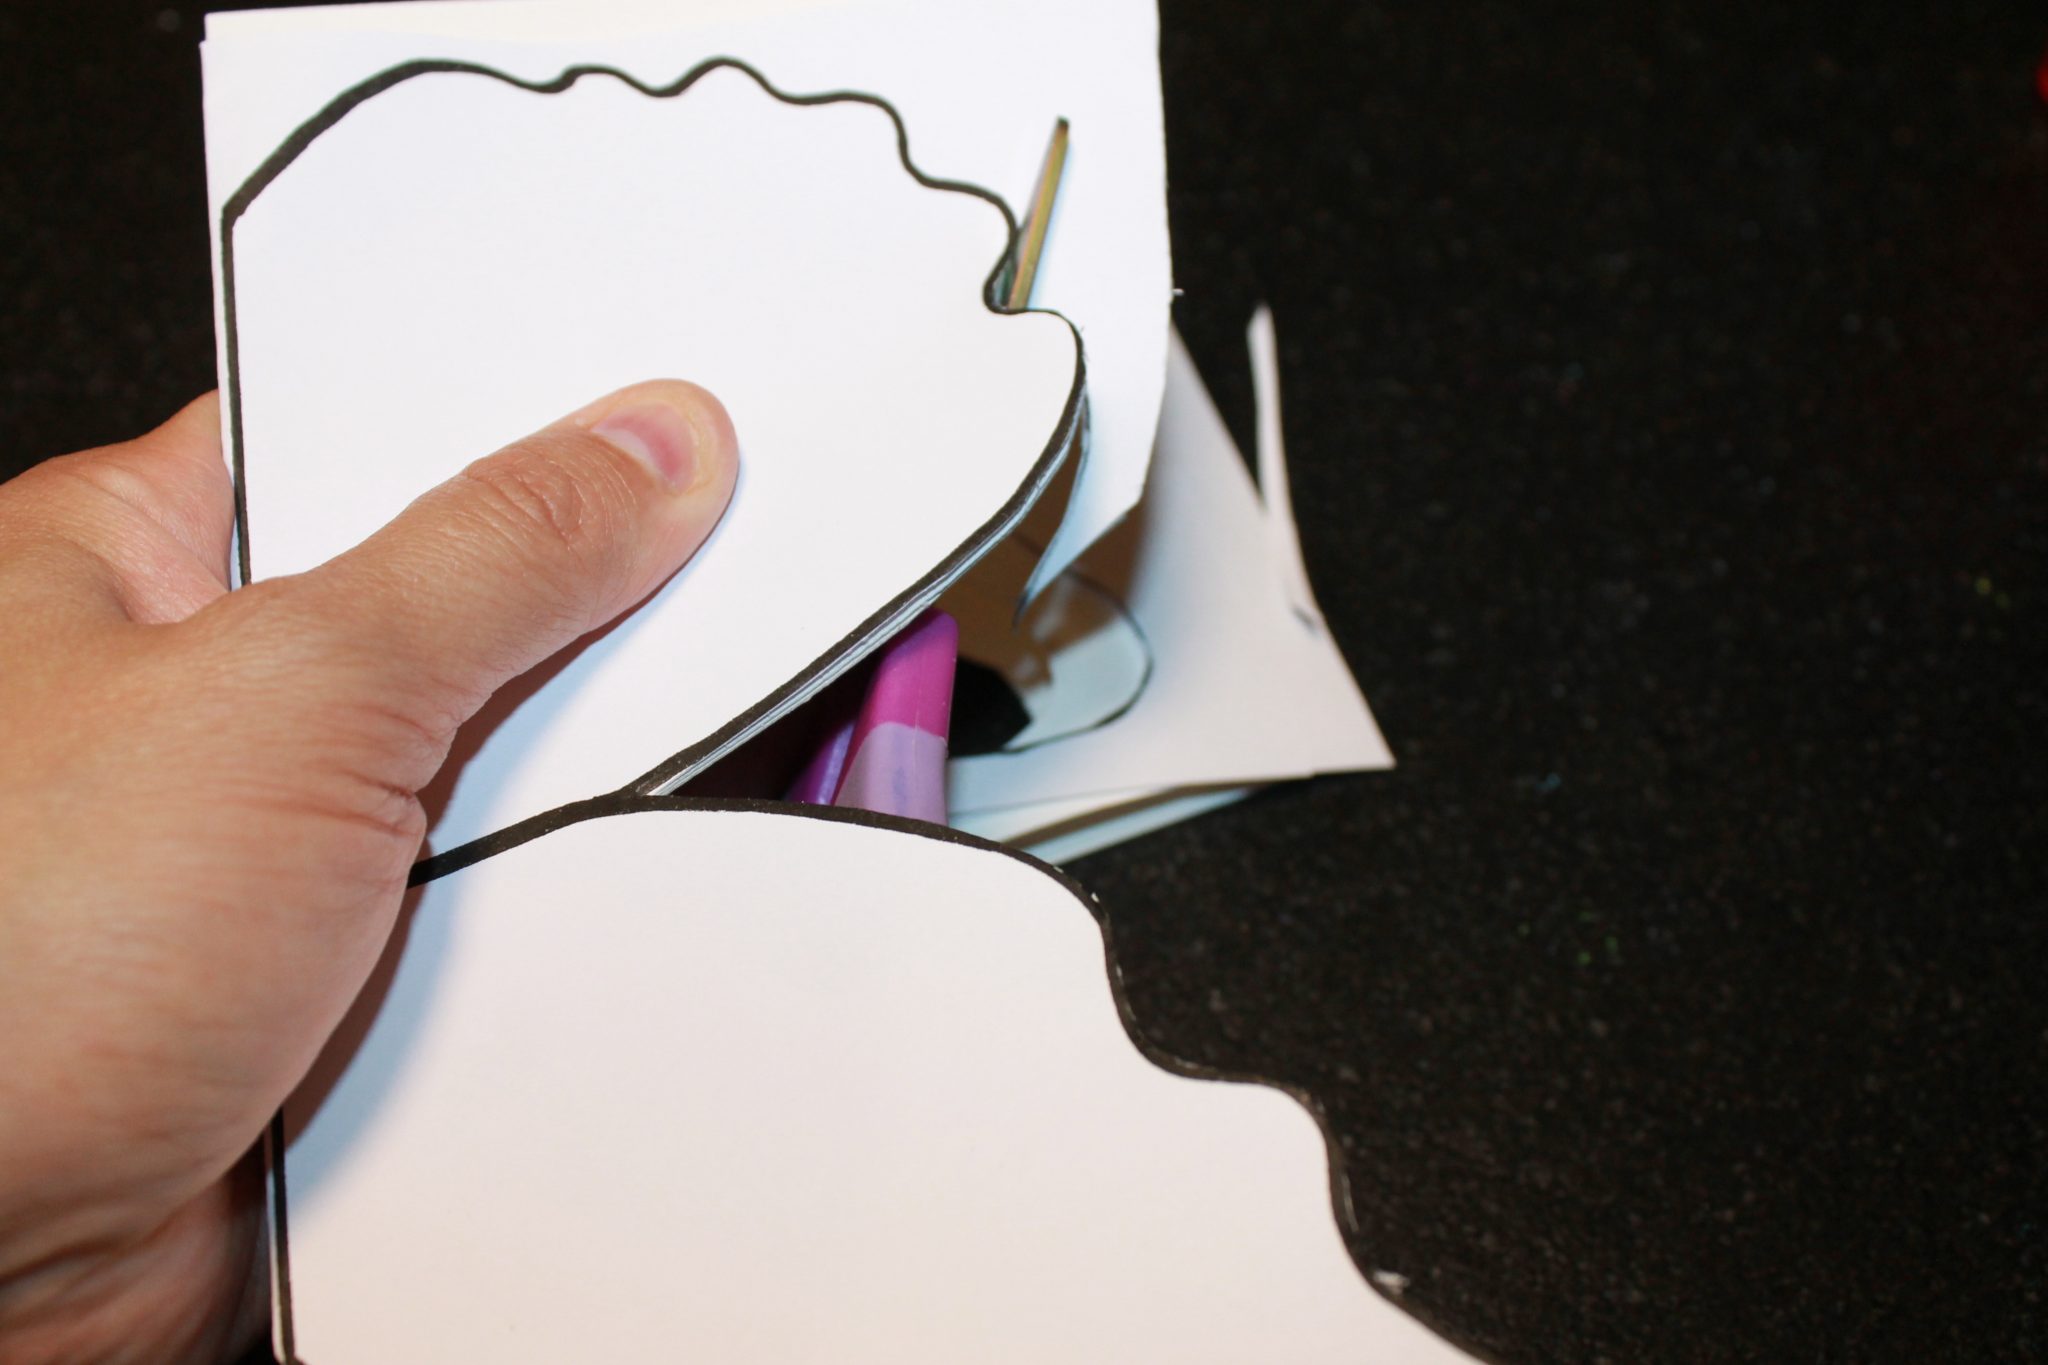
Print out our printable template or draw one of your own design. Transfer the design to a piece of watercolor paper. Cut the butterfly out.
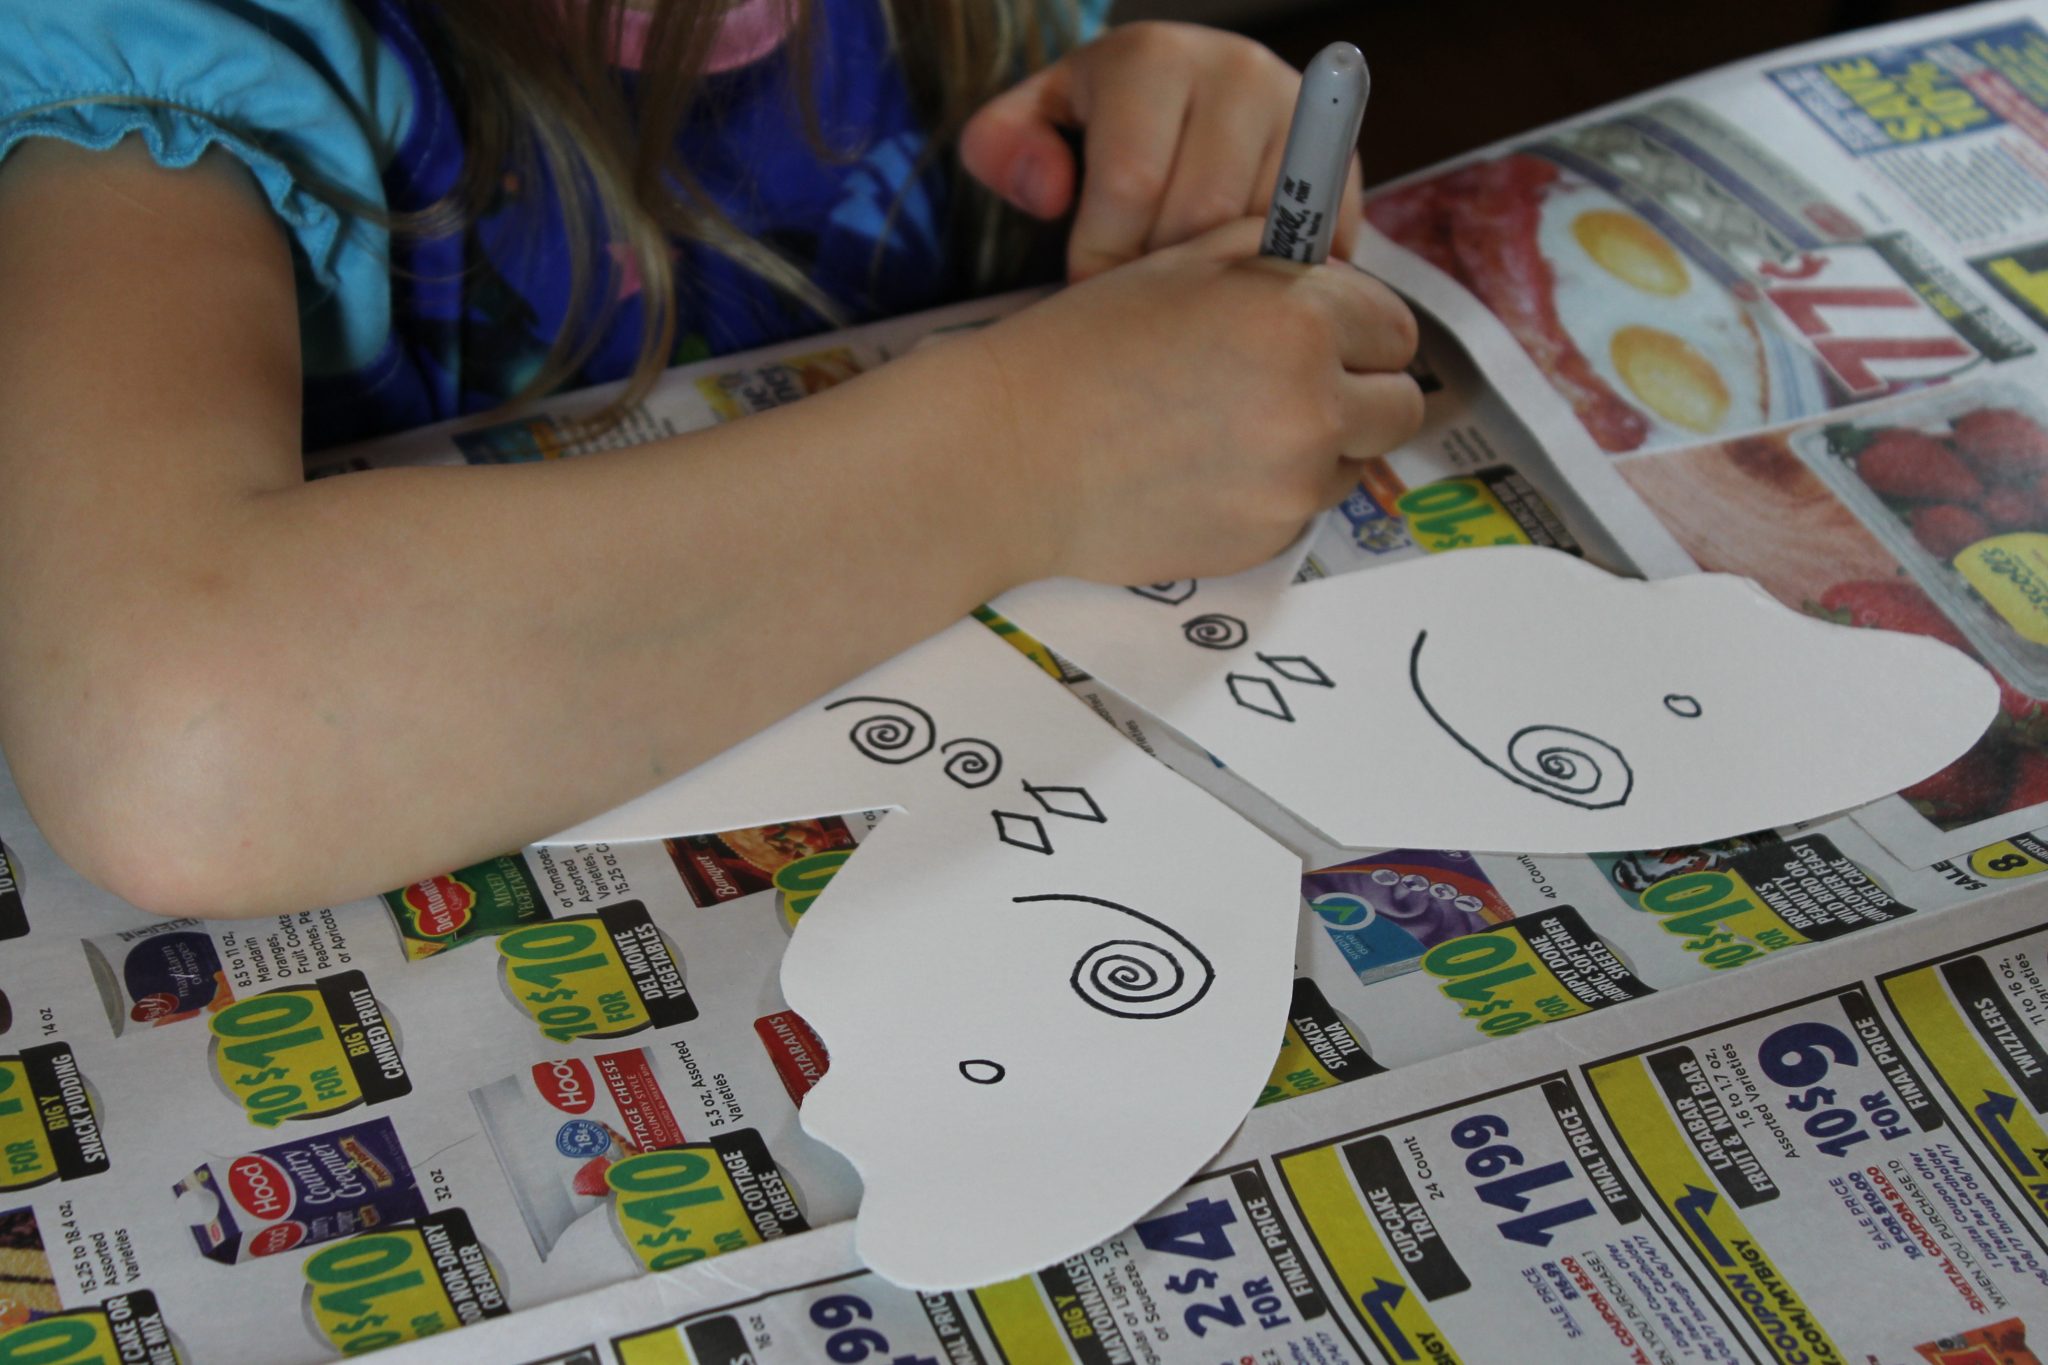
Use a Sharpie to draw designs on your butterfly. Do not use a regular marker or it will run when you start spraying.
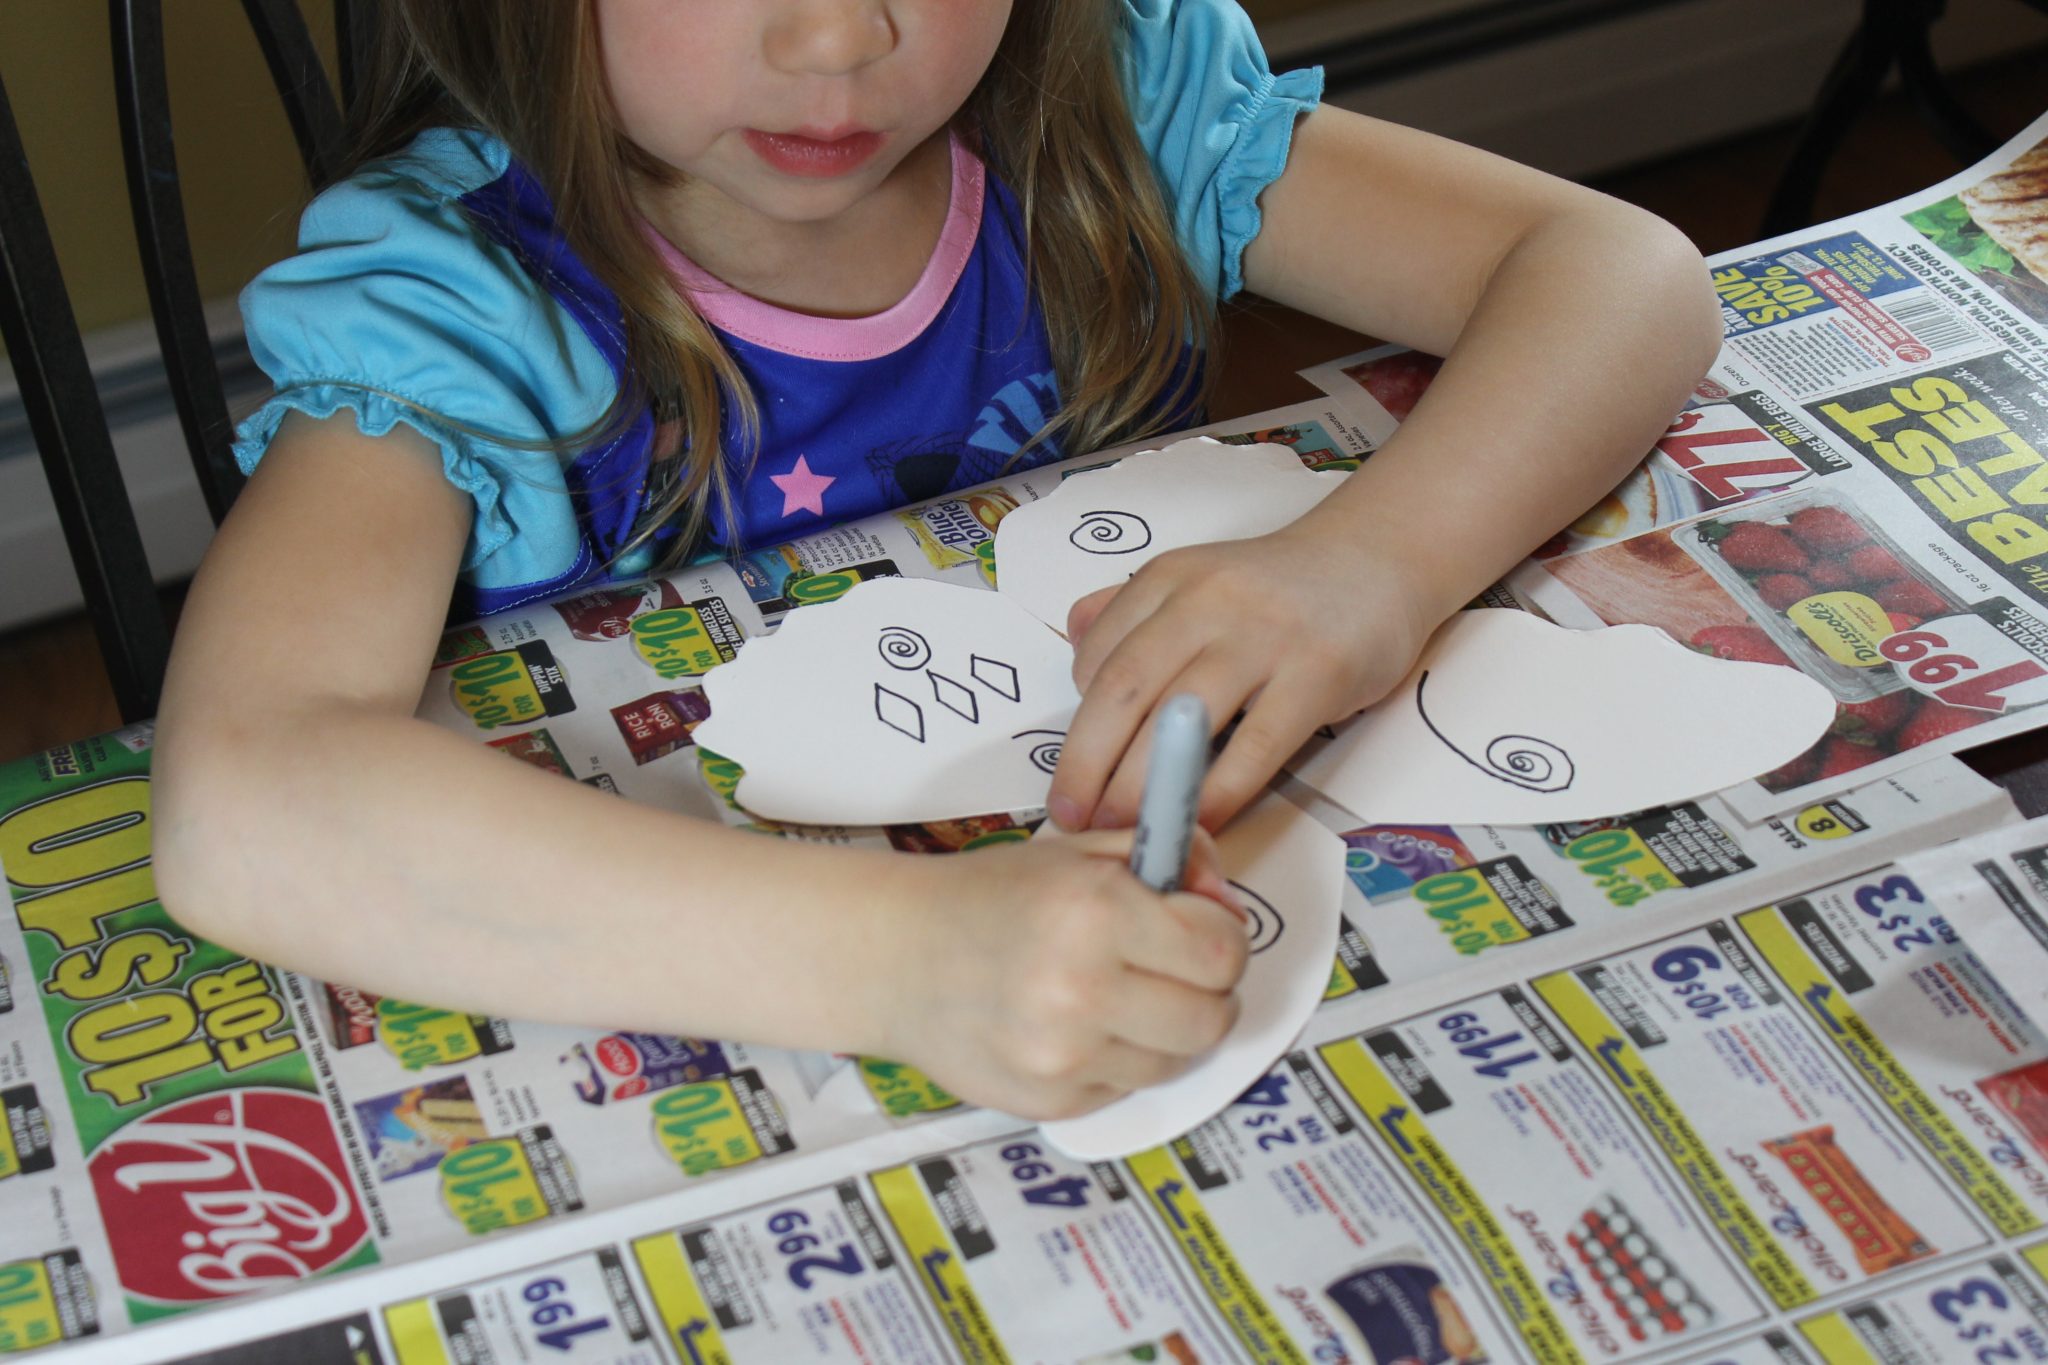 As my daughter was drawing, she explained to me that butterflies are the same on both sides. She mirrored the designs on her wings. Making butterflies is a great way to work on patterns.
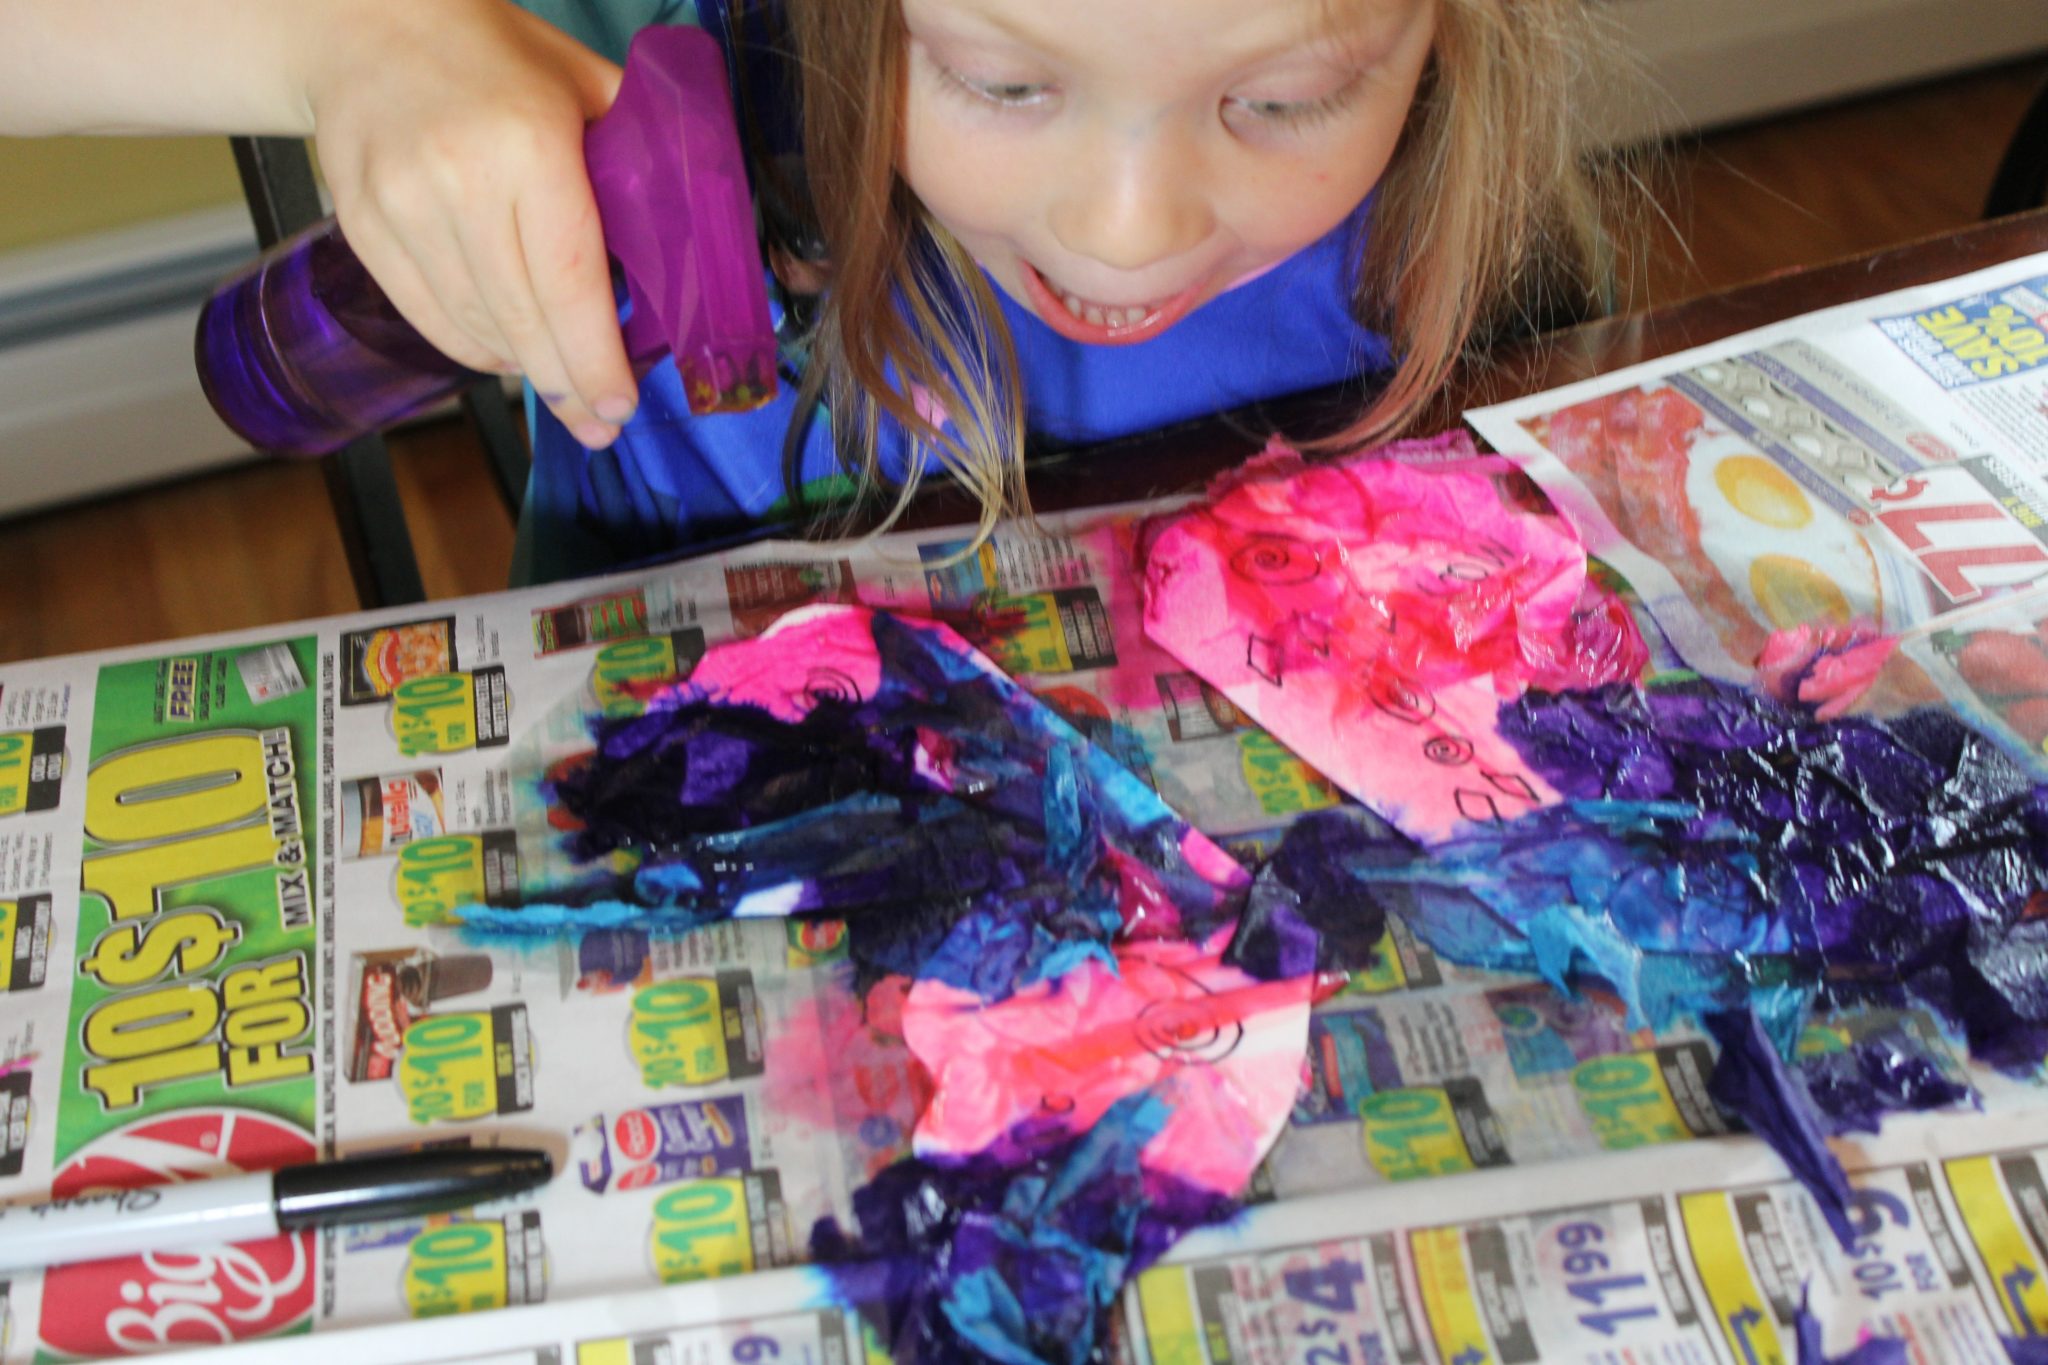
 When she finished her designs, she crumpled and tore up some of the bleeding tissue paper. We chose paper in complimenting shades to avoid the colors getting muddy.
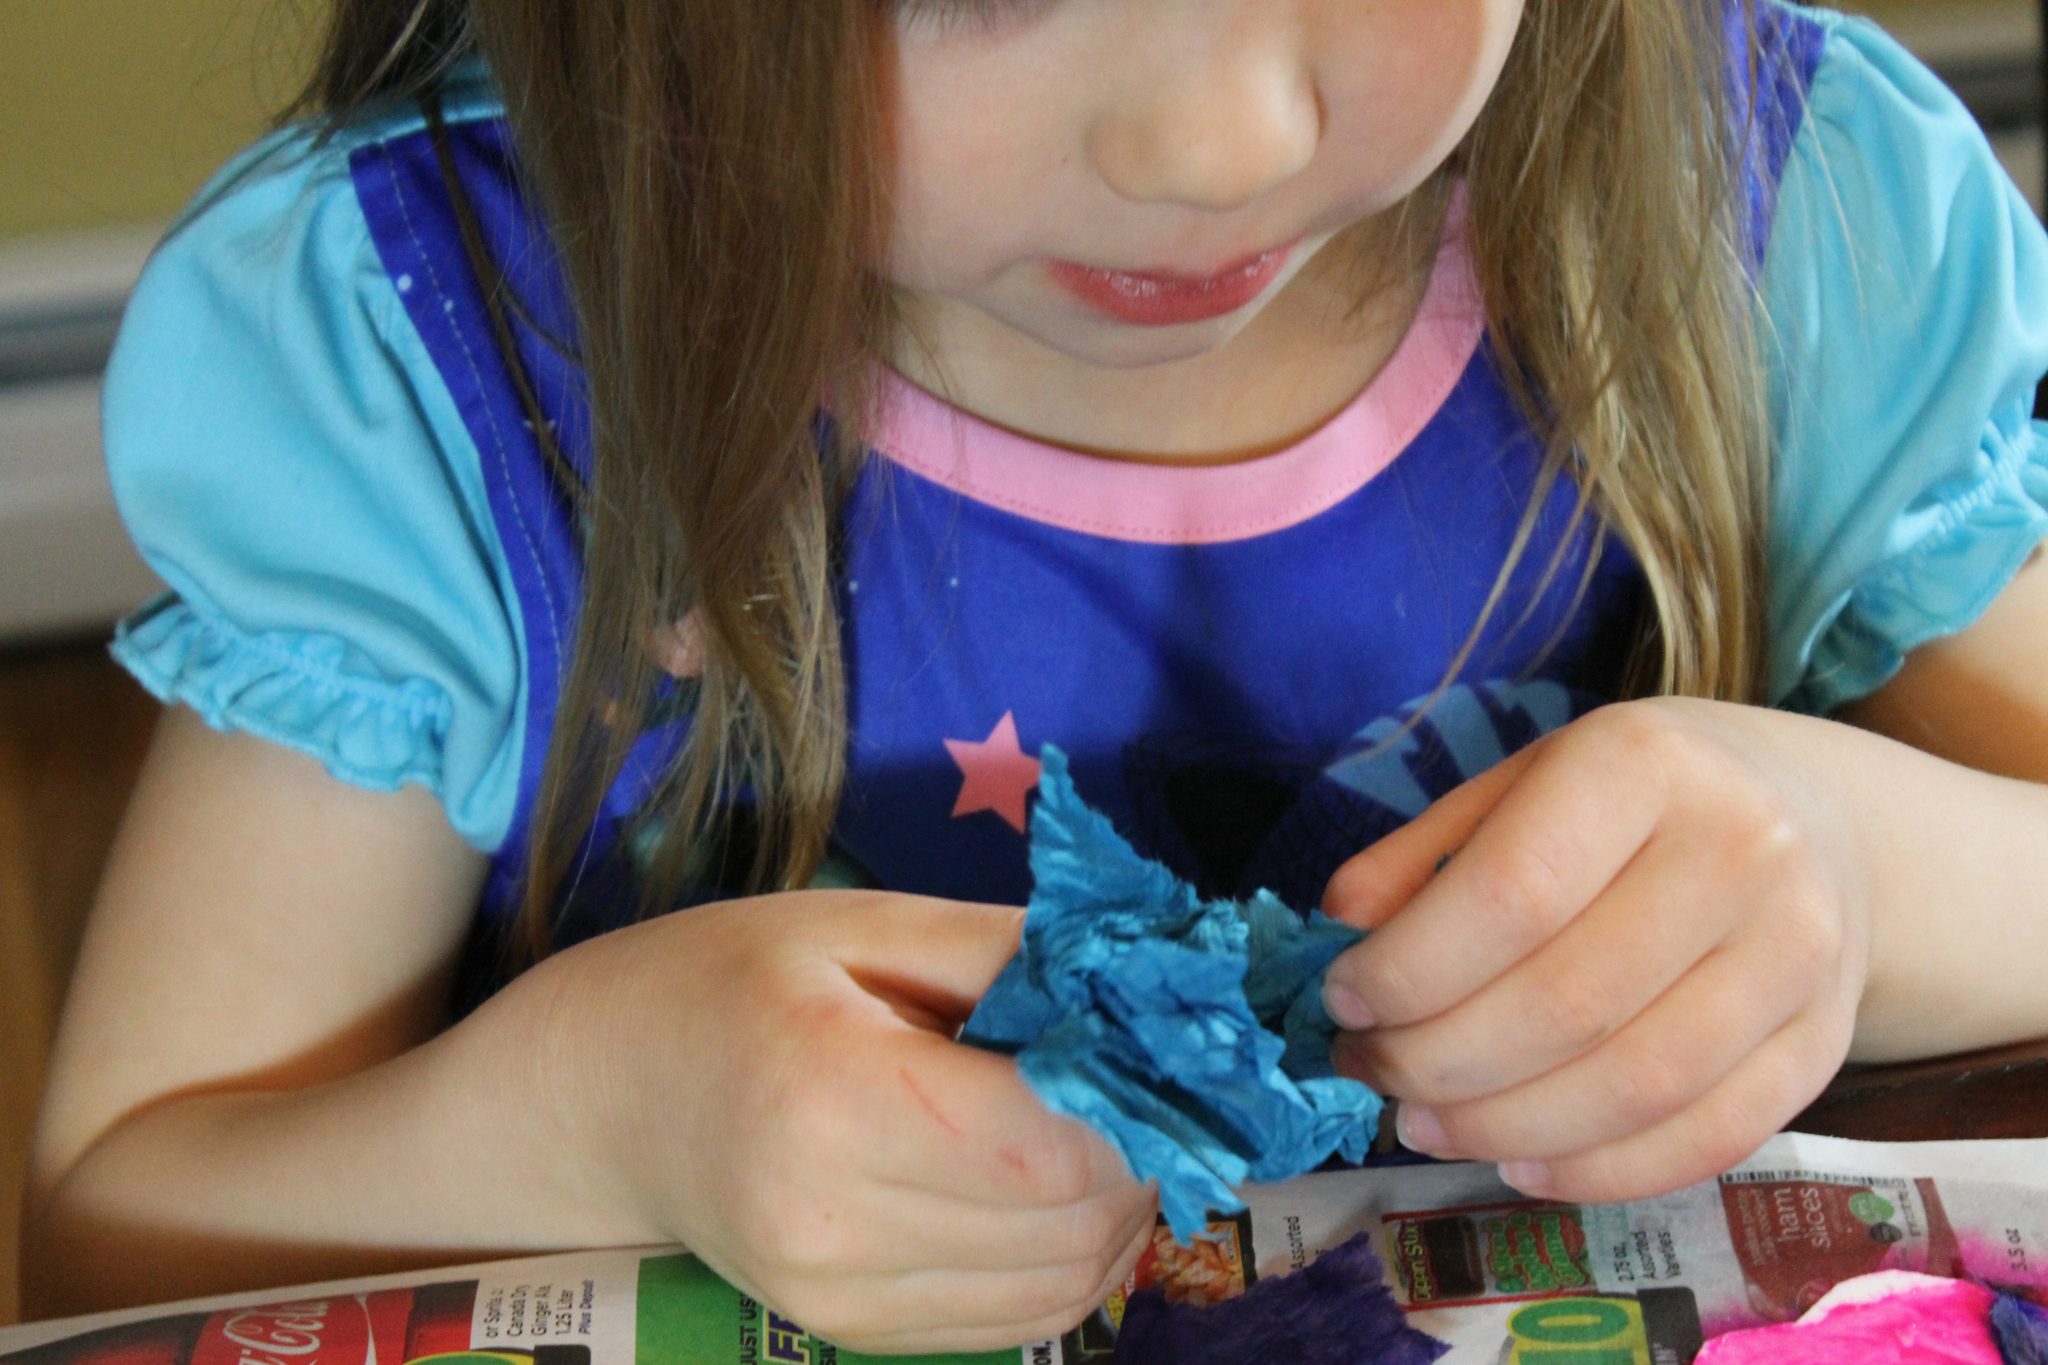
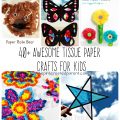
Mist your butterfly cut-out with a spray bottle filled with water. This will help release the color right away when you start placing your pieces. Place your tissue paper pieces onto the cut-out. I find that I get the best results when I work one color at a time and I usually start with the lightest color first. Spray with water in between each new layer.
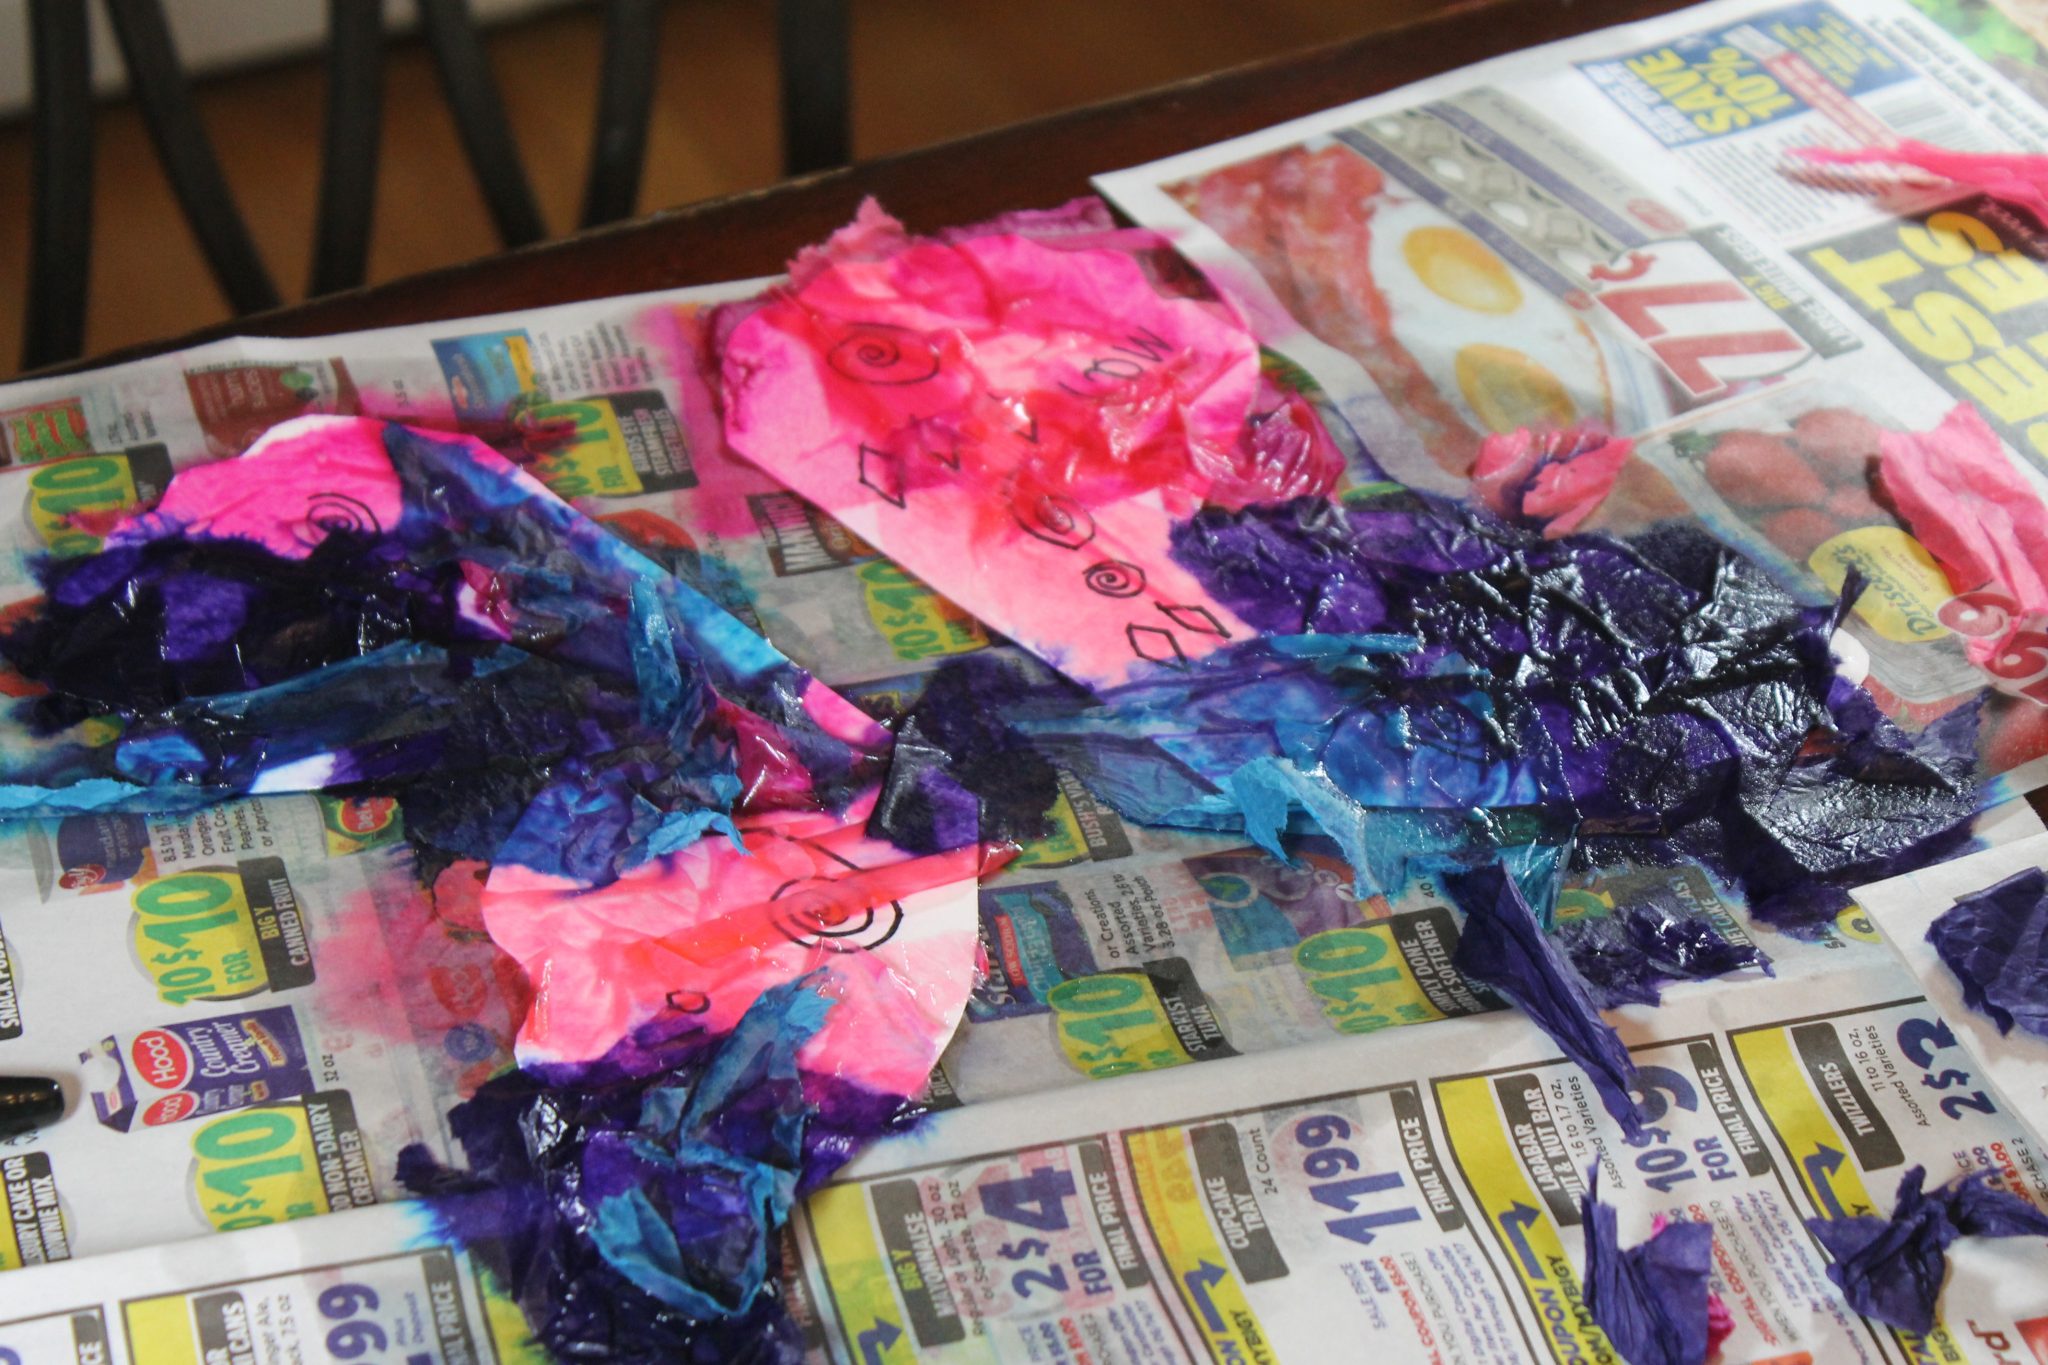
If you allow it to dry in between each new layer, the colors appear less blended and more vivid with the final layers.
Once you have added all the tissue that you want, set it aside to dry. I suggest moving it to a dry spot so that it dries quicker. Let the project dry completely. Once it dries, remove all of the pieces of tissue paper to reveal the beautiful colors.
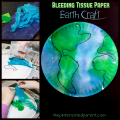
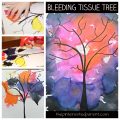
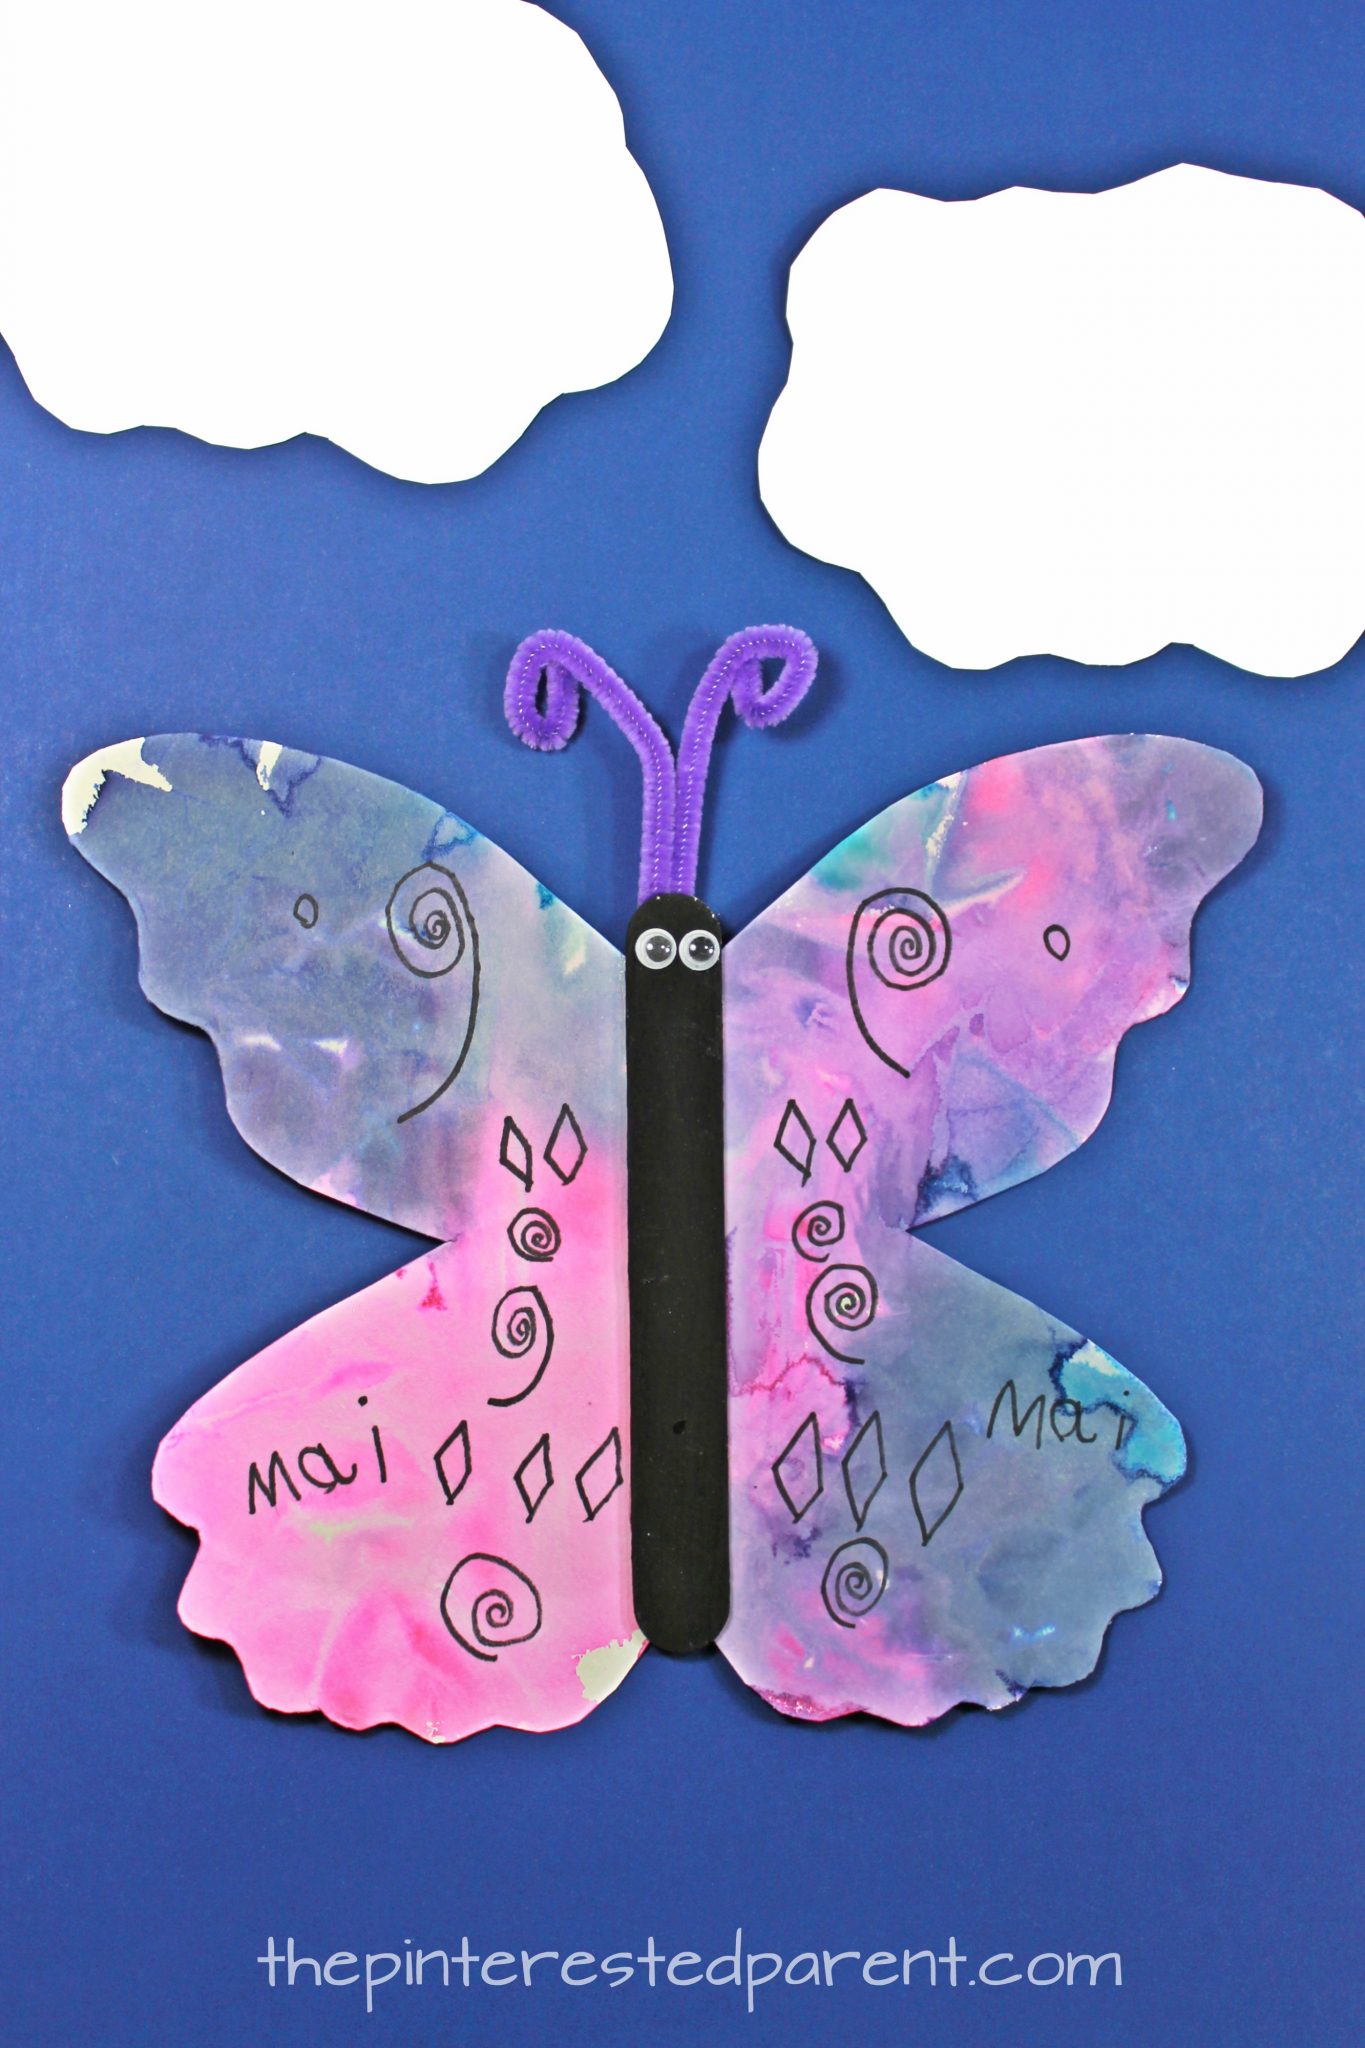
Use tacky glue to glue a jumbo craft stick to the center of your butterfly. Add googly eyes to the craft stick and fold a pipe cleaner in half and roll both end to form the antennae. Hang your butterflies with a string or mount it to paper and create a backdrop. Didn’t these come out gorgeous? You can also use the butterfly template for painting, to glue embellishments to or as a play dough mat.
Thank you as always for stopping by. Please follow us on Facebook as well.