
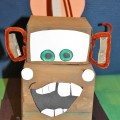
We moved into a new house recently. We have been working on unpacking and setting up our home over the last couple of weeks. It is hard to believe that we have so much stuff. The boxes seem endless. Mai has been enjoying playing inside of the empty boxes and we have been having fun repurposing our boxes into new fun creations.
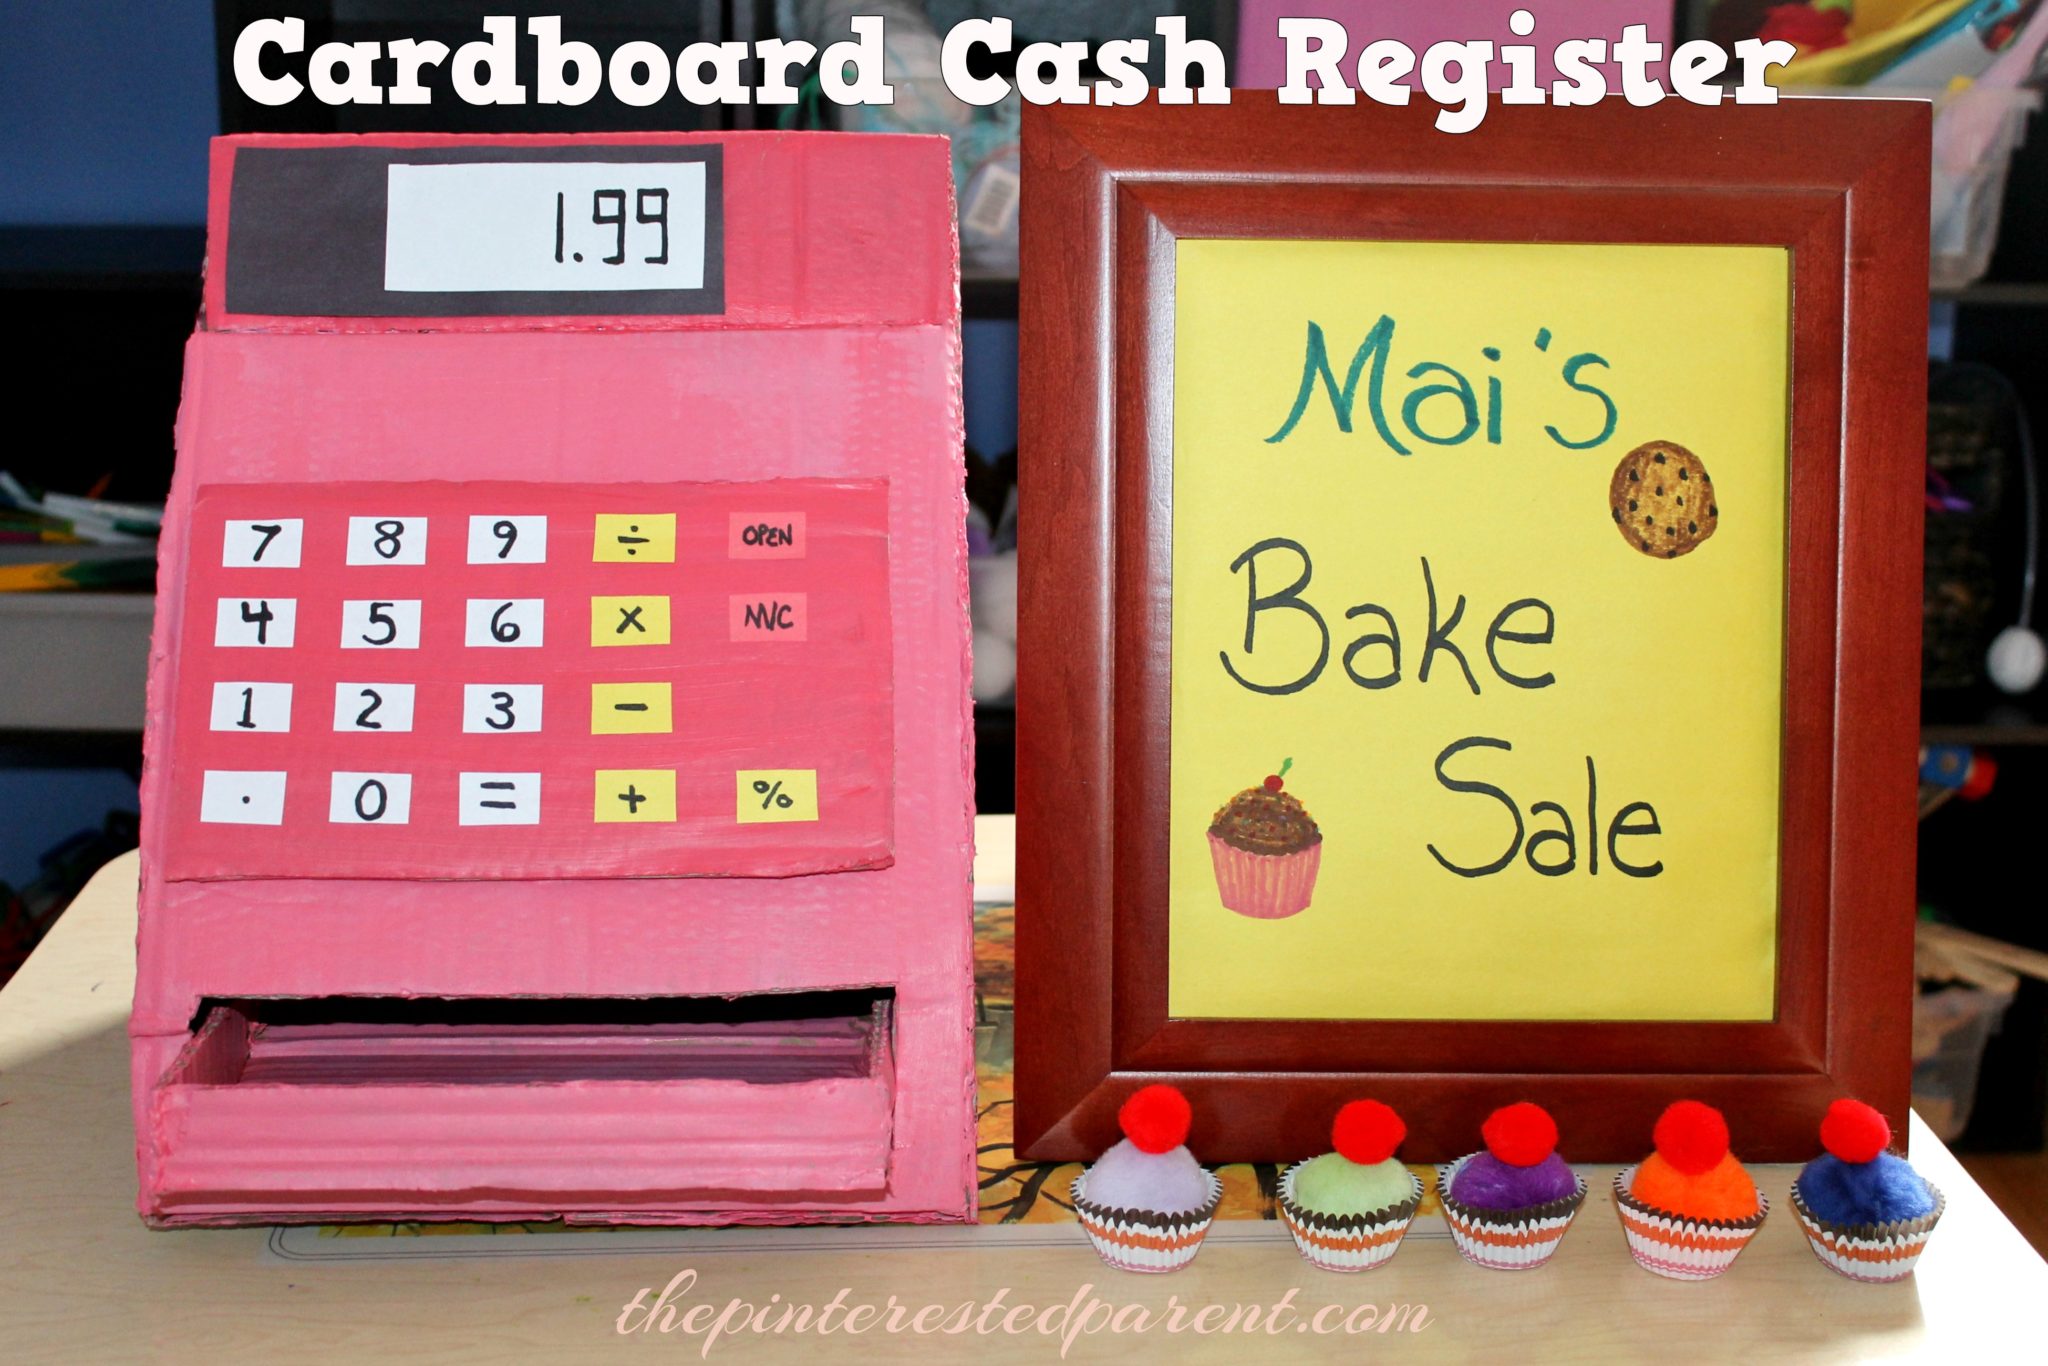
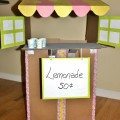
My daughter loves to play store. She pretends that she is running her own Stop & Shop all the time. She often uses her calculator as a cash register, but I thought we could make her another one using one of our old boxes.
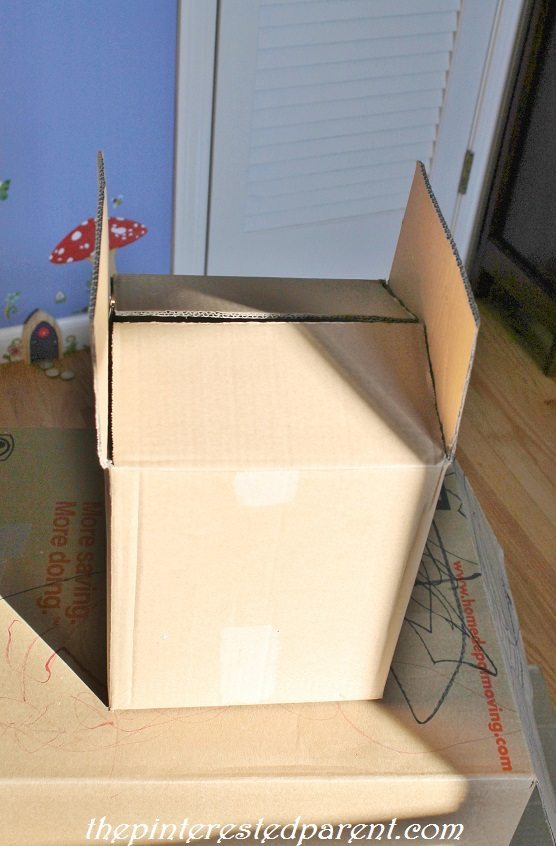
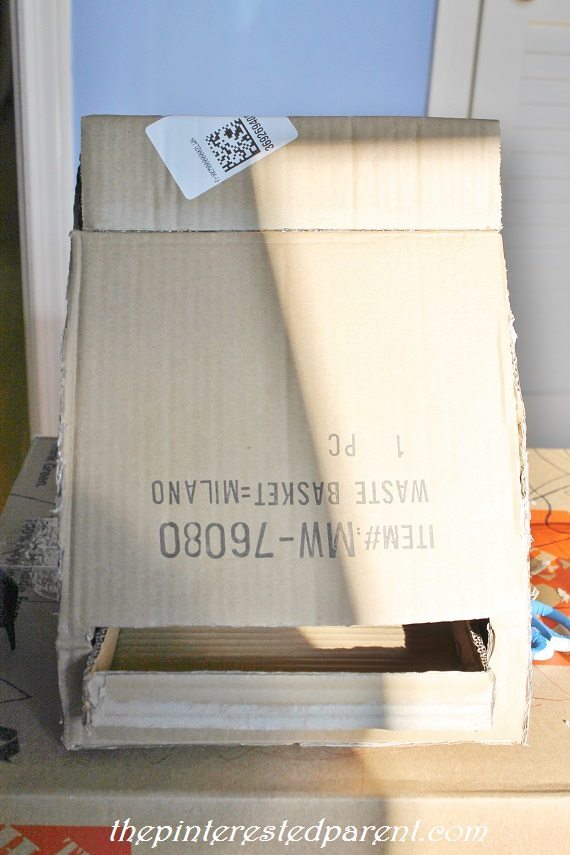
We used a medium-sized box.
Open both ends of the box.
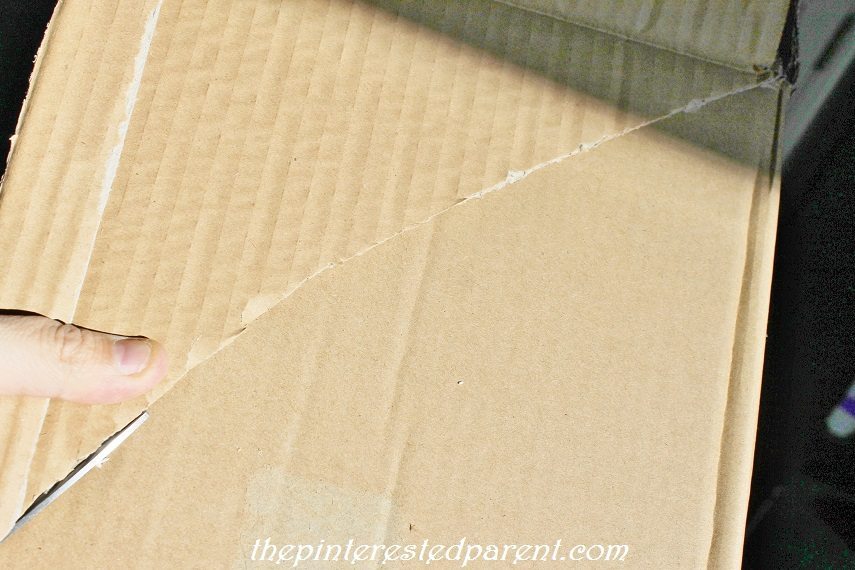
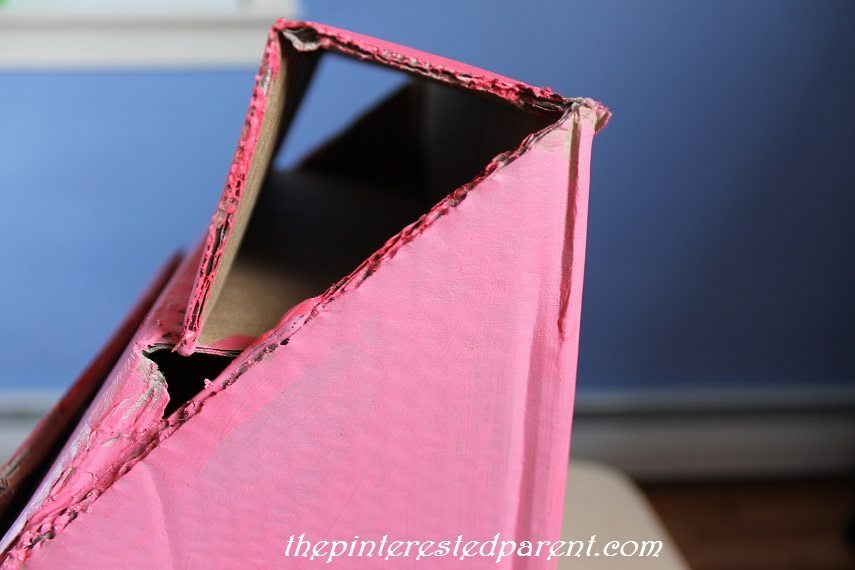
Cut the seams on one of the boxes sides. This will be the front of your register.

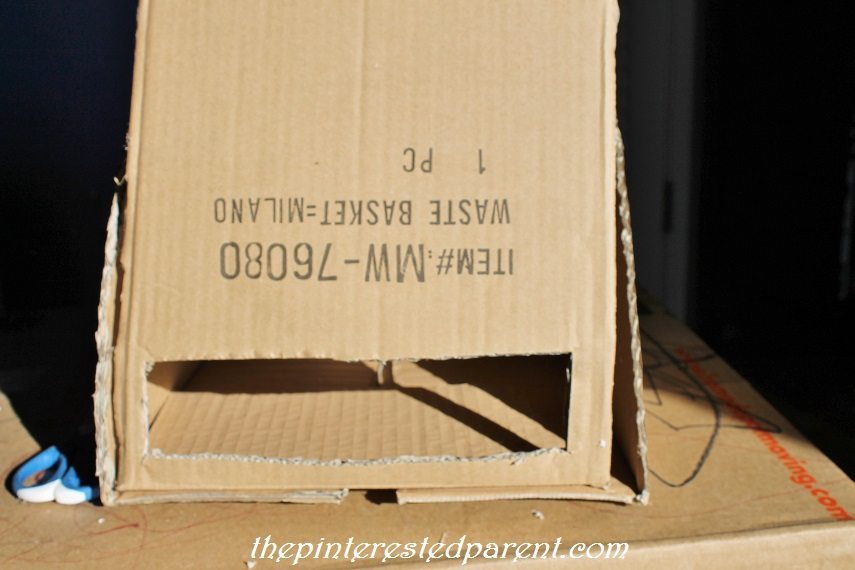
Cut an arc shape on one side of the box & then use the leftover cardboard as a template to cut the other side. This should remove the left & right top flaps of the box as well.
Cut a slot out of the front of the register to add a drawer. Glue the bottom of the box back together. Bring the front part of the box up and curve it to the arc. Glue it into place.
Trim the sides & fold the top front flap in half & then fold it down so that it is flat across the top. Fold the back flap in half & fold over so that the first fold is flat & that the second fold aligns with the top of the register.
(Note: I forgot to take a picture of this until after painting)
Use the leftover piece cut from the arc to form a drawer by creasing the edges about an inch in on all four sides. Fold up the creases and glue the seams into place.
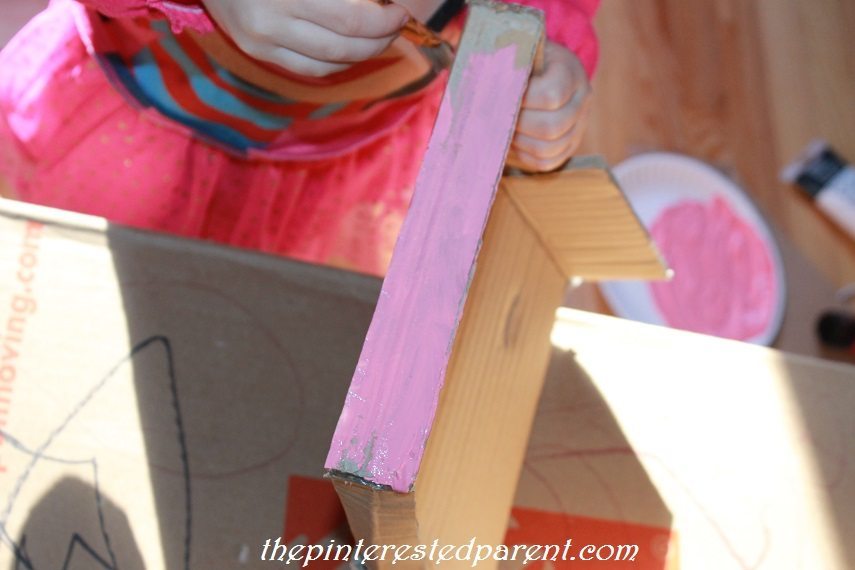
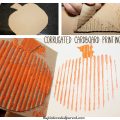
Use the other leftover piece of cardboard to cut a rectangular piece that will fit on the register as its face. Paint your register & rectangular piece in the colors of your choice & let dry.
Cut the keys & a register screen out of construction paper & write in the numbers with magic marker. Glue all the pieces into place.
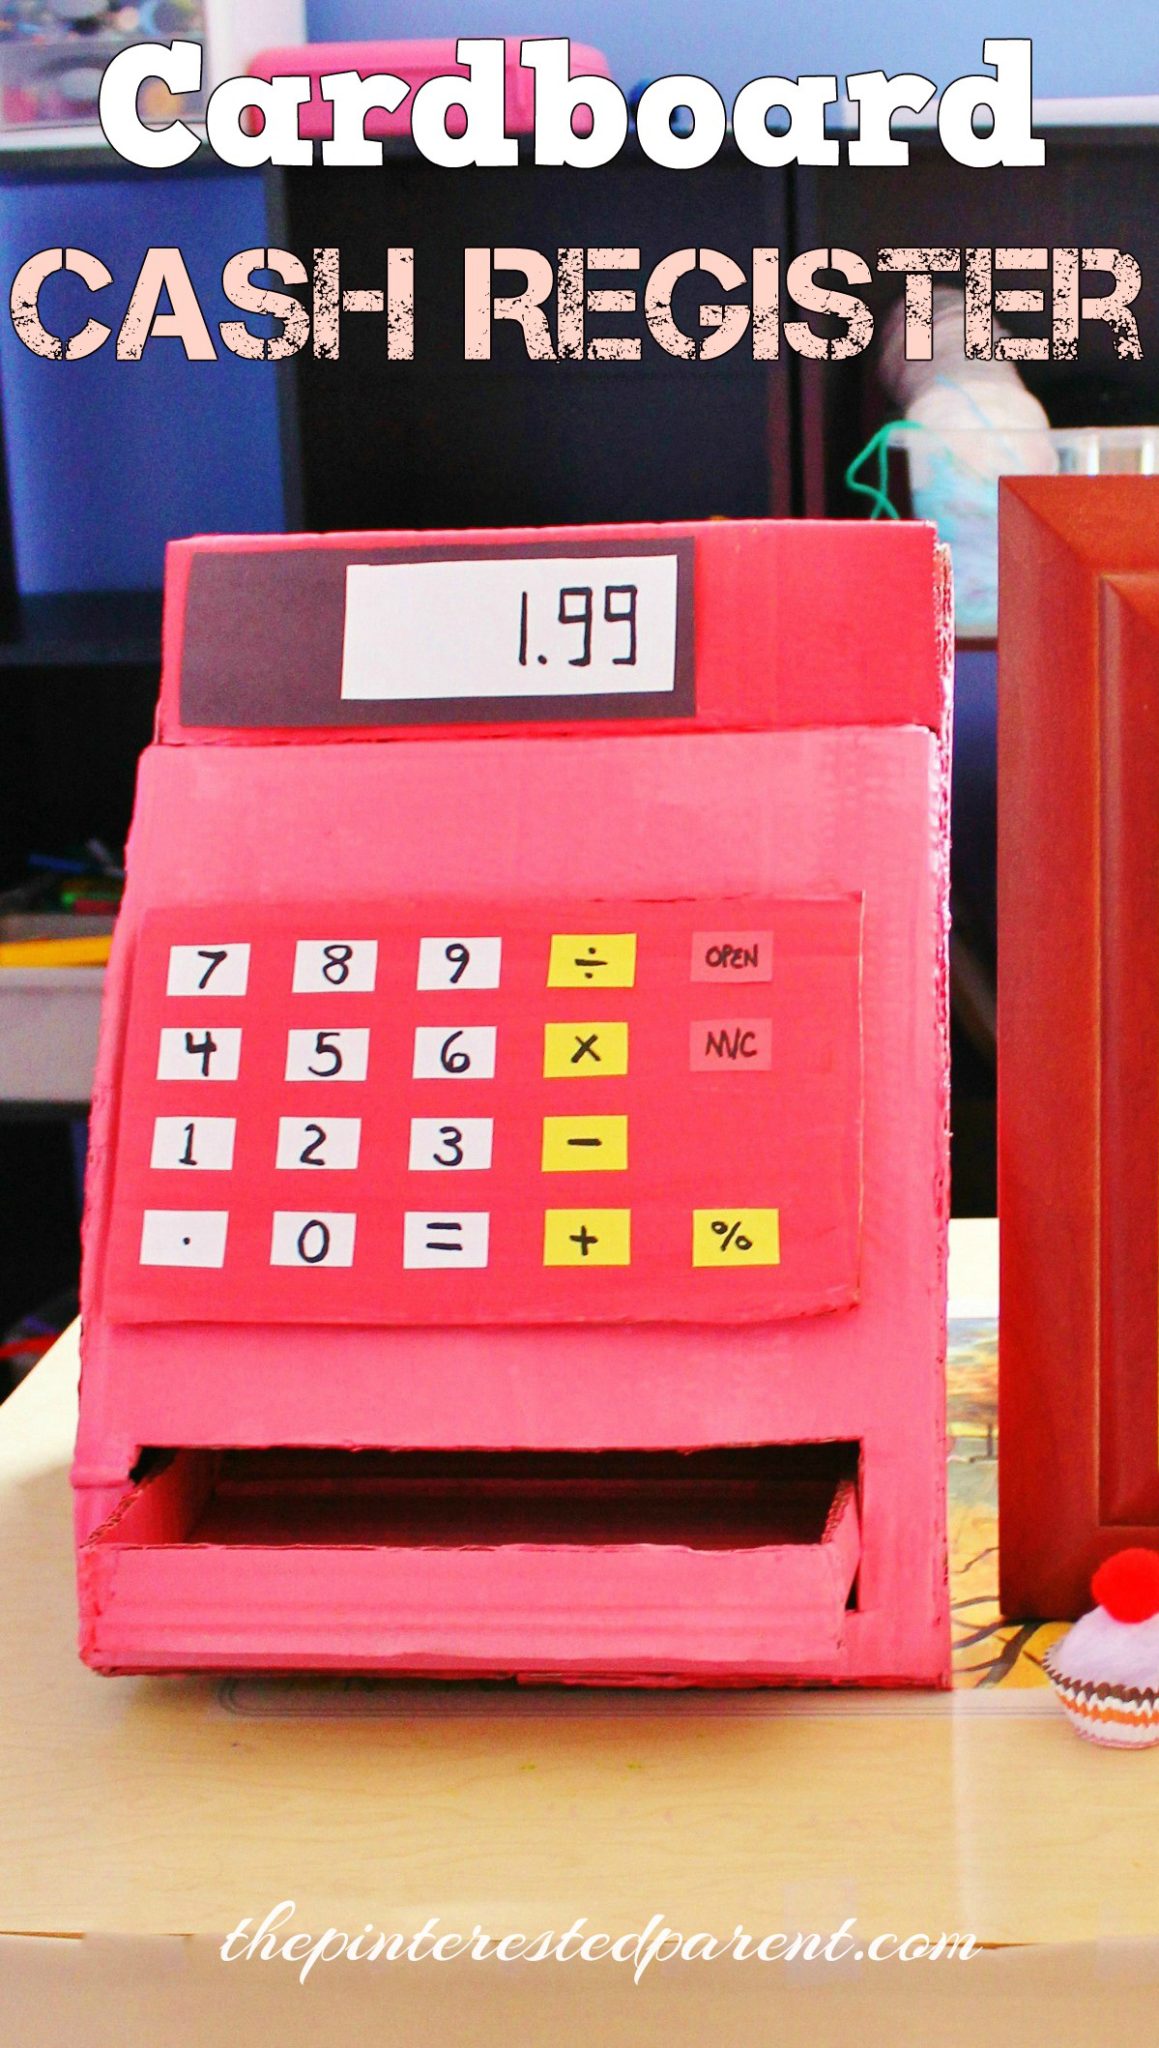
This took very little time to make & put a big smile on my daughter’s face. Mai’s bakery is now open for business.
This was a spur of the moment project, so I apologize for the lack of photos. Please let me know if you need further instruction.
Thank you as always for stopping by. Please follow us on Facebook as well.


Wonderful way to teach money and numbers. So, definitely love that it is an easy craft to put together, too! 🙂