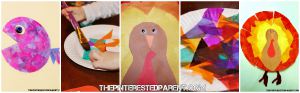
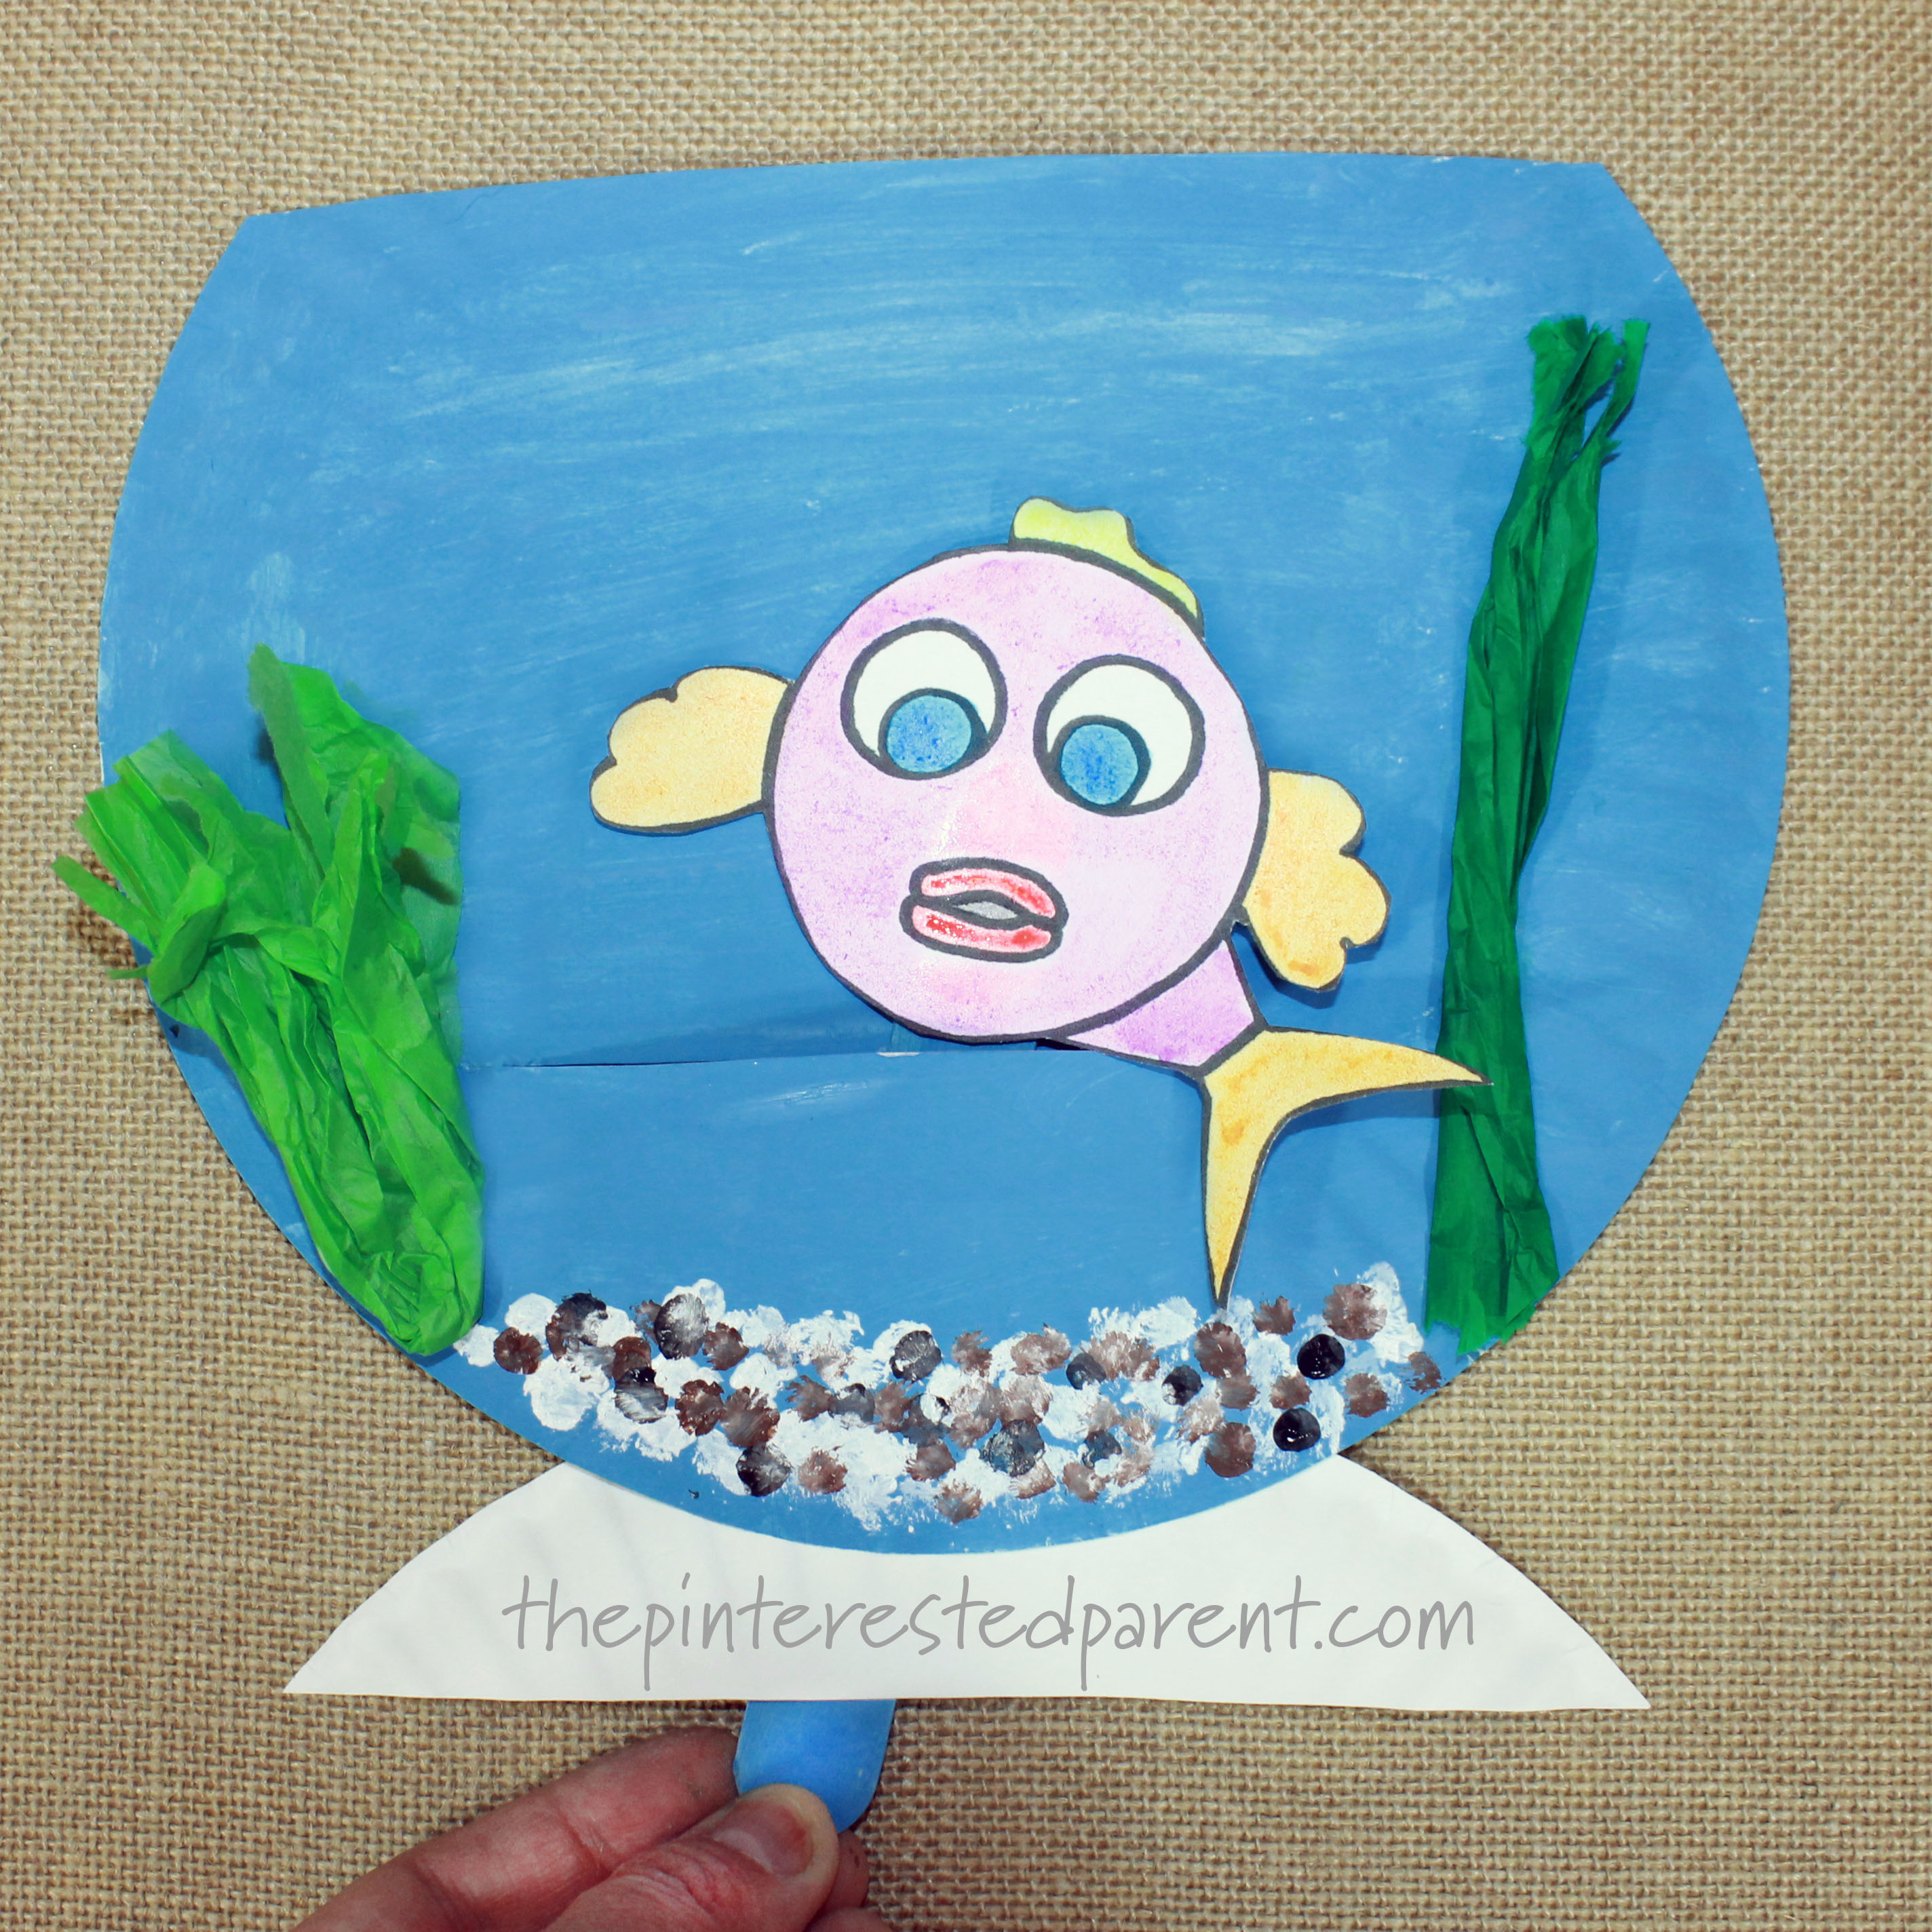
This craft is an ode to our pet betta fish Luna. It was not her birthday or anything, but my daughter insisted over weekend that we needed to make something to celebrate our Luna. So here it is!! This cute and interactive paper plate swimming fish craft is dedicated to her. A free printable template is available for your convenience.
Tag
fish
Tin Foil Embossing
*The Pinterested Parent is a participant in the Amazon Services LLC Associates Program, an affiliate advertising program designed to provide a means for sites to earn advertising fees by advertising and linking to Amazon.com. In addition, text and image links in this post may be affiliate/referral links, which means we may be compensated if you make a purchase after clicking through these particular links* See full disclosure policy.
Footprints Animal Crafts X, Y & Z
We did it! We finished our footprint crafts from A – Z with our final 3 letters X, Y & Z. Here they are, the last in our collection.
X is for X-Ray Fish
Paint your child’s foot with silver paint & press onto a piece of paper.
Dab on a little white for the eye & paint in the fins.
Paint in the bones & add a little color to the fins. Add an eyeball & fish lips to finish off your craft.
Y is for Yak
Paint the foot in brown & press onto a piece of paper.
Paint in the ears, horns & the head fur.
Use a lighter shade to paint the bottom of the face & paint in more fur on the bottom, under the chin & on the sides.
Add the eyeballs, nostrils & mouth. Also add lines to the horns.
Z is for Zebra
Paint the heel of the foot in black & then the rest in white. Press onto a piece of paper.
Paint in hair on the top as shown. Add ears & then nostrils to the black portion.
Paint in eyes by dabbing a bit of black & then white & then black again. Add the stripes to finish off your zebra head.
Thank you as always for stopping by. Please follow us on Facebook as well.
Plastic Easter Egg Floating Fish
It has been 2 months since Easter & I still have a pile of plastic Easter eggs filling up my craft drawers. We have used them many times in water play in the past. I thought we could dress them up a bit and make colorful fish out of them.
Plastic Egg Fish
What you will need:
Plastic Easter eggs
Foam sheets
Glue gun – As always use caution when operating. Adults should operate.
Googly eyes
Directions: Glue the plastic eggs together. Be careful when using hot glue on plastic as it can melt easily. Do not let the gun get too hot.
Cut pieces out of the foam for the different fins.
Squeeze a bead of glue onto the end of the back fin. Let the glue cool for a few seconds & add to the fatter part of the egg.
Add the top fin & googly eyes.
Add the side fins to each side of the egg.
Mai took these into the bath this evening & loved them.
“Mama, can I take a bath with them again tomorrow?”
“Of course!”
Thank you as always for stopping by. Please follow us on Facebook as well.
Pasta Shell Fish Craft
I am beginning to think that there is nothing that cannot be made out of pasta shells. Because my daughter loves working with them just as much as I do, we are back with another round of pasta crafts. Tonight, our craft of choice is fish.
What you will need:
Jumbo pasta shells
Medium pasta shells
Bowtie pasta
Chick peas
Acrylic paint
Glue gun (use caution when operating a glue gun. Not recommended for small children.)
Directions:
To assemble your fish, glue a medium pasta shell into the end of the jumbo shell.
Glue 2 more medium shells to the side of the jumbo shell to form fins.
Glue a piece of bowtie pasta to the other end of the jumbo shell to form the back fin.
Paint your fish with acrylic paints.
Paint a chick pea in white for each fish that you are creating.
Add a black dot in the center for the eye ball.
Glue the eyes to the painted fish to finish off the craft.
Thank you as always for stopping by. Please follow us on Facebook as well.
Tissue Layering & Paper Plate Crafts
There are many reasons that I love craft projects with my toddler. One of the big ones is that it keeps her mind & hands occupied. I do many crafts side by side with her, but sometimes it is great to have her work independently while I cook supper or get chores done. Arts & crafts are a far better alternative to sitting in front of the television. This is why I love tissue paper crafting. It can keep her content for long periods of time.
Tearing the tissue into pieces is fun for her destructive little hands. Layering the tissue in different colors & patterns is a great creative outlet for my little artist.
What you will need:
Different colored sheets of tissue paper
Paper plates
Vinegar
Elmer’s glue
Paint brush
Mix 3 parts vinegar with 1 part glue & stir. The vinegar will cause the colors to bleed together & the glue will adhere the tissue to the plate.
Cut or rip the tissue paper into several pieces & colors. Layer the tissue pieces & paint on the vinegar/glue mixture. Do a few pieces at a time. Let dry & then trim the excess that hangs over the edges.
Mai said that she wanted to make a fish. We picked two colors & layered the bottom of a paper plate. Let it dry & trim around the edges. Cut out a triangle for the mouth & set the triangle aside. Cut out a triangle using a piece of construction paper. Glue the triangle mouth cutout to the inside of the construction paper cutout & glue to the opposite end of the fish’s mouth. Glue a small black circle inside of a larger black circle & glue above the mouth to make an eye.
Mai wanted to make more animals. She asked for us to make animals that live on a farm. Since Thanksgiving is coming, I suggested a turkey.


