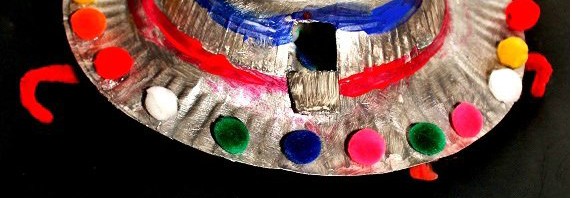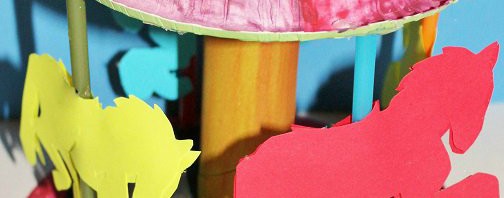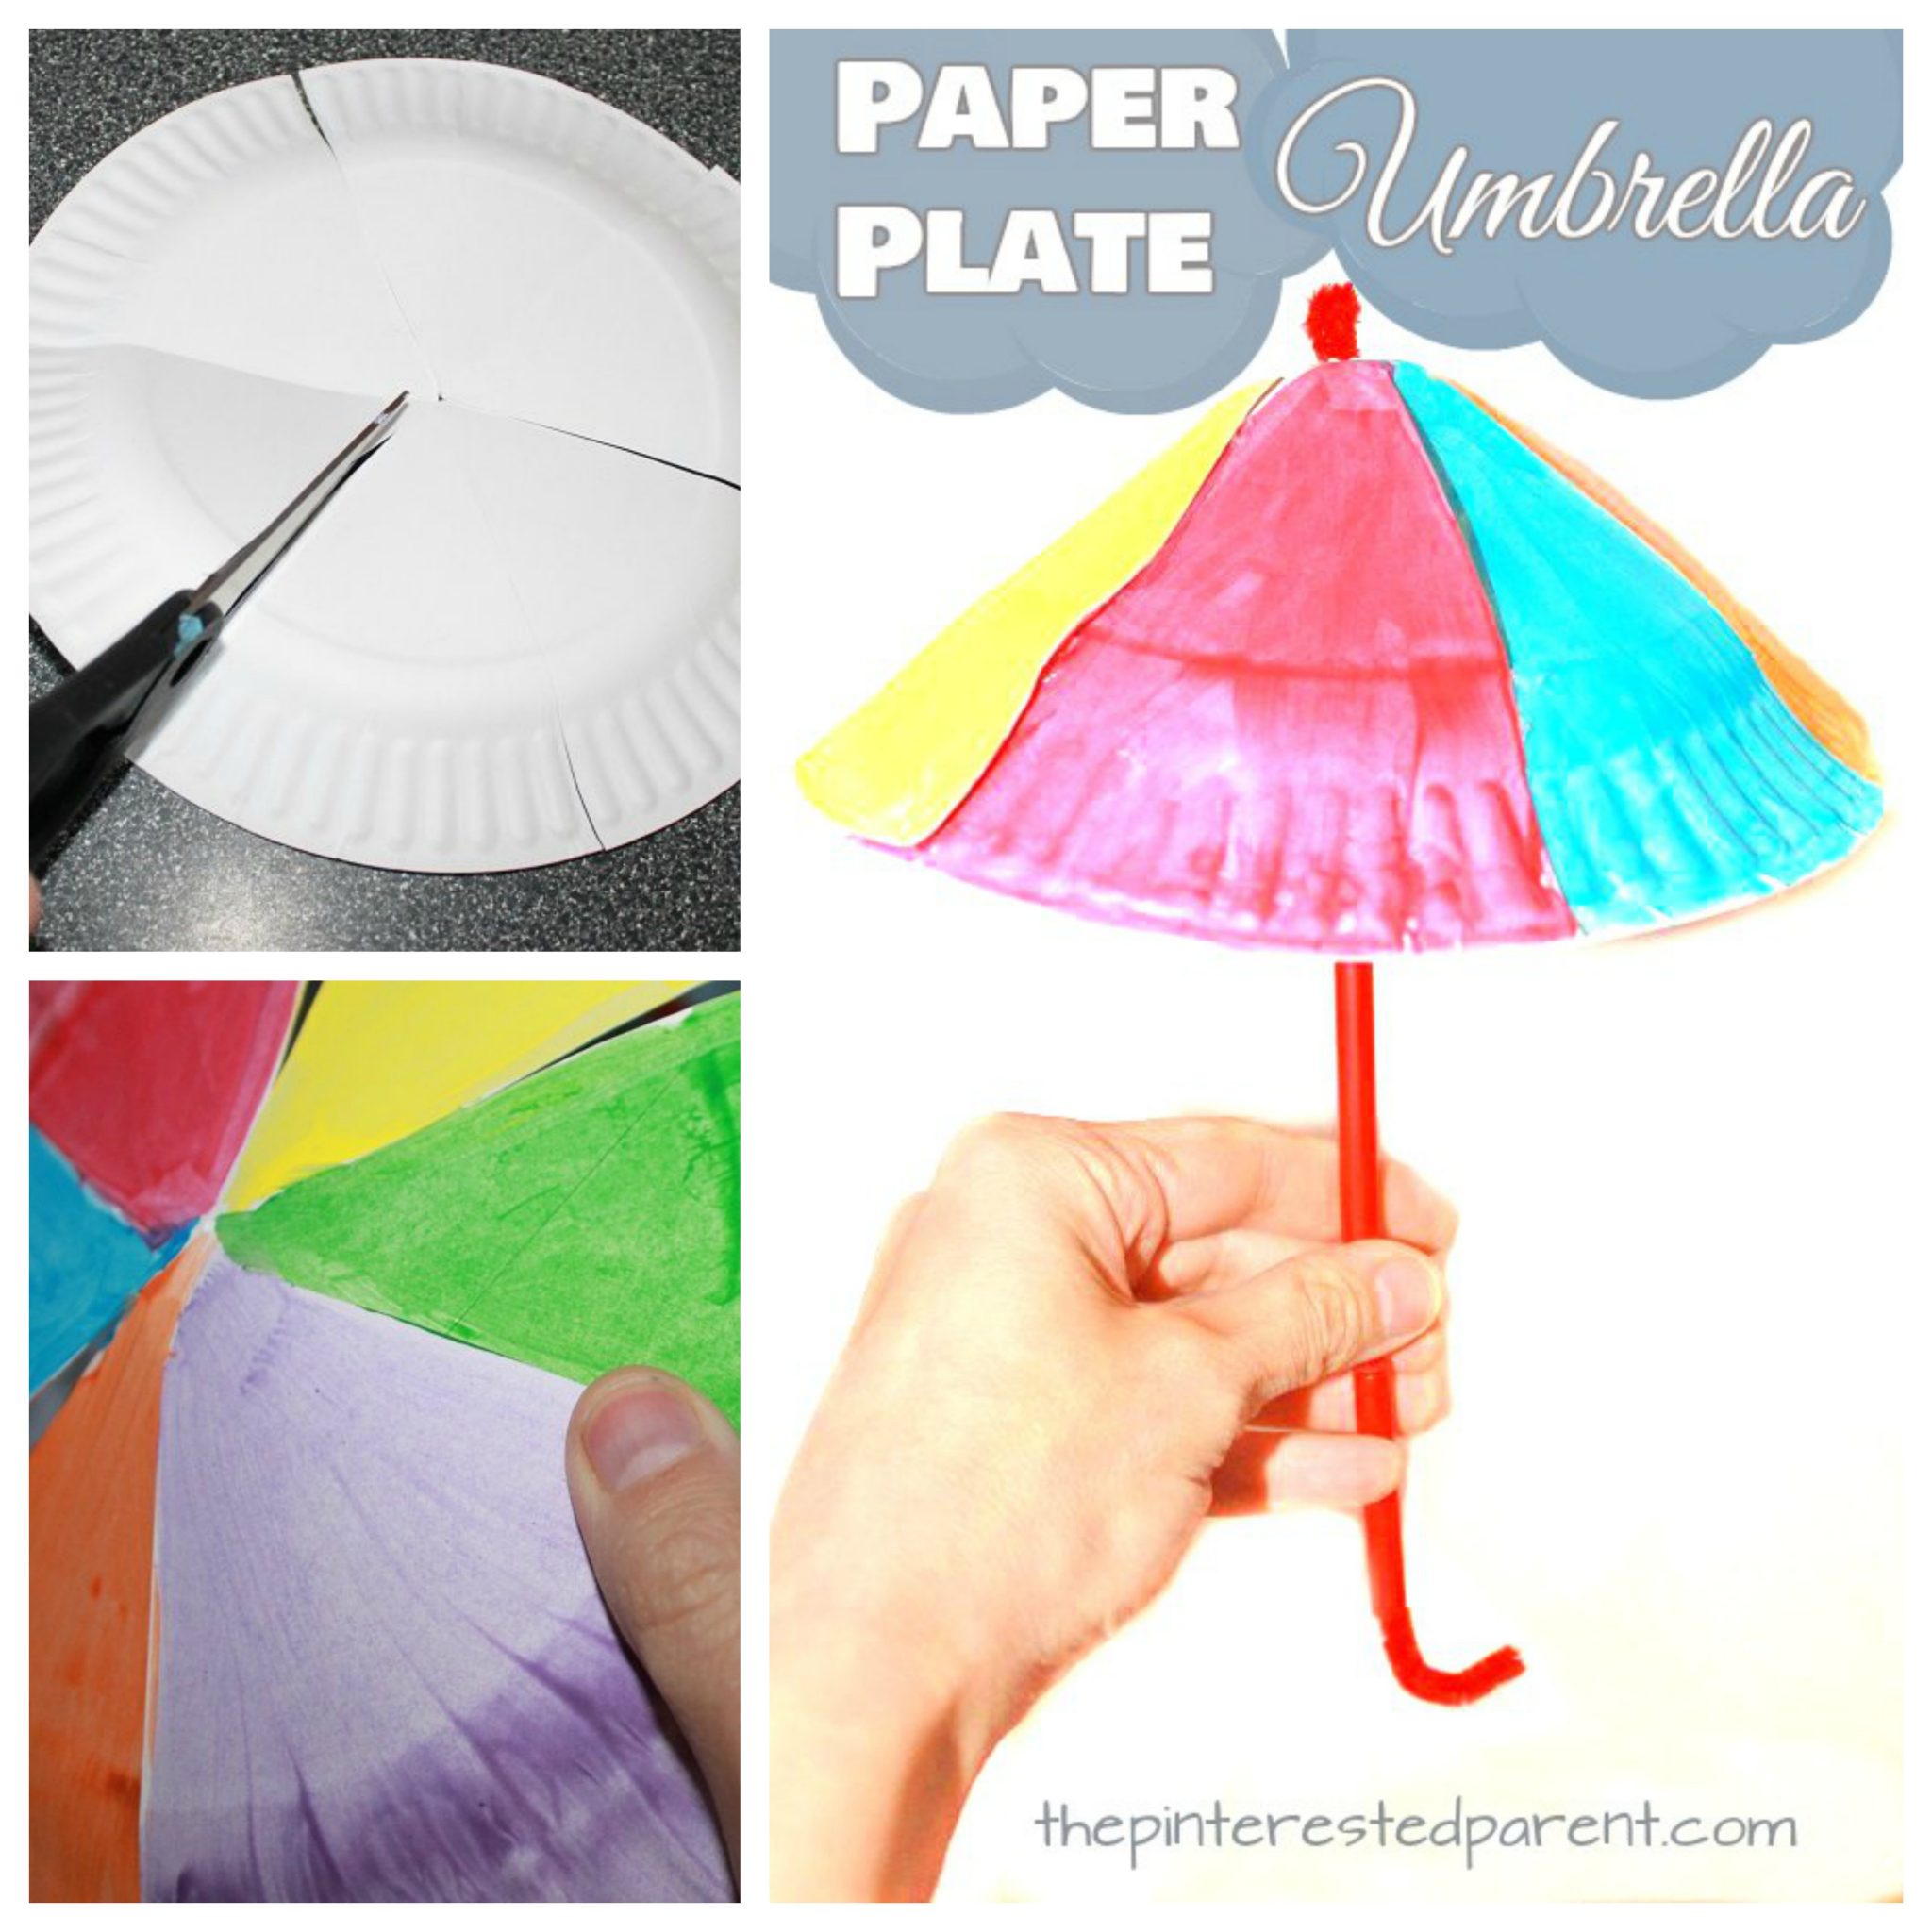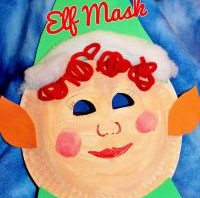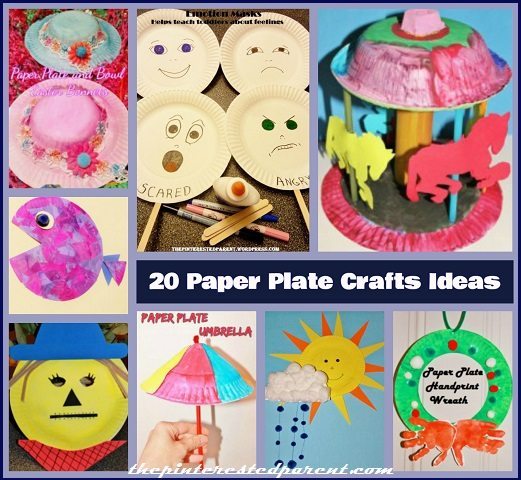
20 Paper Plate Crafts
We are big fans of paper plate crafts in our home. They are cheap, readily available & make great canvases for painting, markers or glue. They are also more durable than paper, so the crafts hold up longer. There are so many great possibilities & ideas. Here is an assortment of some of our favorite paper […]