Category

Pretend Play

Styrofoam Ball Necklace

Painted Styrofoam Ball Necklace

Painted Styrofoam Ball Dress up necklace - fine motor activity and craft for kids

*This post contains affiliate links for convenience*

Like many little girls, my daughter loves to play dress up. She loves putting on her princess dresses & trying to walk in mommy’s high heels and she loves jewelry too. Lately, she has been enjoying threading buttons & pasta and anything else she can get her hands on to make necklaces for me & her to wear. Yesterday, we added Styrofoam to that list too.

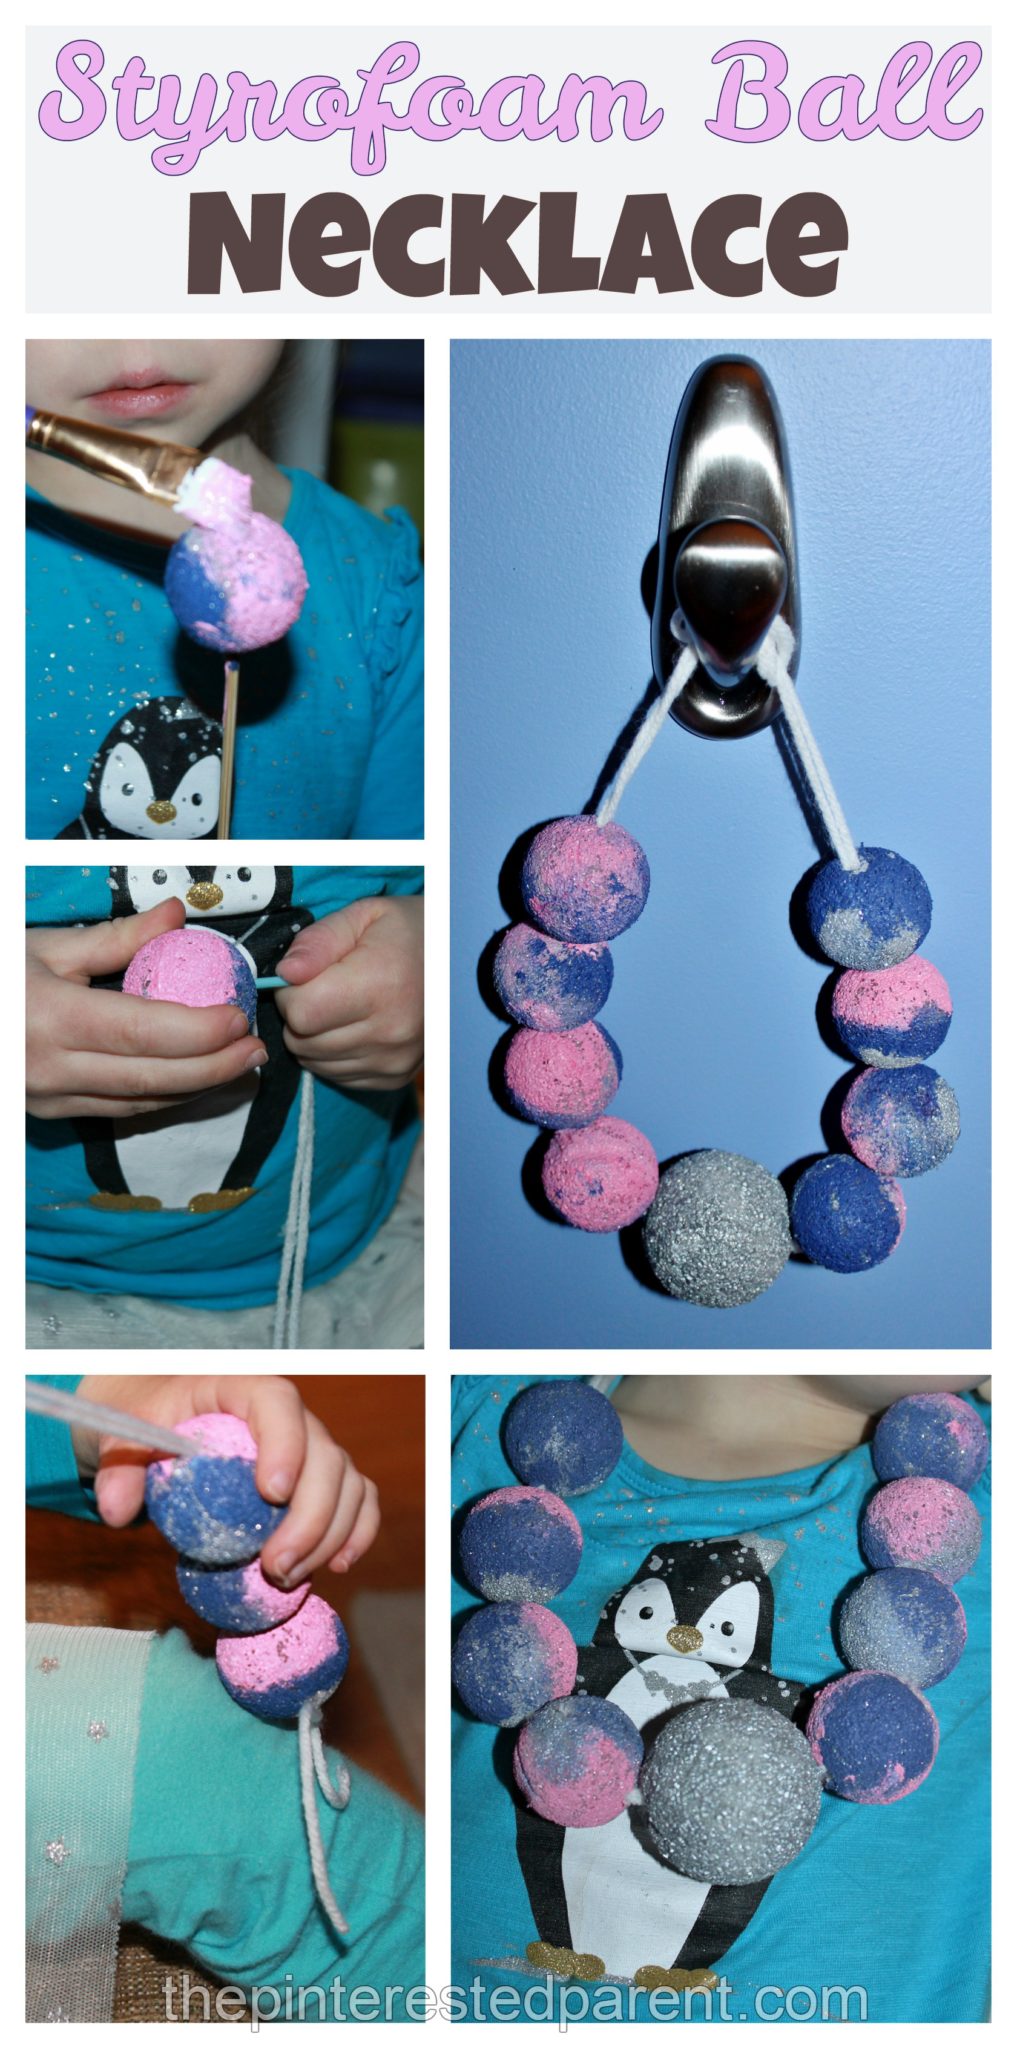
We grabbed a handful of 2″ Styrofoam balls out of our craft supplies & then one larger one. I poked a wooden skewer into each to make it easier for painting & drying.

IMG_4964

Hold on to the skewer & use acrylic paints to paint around each ball.

IMG_4980 IMG_4977

Put the skewers in a deep container ball side up & let them stand to dry.

IMG_4978

Once dry, remove the skewer & use a plastic yarn needle to poke through the existing hole & string up your painted Styrofoam.

IMG_4981

Threading Styrofoam balls for fine motor activity & necklace craft

Tie a knot at the end to finish it off.

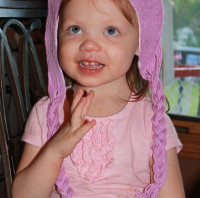
Just look at that smile.

IMG_5021

Thank you as always for stopping by. Please follow us on Facebook as well.

Button Soup Counting Activity

IMG_8388

*This post contains affiliate links for convenience*

We have a lot of buttons in our house, a lot of buttons. They are great for fun & colorful crafts. My daughter loves to craft with them & she loves to play with them too. She likes to separate them into color piles & use them in games of make believe. One of her favorite things to do is to make pretend soup. This gave me an idea. We could turn our game of pretend into a fun counting activity.

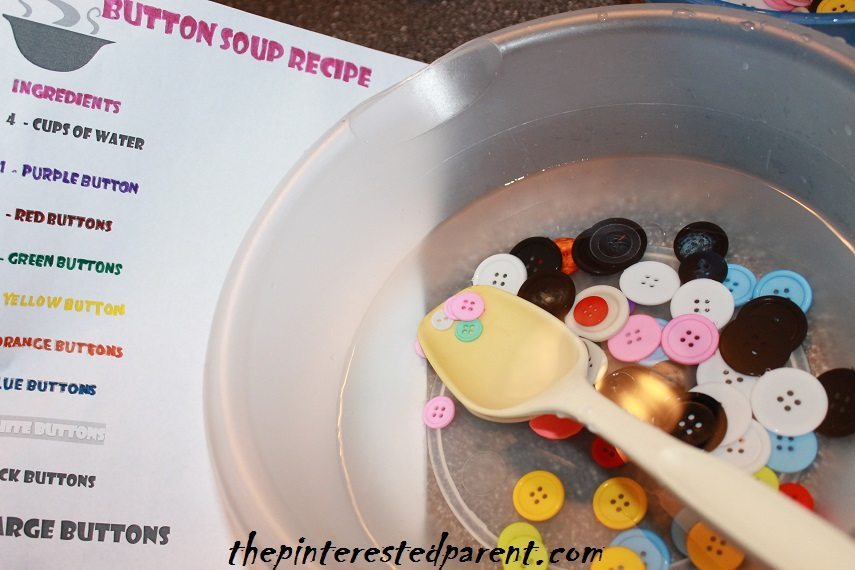
We made a recipe which incorporated counting, measuring, separating colors & following directions.

Here is a printable version of our Button Soup Recipe.

Soup

We set up a large empty bowl & another filled with water. I told her to measure & add 4 cups of water to her empty bowl. She carefully measured out her scoops & added them to her bowl.

IMG_8351

We read off the numbers & colors of each ingredient. She dug through her pile of buttons & counted and pulled out each color.

IMG_8355

IMG_8364

IMG_8360

She mixed up her soup enthusiastically & in the end added the whole bag of buttons after finishing the recipe.

IMG_8384

IMG_8378 - Copy

This was a fun activity. You can change the recipe to add different ingredients & more measurements for a lesson in measurements as well.

Thank you as always for stopping by. Please follow us on Facebook as well.

Button Soup Counting, Colors, Measuring & Play For Toddlers with a free printable

An Old ELf, A New Elf & A Crafty Elf

Paper plate Elf Mask for kids - Christmas craft

For somebody that was as eager for the holiday season to begin as I was, I was a little behind in putting up our Christmas decorations.  It had been a busy few weeks, but we finally found an evening to put up our Christmas tree.

The first year that my husband & I started dating we purchased our first Christmas tree as a couple. We put it up in my apartment. We spiked some eggnog, put in the movie Elf and decorated the tree together. Eight Christmases later & we are still doing the same thing. Now we just have an extra set of hands & there is one smaller glass of eggnog minus the rum added into the mix.

30355_476778535707723_1084537005_n

We let Mai do most of the decorating this year with a few boosts from mommy & daddy. She did a lovely job.

IMG_7873 IMG_7929

We also added a new elf tradition to our holidays. Last year my sister bought Mai an Elf on the shelf for Christmas. Tonight I read her the elf’s story. She listened, intrigued by his tale, nodding in between sentences as to say that she understood. She named her Elf “Koontz”. She whispered to him that she would like a train set. Forgive me if the next few weeks are filled with pictures of our sneaky little visitor.

IMG_7932

In the midst of all of our new & old traditions, Mai asked me if we could make a project. She loves working on projects. Since we were surrounding ourselves with elves, I figured why not one more.

Paper Plate Elf Mask

What you will need:

Paper Plate

Paint

Foam sheets or construction paper

Cotton balls

Glue

Pipe cleaners

Pencil

Directions:

Draw eyes on the back of your paper plate & cut them out.

IMG_7859

Paint your plate in flesh tone. Let dry.

IMG_7861

Paint on two pink circles for cheeks.

IMG_7862

Paint a mouth and nose.

IMG_7911

Cut out shapes for the hat, ears and collar. You may use construction paper. I always opt for foam sheets though as they do not rip or wrinkle. Glue into place.

IMG_7912

Bend 4 pipe cleaners into curls as shown.

IMG_7913

Glue the curls to the edge of the hat. Draw on eyelashes & eyebrows with a marker or paint.

IMG_7914

Glue two pipe cleaners to the back of the mask. Use the pipe cleaners to secure the mask to your head.

IMG_7915

Glue cotton balls to the rim of the hat & to the end of it to form the fur.

Paper Plate Christmas ELf Mask for kids


Felt Birthday Cake For Toddler Play

IMG_50731

Our daughter is a fan of the television. I am not a fan of her watching television, but still we do let her watch videos & toddler appropriate programming in moderation. She does not like it when we shut off the TV. She is a smart cookie though & knows how to work her family.
Daddy: “Mai, we have to shut of the TV.”

Mai: “How bout, we watch Patriots.”

She knows her daddy’s weakness.

She also knows her nana’s. “Nana, do you want to watch Cooking Channel?

Mai enjoys watching cooking with her nana. She also loves helping in the kitchen and pretend cooking in her play kitchen.

IMG_3987

Her favorite pretend food to make is cake. She makes cakes out of Play-doh. She stacks her stacking cups to make tiered cakes & then decorates them with the cherries from her Hi Ho Cherrio game. There is a learning exercise on ABC Mouse that allows you to decorate cakes & she adores this. She will draw with her imaginary icing & place flowers & fruit all over her virtual cake.

To help inspire our future little cake boss to continue to make tasty treats, we came up with this felt birthday cake for her to decorate.

What you will need:

A medium sized plain cardboard hat box

Assorted colors of felt sheets

Yarn

Craft pom poms

Elmer’s glue

Glue Gun

Scissors

Pen

Directions:

Start with a medium sized plain hat box. You can purchase on of these at a craft store for only a couple of dollars.
Start with a medium sized plain hat box. You can purchase one of these at a craft store for only a couple of dollars.
Remove the top & trace out the outline of the top on a felt color of your choosing & then cut it out.
Measure out and mark the felt to cover the side of your box top as well.
Using Elmer's glue, glue down the top & sides. The Elmer's glue will allow the felt to dry flat & smooth.
Using Elmer’s glue, glue down the top & sides. The Elmer’s glue will allow the felt to dry flat & smooth.
To make my icing edge, I braided 3 long strands of yarn & used the hot glue gun to glue down along the edge of the box top.
Cut and glue felt to cover the bottom half of the hat box as well. Allow to dry before proceeding.
Cut out colored felt strips about a 1/2 inch thick. Cut using a waving pattern on one side.
Roll the strip to form your cake flowers.
Glue the flowers in place using a glue gun.
To form a strawberry, cut out two heart shapes. Dot the heart shapes with a green marker to add seeds.
Place a craft pom pom in the center of one of the heart shapes. Add hot glue from the glue gun around the edges & place the other heart over it, dotted side facing out. Press the edge together all the way around . Cut  out a small star shape in green & glue over the top center of the strawberry.
Place a craft pom pom in the center of one of the heart shapes. Add hot glue from the glue gun around the edges & place the other heart over it, dotted side facing out. Press the edge together all the way around. Cut out a small star shape in green & glue over the top center of the strawberry.
To make a cherry, I just used a red pom pom & added a green felt piece for the stem.

Cut out letters & numbers. Make as many different fruits & flowers as you like. Let your little baker go to work decorating their cake.

IMG_5074

IMG_5067 IMG_5066 IMG_5084

Store cake pieces inside the box.

IMG_5081

feltbirthdaycake


Paper Plate Wig Masks

IMG_34041My daughter loves to pretend play. She has a vivid imagination & it is fun watching her explore her world of make believe. She loves to play baker and bake us beautiful cakes. She will take the little cherries out of he Hi Ho Cherry-o game and decorate her stacking cups with them and make tiered cakes. Last week when I didn’t feel good she made me a bowl of chicken soup complete with ABC magnets & a plastic drumstick. Delicious!

One of her favorite cartoons is Sheriff Callie. She has a cowboy hat that she wears & a pink hamper that she calls Sparky her horse. Giddy Up Sparky.

IMG_2548

She loves wearing dresses & twirling around & saying “Look Mama, I look like a princess.” Yes you do.

With her growing interest with the world of dress up & make believe, I thought we could have a little dress up fun.

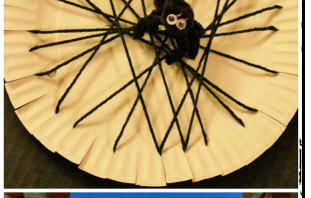
Paper Plate Wig Mask.

What you will need:

Paper plates

Yarn

Glue

Pipe cleaner or string

Scissors

Directions:

Cut a whole out of two paper plates following the line of the first inside circle in the plate.
Cut a hole out of two paper plates following the line of the first inside circle in the plate.
Glue the two paper plates together for a sturdier mask base.
Measure out how long you want your bangs to be & cut a piece of yarn at the desired length.
Measure out and cut several more pieces of this length.
Glue the bang pieces into place. Do not worry about them lining up perfectly, you can trim them later.
Trim along top and cut until flush along the curve of the plate.
After you have placed your bangs, add a strand of yarn on the out edge of the plate following the curve of the plate about a 1/4 of the way down & then let the yarn hang straight down & cut to desired length,
After you have placed your bangs, add a strand of yarn on the outer edge of the plate following the curve of the plate about a 1/4 of the way around & then let the yarn hang straight down & cut to desired length.
Add another piece of yarn  right up against the other following the same pattern. Do this until you have worked your way to the inner edge & then switch sides & repeat.
Add another piece of yarn right up against the other following the same pattern. Do this until you have worked your way to the inner edge & then switch sides & repeat.
Continue  until both sides are finished.
Continue until both sides are finished. Trim the uncovered portion of the plate.
Insert a pipe cleaner or string between the two plates or to the the back of the plates to create the backing to your mask.

IMG_3409 IMG_3407

And for the boys…

IMG_3416
Cut out a half circle within your paper plate.
Sketch out & cut a mustache shape.
Start with one side of your mustache, laying down strand by strand similar to above.
IMG_3421
Working from the top end of one side of your mustache work to the edge of the plate and follow downward along the curve of the circle until you meet the opposite side of the mustache.
My big kid enjoyed his mask too.

IMG_3424


Foam Play Food

109Like many children my daughter’s age, she loves being mommy’s little helper. This past week she has been very eager to help me in the kitchen. I let her measure out ingredients and stir. She plays with the food scraps & measuring spoons & loves every minute of it.
One of her favorite things to do is to make “soup”. She loves pouring liquid from container to container & she loves throwing things in the liquid as well. She has come up with some interesting combinations in some interesting places. Do not ever leave my daughter alone with her milk or juice. You never know where you might find it later.

After helping me make dinner tonight, she wanted to help with the dishes too. There were a lot of sharp items that needed washing, I needed her to stay occupied elsewhere. I gave her a few different sizes of plastic bowls, some measuring cups & spoons and some water to play with.

083 082

As usual she told me she was making soup. She started grabbing at random objects on our island to throw in her bowls. Remember those capsules that grew into little foam creatures when they got wet? She grabbed a few of those & threw them in. They turned into different fish. “I make a fish soup, Mama. I mixing it.” This gave me an idea. I grabbed a few sheets of foam from our craft bin & cut out some little foam fish for her to add to her fish soup. This was fun. She was chasing the little fish with the tablespoon and fishing them out one by one.

   093 097

098


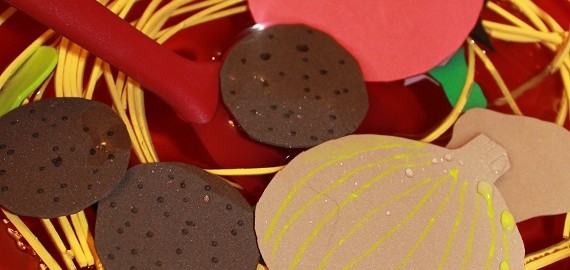
From there, Mai asked for tomatoes and potatoes. We ended up quickly making up a whole smorgasbord of foam food to throw in her soup; meatballs, spaghetti, broccoli, onion, etc. This added a whole new dimension to her water play. It was a quick and easy project that my daughter loved.


094 108

112


113


114


103


This kept her occupied long enough that I actually got to do something I have not done in quite a while…clean my house. With Mai deeply immersed in cooking her foam food soup, I was able to clean up after dinner and straighten up our pit of a living room a little bit. Mommy of course had to taste test it. “Mama, eat it.” Mmmmm…foam soup is delicious. Good job cooking, my sweet girl.

Thank you as always for stopping by. Please follow us on Facebook as well.

Teaching Toddlers Emotions

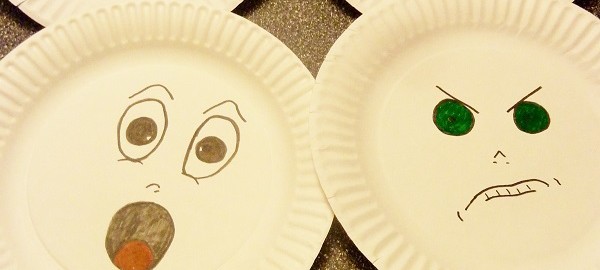
Paper plate emotion masks

I have always been one of those people that wears their emotions right on their face. When I am having a bad day, everybody knows it. I have an expressive face. I can’t help it. It is like my heart plays puppeteer to my face & I have no control over it.

Continue Reading…

PUPPET THEATER part 1 DIY felt puppets

0241

It can sometimes be exhausting finding activities to fill your toddler’s day, especially when they are as curious as my busy baby. We try to fill her days with fun activities and books but sometimes (and don’t think me a bad mom) it is a nice break to sit her down in front of Disney Junior or a Baby Einstein video, so I can fix dinner or just grab a moment for ourselves.

Lately she has been requesting to watch television far more than I want to accommodate. Mommy created a bad habit. This worries me. She has a particular fondness to ‘Little Einstein’s’. “Stein, Stein” she asks, when she wants to watch them. She loves these characters. I came across a few different ideas for puppets the other day & it made me think, maybe I could give her those characters she loves without having to turn on the dreaded t.v.

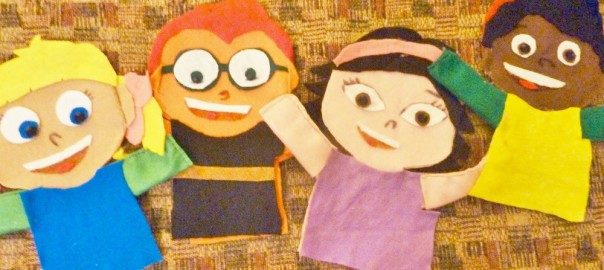
Tonight’s inspiration… ‘Little Einsteins’s’ felt puppets.

If you have been following us, you know that I love working with felt. It is easy & fun to work with & fairly inexpensive.

                                                                                  What you will need

Felt

Glue Gun

Markers

Scissors

Needle & thread

Decide how large you would like your puppets. Trace out the shape of your characters. I used a white marker, so lines would be less visible if missed after cutting. Cut out the body of your puppet (front & back).

005

Use scissor to cut out facial details such as eyes and mouth & hair if needed.

007

Use your glue gun to secure details to the body of the puppet.

009

011

Use markers to draw in fine details such as eyelashes or eyebrows.

014

Sew around the outside of the body to secure the front & back of the puppet together.015

016

Repeat this process for all characters.

017 020 033

Here is our finished ‘Little Einstein’ collection…

0322

Up next…Puppet Theater part 2 the stage