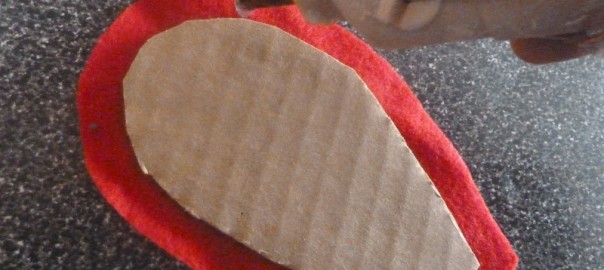
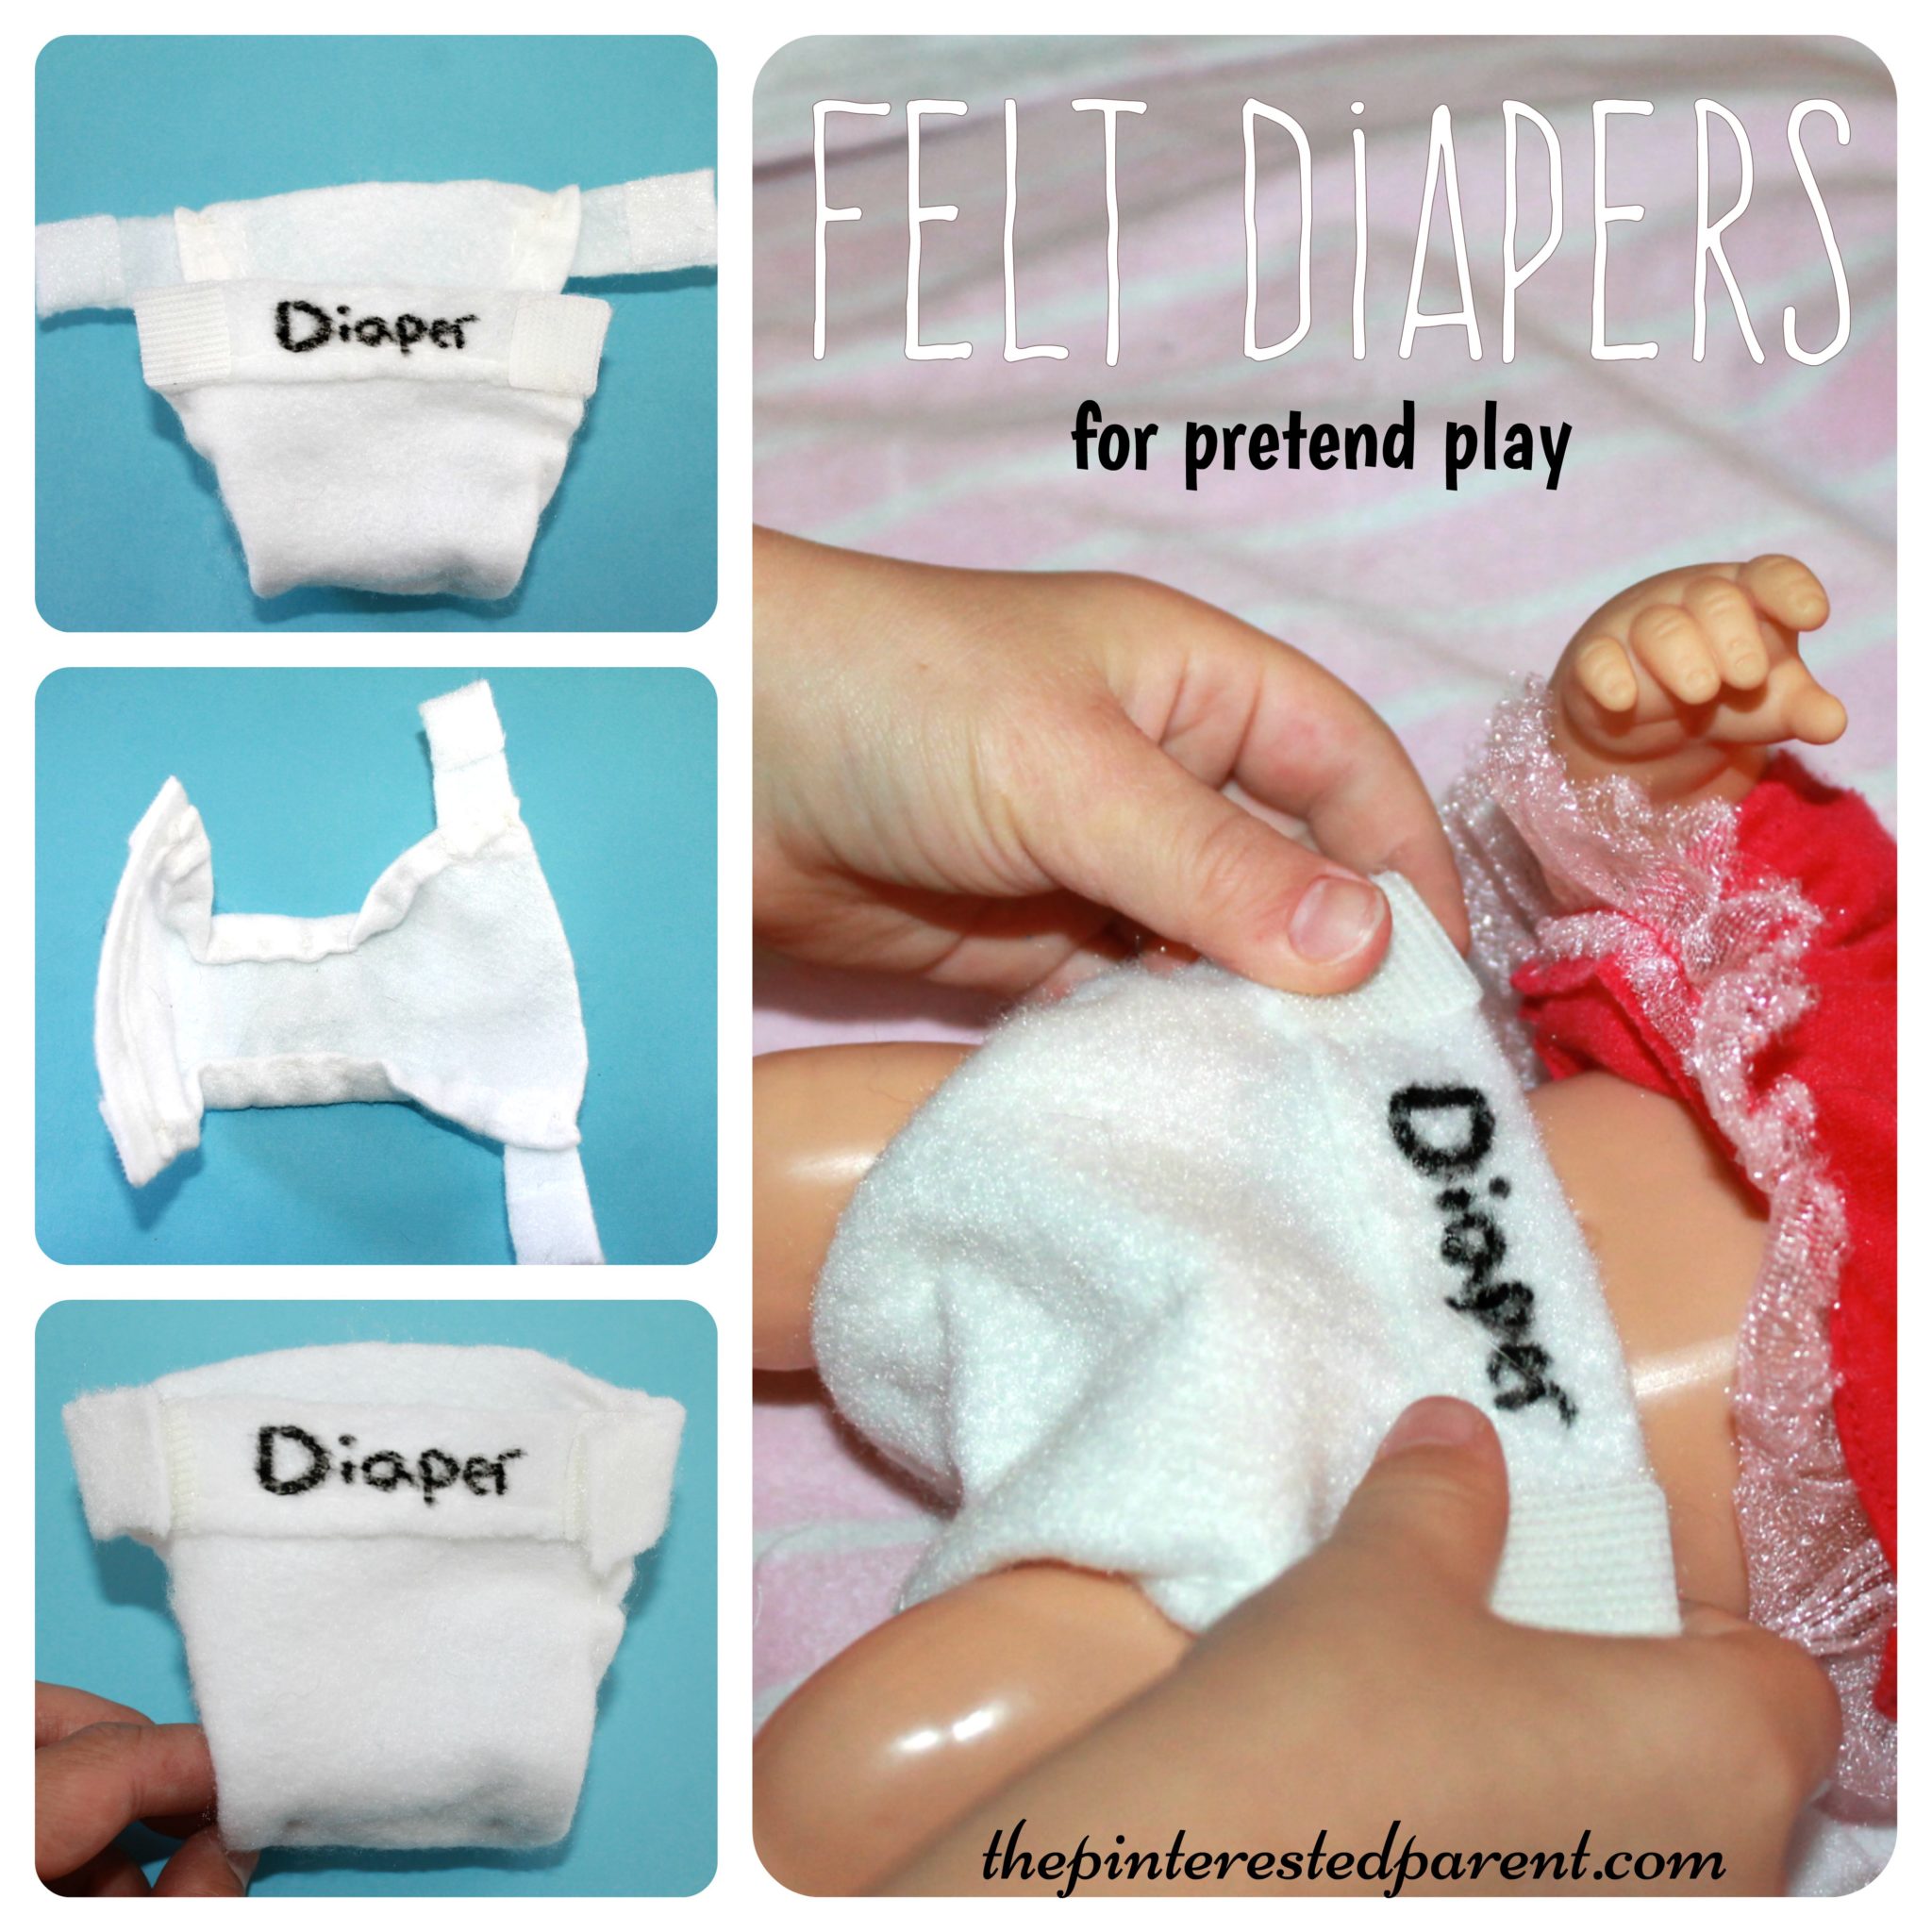
*This post contains affiliate links for convenience*
My daughter really has such a lovely way with babies & smaller children. She is very gentle, protective and nurturing. It is very sweet.
She behaves this way with her dolls as well. She pretends they are sick and takes their temperatures. She feeds them, reads to them, even pretends to load them in their cars seats. It is wonderful to watch & listen to. She found an old doll while cleaning out her toys the other day. It is one of those dolls that wets itself if you squeeze its belly. My daughter, of course, needed to make sure that she cleaned up her wet baby and asked me for something to use as a diaper.
It gave me an idea.
I am not much of a seamstress, but I thought that I could make her some cloth diapers with Velcrotabs. I had a little bit of felt and thought this would be perfect for her diapers. Again, I am not a seamstress, but I was pretty excited about how these came out & so was my girl.
I measured out a piece of felt by holding it under the doll to see how big I would need to make it. I cut the felt into a rectangle that slightly flared at each end. I folded the long edge on both sides of the diaper and then sewed both edges & pulled the thread snugly so that they gathered just a little. Then I folded in the edges again, but this time only sewed the center portion so that the diaper had a sort of hour-glass shape.
I cut a tab to sew along the front edge of the diaper. I sewed the tab into place & then used a fabric marker & wrote the word diaper across it.
I sewed two tabs to the upper sides of the back-end of the diaper. I stuck Velcro to each tab & then added the coordinating Velcro pieces to the edges of the front tab that says Diaper.
I showed my daughter how to use the diaper & let her play. She even asked me to make more, so that she could change all her dollies.
Thank you as always for stopping by. Please follow us on Facebook as well.
We went to Applebee’s for dinner last night. Applebee’s has small laptops at each table that you can place your orders from. It also has a bunch of games & kid friendly apps. My daughter found one that allowed you to take photos of yourself & then add artwork to it. She thought this was great fun. She kept giving herself a mustache and laughing. I got a kick out of watching her and her mustached face.
Her funny faces inspired this paper plate craft.
Mr. Paper Plate Head Mask
What you will need:
Paper plate
Flesh-toned paint
Felt in different colors
Velcro tabs
Craft sticks
Glue
Magic markers
Directions:
Paint a paper plate in a flesh tone. Let it dry. Glue two craft sticks to the back of the plate for your mask handle. Place Velcro tabs around the plate where you would like your facial features to be. Make sure that you use the rough end of the Velcro. Add one to the top of the mask handle for the bow ties.
Draw & cut out facial features such as eyes, noses, mouths, mustaches & ears. We also cut out glasses & assorted bow ties.
Let your child decorate their mask.
Add as many extra features as you like for more face varieties.
Mai daughter thought the mustaches were funny here too.
Thank you as always for stopping by. Please follow us on Facebook as well.
I know that I may be a little premature in my excitement, but my favorite season begins next month and I couldn’t be happier. I adore the fall & I feel the same way about fall crafts. This week we made our first pumpkin craft of the year. We made some simple cupcake liner pumpkins. We glued our liners down to a piece of paper with a glue stick & drew in our stems with markers.
It was as easy as that. Our first pumpkin craft of the year was done.
I know this will be the first of many, as I love pumpkins. There are so many possibilities. If you love the fall & pumpkins as much as I do, here is a great list of ideas for you & your kids to do together.
Our daughter is a fan of the television. I am not a fan of her watching television, but still we do let her watch videos & toddler appropriate programming in moderation. She does not like it when we shut off the TV. She is a smart cookie though & knows how to work her family.
Daddy: “Mai, we have to shut of the TV.”
Mai: “How bout, we watch Patriots.”
She knows her daddy’s weakness.
She also knows her nana’s. “Nana, do you want to watch Cooking Channel?
Mai enjoys watching cooking with her nana. She also loves helping in the kitchen and pretend cooking in her play kitchen.
Her favorite pretend food to make is cake. She makes cakes out of Play-doh. She stacks her stacking cups to make tiered cakes & then decorates them with the cherries from her Hi Ho Cherrio game. There is a learning exercise on ABC Mouse that allows you to decorate cakes & she adores this. She will draw with her imaginary icing & place flowers & fruit all over her virtual cake.
To help inspire our future little cake boss to continue to make tasty treats, we came up with this felt birthday cake for her to decorate.
What you will need:
A medium sized plain cardboard hat box
Assorted colors of felt sheets
Yarn
Craft pom poms
Elmer’s glue
Glue Gun
Scissors
Pen
Directions:
Start with a medium sized plain hat box. You can purchase one of these at a craft store for only a couple of dollars.Remove the top & trace out the outline of the top on a felt color of your choosing & then cut it out.Measure out and mark the felt to cover the side of your box top as well.Using Elmer’s glue, glue down the top & sides. The Elmer’s glue will allow the felt to dry flat & smooth.To make my icing edge, I braided 3 long strands of yarn & used the hot glue gun to glue down along the edge of the box top.Cut and glue felt to cover the bottom half of the hat box as well. Allow to dry before proceeding.Cut out colored felt strips about a 1/2 inch thick. Cut using a waving pattern on one side.Roll the strip to form your cake flowers.Glue the flowers in place using a glue gun.To form a strawberry, cut out two heart shapes. Dot the heart shapes with a green marker to add seeds.Place a craft pom pom in the center of one of the heart shapes. Add hot glue from the glue gun around the edges & place the other heart over it, dotted side facing out. Press the edge together all the way around. Cut out a small star shape in green & glue over the top center of the strawberry.To make a cherry, I just used a red pom pom & added a green felt piece for the stem.
Cut out letters & numbers. Make as many different fruits & flowers as you like. Let your little baker go to work decorating their cake.
I’m a New Englander. Tonight, marks the first snowfall of the season for us. There is a love /hate relationship between snow with most New Englanders. Every year, I get excited when that first snowflake drops. It just does not feel like the holidays with out it. That first snowfall is so beautiful. It is perfect and untouched. It makes the ground & the trees glisten and it just invites you to come out & play in it. Then the problem is you do, then realize that it is also cold & wet and that you would rather be inside by the fireplace sipping your cocoa.
Last year was my daughter’s first winter. We couldn’t wait to take her outside & pull her around the yard in her sled, but once we got out there, I immediately began to worry about the cold. We pulled Mai around the yard a couple of times, took this happy family picture & then went back in the house where it was warm.
I said to myself, “Next year will be better.” ” She will be older. We can build a snowman.”
Well the year flew by & here we are already into another winter. As the snow is touching down on the ground, I am already daydreaming about taking our daughter out in the snow again.
I know myself though & the paranoid mommy in me will probably do the same again this year. It made me think, I wish I could bring some of the fun of the snow into the warmth of our home.
I have seen a number of felt projects in my travels though Pinterest & other bloggers. I have seen the felt Christmas trees, advent calendars & a clever felt gingerbread house. Why couldn’t I make a felt snowman?
Let me just warn you ahead of time. I am not a seamstress. Sometimes I see some of the other posts on here, of recipes, family anecdotes, photos & crafts and it makes me feel a little inadequate. I am not a chef, I am not a writer, a photographer or a very good sewer.
I am a mommy, with big ideas, a tight wallet & all the best intentions, so occasionally my projects come out less than perfect. This would be one of those times.
FELT SNOWMAN
White Felt – I used about 2 yards
Black & orange felt (or colors of your own choosing)
Needle & thread
Sewing machine (optional, you may sew by hand if you do not own one)
Glue gun
Fiber fill (I used 2 30 oz bags)
Cardboard
Bean bags (I filled Ziplocks with rice)
FELT SNOWMAN
Decide how big of a snowman that you want. Draw out your circle on the felt.
Cut 2 of the same sized circles.
Sew the two circles together by sewing around the edges. Do not sew all the way around. Leave a large opening unsewn.
Stuff fiber fill in the open end.
Here was mess up #1. I originally made the snowman just with the fiber fill stuffing thinking that this was going to be stable enough to stay upright. I was wrong. I reopened the bottom of the snowman & filled the bottom with homemade bean bags of Ziplock bags & rice.
a piece of cardboard to fit the shape of the bottom of your snowman.
Place inside the bottom of the snowman with the bean bags on top.
Sew the bottom shut & then go and get a manicure because your nails look horrible.
If you are actually a seamstress, I am sure that you could bring a more polished look to this idea. The snowman is lumpy & I made a lot of sewing mistakes but my little girl loved her snowman. She was placing the button & coal pieces all over the place & thought that the scarf was his dress. She hugged him & tried to feed him some of her milk. Sometimes, imperfection can be beautiful…
I found inspiration for this project from a pin that I found on Pinterest a while ago.
It was felt Christmas tree, with movable decorations.I remember thinking what a fabulous idea, a felt Christmas tree that my toddler can decorate herself. It reminded me of the Colorforms from my childhood. I loved this idea but did not think that it would appeal to my daughter, as she does not understand the concept of a Christmas tree yet. I wanted to take this idea and apply it to something that would peak her interest now.
Mai is a lover of animals, so I could not think of anything that would grab her attention more than a farm.
Supplies that I used for this project..
Different colored felt
Glue gun
Scissors
Cotton balls
Fabric markers
I use felt on a lot of projects, so luckily I had almost everything I needed already.
I started with a 36″ X 36″ of green felt for my background. I added blue felt to the top for the sky, attaching it with the glue gun. I then applied glue to the sky and dragged cotton balls across it to form the clouds.
I added a barn with a dirt road to complete my background.
Mai & Duke helped too.
I then drew and cut out all of the movable pieces. Our farm included a pond, tree, horse, duck, sheep, pig, cow & a rooster. Mai was quick to point out after I finished, that there was no hop, so I quickly made a bunny.
Our farm was now complete. Felt sticks to felt, so you can also hang this on the wall and the movable pieces will stick.
The verdict: It was a hit. She loved pointing out all the animals to mommy and daddy and moving the pieces around.
Since I was still in a crafty mood and had alot of felt left over, I made one more project.
These should keep my busy little toddler occupied for at least 5 minutes. Sigh!
This website uses cookies to improve your experience. These cookies feedback information to our analytics and advertisers. We track views of the site - which pages are visited, whether you are a regular or returning visitor to help generate a more personalised experience. You can switch cookies off or follow the READ MORE. AcceptRejectRead More
Privacy & Cookies Policy
Privacy Overview
This website uses cookies to improve your experience while you navigate through the website. Out of these, the cookies that are categorized as necessary are stored on your browser as they are essential for the working of basic functionalities of the website. We also use third-party cookies that help us analyze and understand how you use this website. These cookies will be stored in your browser only with your consent. You also have the option to opt-out of these cookies. But opting out of some of these cookies may affect your browsing experience.
Necessary cookies are absolutely essential for the website to function properly. This category only includes cookies that ensures basic functionalities and security features of the website. These cookies do not store any personal information.
Any cookies that may not be particularly necessary for the website to function and is used specifically to collect user personal data via analytics, ads, other embedded contents are termed as non-necessary cookies. It is mandatory to procure user consent prior to running these cookies on your website.