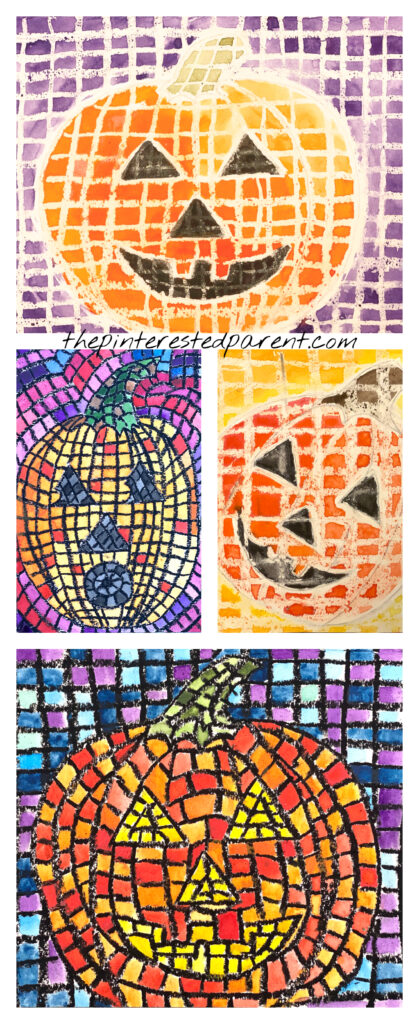
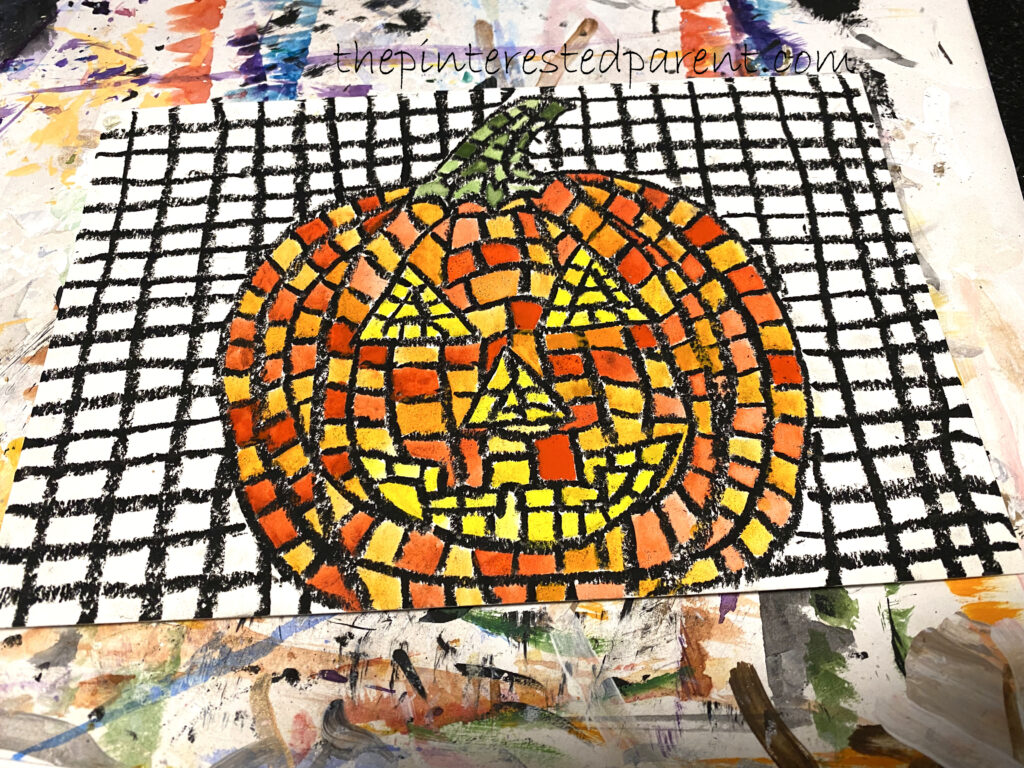
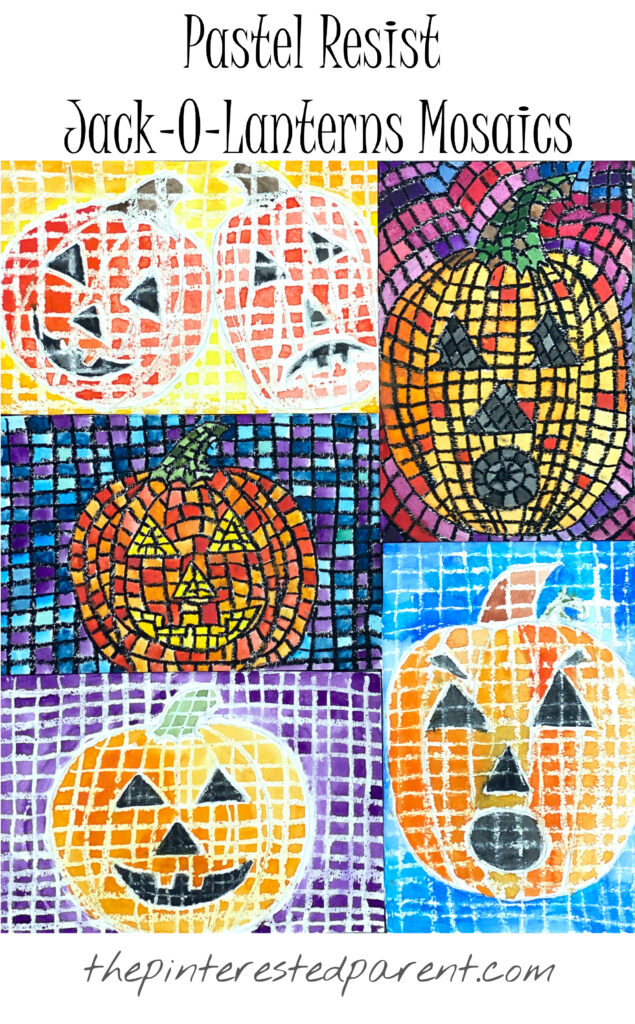
We do love making mosaics in this house. We’ve made paper mosaics, pasta mosaics and even nature mosaics. We also love making all kinds of resist art because, let’s face it, it is just so cool. So, what happens when we combine the two? We get these amazing pastel resist mosaic Jack-O-Lanterns that combine two of our favorites with lovely results. This is a beautiful fall or Halloween project for the kiddos.
*The Pinterested Parent is a participant in the Amazon Services LLC Associates Program, an affiliate advertising program designed to provide a means for sites to earn advertising fees by advertising and linking to Amazon.com. In addition, text and image links in this post may be affiliate/referral links, which means we may be compensated if you make a purchase after clicking through these particular links* See full disclosure policy.
What you will need:
Pencil
Directions:
((Watercolor paper is large. We often cut our paper in half for our projects, but you may choose to use a full sheet.)
We did two versions of mosaics. We will start with the simpler one.
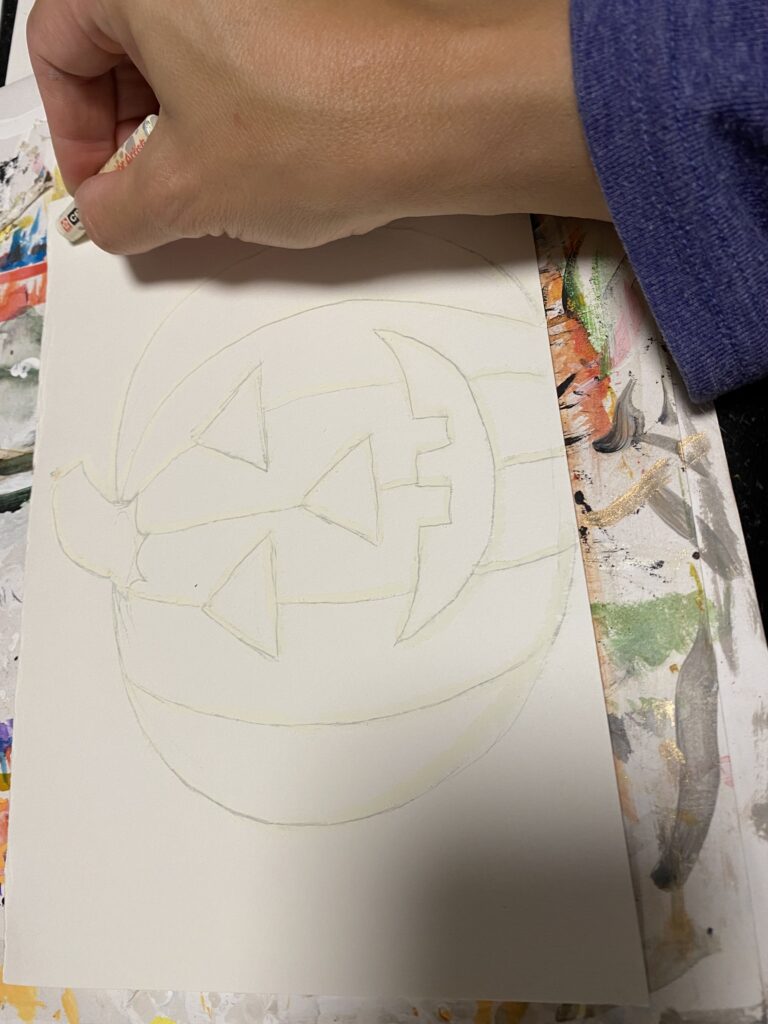
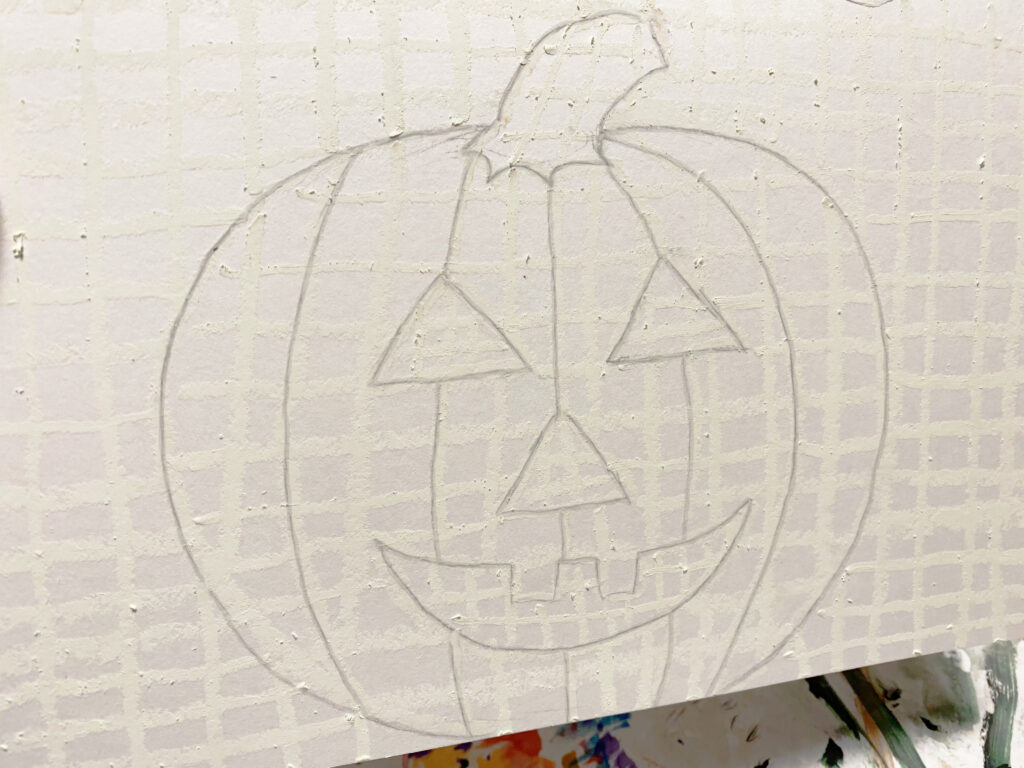
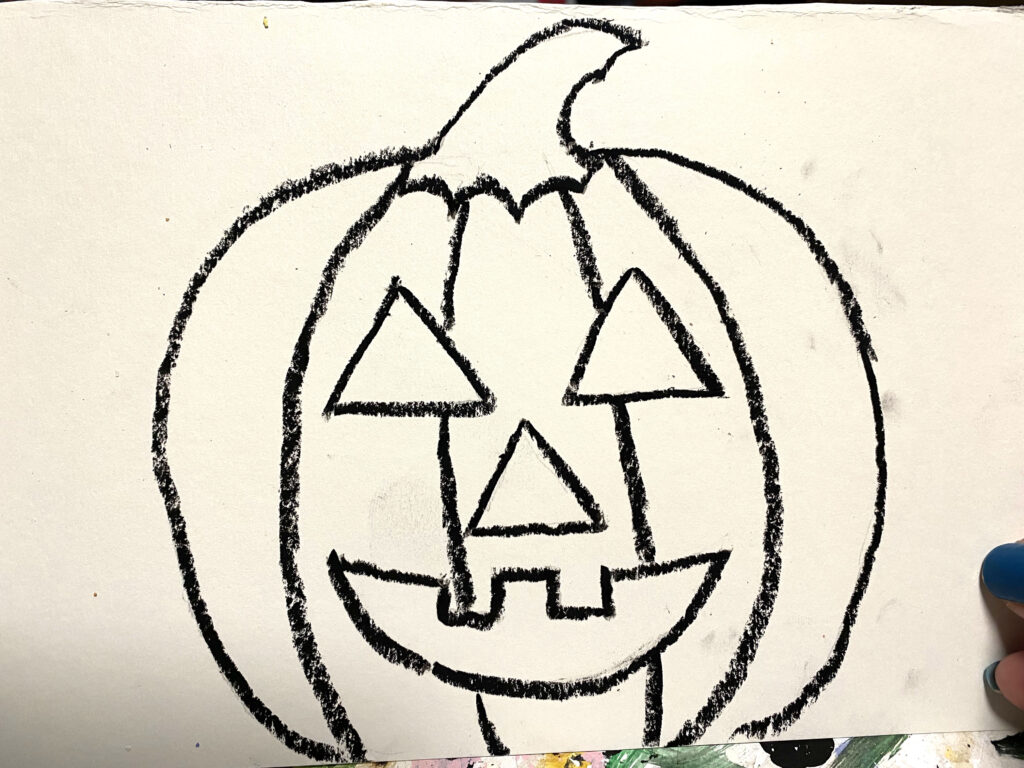
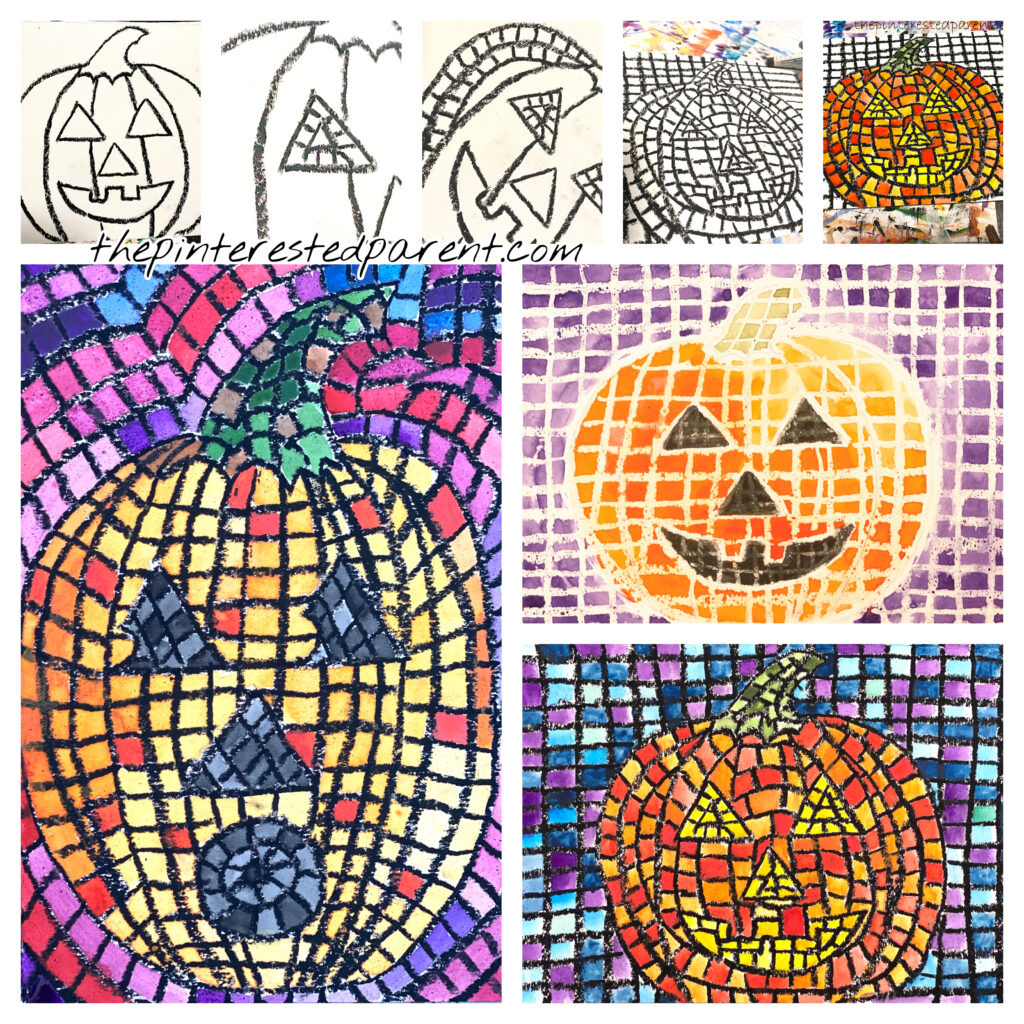
Lightly sketch in a drawing of your jack-o-lantern. Use an oil pastel in the color of your choice to outline your sketch. Make sure to press firmly while tracing.
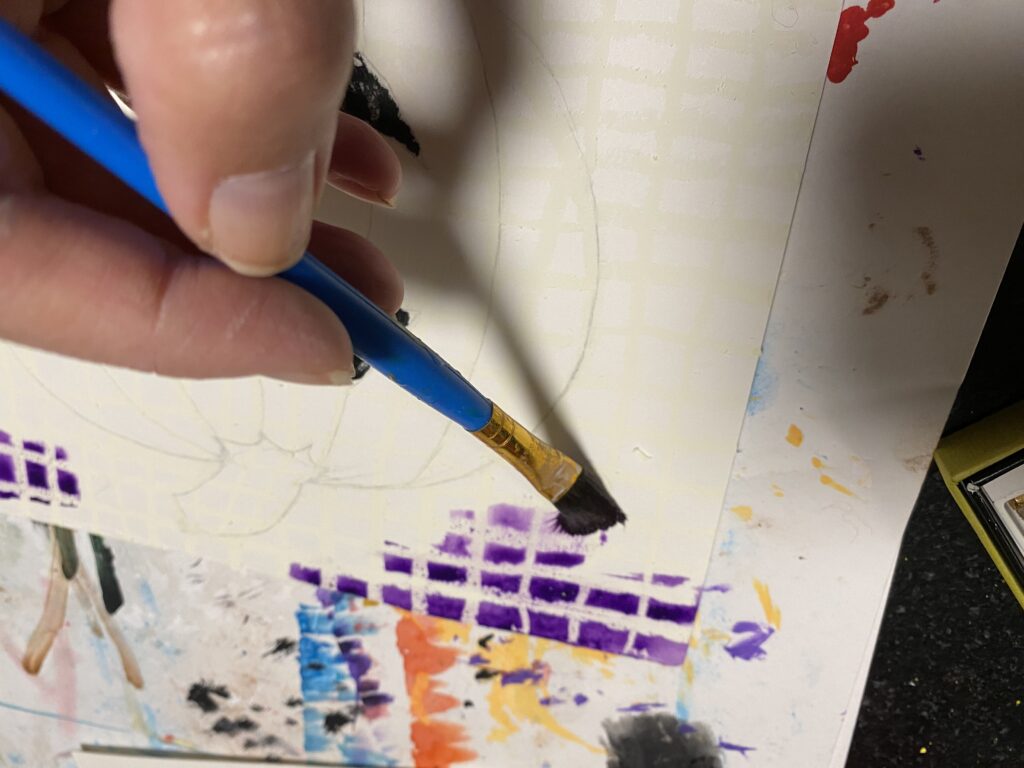
Next, draw horizontal and vertical lines across your whole paper with the pastel. The lines don’t need to be perfect or equally spaced. Most mosaics aren’t uniform.
Lastly, paint your picture. Be sure that your watercolors are wet enough. The oil will not resist the paint as well if it is too dry. Allow a little dry time in between painting the background, the pumpkin, and the jack-o-lantern face. The oil pastels will create a little barrier between colors, but they can still run into each other when wet.
When you are finished painting, leave it flat to dry.
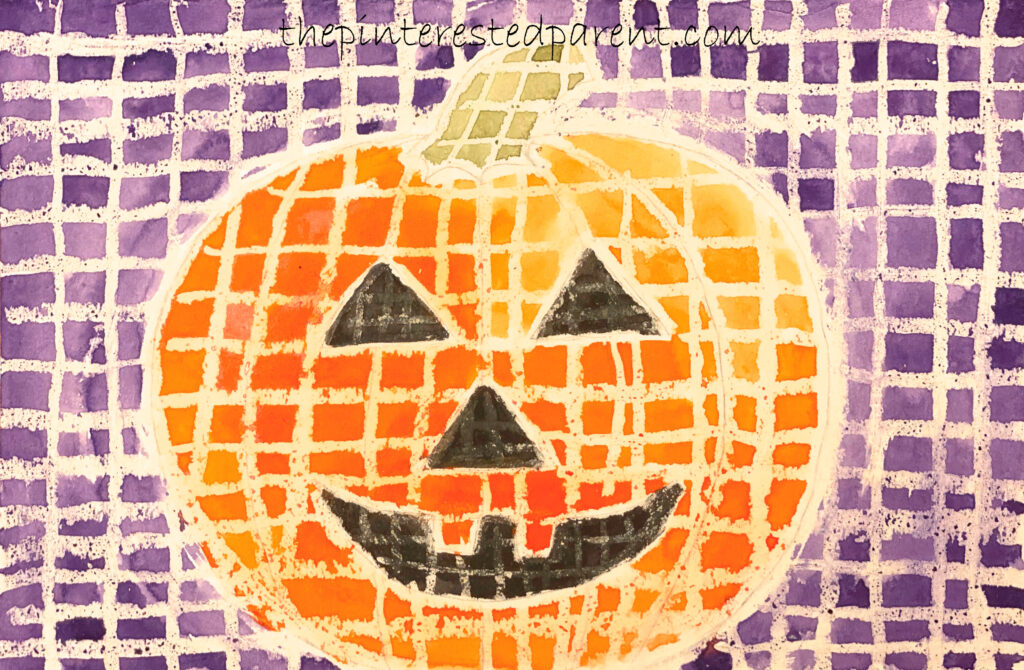
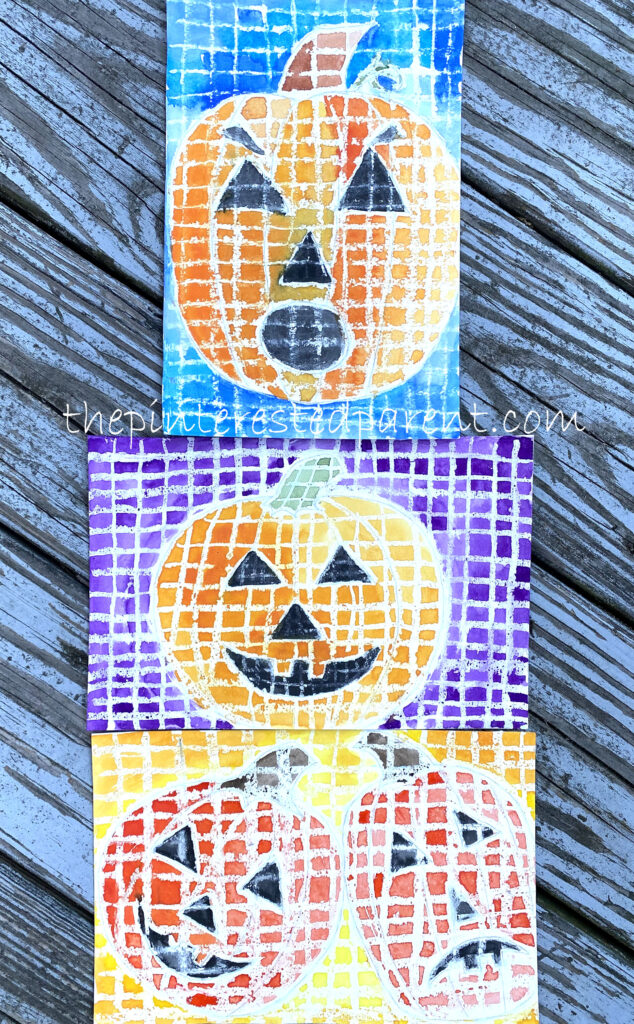
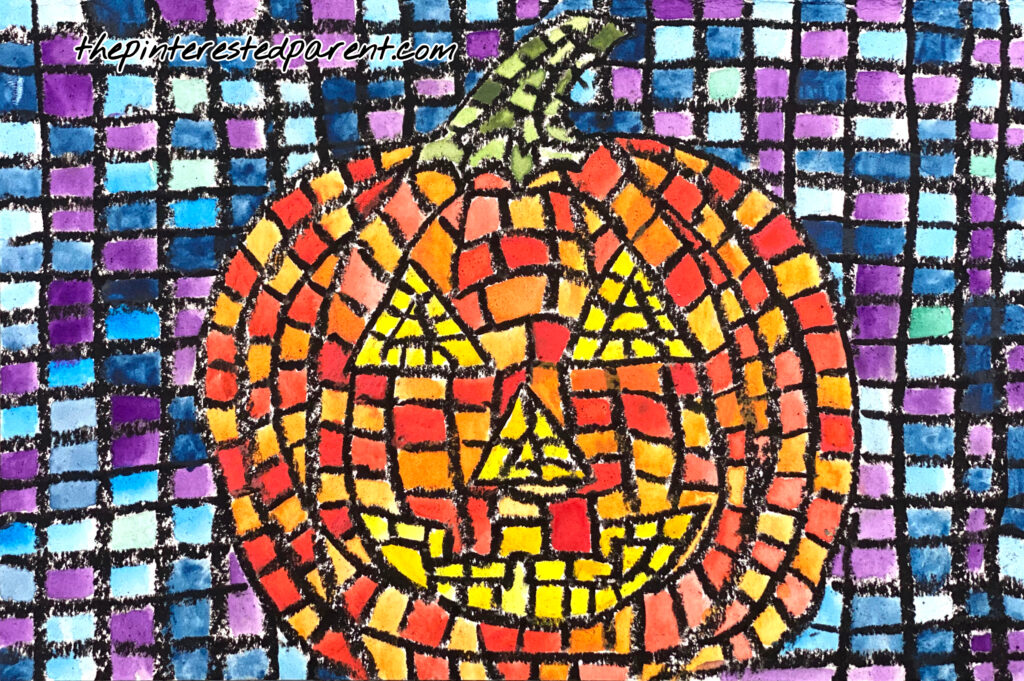
Here are some of our simple mosaics.
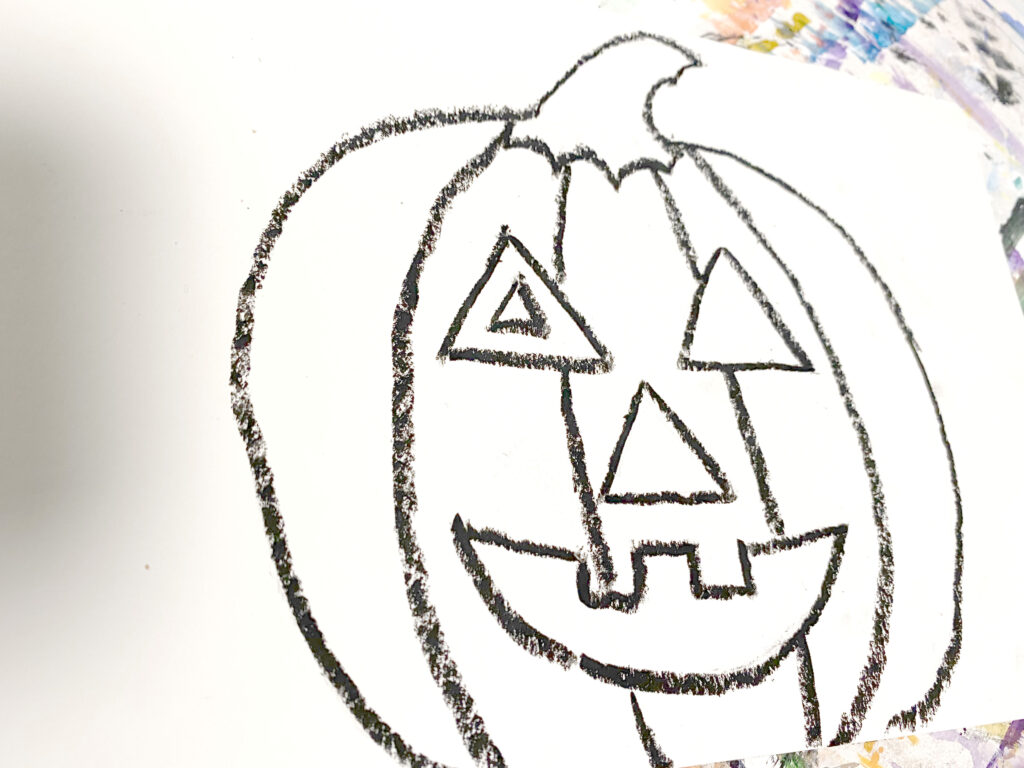
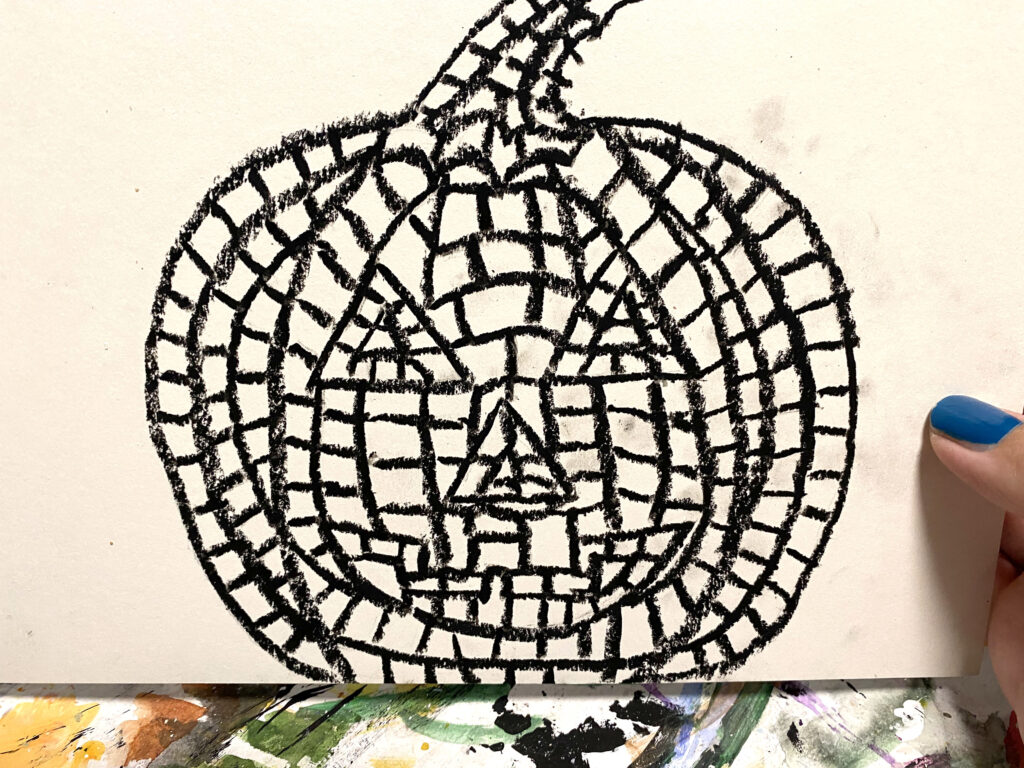
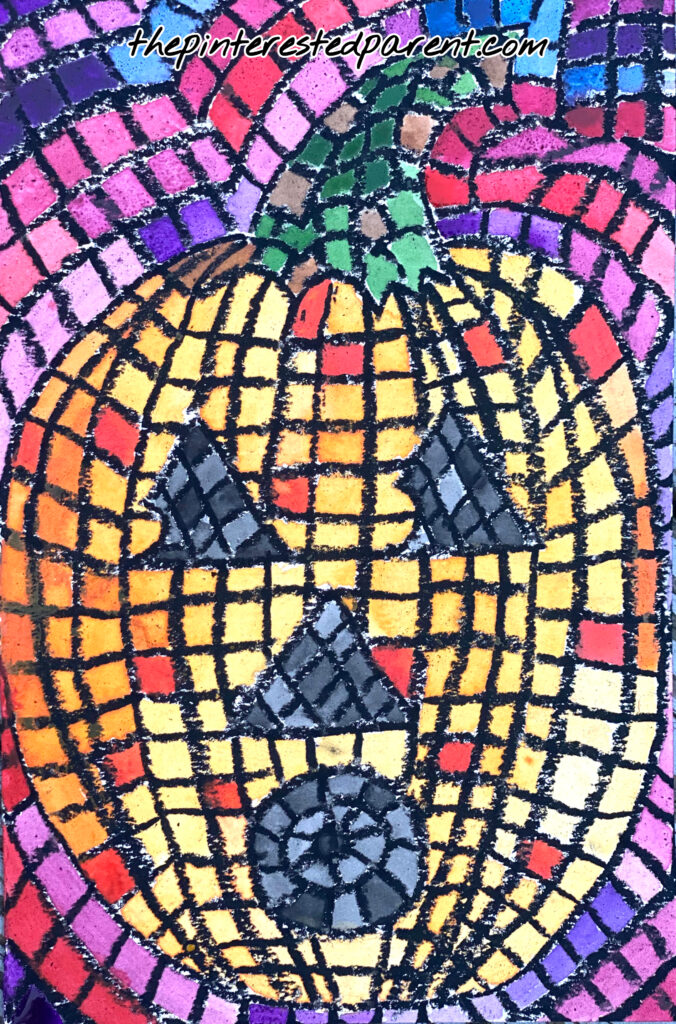
For a more mosaic look, sketch your jack-o-lantern, same as above, and outline it in a pastel of your choice.
Start with one section of your jack-o-lantern and follow the pattern of your section. We started with an eye and copied the shape of the eye by drawing a smaller triangle inside the larger one.
Then we drew lines within to make our mosaic tiles.
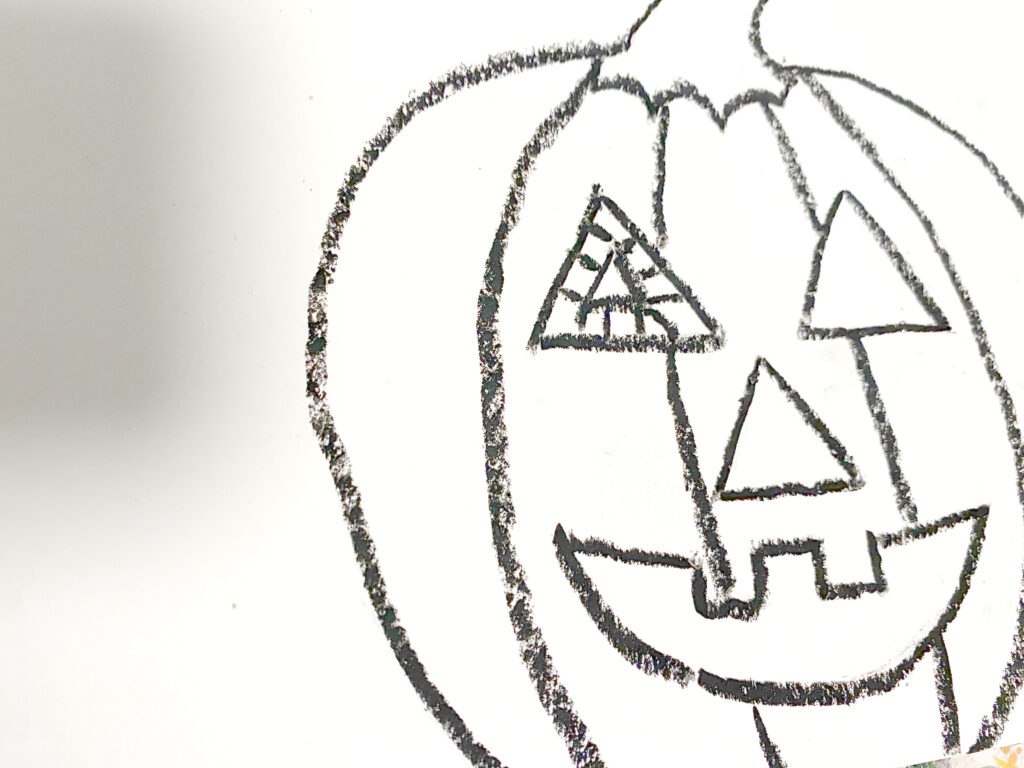
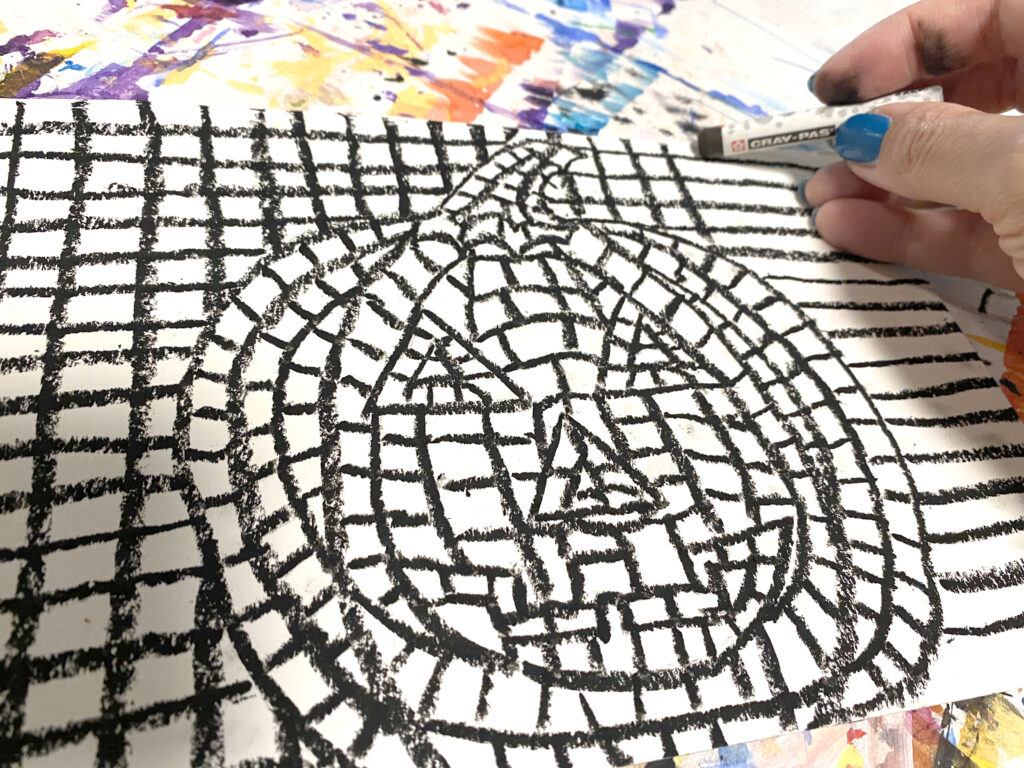
Do this to each section until you fill your whole jack-o-lantern.
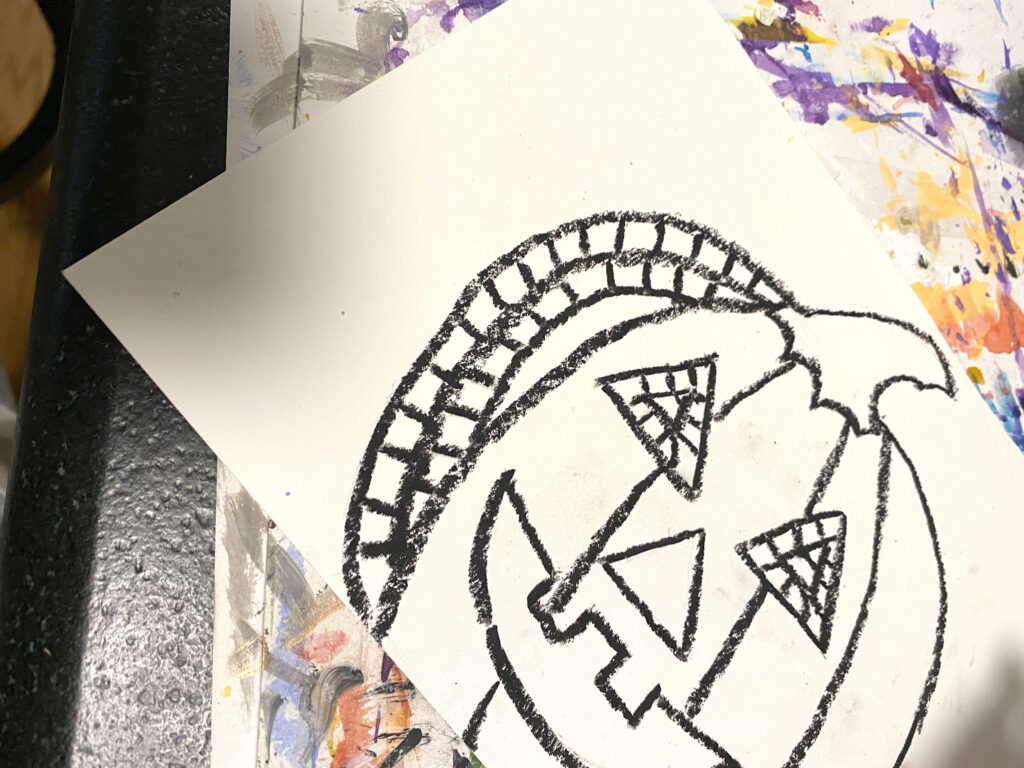
For the background, you can add vertical and horizontal lines around the jack-o-lantern.
You may also choose to follow the curves of the pumpkin all the way out to the end of the paper.
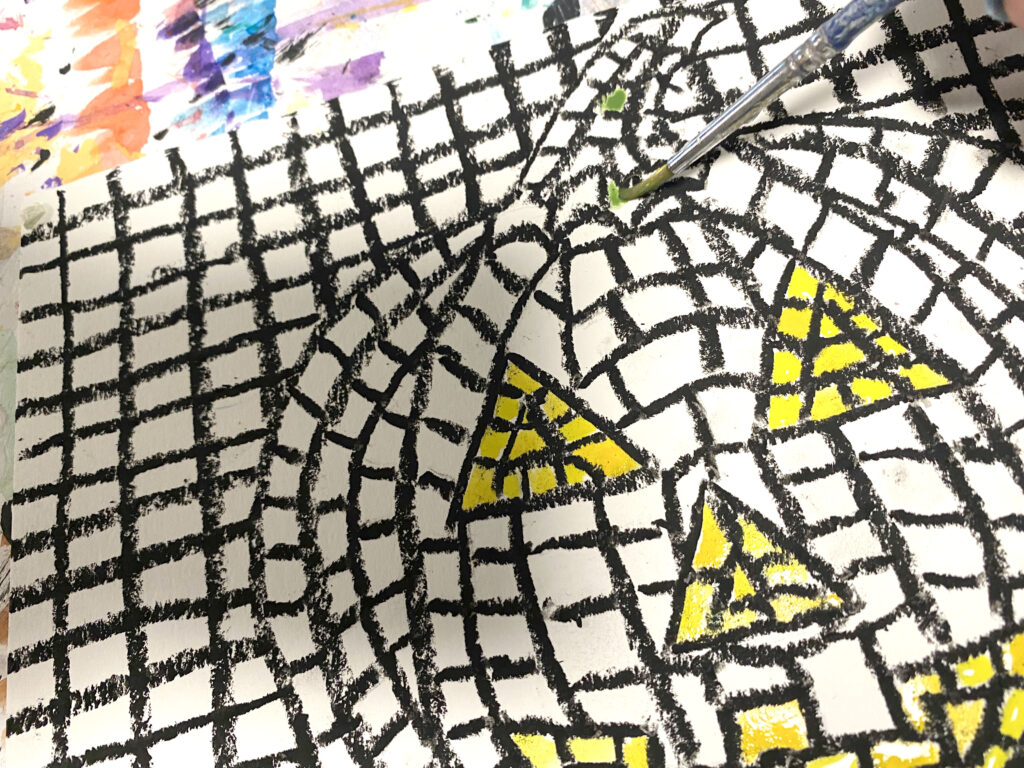
When you are done, paint your picture. Play around with different colors to make your mosaics really pop.
We chose to do jack-o-lanterns, but this will work with whatever subject you chose to make. You know how we love to see your projects, so don’t forget to share them with us on our Facebook page.
Thank you as always for stopping by and don’t forget to visit our Facebook page.