Tag

candy

White Chocolate & Peanut Butter Pretzel Bunnies

Easter is quickly approaching and with the holiday comes all of its delicious sweet treats.  White chocolate & peanut butter pretzel stick Easter bunnies recipe. These bunny treats were a huge hit & my kid loved to decorate them.

*This post contains affiliate links*

Last year I had experimented with pretzel bunnies. They were a big hit with my family, so I wanted to try them again with a little help from my favorite little helper. We had recently purchased a set of food markers & we both could not wait to use them.

White chocolate & peanut butter pretzel stick Easter bunnies recipe. These bunny treats were a huge hit & my kid loved to decorate them.

What you will need:

White chocolate melts

Pretzel sticks

Peanut butter

Confectioners sugar

Butter

Vanilla

Food markers

Directions:

Melt 3 Tbsp of butter. Mix it with 1/2 cup of creamy peanut butter, 1 cup of confectioners sugar & 1 tsp of vanilla. Mix it well. Scoop a heaping tsp of peanut butter mixture and roll into a ball. Place on a sheet of wax paper & use a spoon to flatten into a disc. Put them into the freezer for about a half hour or until they are slightly hardened.

IMG_5459 IMG_5460 IMG_5461 IMG_5462

Melt the chocolate according to package directions.

IMG_5453

Lay out another sheet of wax paper. Dip the pretzel sticks, two at a time into the melted chocolate. Let the excess chocolate drip off & place them on the wax paper in a V shape.

IMG_5463

Remove the peanut butter discs from the freezer a few at a time. Dip them one at a time making sure to cover the top, bottoms & sides & place over the pretzel, just covering about 1/4 of the bottom. Use a rubber spatula to fill in any empty space. Let the chocolate cool & harden.

IMG_5476

Then comes the fun part. Use your food markers to draw in the bunny faces. My daughter couldn’t wait to draw on her bunnies.

IMG_5472

Here was her favorite bunny that she made, complete with hair bow & scarf.

IMG_5474 IMG_5475

They were a huge hit again with my family and my friends at work.

Thank you as always for stopping by. Please follow us on Facebook as well.

Cupcake Liner Baseball & Cotton Ball Cotton Candy Craft

3D Cupcake Liner Baseball Craft

This weekend we took our daughter to her first Red Sox game.

11888115_10206201492709535_4359063993043574792_n (1)

Having watched the games with her father since the day that she was born, she was excited to go to Fenway. On the drive there, she clapped & cheered as she saw signs with the Red Sox logo on them.

In the park, she had equal enthusiasm as she saw the popcorn & lemonade & witnessed her first live home run.

11892248_10206201678154171_4480152923514849905_n

It was an exciting day for all of us & we might have created a Sox fan for life. To celebrate our trip to the ball park, we made a quick & easy baseball craft.

Cupcake Liner Baseball

All you will need for this is a white cupcake liner, a red & black marker and light brown & green construction paper.

Directions:

Spread out your liner slightly, but do not flatten.

Draw two curved lines on either end of the liner in black marker.

IMG_5797

Draw the stitches over the black lines with the red marker. Mai drew in her lines & I did mine.

IMG_5818 IMG_5800

Draw & cut a bat out of the brown construction paper.

IMG_5796

Glue the bat to a green piece of construction paper. Glue the liner baseball to the paper as well, only apply the glue to the outside edges & glue it so that the liner is still puffed out in the center.

3D Cupcake Liner Baseball Craft

Mai added a ball player & a background to her craft.

IMG_5820


We finished our baseball craft, but we weren’t quite finished with “our day at the ball park” inspired crafts. We still had one more in us.

Mai ate a lot of junk at the game. It is all part of the experience after all.

11880687_796968853752885_2661373295373610455_n

IMG_1664

I had asked Mai what her favorite part of going to the game was. She told me that it was the cotton candy.

After she told me this, I wanted us to make a cotton candy craft using cotton balls, so we squeezed in one more craft.

Cotton Ball Cotton Candy Craft

All you will need for this craft is a piece of construction paper for your base, a piece of white construction paper (scrap will work good because you only need a small piece), pastel colored paint, glue, a magic marker & cotton balls.

Directions:

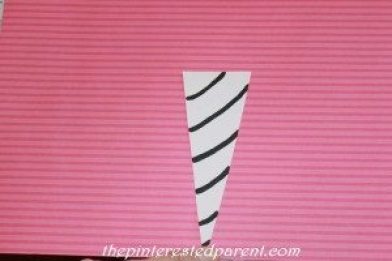
Cut a long skinny triangle out of white construction paper. Draw diagonal lines on it with a magic marker.

IMG_5821

Place your paint on a palette. Draw in the cotton candy shape over the cone to give a guideline to your child for where to place the cotton balls. You can either dip the cotton balls in the paint & then glue them into place over your cone or you may glue them first & then dab them with a paint brush later.

IMG_5822 IMG_5824

This is a simple craft for your child that is a great exercise in fine motor skills. That & it is cute.

Cotton Ball Cotton Candy Craft

Thank you as always for stopping by. Please follow us on Facebook as well.


Paper Swedish Heart Baskets

paperheart

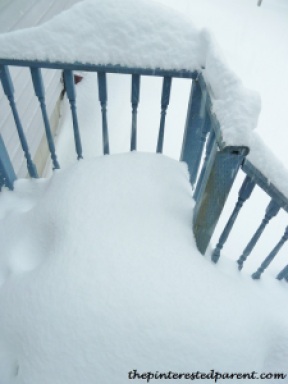
It has been a rough winter in New England. On Monday, we had yet another storm, a big one.  We added another foot of snow to last week’s accumulation.

P1180718 P1180721

Sufficed to say, we were snow bound & stuck home. My mother-in-law got caught up in the storm & was snowed in with us. Mai & I were making glittery paper hearts, when my mum-in-law asked me if I knew how to make a Swedish heart. I did not. She gave me a quick tutorial & weaved a lovely heart out of newspaper to practice.  They were so cute & easy to make. She showed me how they formed a little pocket & I thought how cute these would be for our daughter to give out filled with little Valentine’s candies.

Paper Swedish Heart Baskets

All you need for this craft is some paper, glue & scissors.

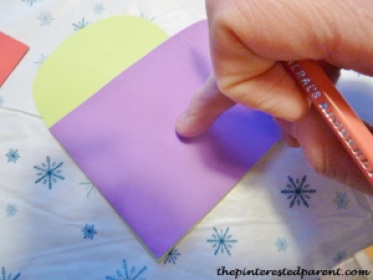
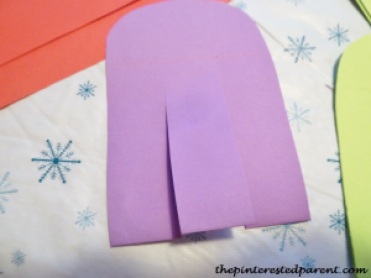
Choose 2 different colored pieces of paper. Fold each piece in half. Cut out a shape like shown below, rounding the tops of the unfolded edge.

P1180726

Overlap the shapes so that they form a heart shape.

P1180728

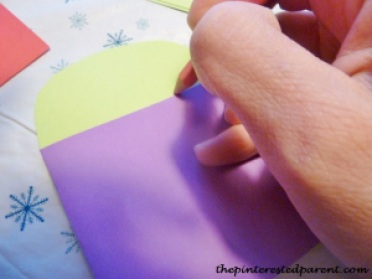
Draw a faint line across the top edge of the overlap on each side of your heart.

P1180729

Cut 1 slit 1/3 of the width of one of the shapes. Cut from the folded edge up to the line that you just drew. Cut a second slit another 1/3 of the way the same way. Do this to the other shape as well.

P1180730

This should give you 3 even loops on each.

P1180732

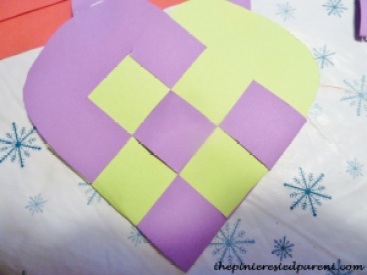
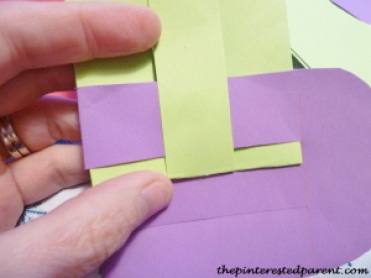
Start weaving your two hearts together. Stick the 3rd loop from the green through the first loop on the purple shape as shown below.

P1180734

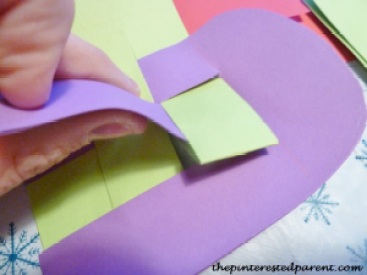
Pull the same purple loop through the 2nd green loop.

P1180735

Work that same purple loop all the way over & insert the 1st green loop into the purple to finish off the first weave.

P1180736

Push the purple shape all the way up to the top of the green shape to make room to start your next loop. Start this row the opposite way this time, pulling the next purple row through the green & then continue to alternate in this pattern until the end.

P1180737

P1180738

Add a couple of strips of paper to the inside of each side to make handles.

P1180746

Fill the basket with some treats.

P1180740

Thanks Nana for teaching me something new. These will be adorable to give to Mai & her friends.

paperheart

Thank you as always for stopping by. Please follow us on Facebook as well.

Gingerbread Christmas Tree

Gingerbread Christmas tree - a great baking and cooking project to do with the kids for the holidays. Preschoolers and food

I realize that it is not even Thanksgiving yet.  It’s not that I have anything against Thanksgiving because I have a lot to be thankful for, but I am overjoyed for this upcoming Christmas season. I understand that most do not like how early the holidays seem to come more & more each year, but for me I can’t wait, especially after having our daughter. Christmas is magical. The Christmas carols, the twinkling lights & the smells are all divine.

I am one of those people that have gotten into the spirit a little bit early, but I don’t care. My daughter doesn’t know any different. To her it is Christmas time already. This weekend we put on some Christmas carols & filled our house with the delicious smell of gingerbread. My daughter loves baking with mommy & she loves eating it too. One of the great things about gingerbread is it has the same consistency as Play-Doh. This of course made my Play-Doh obsessed daughter happy.

Gingerbread Christmas Trees

Bake your gingerbread. Here is the recipe that we used. Gingerbread Recipe

IMG_7185

IMG_7190IMG_7193IMG_7197IMG_7202

You will need star cookie cutters. Using different sized cookie cutters, cut out about 10 cookies. If you do not have 10 different cutters, you can improvise.
I had 5 cutters in various sizes. I cut two of each size, cutting one a little thicker than the other. I worked the thicker star out carefully using my fingers to make it a little bit larger than the first star.

IMG_7204 IMG_7207 IMG_7209 IMG_7214

On the smallest star I added a small point for the top of the tree.

IMG_7221

Bake your cookies according to the recipe.

IMG_7222

Make your icing while the cookies bake.

Icing:

1 cup of confectioners sugar

2 Tbsp of milk

1/2 Tsp vanilla

Stir your ingredients together until smooth.

IMG_7234

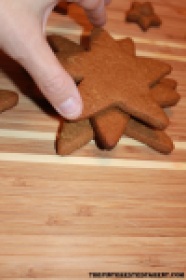
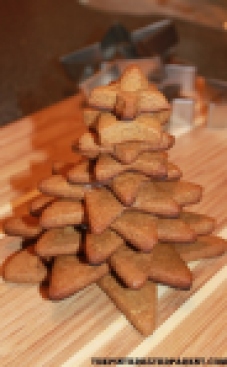
Stack the cookies from biggest to smallest. Use the icing to hold the pieces together. Stagger the star points so that they lined up every other cookie.

IMG_7235

IMG_7236

IMG_7244

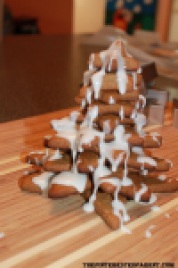
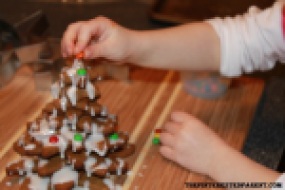
Drizzle icing over the top of the tree & add M&M minis or another candy of your choice.

IMG_7245

IMG_7247

Gingerbread Christmas tree - a great baking and cooking project to do with the kids for the holidays. Preschoolers and food

As I said already the gingerbread dough has a similar consistency to Play-Doh. I let my daughter use the leftover dough to craft her own cookies.

She crafted these as birthday cakes for me & her. The birthday cakes looked a bit like a pile of something else that I don’t want to say, but otherwise they still tasted delicious. Mai iced up her cookies and they passed her taste test. The only problem was trying to wrestle away all of her cookie creations from her so that she didn’t eat them all.

IMG_7267IMG_7269IMG_7239

We also made these cute little trees imparting the same concept of stacking the stars as with the cookie tree.

Foam Christmas tree craft for kids

We cut out 10 different sized stars using foam sheets & cut out a hole in the middle of each big enough to fit around a toilet paper roll. Cut only a small hole in your top star & loop a pipe cleaner through it to for the peak of the tree. Attach 2 small foam stars to either end of the pipe cleaner. Paint a toilet paper roll & a Dixie cup (The Dixie cup will be used for your base. Let dry. Glue the toilet paper roll into the cup. Stack the stars from biggest to smallest over the toilet paper tube & glue the top star over the top of the toilet paper roll. Let dry & let your child decorate the tree with craft pom poms, yarn, cotton snow etc.


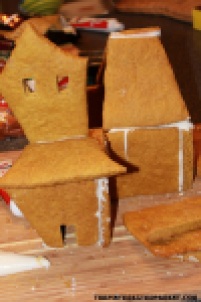
Gingerbread Haunted House

IMG_4734

My child has very little concept of time. It is hilarious because she knows the names of the days of the week and she will use them with no real understanding of when that day actually is. She will reminisce about a something that happened weeks ago & retell it saying that it just happened yesterday. It is no surprise then that she does not have much of a grasp on the seasons or when the holidays fall. Most of the summer Mai had been asking me to make a gingerbread house. Trying to explain to my daughter that we were in the wrong season for gingerbread is pointless. Last week she was especially insistent, so what is a mommy to do?  I promised her that we would make gingerbread houses. To keep with the theme of the season, we made haunted houses. I found this great recipe for pumpkin gingerbread online.
http://www.instructables.com/id/Pumpkin-Spice-Bread-Halloween-House/?ALLSTEPS

We doubled the recipe for our house.

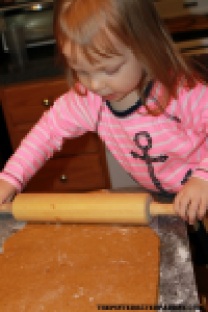
I measured out the ingredients & handed them to Mai. She sang Patty Cake as she mixed & rolled out her dough. My girl loves to cook.

IMG_4681 IMG_4683 IMG_4688

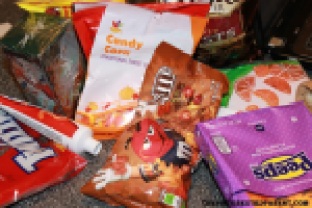
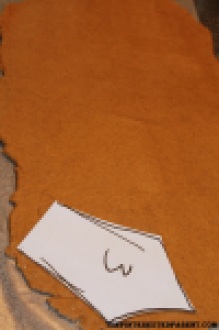
We drew out templates earlier in the day, stocked up on candy & made our icing.

Royal Icing

2 eggs whites

1 box of confectioners sugar

Beat eggs until frothy & mix in the sugar until smooth. Add the icing to your piping bag.

As we were working with raw egg, I also used store bought icing for Mai to use when she decorated.

IMG_4693 IMG_4696

IMG_4685

With the leftover gingerbread I rolled out a haunted tree.

IMG_4687

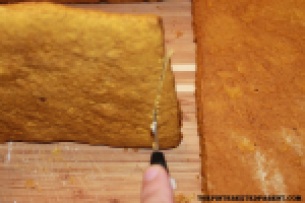
After you have baked your gingerbread, be sure to trim and straighten edges. Cut out any windows or doors.

 IMG_4700 IMG_4690

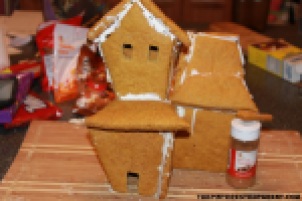
Generously apply icing & assemble your house. Use items around your house to hold your pieces upright and pushed together.

 IMG_4698 IMG_4699

IMG_4701 IMG_4702

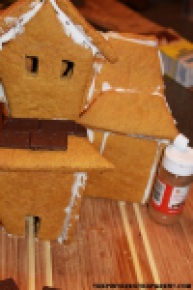
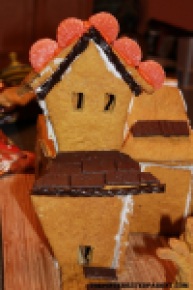
Once your house is assembled, you can start decorating. We used After 5 thin mints for our roof eaves

IMG_4704 IMG_4707 IMG_4708

Mai helped out by decorating the tree with some M & Ms.

IMG_4709 IMG_4713

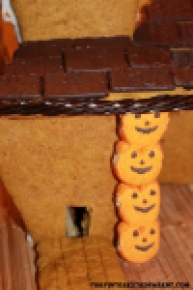
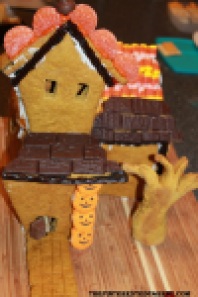
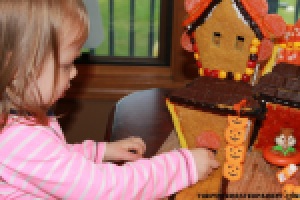
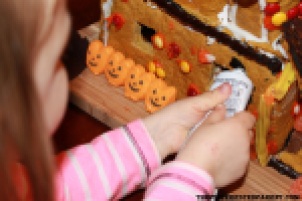
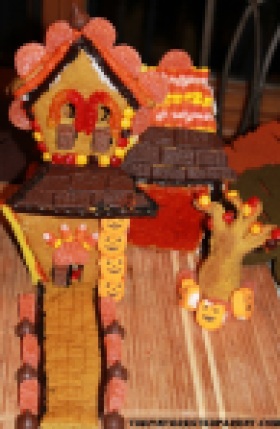
We added orange gum drop slices, gummy worms, candy corns, licorice whips, Hershey kisses, pumpkin Peeps, M&Ms & mini Kit Kats to our house.

IMG_4711 IMG_4716

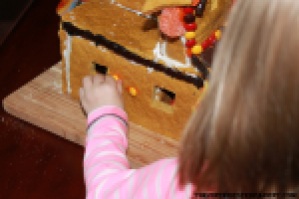
While mommy was in charge of decorating the front, Mai got to do the sides. She hid M&M’s & gummy worms in the house through the windows. We gave her a bowl of icing to dip her candy in to make it easier. She dipped the candy in the icing & then decorated her face more than the house.

IMG_4724 IMG_4727 IMG_4738 IMG_4739

It was a lot of work, but it was a fun project for me & the munchkin. I can’t wait for Christmas now to do it again.

IMG_4734

Food For Eat & Food For Play

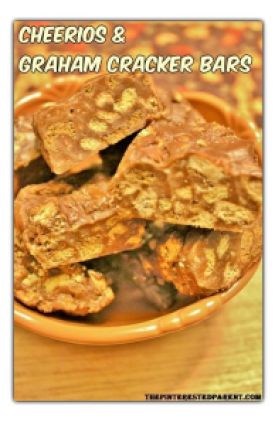
036For Mother’s Day last week a work colleague gave all of us mommies a giant chocolate bar. I love chocolate of course, but am not a fan of plain chocolate. I  wanted to make some sweet treats with the chocolate, but wasn’t sure what to do. I often refer to myself as a junk cook because I love to just grab random leftover junk & throw it together just to get rid of it. Last night was a good night for that & my daughter loves cooking with mama. The measurements are random because they are leftover ingredients, but my junk bars came out pretty good. My husband says they taste like a Twix bar.

Ingredients:

1 7oz chocolate bar

12 marshmallows

1 /8 cup of margarine

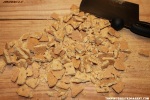
1 1/2 cups of graham crackers (chopped)

1 cup of chocolate cheerios

Directions: Melt the margarine over low heat. Add marshmallow & stir until melted. Add the chocolate bar. Remove from heat & mix until marshmallow & chocolate are melted. Quickly add the graham cracker & cheerios. Press into a pan. I used an 8X6X2 pan. Refrigerate & then cut into squares.

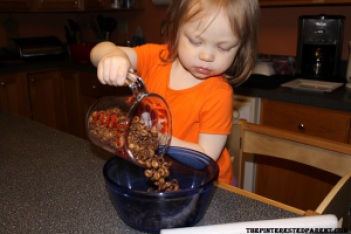
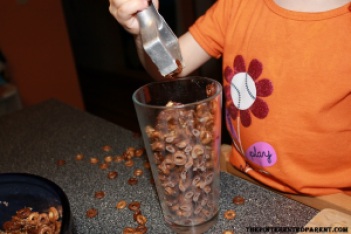
We went through many Cheerios. Mai was having so much fun with them, we used up most of the box.

013 004 041

009 019 023 026

cheeriosandgraham.jpg

Luckily for Mai, an accident the next day kept her in the food fun.

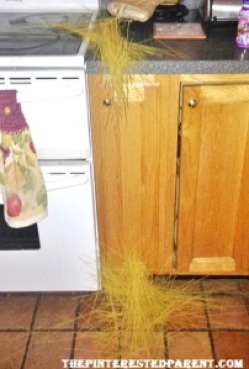
While I was work today, I received a text message from my husband. The text went a little something like this..”Do you know why there was a box of spaghetti open on both ends?”

Do you know why there was a box of spaghetti open on both ends?

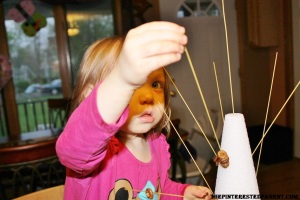
Oops! I knew already that this was my fault. Sorry honey. But as the saying goes “When life hands you lemons, make lemonade.” So that is what we did. Daddy gave her a bowl and a handful of the spilled pasta. Mai was happy playing with the spaghetti while I was at work. When I came home I saw the big bowl of the uncooked pasta & remember something that I had seen before. I had a styrofoam cone laying around & stuck the dry spaghetti into it. We took some of our stale Cheerios from last nights food fun & our little tot had another activity to keep her busy. This is such a wonderful way to teach hand-eye coordination & as you can see my daughter loved it.

004 033  

020  038

008

So what else can we do with all that floor pasta?

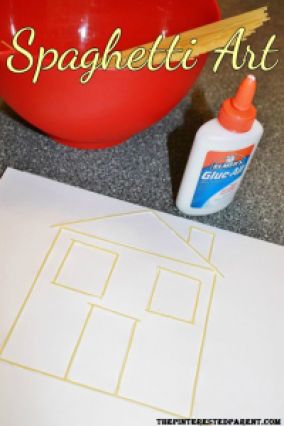
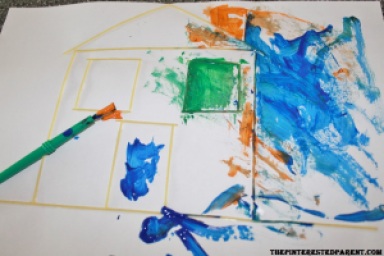
How about spaghetti art?

Spaghettiart.jpg

002

Who knew Cheerios & spaghetti could be so much fun?

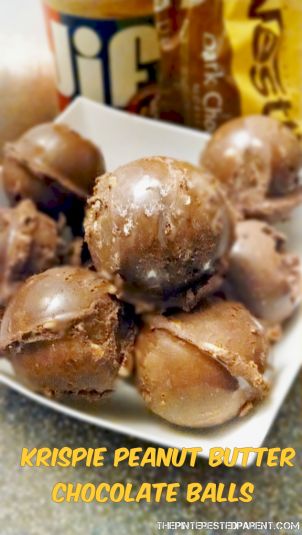
Krispie Peanut Butter & Chocolate Balls

krispiepeanutbutterchocolateballs.jpg

Here is a simple fact of life…women love chocolate. We do! Men do not understand this as much. My husband would prefer a bowl of Doritos, but hand me a piece of chocolate and I am happy.

Tonight I had a craving. Why is it when ever you want candy, there is not a piece to be found, but as soon as you are on a diet, there is chocolate around every corner?
I wanted some chocolate, but I like my candy with nuts or some kind of crunch. We had chocolate chips, but I needed something more.

Krispie Peanut Butter & Chocolate Balls

Ingredients:
1 tbsp of butter
1/2 cup of crunchy peanut butter
2 cups of chocolate chips
1 cup of white chocolate chips
2 cups of Rice Krispies

Directions:
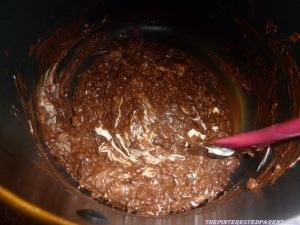
In a large saucepan melt the butter over low heat. Add the peanut butter. Stir for about a minute until melted. Add your chocolate chips. Stir until melted and smooth. DO NOT OVERCOOK. Once chocolate is melted add the Krispies. Mix until all of the Krispies are covered. Spoon out the mixture & fill a ball pop mold. Refrigerate until chocolate has hardened & then pop candies out of mold.

028 029033 034krispiepeanutbutterchocolateballs.jpg