
Halloween
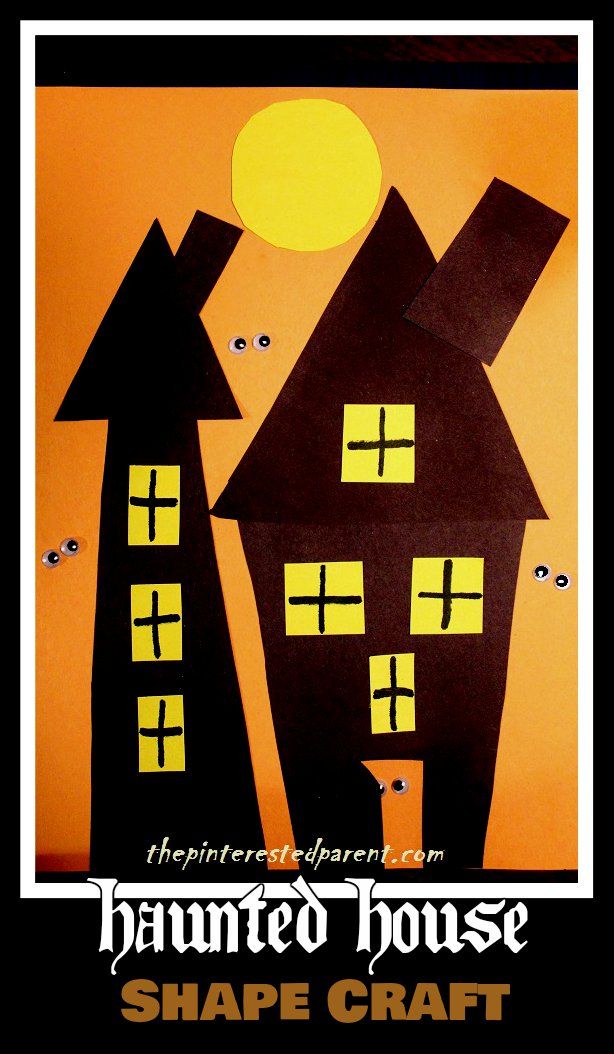
Haunted House Crafts
I love doing crafts with my daughter. It is always fun to see what she can do. One of my favorite crafts to do with her is shape crafts. I love to watch what she will construct and listen to her tell the stories about what she just made. Last night we took some of those shapes & used […]
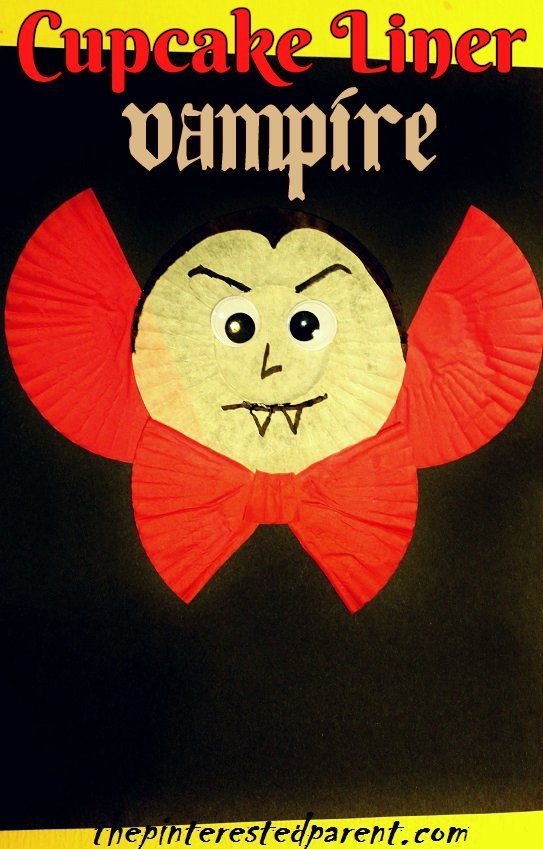
Cupcake Liner Vampire
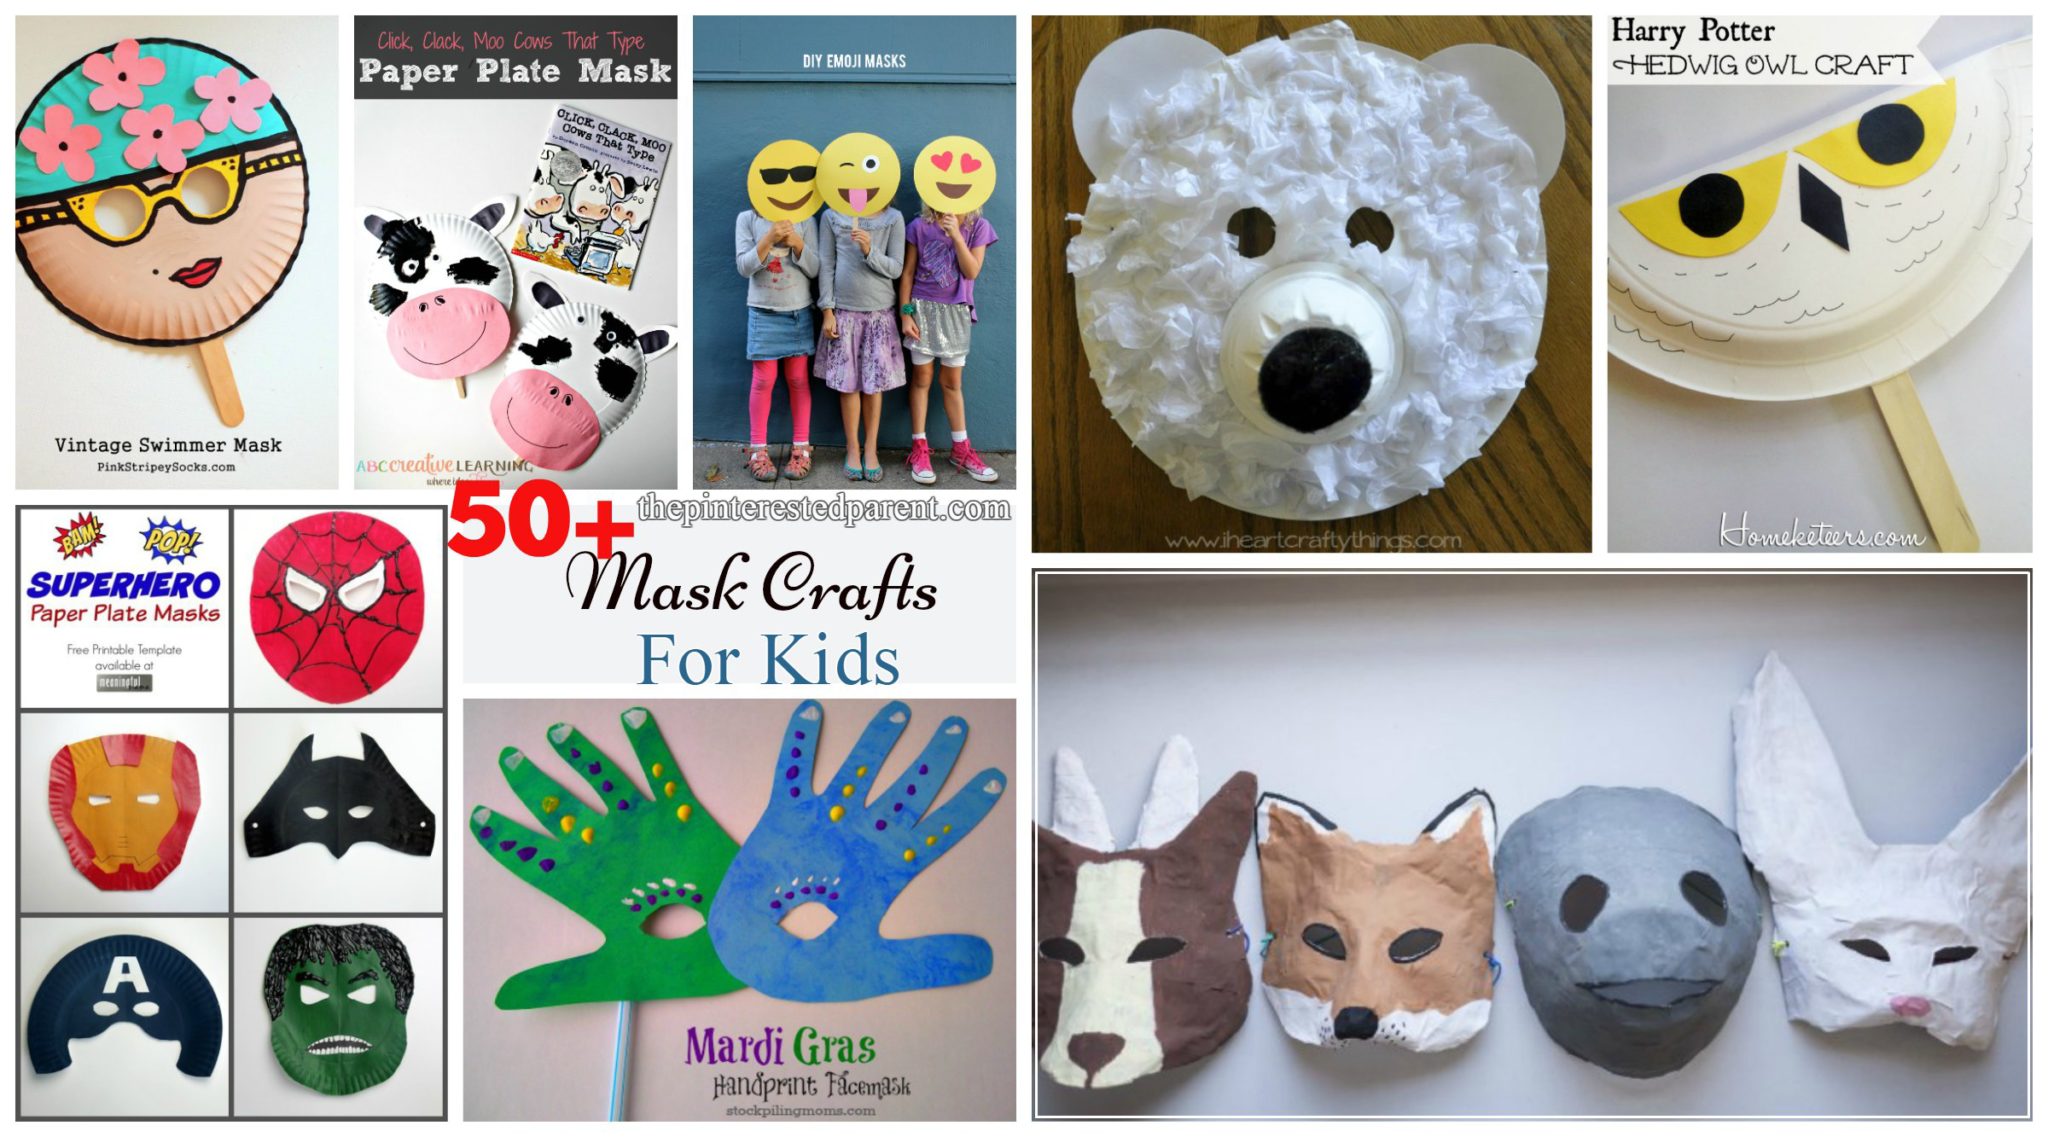
50+ Mask Crafts For Your Kids
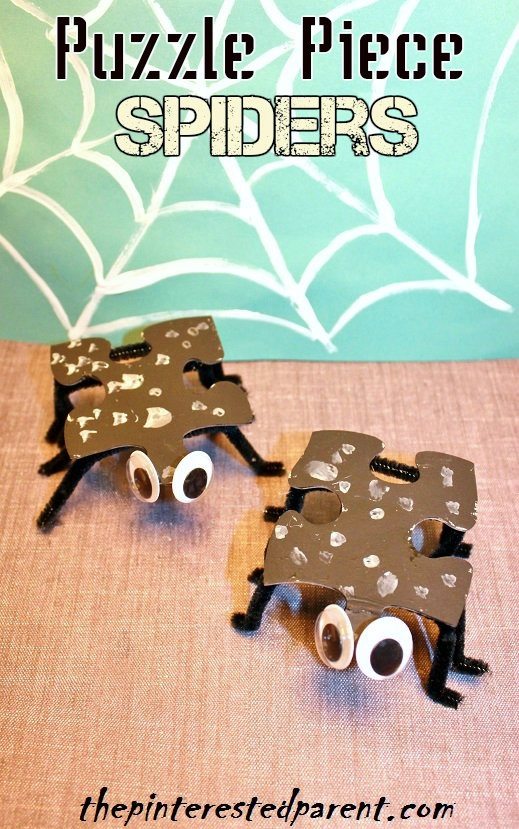
Puzzle Piece Spider
If you have old puzzles with missing pieces lying around, instead of throwing them out, consider using your old puzzle pieces to make a cute puzzle craft . Here is a quick and easy craft for the kids for Halloween. Puzzle Piece Spider Craft Paint a puzzle piece for each spider that you would like to […]
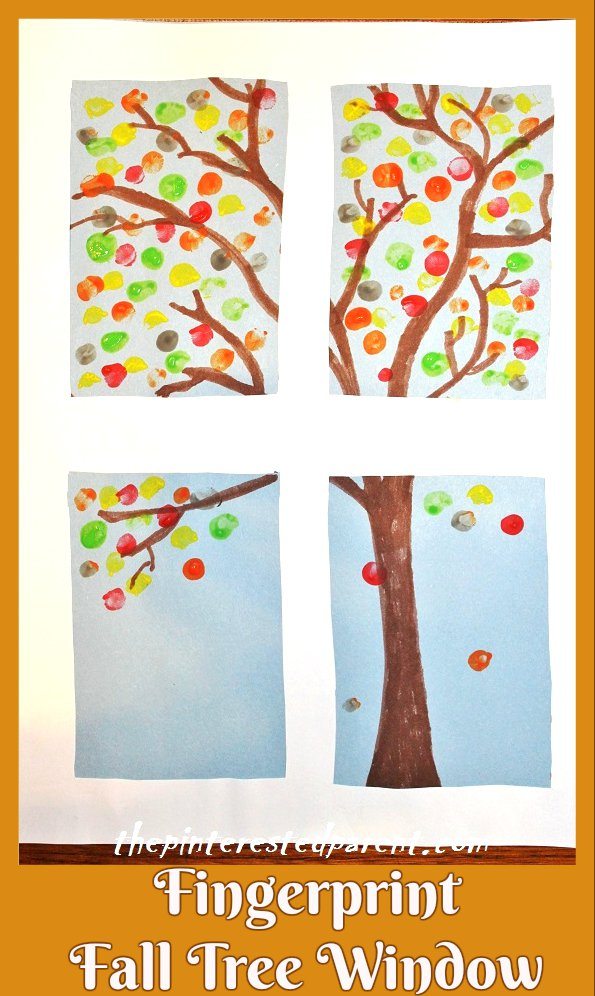
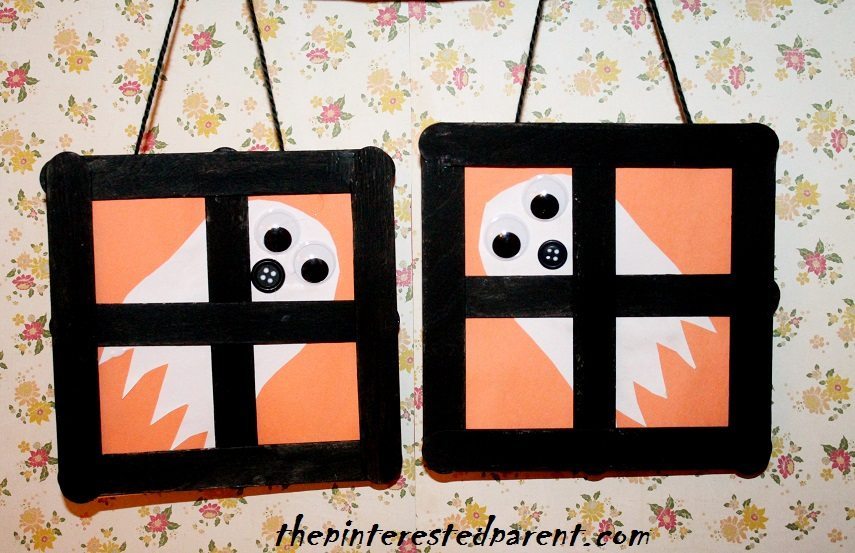
Fall Window Framed Crafts
This weekend we went to a local farm. We walked through the corn maze, picked pumpkins and went on a hay ride.
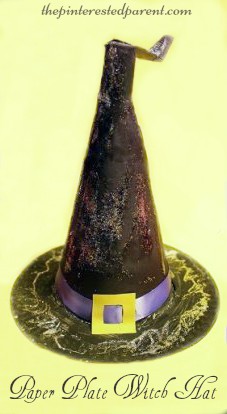
Paper Plate Witch Hat
*This post contains affiliate links” Ever since my daughter made the announcement that this year she was going to be a princess witch for Halloween, she has been talking about all things witch. “Mama, I need a witch broom.” “Mama, you need to be a mama witch.” “Mama, I need a witch hat.” While we […]

Halloween Paper Plate Silhouette Crafts
I have been thinking about Halloween a lot this week. I realized that I had a little planning to do after my daughter informed me that she would like to be a princess witch this year. September is more than halfway through and Halloween is sneaking up on us quickly. With Halloween on the brain, it […]
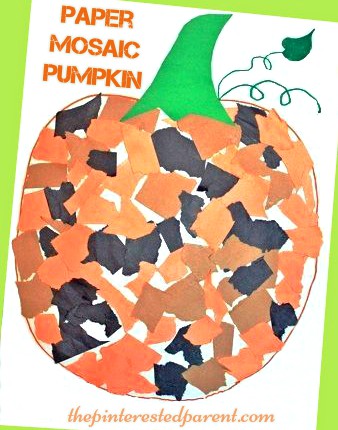
Mosaic Pumpkin Craft For Kids
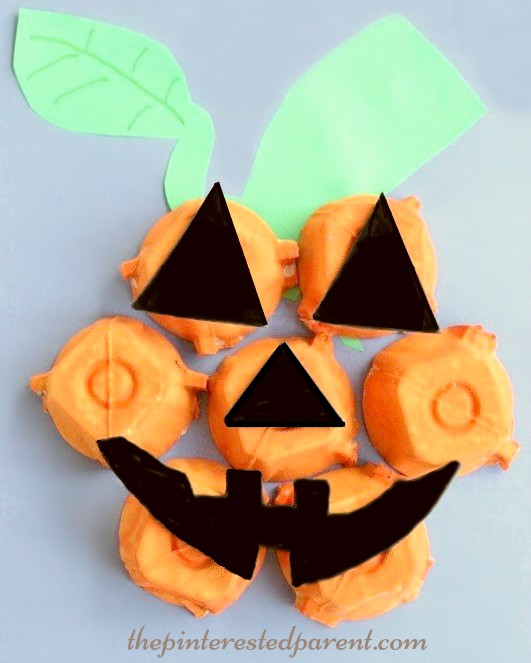
Egg Carton Pumpkin & Jack-O-Lantern Crafts
My picky daughter has recently discovered that she loved eggs. She like them in every form, scrambled, fried & hard-boiled. This is great news to me, as my husband & I love them too. We just finished an extra-large carton of eggs. Normally, I would store the egg carton away to use for craft projects […]