Category

Toilet Paper Roll Crafts

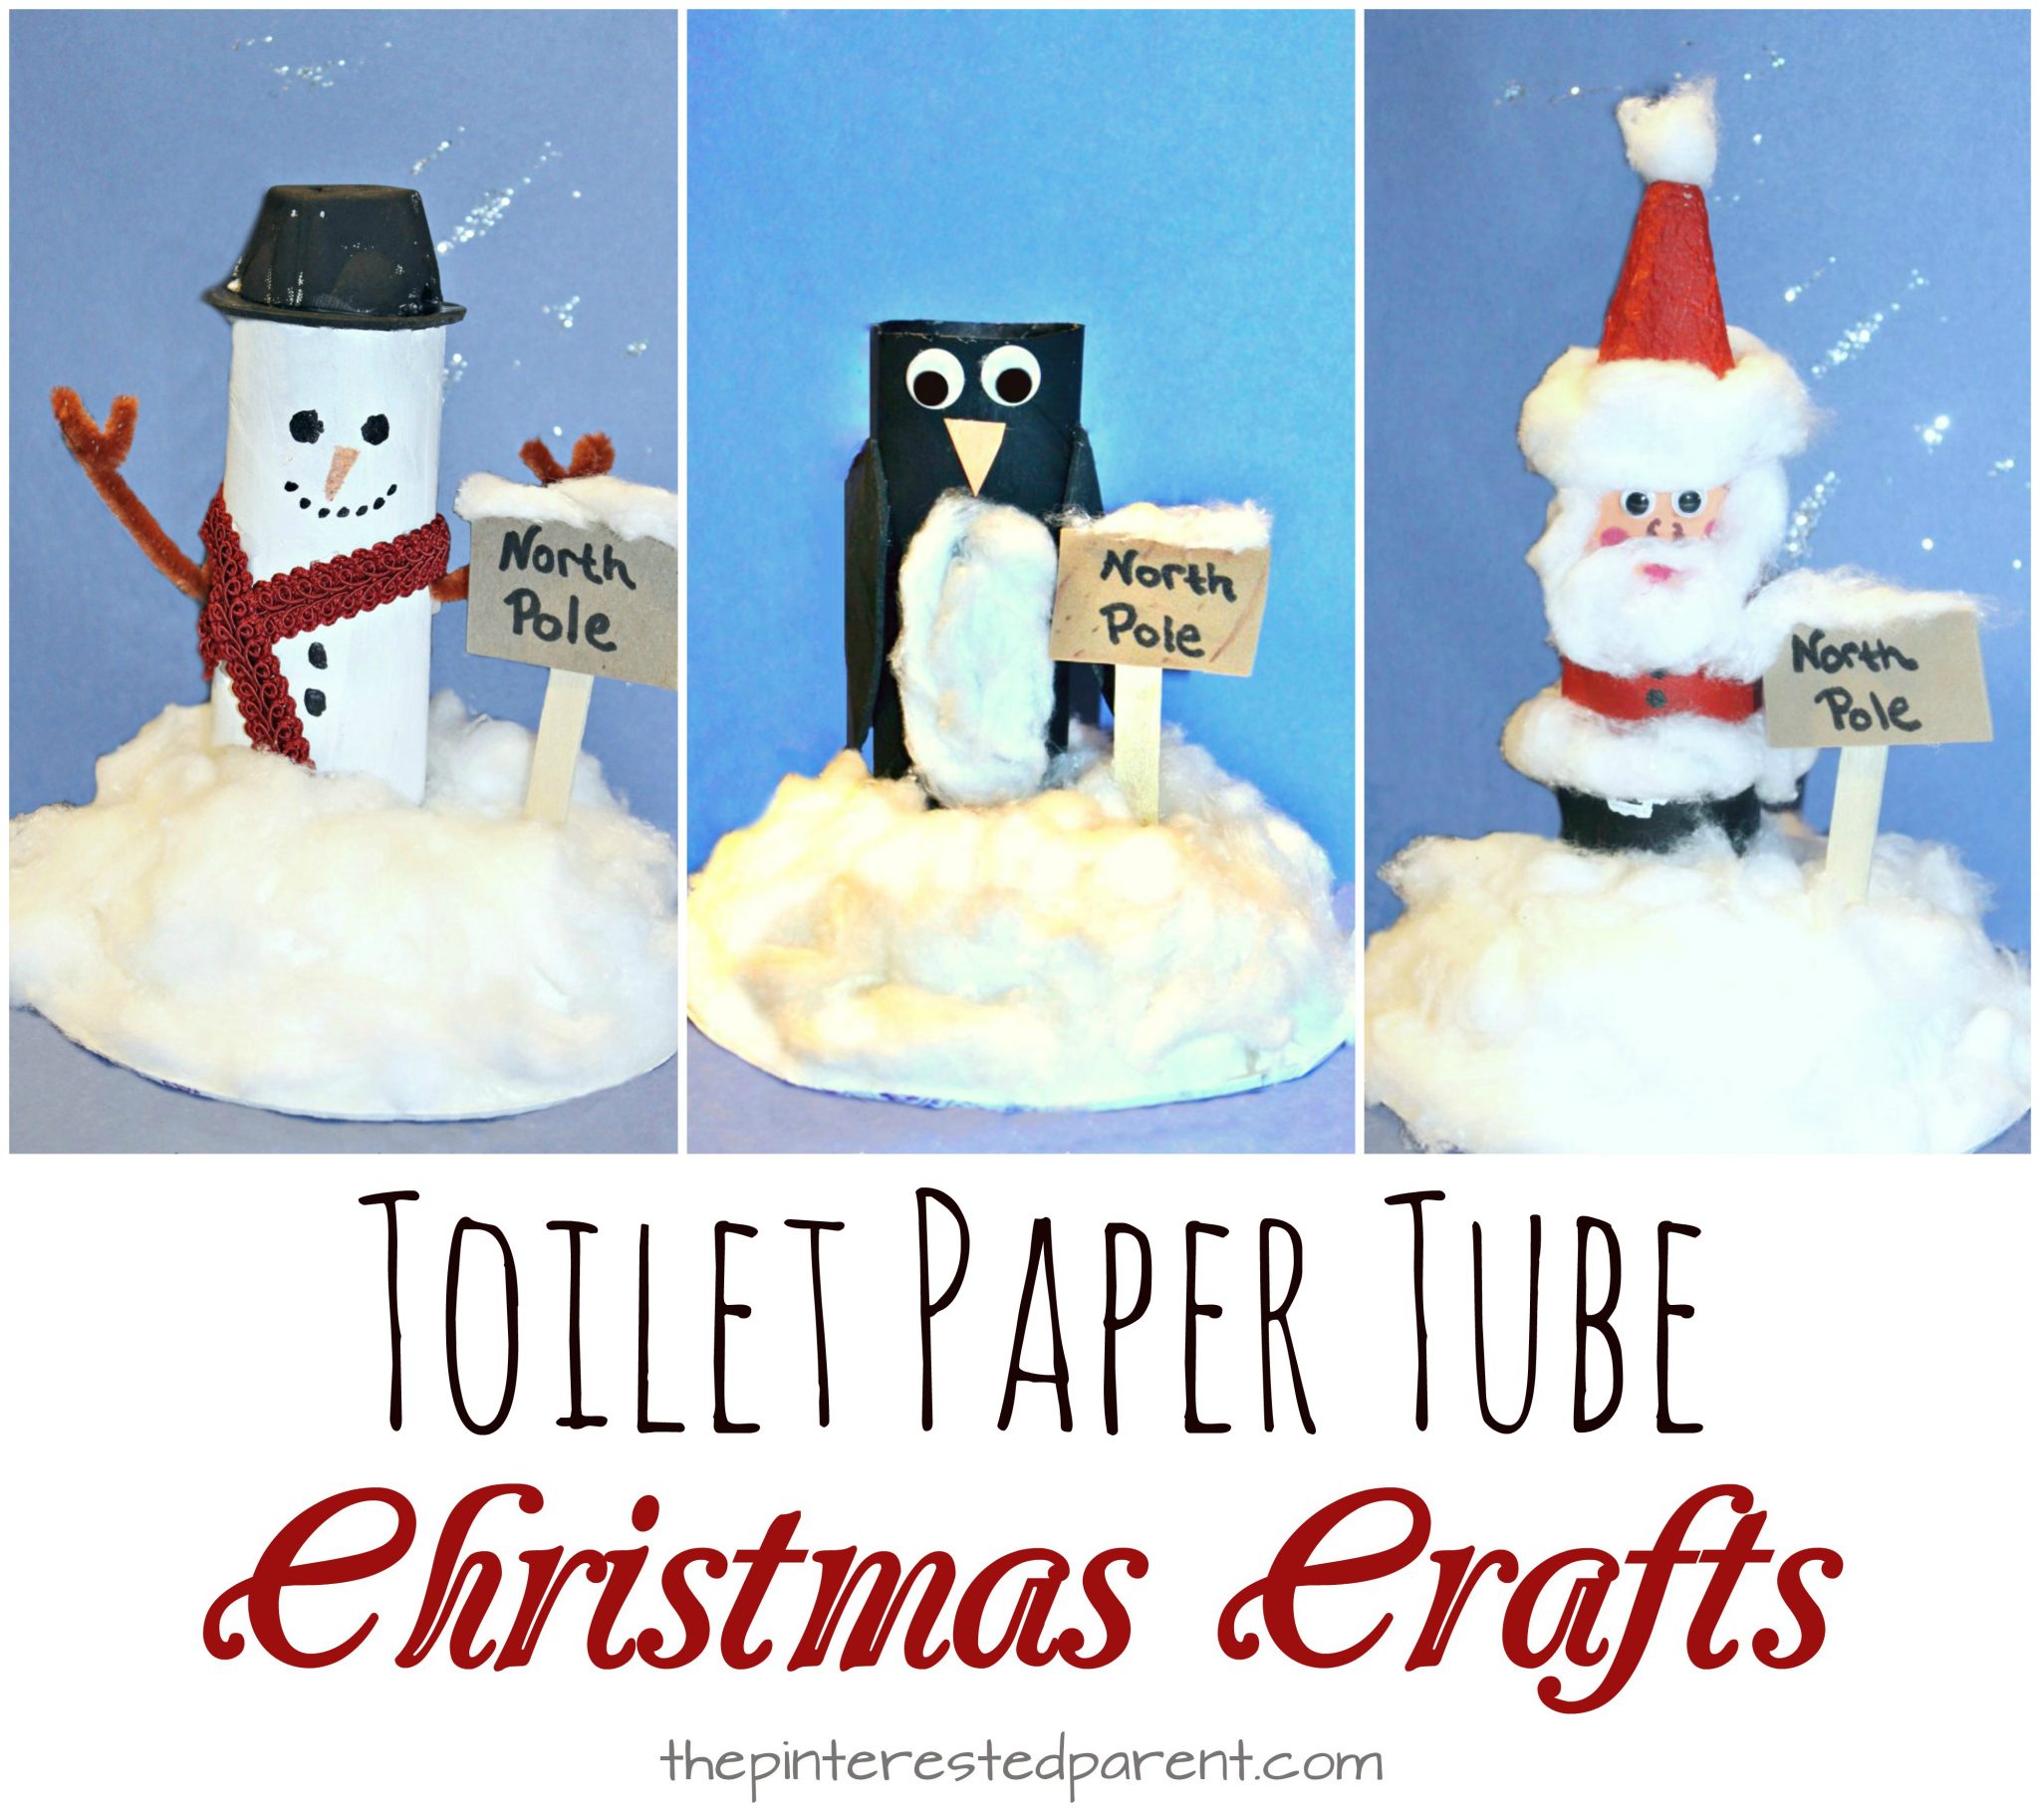
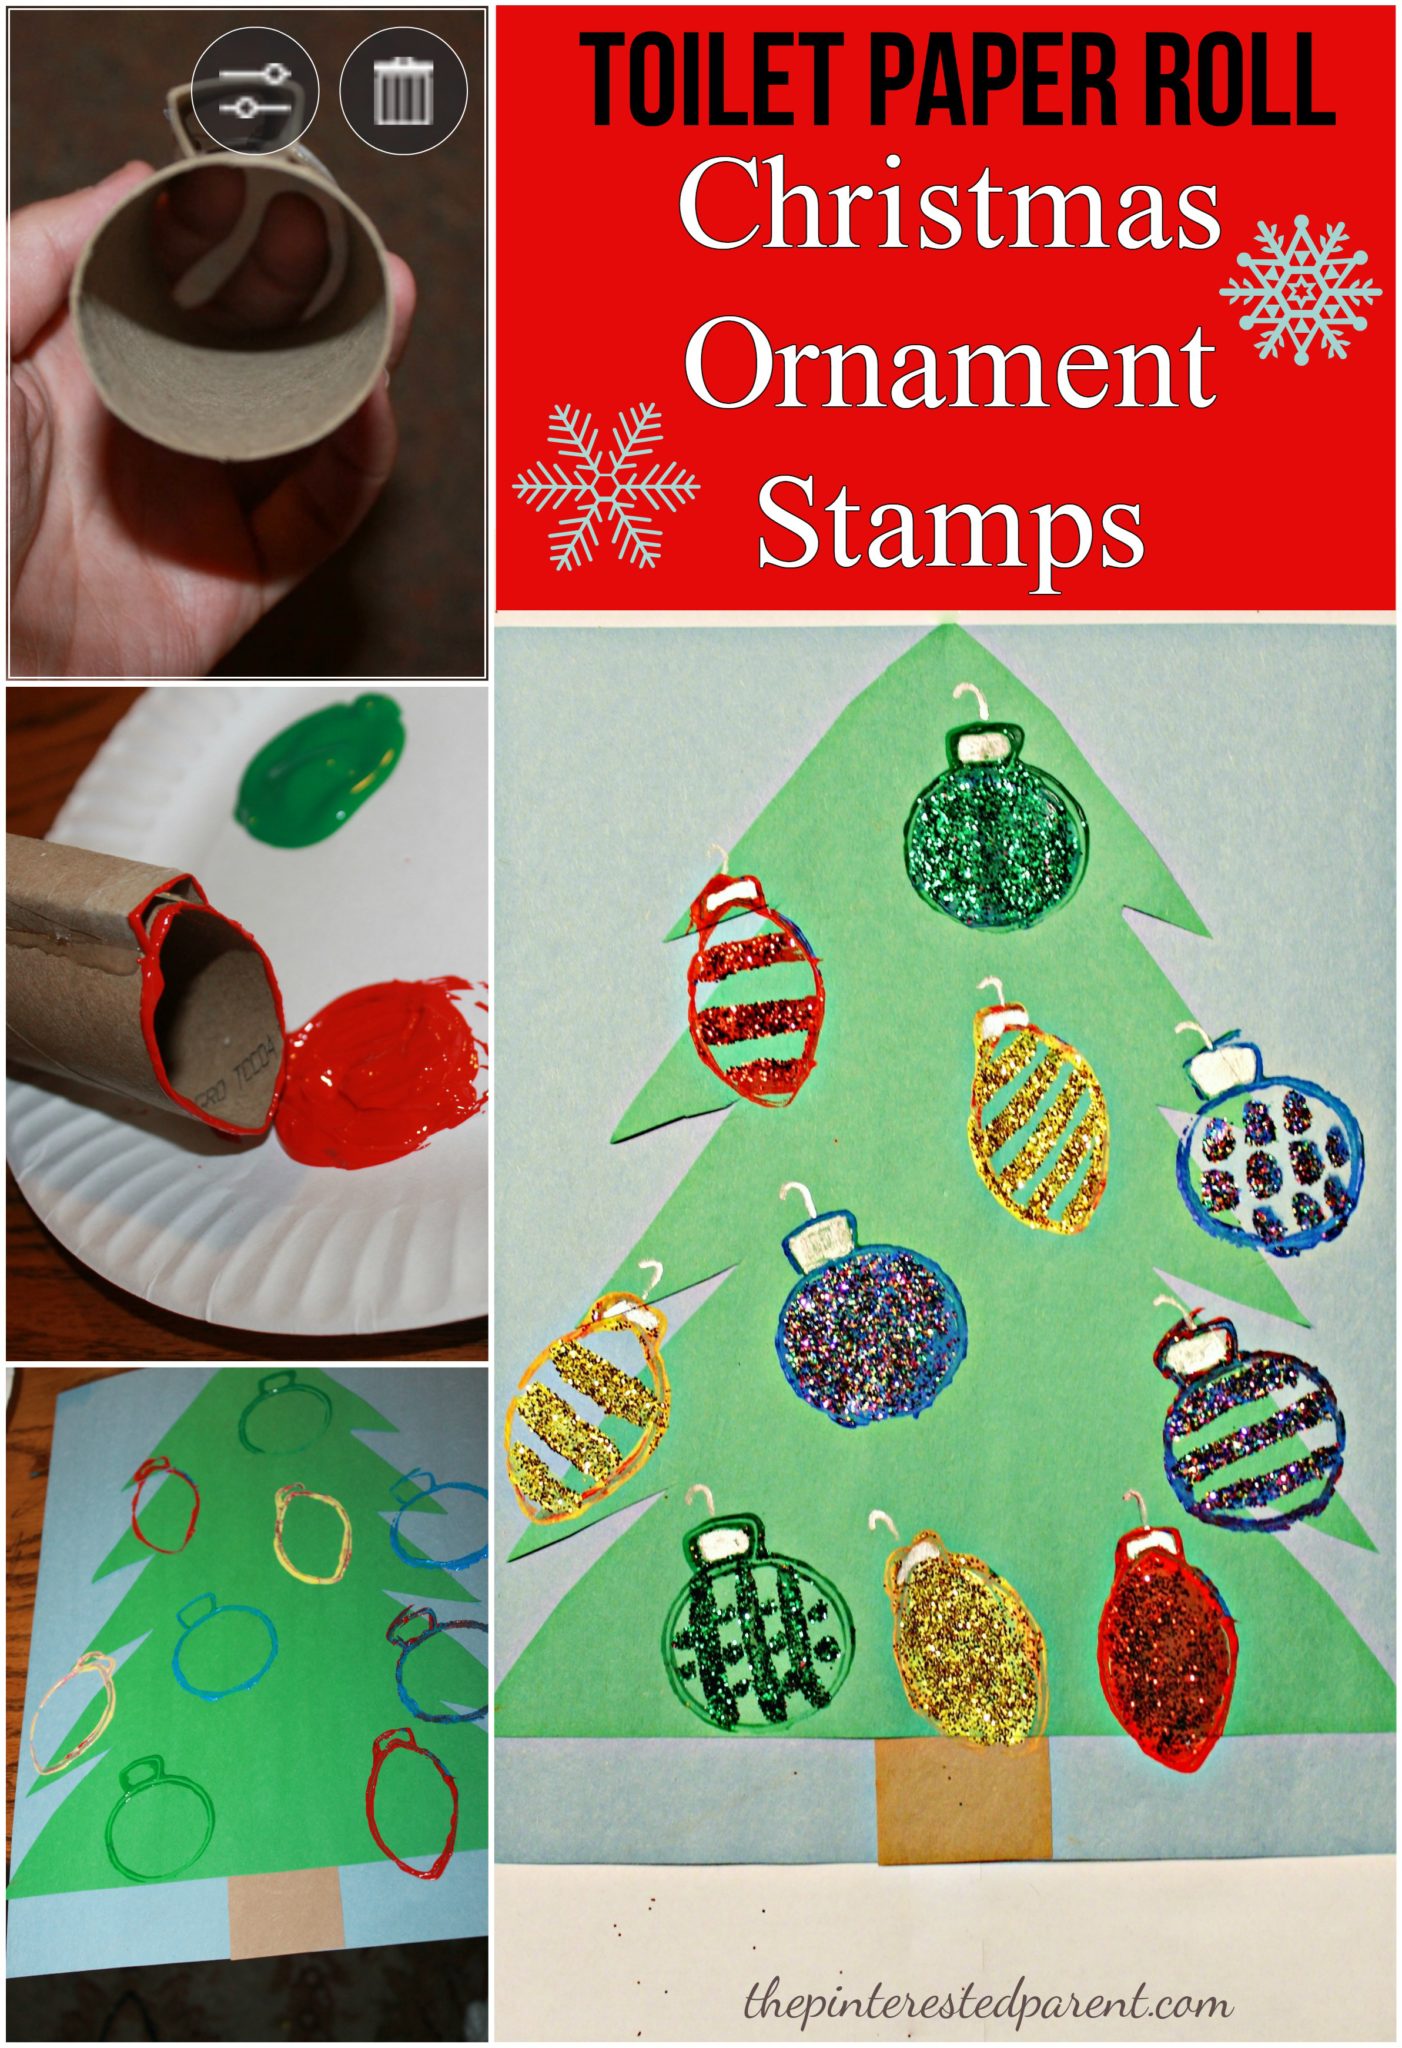
Toilet Paper Roll Christmas Stamps

Toilet Paper Roll Christmas Ornament Stamps

Last Christmas, we made Christmas ornament stamps out of potatoes. These were a big hit with my daughter. She loves stamping projects & we are a big fan of potato stamps. I have seen many people using toilet paper rolls as stamps by bending them into various shapes such as leaves, hearts & pumpkins and I thought what a wonderful idea.

We used our tubes to form two different shaped ornaments. I cut one tube and bent it to form the top of the ornament.

IMG_2708

I used a glue gun to glue the tops in place like shown. Make sure the top piece is flush with the tube.

IMG_2711 IMG_2709

The ornaments are then ready to stamp with. I cut out a Christmas tree shape for Mai to stamp on, but she was not interested in the tree. She just wanted to stamp on a plain piece of paper.

IMG_2717

IMG_2720IMG_2721

IMG_2723

Mai did not want to use the tree, but mommy did. I stamped the ornaments on the tree & let the paint dry.

IMG_2724

I used paint & glitter to decorate the ornaments & my daughter chose to use scissors & cut hers out for a project of her own.

Christmas Ornament toilet paper roll stamps

Thank you as always for stopping by. Please follow us on Facebook as well.

Paper Towel Roll Pumpkin & Spider

Paper Towel Roll Pumpkin Craft

Our house officially went on the market this week. We did a lot of work to get it picture perfect & ready for showings. We have been packing & cleaning around the clock for weeks. With all of the cleaning that we have been doing, I have gone through a lot of paper towels. I mean a lot. This left me with a lot of empty paper towel tubes & some crafting opportunities.

We worked on a couple of crafts this week to use up some of those empty tubes & here they are.

Paper Towel Roll Pumpkin

What you will need:

An empty paper towel tube

An empty toilet paper tube

Orange paint

Green paint

Green pipe cleaners

Green construction paper

Glue

Directions:

Paint an empty paper towel tube on the inside & out using the orange paint & then let it dry.

IMG_5840

Cut a 3″ – 4″ piece of a toilet paper roll. Cut the roll open & paint it green on both ends & let dry.

IMG_6070IMG_6071

Cut around the paper towel roll forming 3/4″ strips about 3/4 of the way down.

IMG_6068

Round fold the strips starting from the cut end & tuck into the opposite end of the tube as shown.

IMG_6069

Roll the green tube up & stick in the opening on top. Add a little extra paint to your pumpkin if needed.

IMG_6072

Cut leaves out of construction paper & glue them to the green roll. Cut a green pipe cleaner in half & roll into spirals. Stick them in the stem to finish off your pumpkin craft.

Paper Towel Roll Pumpkin Craft

But we were not done there. Mai chose to paint her tube black instead of orange. She wanted to cut her tube too. We chose to make a big spider out of the black tube. In fact we ended up making two because Mai wanted her spider to have a friend.

To make the spider, paint & cut the tube the same as above. Bend the strips out & then make bends for knees & feet.

IMG_5843

Push the uncut core down & bend the legs up around it. Add a little glue behind the knees to make the bends stay. Add googly eyes & glue a pipe cleaner to the inside of the tube.

Paper TOwel Roll Spider Craft

Thank you as always for stopping by. Please follow us on Facebook as well.

Toilet Paper Tube Waving Flag

There are 2 weeks left until the 4th of July and we are already enjoying the sounds of the holiday. I can hear the fireworks going off nearby & it makes me smile. We have two more weeks of fireworks popping at night, two more weeks of everything red, white and blue and two more weeks of 4th of July crafting. This is simple cardboard tube craft looks like a flag waving in the wind.

Create a waving flag for the 4th of July out of cardboard paper tubes. Kid's crafts and activities

Continue Reading…

Toilet Paper Roll Poodle

Toilet Paper Roll Poodle


There is something about poodles. They are so grand and elegant. My daughter has a cute poodle purse that hangs on the door knob in her room. I was looking at it today while we were playing in her bedroom and I felt an overwhelming need to make a poodle.

What you will need:

2 toilet paper rolls

Mini cotton balls

3 cake pop sticks

Construction paper or foam

Acrylic paint

Markers

Glue gun (For adult use)


Directions:

Paint two toilet paper tubes in white or any other color that you would want your poodle to be. Cut one tube for the body & cut a smaller section for the neck. Cut them at a slant on one end.

IMG_3385

Poke 4 holes into the larger tube where you would like your legs to be.

IMG_3387

Cut 2 cake pop sticks in half & poke all 4 stick pieces into the holes.

IMG_3388

Cut a head out of construction paper & draw in the face.

IMG_3382

Cut out the ears.

IMG_3389

Glue the neck to the top of the body with the slant on top & facing away from the body. Glue the head over the neck hole opening.

IMG_3390

Glue cotton balls over the ear pieces & then glue the pieces to the side of the head.

IMG_3391

Fill the openings on either end of the body with cotton balls & glue more balls around the edge. Make sure to keep the center of the body bare. Add another half piece of cake pop stick to the rear. Glue a couple of cotton balls around the tip to form the tail.

IMG_3392

Stretch out a cotton ball as shown & glue around the bottom of a leg & repeat with the other 3 legs.

IMG_3394

IMG_3397 IMG_3395

Thank you as always for stopping by. Please follow us on Facebook as well.

Toilet Paper Roll Teddy Bears

Toilet Paper Roll Teddy Bears


This weekend we went to a birthday party for one of Mai’s friends. She played outside with her friends & ate cupcakes and had a great time. It also got her talking to me about her next birthday party. Last year we had a Play-Doh themed birthday party.

playdohparty

This year she told me that she would like a Teddy Bear party. Since her birthday is 7 months away, I have a lot of time to think up some ideas & plan for it, providing she doesn’t change her mind from now until then. All weekend she talked to me about her teddy bear party. “I really like Teddy Bears, mama.” She was so wide-eyed and excited that we had to have a little bit of Teddy fun now.

Toilet Paper Tube Teddy Bears


What you will need:

Toilet paper tubes

Paint

Construction paper

Glue

Magic markers


Directions:


Paint the toilet paper rolls in your Teddy Bear colors & let them dry. My girly girl of course wanted pink.

IMG_3125

While the tubes dried, we cut shapes out of two different shades of construction paper for our bear parts.

IMG_3124

Using a glue stick we glued the white shapes into the brown as shown.

IMG_3123

IMG_3131 IMG_3132

I glued the parts onto the tubes for Mai & I.

IMG_3143

We drew in the bear’s paws & mouth with magic marker.

IMG_3159 IMG_3157

Mai was right, she really does love Teddy Bears.

IMG_3160

Thank you as always for stopping by. Please follow us on Facebook as well.

Itsy Bitsy Spider Craft

Itsy Bitsy Spider Went Up The Water SpoutLast week Mai asked me if we could make a craft with sunshine, rainbows & clouds. We made a couple of cute paper plate crafts together with all of these things, but when we were finished, she looked at me and said “Mama, you forgot the spider & the spout.”  I apologized for being a silly mama & told her that we could make our spider craft another day.

My daughter does not forget a thing, so of course she did not forget that I promised her an Itsy Bitsy Spider craft.

What you will need:

3 toilet paper rolls or 1 paper towel roll

Craft pom poms

Pipe cleaners

Glue

Paint

Yarn

A sheet of cardstock

Optional: construction paper, cotton balls, buttons, markers, crayons or other embellishments to make your background.

Directions:

Cut your paper rolls open lengthwise. Paint them white & let dry. Craft a spider using pom poms & pipe cleaners. I let Mai glue hers together, but then used a glue gun to make it more secure. Glue a long piece of yarn to the end of your spider. The piece should be long enough to feed through the whole spout.

IMG_2781 IMG_2782

Glue the painted tubes to a piece of cardstock, cut side down. Open the tubes slighty to widen your spout. Cut a small section of tube in half lengthwise & glue it so that it comes out of your gutter.

IMG_2815

Run your piece of yarn up the pipe so that the spider dangles below the spout. Let your toddler pull the spider up & back down.

Itsy Bitsy Spider CraftIMG_2783

Add embellishments for a background to create a scene. Mai drew in a big bird & even dedicated her craft to me. Awww.

IMG_2792IMG_2816

Thank you as always for stopping by. Please follow us on Facebook as well.

Toilet Paper Roll Grapes

Toilet Paper Roll Grapes Craft


Before we had our daughter we kept a pretty neat home. We had little knick knacks on our coffee table, there weren’t scuffs & marker on our hardwood floor & I used to have a clean & bare refrigerator. I hated having things on my refrigerator. I thought it looked ugly to have shopping lists & magnets hanging off of it. Fast forward to today & things are a bit different. My kitchen is now an art studio. Our kitchen cabinets, our refrigerator & our kitchen windows are covered with all of my daughter’s arts & crafts.

IMG_0572 IMG_0573IMG_0574

This would have made the old me cringe, but now it just makes me smile. Since these days our art projects have become part of the decor, I thought at least we could make a craft that matches with our kitchen’s theme. It is Tuscan themed with grapes & vines, so we made a grape craft.


Toilet Paper Roll Grape Craft

Gather a few rolls & snip into 1/4″ rings.


IMG_0566 IMG_0567

Shape & arrange the rings as you go, to make sure that you have enough cut & map out your project.

IMG_0544

Glue each piece into place. Mai helped apply the glue & I put them in place. Let the rings dry.

IMG_0543IMG_0542

Let them paint within the glued shapes to make a pretty picture perfect craft & then let dry.IMG_0550IMG_0551

This will make a great addition to our artastic kitchen.


Toilet Paper Roll Grapes Craft


Thank you as always for stopping by. Please follow us on Facebook as well.

The Princess Phase Has Hit & So Have The Princess Crafts

IMG_8134

It has been building for a while. I knew it was coming. It was inevitable. After almost 3 years of living under the same roof with Elsa, Cinderella, Rapunzel & my personal favorite Merida, my daughter has become a princess. She tells me all the time. “Mama, I a princess.” Tutu skirts must be worn every day. She even puts them on over her sweats when she goes to gymnastics. She loves Elsa just like all little girls these days, but still her favorite princess is Rapunzel. Rapunzel towers are built out of Legos, blocks, Play-Doh containers & just about anything else that is stackable. I have a collection of paper towel tubes saved up for crafting. Mai will get into them sometimes. She likes to use them as robot arms. Today, she grabbed them. She stuck one in a Dixie cup & said “Look mama, I made Punzel’s tower.” That sounds like a great idea.

Princess Castle Craft

What you will need:

Paper towel rolls

Dixie bathroom cups

Tissue paper box

Paint

Pipe cleaner

Construction Paper

Optional: Glitter, gems or other embellishments

Directions:

Cut out castle tops around the top of paper towel rolls & cut out windows. Cut rolls into different lengths to add different sized towers.

IMG_8109 IMG_8110

Stick the bottom end of a Dixie cup into the bottom of the uncut end of your tube. This will give it balance. Paint your towers in whatever colors you choose. For Mai, it had to be pink. She is getting really good at painting every inch of her projects.

IMG_8113 IMG_8114

Cut out a door on your tissue box & also paint. Stick a pipe cleaner into one Dixie cup. You will use this pipe cleaner to attach a construction paper flag to later. Paint the cup.

IMG_8117 IMG_8135

Add designs in glue & then sprinkle with glitter. Add gemstones or other embellishments of your choosing. Let dry & shake off excess glitter.

IMG_8138 IMG_8137

You can make your castle as small or large as you like. Get creative & have fun.

princesscastle

Our princess has her castle, now she needs to look the part.

Paper Princess Hat

What you will need:

Poster board

Glue

A few drops of water

Tape or staples

Tissue paper

Ribbon

Optional: glitter & gems

Directions: Cut out two pieces in a fan shape.  Size will depend on the size of your child’s head & how high you want your hat. The pointed side will be the top. Overlap the two pieces facing each other until they form a cone. Leave a small opening at the top of your cone. If you have something conical, use it as a template to wrap around. Tape, glue or staple your hat into place once you have it positioned the way that you want it.

IMG_8142 IMG_8143

Rip up colored tissue paper. Mix up school glue with a few drops of water. With a paintbrush paint on glue in patches & place & overlap the tissue papers.

IMG_8145 IMG_8147

Overlap with tissue all the way around until the entire hat is covered. Let dry. Draw designs with glue & then shake on glitter. When glue dries, shake off the excess glitter.

IMG_8148 IMG_8149 IMG_8150 IMG_8151

Add ribbon pieces to the opening at the top of the hat. Glue, tape or staple your hat into place. We used a hot glue gun for our ribbon.

Princess Hat craft for kids

Paper Towel Roll Crafting

Papertoweltubecrafting.jpg For the past few months now I have been hoarding away empty paper towel rolls. I had built up quite the collection and the sight of the rolls piled up on top of my kitchen cabinet was starting to give me hives. It was finally time to put them to some use. Mai and I have been on a craft frenzy this week. We made a mess, had a few tantrums & a few laughs and smiles too. Each of these crafts that we made uses one of our paper towel tube.

Paper Mache Maracas

What you will need:

Plastic Easter eggs (1 for each maraca made)

An empty paper towel roll cut in half or two toilet paper rolls

Uncooked chickpeas or dried beans

Newspaper

Glue

Water

Masking tape

Paint

Directions:

Fill each Easter egg with chickpeas or beans

012

Use one or two full pages of newspaper & wrap in around the chickpea filled Easter egg. Form it into a ball shape.

023

Tape the edges in place to hold the shape tightly.

025

029

Enlist the help of your favorite little crafter to tear up strips of newspaper for you.

035

018

In a bowl, mix 3/4 glue and 1/4 water to form your paper mache adhesive.


024

Dip a strip of the paper into your glue mixture.

020

Wrap your strip of paper around your ball shape smoothing it out carefully as you work it around.

030

After you receive a desired shape, allow it to dry & then place your ball on top of the paper towel tube halve.

033

Adhere the ball to the tube using masking tape & then cover the tape with more newspaper strips.

034

Continue to wrap your project with the paper strips and glue until you reach the desired shape. Make sure that all areas are smooth and that edges are not sticking up. Let it dry.

038

Paint the handles of your maracas first in the color of your choice and allow to dry.

057

Once dry, continue to paint the rest. You may now use the handle to hold on to while you paint.

064

Papermachemaracas.jpg

Make beautiful music.

084

Mai thought these were rattles. As she was shaking them, she kept saying “Ooooooh, I’m a baby..so cute.”

086

Paper Towel Kaleidoscope

What you will need:

An empty paper towel roll

Colored beads

Thin plastic (I used old plastic packaging)

Heavy duty aluminum foil

Glue gun

Craft paper

Ribbon

Directions:

Cut out two pieces of plastic small enough to fit snuggly inside of the paper towel tube.

023

As deep in the tube as you can, use your glue gun and squeeze out a line of glue rotating until it meets the starting end.

002

Give it a few seconds to cool slightly and then press your plastic disk into the glue.

003

Pour the beads on top of the disk, leaving enough room for the beads to move around. Add hot glue to the top edge of tube over the beads and place the other disk in place.

008

Fold a piece of tin foil into a triangle. Push your triangle into the open end of the tube. Trim the end as needed. Make sure to reform the shape. It will work best if the triangle has crisp, hard edges.

018

Cut out another disk using cardboard or thick scrapbook paper. Poke a hole through the middle of it & glue it to the tin foil end.

043

I wrapped my kaleidoscope in craft paper, but you can decorate however you like, paint, crayon, beads, ribbon.

003

004


005

006

Papertoweltubekaleidoscope1

Not quite like the real thing, but it still is fun to play with.

045

Butterfly Craft

What you will need:

An empty paper towel tube

Foam sheets

Scrap book paper

Pipe cleaners

Craft pom poms

Glue gun

Elmer’s Glue

Directions:

This was a pretty simple one. You could also do this on a smaller scale with a toilet paper roll.

Cut out foam pieces in the shape of the wings.

040

Using different colored scrap strips, wrap around the tube and glue using the hot glue gun.

042

045

048

Run the glue gun along the edge of the wing where they should meet with the paper towel tube.

049

Pour some glue into a paper bowl and let your munchkin dip the pom poms in and glue to the butterfly.

051

Mai decides it is way more fun to stuff the pom poms in the tube than to decorate with them.

054

Glue one large pom pom to the top for your head & use pipe cleaners to make antennas. Let dry and your craft is done.

papertoweltubebutterfly.jpg