Tag
toddler
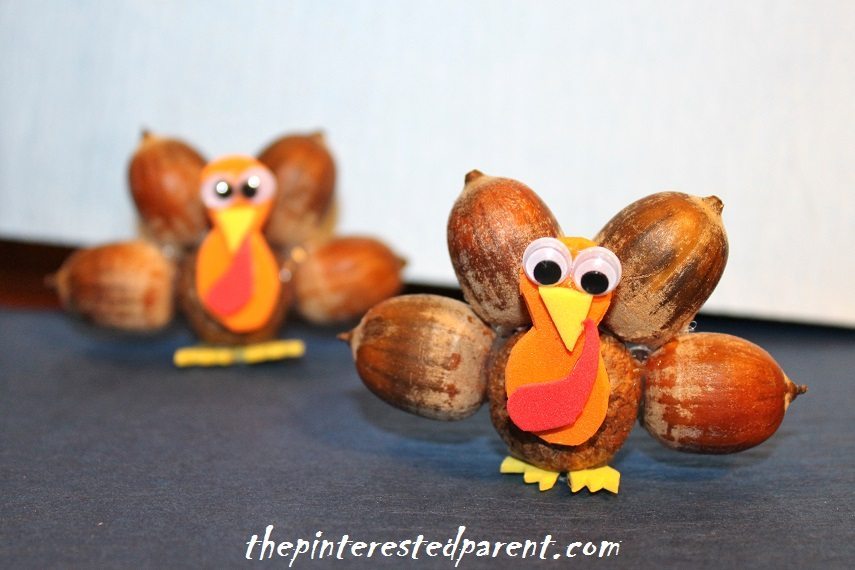
Acorn & Nature Crafts
Yesterday was a beautiful autumn day. With the weather getting cooler everyday, I wanted to make sure that we enjoyed every second of the outdoors as we could before the cold weather hits. We went for a walk to look at the foliage, we flew a kite & cleaned up our yard. The leaves have begun to fall & so have the acorns. Our yard is covered in acorns. My daughter helped me gather up the acorns. We filled up her Hello Kitty bag with them. Now what we were going to do with them all?
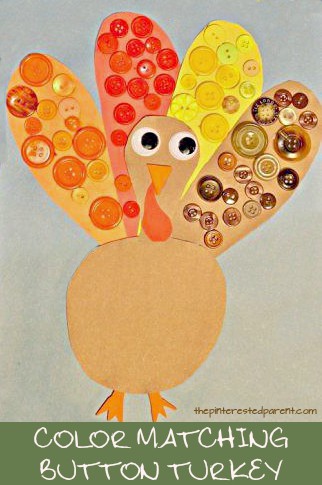
Button Color Match Turkey Craft
We have been packing in a lot of fall fun & activities lately. We visited a corn maze recently.
In the maze there was a series of questions at each checkpoint in the maze leading to the maze’s end. All of the questions were about turkeys. My daughter was excited every time we found a checkpoint. We asked her a question and would try to figure it out all together. She thought it was especially funny when she found out that the red thing dangling from its neck was called a wattle. She still found it funny last night when we made a turkey craft.
Our turkey craft matched up colorful buttons with the coordinating feathers.
What you will need:
Construction paper:
Buttons
Glue
Googly eyes
Directions:
Cut out shapes for the turkey feathers out of construction paper & then glue onto another piece of paper.
Cut out a shape for the turkey’s body.
Cut out the turkey’s feet & beak & glue them onto the turkey. Cut out the wattle (still funny) & glue it to the neck.
Glue the turkey body over the feathers & add a pair of googly eyes.
Sort out the colored buttons that coordinate with the turkey feathers.
Have your child glue the buttons onto its coordinating color.
Our turkey came out adorable, wattle & all. I can’t wait for more turkey crafts.
Thank you as always for stopping by. Please follow us on Facebook as well.
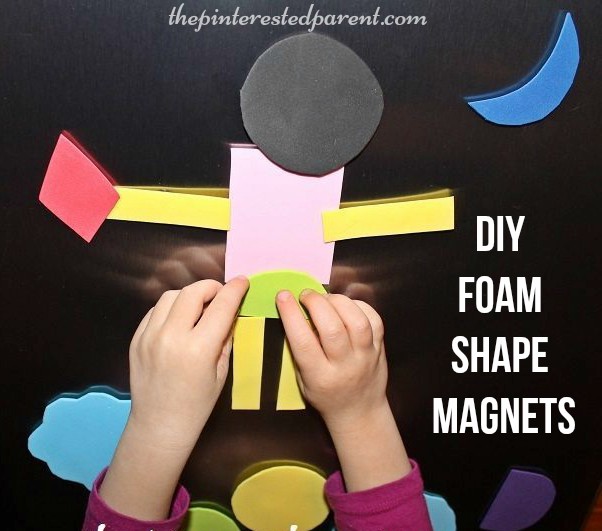
Foam Shape Magnets For Imagination Play
* This post contains affiliate links.*
We like to work with shapes a lot in our home. My daughter loves creating with shapes & I love watching her. Her imagination is flourishing & it is an amazing thing to see. We use these shapes to make abstract art, holiday crafts & we even use them for imagination play in the bath. Last night, my daughter came across a photo of shape magnets for kids in one of her kid’s magazines.. Her eyes automatically lit up. “Mama, I want these.” My eyes lit up too when I realized that I could make them myself at home.
Foam Shape Magnets
What you will need:
Directions:
Cut several different shapes in different sizes out of the foam. I use foam a lot for crafts, so I luckily had a big bag of scraps left over.
Cut several pieces of magnets and set them aside.
Use a glue gun to glue the magnet pieces to the back of the foam pieces & let the glue dry.
Put your shapes on the refrigerator & let your child go.
This was a fantastic activity for her. She was so excited & happy as she created pictures out of her shapes. She showed me each one & told me the story about each creation.
This one was a milkshake with a straw.
She worked on her tippy toes to form this one, which was a girl flying a kite at night.
This one was me holding an ice cream cone.
This kept her happy & entertained up until bedtime.
The magnets were pretty simple to make, but you can always purchase a set of shape magnets too. They would make a great gift for an imaginative toddler in your life.
Thank you as always for stopping by. Please follow us on Facebook as well.
Hey Diddle Diddle Paper Plate Craft
*Contains affiliate links*
My daughter loves her bedtime stories. She goes through phases each week of which book is her favorite. This week her favorites are the new Dr. Seuss book ‘Which Pet Should I Get‘ & ‘My Little Mother Goose‘.
‘My Little Mother Goose’ is filled with all of the classic nursery rhymes that I knew as a child. Hey Diddle Diddle is one that we love in particular.
My daughter was very excited to make a craft of one of her favorite nursery rhymes.
The Dish Ran Away With The Spoon Paper Plate Craft
Mai wanted to make sure that the dish & spoon were the same as the dish and spoon illustrated in the book, right down to the bow on the spoon.
What you will need:
Paper plates
Acrylic paint (Pink & purple)
Googly eyes (Big & medium)
School glue & a hot glue gun (Use caution when operating a hot glue gun. Adult use is recommended.)
Purple Ribbon
Directions:
Paint a paper plate in the pink & let it dry.
Cut a spoon shape out of another plate & paint it purple & let it dry.
Glue large googly eyes to the plate.
Paint a ring around the plate.
Paint the rest of the face onto the plate.
Paint a face & add googly eyes onto the spoon as well. Wrap a piece of ribbon around the spoon’s neck.
Cut 2 pipe cleaners in half & glue the pieces to the back of the plate to form arms & legs. You will only need one pipe cleaner for the spoon, cut into quarters.
My daughter did a beautiful job & already requested to do the cow jumping over the moon for the next time.
Thank you as always for stopping by. Please follow us on Facebook as well.
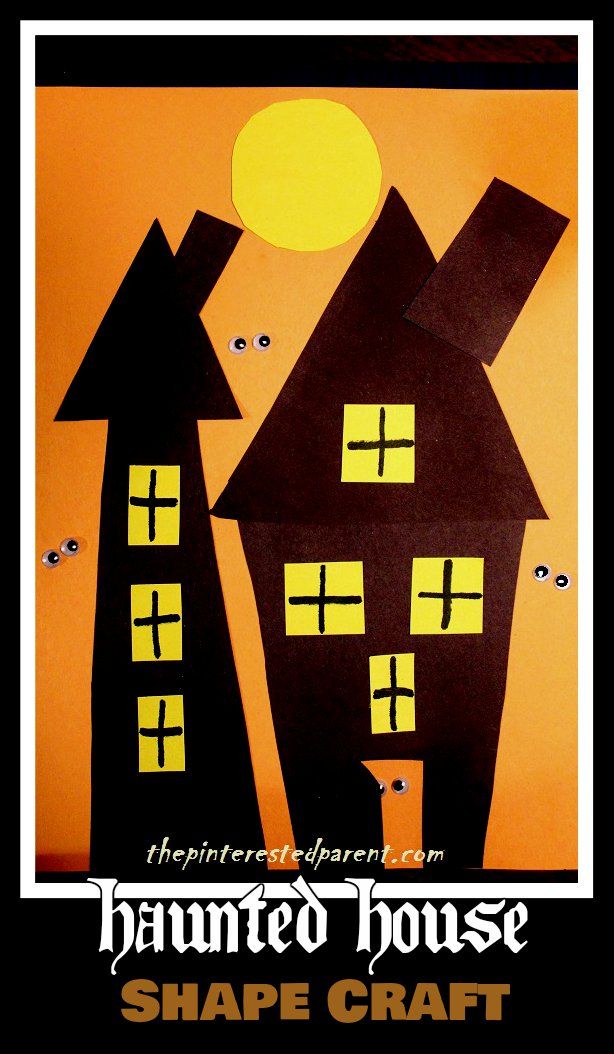
Haunted House Crafts
I love doing crafts with my daughter. It is always fun to see what she can do. One of my favorite crafts to do with her is shape crafts. I love to watch what she will construct and listen to her tell the stories about what she just made. Last night we took some of those shapes & used them to form haunted houses. Here’s how…
Cut out a bunch of shapes as shown. You will need two shapes for your house base & tower, two triangles for your roofs & two rectangles for chimneys. Cut small squares & rectangles out of yellow paper for the windows.
Glue your house base in place.
Glue on your roof. Draw a cross in the middle of your yellow squares to form the windows & then glue them in place as well.
Glue your tower next to your house & add the chimneys.
Cut out a circle to form a moon & glue it in place. Add googly eyes to finish off your haunted houses.
These houses came out so cute that it inspired one more haunted house craft.
Footprint Haunted House
Paint your child’s foot in all black. Stamp it onto a piece of paper & let it dry.
Paint a door & windows in with yellow.
Use white paint to add details to your house.
Paint in a roof or draw one in with marker.
Paint or draw in bats, a tree & extra details to finish off your haunted little foot.
Thank you as always for stopping by. Please follow us on Facebook as well.
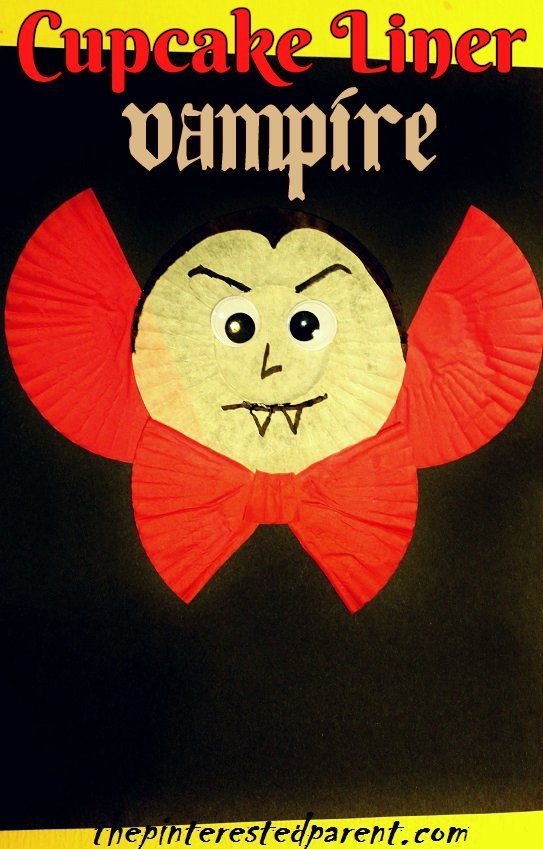
Cupcake Liner Vampire
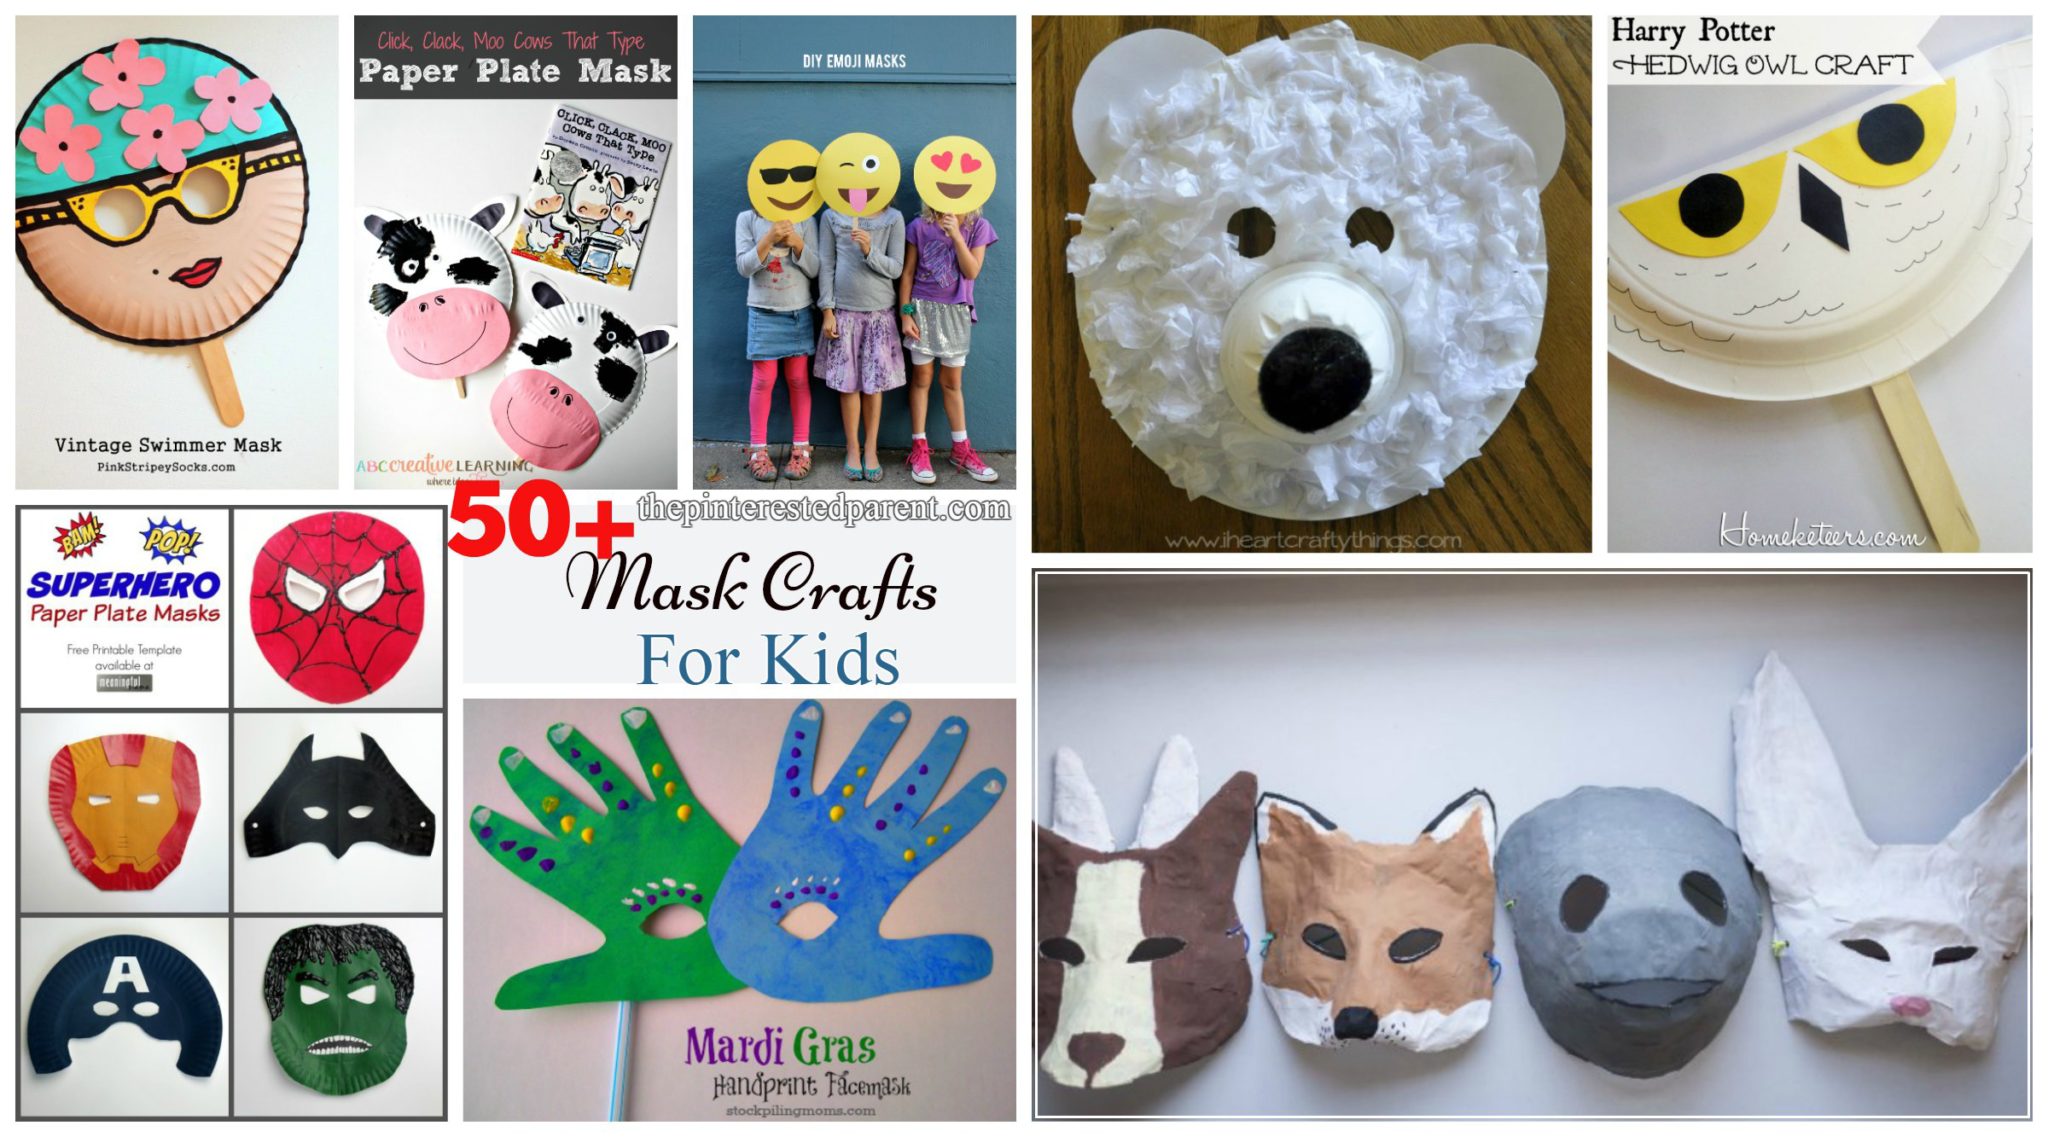
50+ Mask Crafts For Your Kids
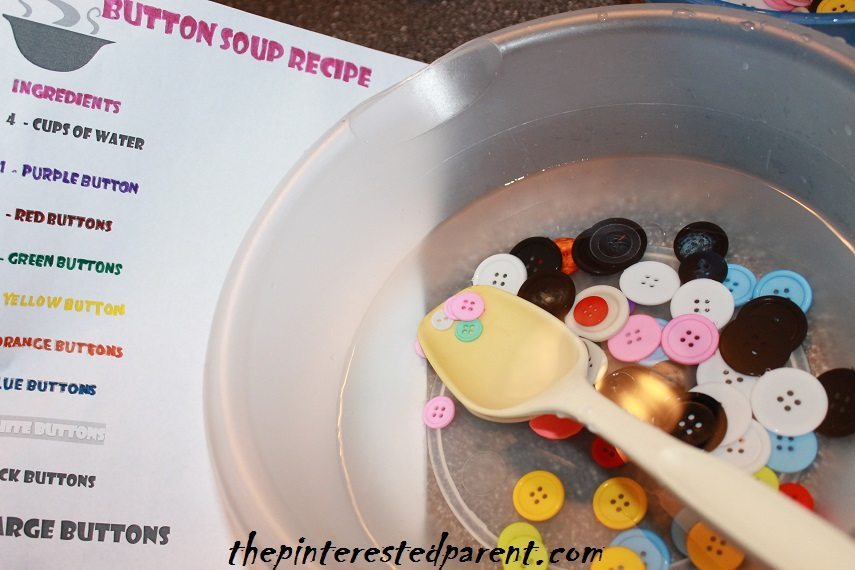
Button Soup Counting Activity
*This post contains affiliate links for convenience*
We have a lot of buttons in our house, a lot of buttons. They are great for fun & colorful crafts. My daughter loves to craft with them & she loves to play with them too. She likes to separate them into color piles & use them in games of make believe. One of her favorite things to do is to make pretend soup. This gave me an idea. We could turn our game of pretend into a fun counting activity.
We made a recipe which incorporated counting, measuring, separating colors & following directions.
Here is a printable version of our Button Soup Recipe.
We set up a large empty bowl & another filled with water. I told her to measure & add 4 cups of water to her empty bowl. She carefully measured out her scoops & added them to her bowl.
We read off the numbers & colors of each ingredient. She dug through her pile of buttons & counted and pulled out each color.
She mixed up her soup enthusiastically & in the end added the whole bag of buttons after finishing the recipe.
This was a fun activity. You can change the recipe to add different ingredients & more measurements for a lesson in measurements as well.
Thank you as always for stopping by. Please follow us on Facebook as well.
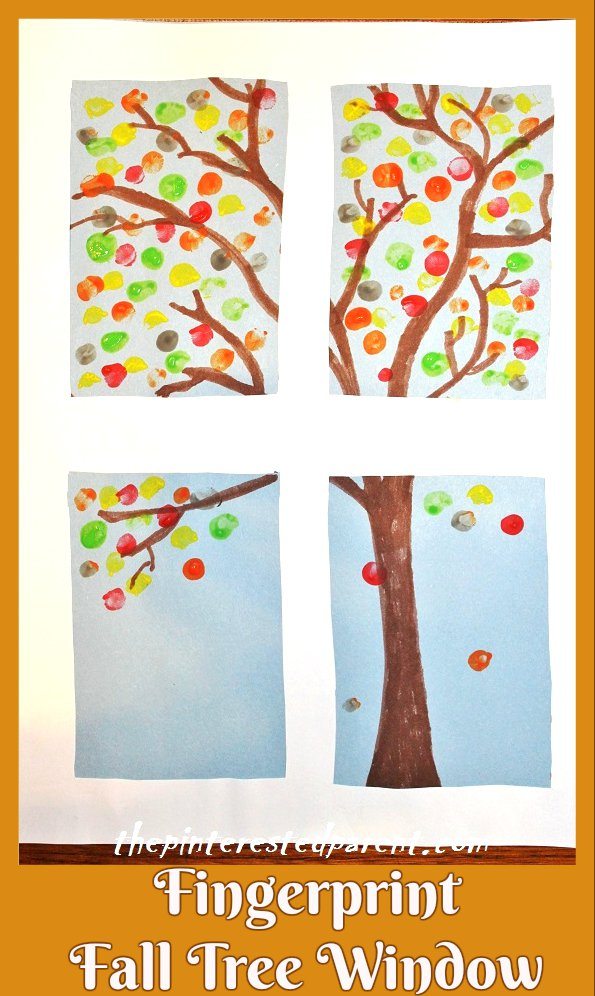
Fall Window Framed Crafts
This weekend we went to a local farm. We walked through the corn maze, picked pumpkins and went on a hay ride.